
Orchids bring a touch of exotic elegance to any home, with their stunning blooms and graceful forms. Yet, they have a reputation for being difficult and temperamental. Many gardeners have received a beautiful blooming orchid as a gift, only to watch in dismay as the flowers drop and the plant slowly declines.
The good news is that keeping these plants alive and even getting them to rebloom is not as mysterious as it seems. With the right knowledge and a consistent routine, you can enjoy your orchids for many years to come.
These plants communicate their needs very clearly through their leaves, roots, and growth patterns. The key is learning to understand their language. Forget everything you know about traditional houseplants; orchids play by a different set of rules. This guide will walk you through 14 proven methods to transform your approach, helping you provide the ideal environment for your orchids to not just survive, but truly thrive.
1. Choose the Right Potting Medium
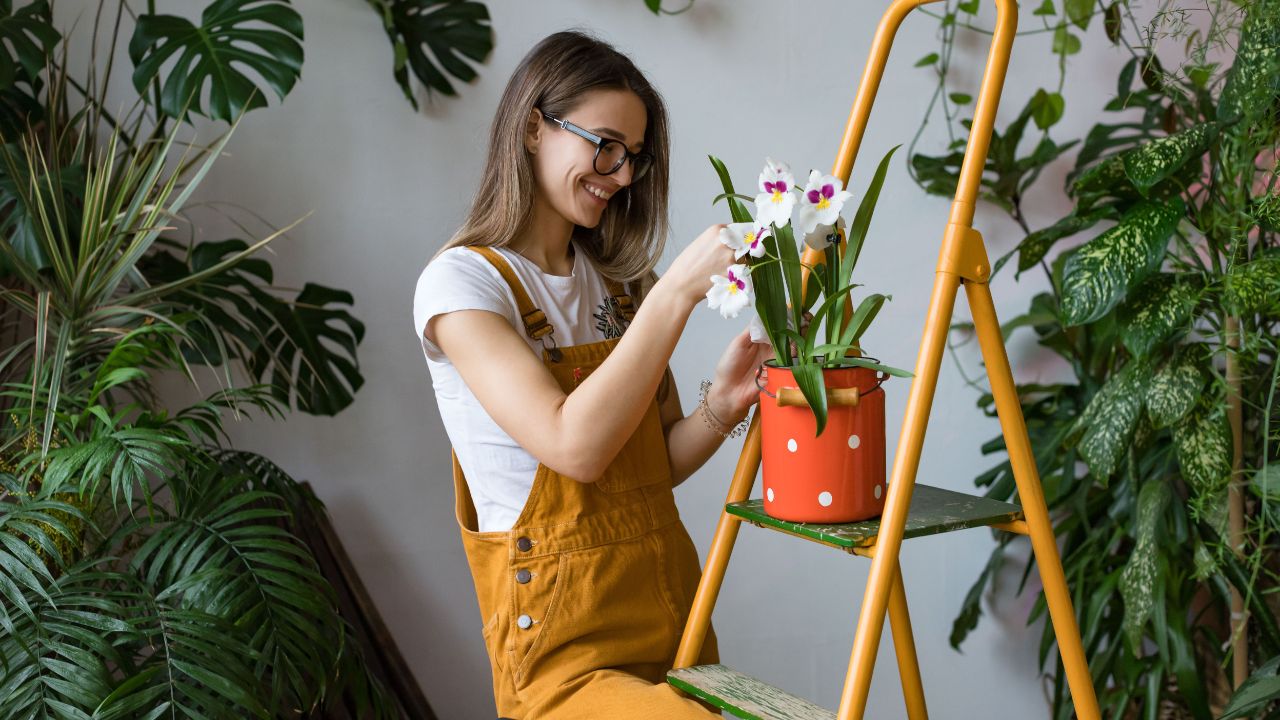
Image Credit: Shutterstock.
Orchids are primarily epiphytes, meaning in their natural habitat they grow on other plants, like tree trunks and branches, not in soil. Their roots are adapted to cling to surfaces and absorb moisture and nutrients from the air and rain. Planting an orchid in standard potting soil is one of the quickest ways to kill it, as the dense, water-retentive soil will suffocate the roots and lead to rot.
Instead, you need a special orchid mix that mimics their natural environment. These mixes are chunky, airy, and provide excellent drainage. Common ingredients include fir bark, coconut husk chips, perlite, charcoal, and sphagnum moss. This composition allows air to circulate freely around the roots, preventing them from staying wet for too long. Over time, usually every one to two years, this medium will decompose and become compacted. Repotting with fresh medium is crucial for long-term health.
Quick Tips:
- Never use regular potting soil.
- Choose a mix with bark, charcoal, or perlite for good air circulation.
- Plan to repot your orchid with fresh medium every 1-2 years.
2. Master the Art of Watering
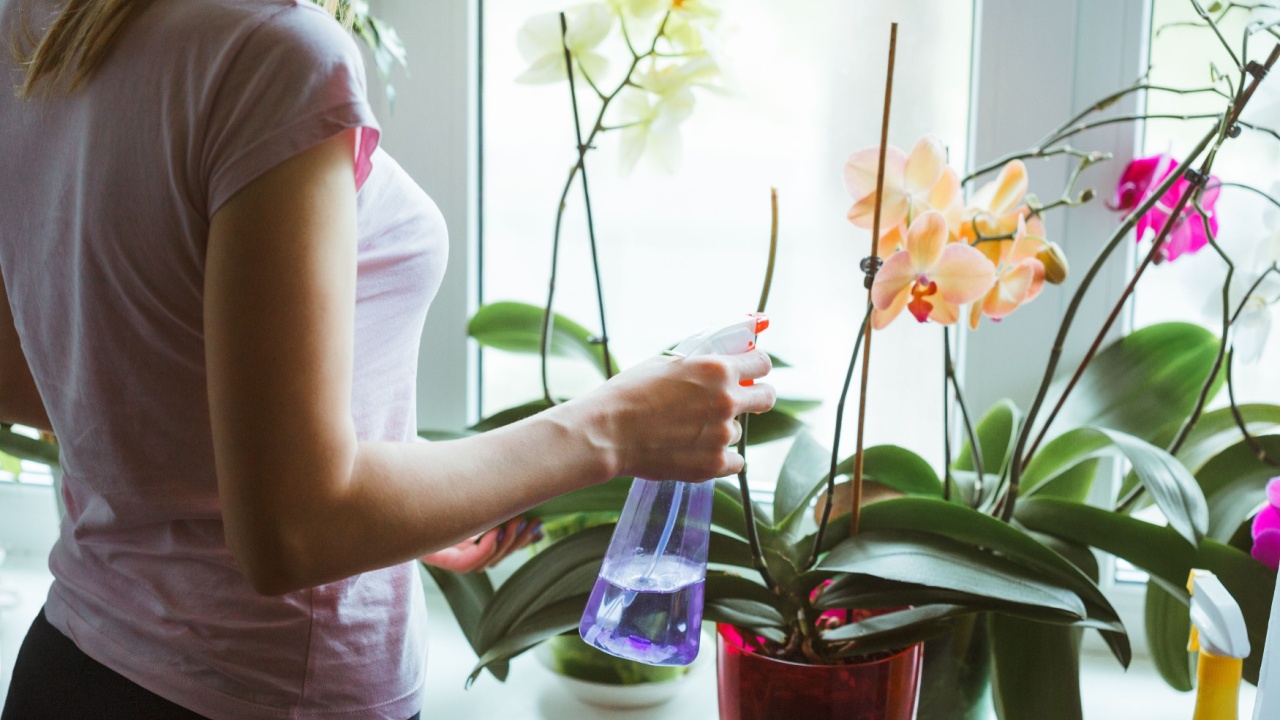
Image Credit: Shutterstock.
Overwatering is the number one cause of orchid death in homes. Because their roots are designed for quick cycles of wet and dry, letting them sit in water is a recipe for disaster. A fixed weekly watering schedule often does more harm than good, as the plant’s needs change with the season, humidity, and temperature. The best method is to check the plant before you water.
Stick your finger about an inch into the potting medium. If you feel any moisture, wait another day or two. Another great technique is to use clear plastic pots, which allow you to see the roots. Healthy, well-watered roots are typically bright green, while roots that are ready for water will turn a silvery-gray color. When it is time to water, do so thoroughly. Take the plant to the sink and let lukewarm water run through the pot for about a minute, ensuring all the roots get wet. Then, allow it to drain completely before placing it back in its decorative pot.
Quick Tips:
- Water only when the medium is dry to the touch.
- Use clear pots to monitor root color. Green means wet, silver means dry.
- Soak the pot thoroughly, then let it drain completely. Never let an orchid sit in a saucer of water.
3. Find the Perfect Light Balance
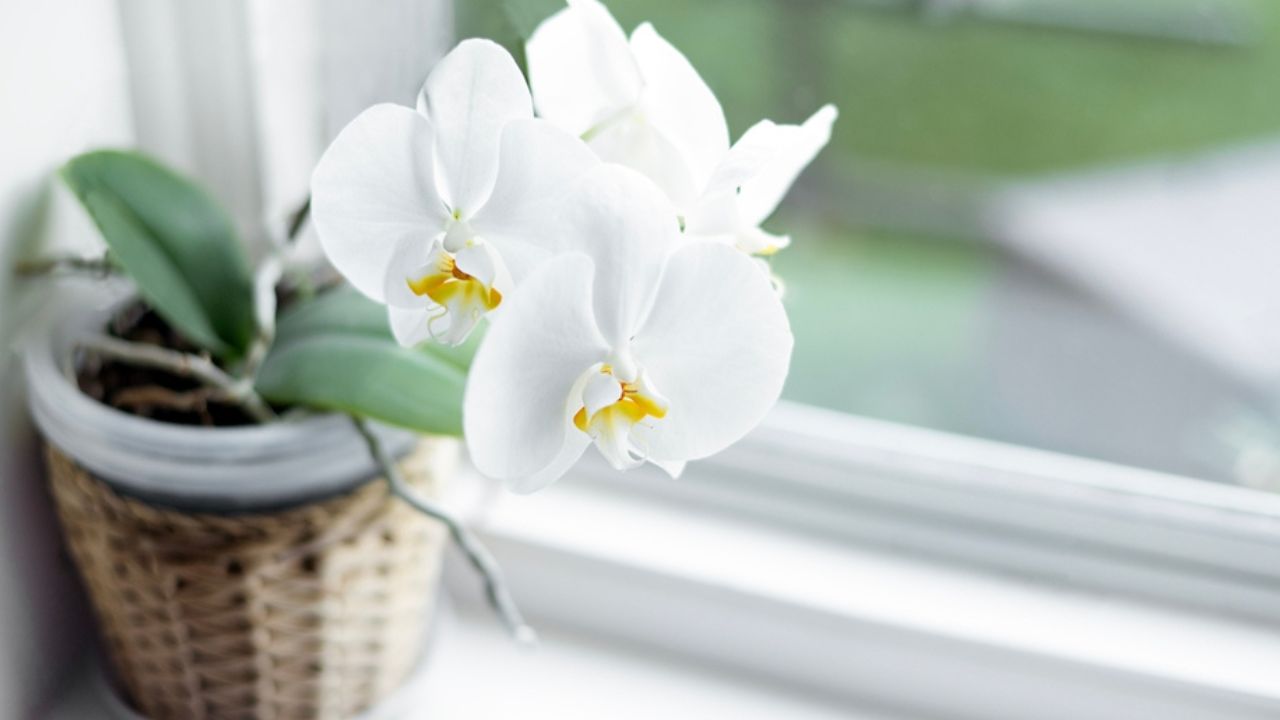
Image Credit: Shutterstock.
Orchids need plenty of bright, indirect light to thrive and produce blooms. Direct, harsh sunlight, however, will scorch their leaves, leaving behind brown or black patches. An east-facing window that receives gentle morning sun is often ideal. South or west-facing windows can also work, but you may need to filter the light with a sheer curtain to prevent sunburn.
You can judge the light by observing the leaves. Healthy leaves on a Phalaenopsis orchid, the most common type, should be a bright, olive green. If the leaves are a very dark, forest green, the plant is likely not getting enough light to trigger blooming. If they turn yellowish or develop reddish edges, the light is probably too intense.
Quick Tips:
- Provide bright, indirect sunlight. An east-facing window is often perfect.
- Protect plants from hot, direct afternoon sun with a sheer curtain.
- Dark green leaves signal too little light; yellow or scorched leaves mean too much.
4. Increase Humidity Levels
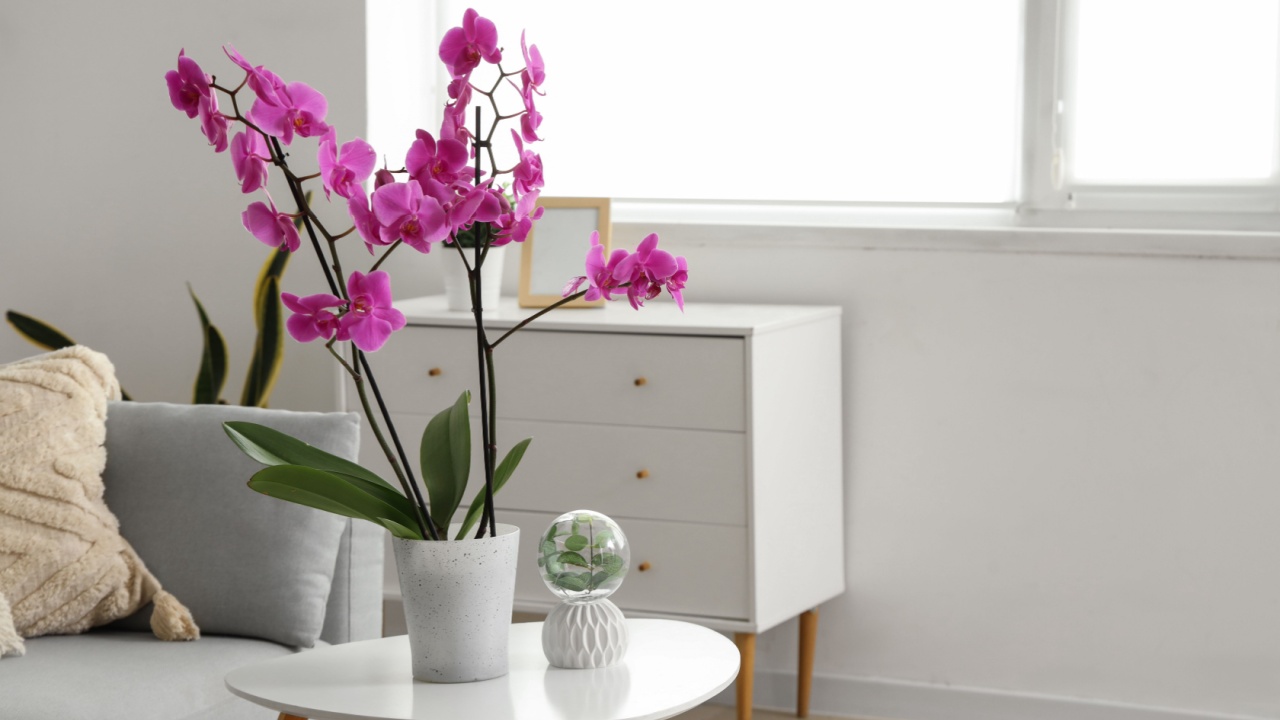
Image Credit: Shutterstock.
Most orchids are native to tropical regions where humidity is consistently high, typically between 60% and 80%. The average home, especially with heating or air conditioning running, has much lower humidity levels. This dry air can cause buds to wither before they open (a condition called “bud blast”) and can lead to wrinkled, dehydrated leaves.
You can easily increase humidity for your plants in several ways. Grouping your orchids together creates a small microclimate with higher humidity. Placing them on a pebble tray, a tray filled with pebbles and water also works well. Just ensure the bottom of the pot sits on the pebbles and not directly in the water. For a more significant boost, running a small humidifier near your plants can make a world of difference.
Quick Tips:
- Aim for 40-60% humidity, which is a good target for most homes.
- Group plants together or use a pebble tray to increase local humidity.
- Consider a small humidifier for the best and most consistent results.
5. Feed Lightly but Consistently
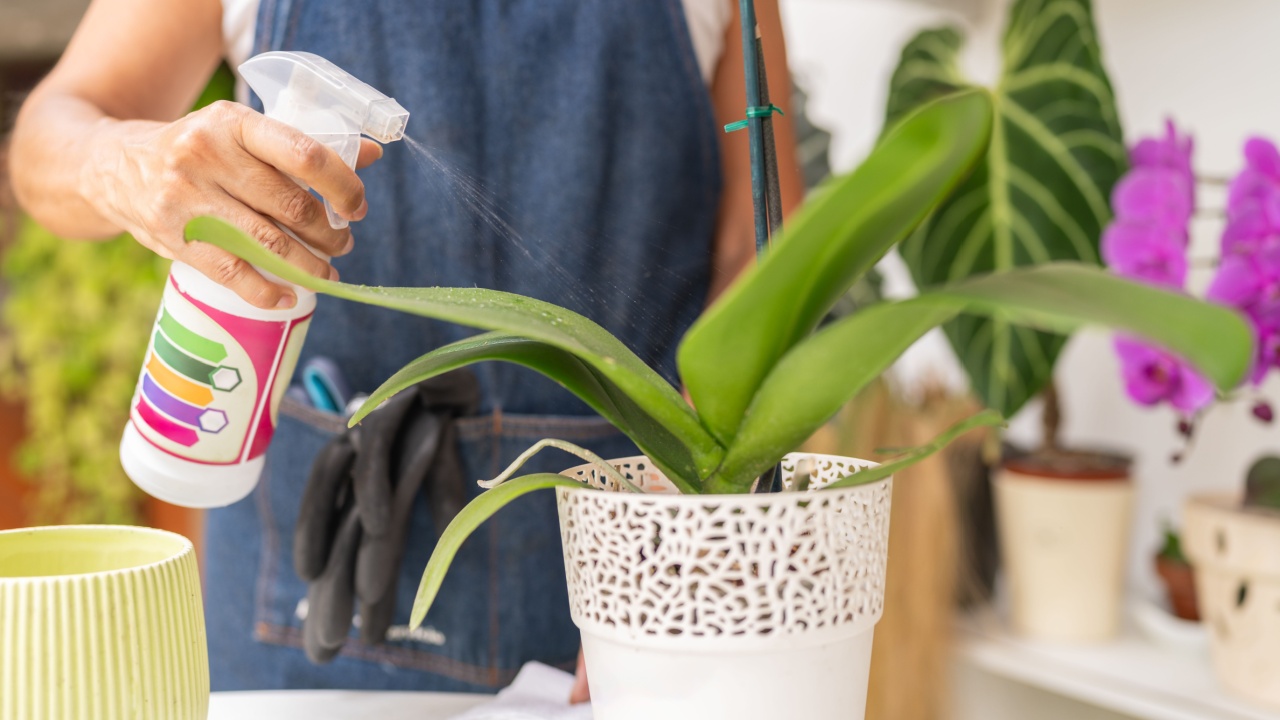
Image Credit: Shutterstock.
In nature, orchids get a steady but very diluted supply of nutrients from rainwater and decaying organic matter. To replicate this, it’s best to fertilize them with a “weakly, weekly” approach. Using a full-strength fertilizer can burn their delicate roots. Instead, use a balanced orchid fertilizer (often labeled 20-20-20) diluted to one-quarter of the recommended strength.
Feed your orchid with this diluted solution every other watering during the active growing season (spring and summer), when you see new leaf or root growth. During their rest period in fall and winter, you can reduce feeding to once a month. It’s also important to periodically flush the pot with plain water to wash away any accumulated fertilizer salts, which can damage the roots over time.
Quick Tips:
- Use a balanced orchid fertilizer diluted to quarter-strength.
- Fertilize every other watering during active growth, and monthly during rest periods.
- Once a month, flush the pot with plain water before fertilizing.
6. Respect the Post-Bloom Rest Period
Image Credit: Shutterstock.
After an orchid finishes its spectacular blooming cycle, it enters a natural rest period. This is not a sign of decline but a crucial phase for the plant to recover and gather energy for future growth and flowers. Trying to force it back into bloom immediately will only exhaust the plant. During this time, the orchid will focus on growing new leaves and roots.
Continue your regular care routine with watering and light, but you can reduce fertilizing. This rest period can last for several months. For many common orchids like Phalaenopsis, a drop in nighttime temperature in the fall is what triggers the growth of a new flower spike. This mimics the natural seasonal changes in their native habitat.
Quick Tips:
- Don’t panic when the flowers fall off. This is normal.
- Allow the plant to focus on leaf and root growth for 6-9 months.
- A nighttime temperature drop to 55-65°F (13-18°C) for a few weeks in the fall can encourage reblooming.
7. Prune Spent Flower Spikes Correctly
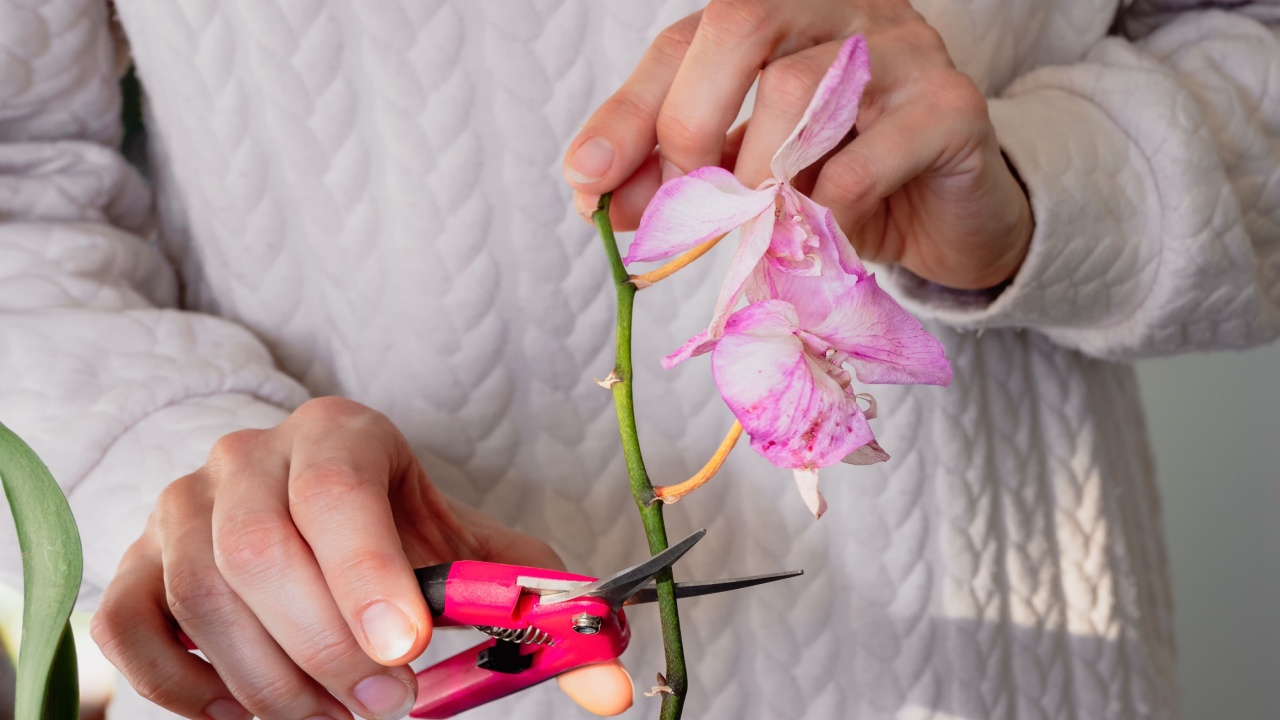
Image Credit: Shutterstock.
Knowing how to prune a flower spike after the blooms have faded can encourage more flowers. First, examine the spike. If the entire spike has turned brown and dry, it is no longer viable and should be cut all the way down to the base of the plant. Use a sterile pair of scissors or pruning shears for this task.
However, if you have a Phalaenopsis orchid and the spike is still green, you have another option. Look for small, triangular bumps along the spike called nodes. You can cut the spike about an inch above one of these nodes. This can often stimulate the plant to produce a secondary branch of flowers from that node, giving you a second bloom much faster than waiting for a new spike to grow from the base.
Quick Tips:
- Cut brown, dry spikes all the way back to the base.
- On green Phalaenopsis spikes, cut about an inch above a node to encourage a second set of blooms.
- Always use a sterilized blade to prevent the spread of disease.
8. Provide Good Air Circulation
Image Credit: Shutterstock.
Stagnant, humid air is a breeding ground for fungal and bacterial diseases, which can appear as black spots on leaves or rot at the base of the plant. Good air circulation is essential for keeping your orchids healthy. It helps dry excess moisture from the leaves and around the roots, preventing pathogens from taking hold.
You don’t need a strong wind, just gentle air movement. Placing a small, oscillating fan on a low setting in the room for a few hours a day can make a significant difference. Proper spacing between your plants also improves airflow. This simple step mimics the gentle breezes of their natural environment and is one of the most effective ways to prevent disease.
Quick Tips:
- Use a small fan on a low setting to create gentle air movement.
- Avoid crowding plants together to ensure air can flow between them.
- Good airflow is your best defense against fungal and bacterial issues.
9. Repot with Perfect Timing
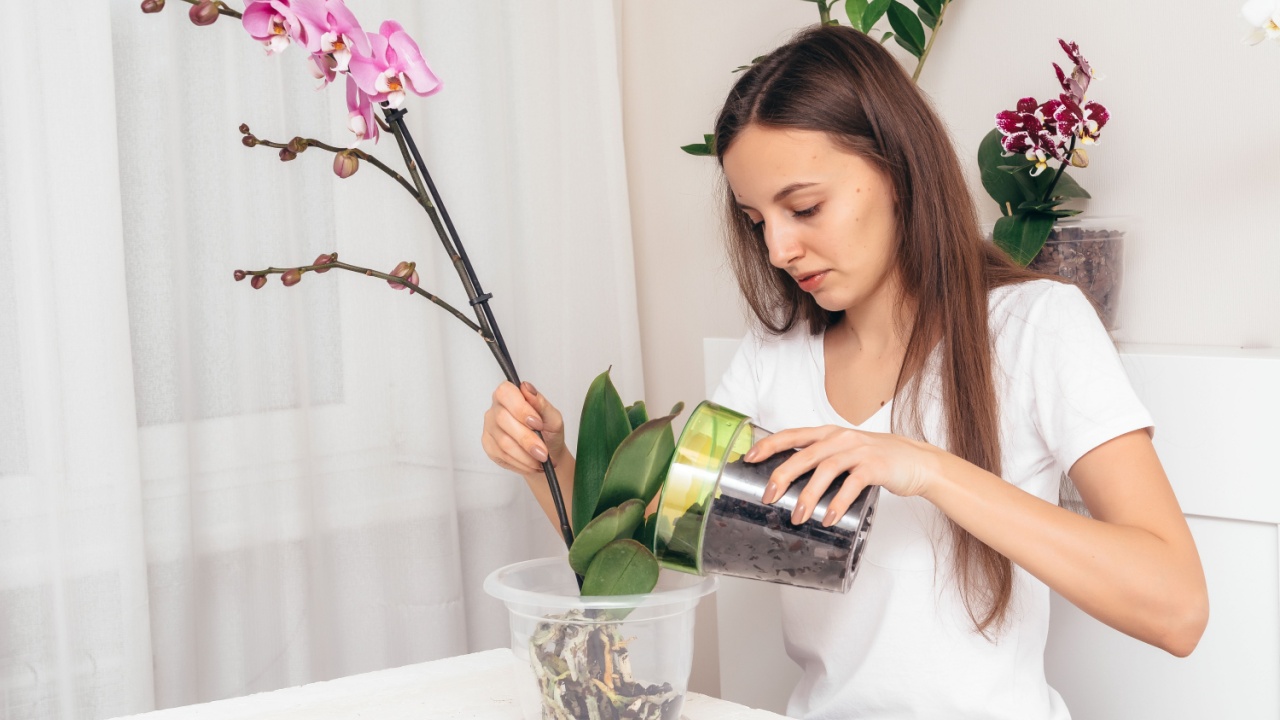
Image Credit: Shutterstock.
Repotting can be stressful for an orchid, so timing is everything. The worst time to repot is when the plant is in bloom, as this can cause the flowers to drop prematurely. The best time is right after it has finished blooming, just as you see signs of new growth, like tiny new root tips or a new leaf starting. This allows the plant to establish itself in its new home during its active growth phase.
Orchids don’t need to be repotted annually. In fact, they prefer to be slightly root-bound. Repot every two to three years, or when you notice the potting medium has broken down into a dense, soil-like texture, or when the roots are excessively overgrown and spilling out of the pot. When you do repot, choose a pot that is only one inch larger in diameter. A pot that is too large will hold too much moisture and increase the risk of root rot.
Quick Tips:
- Repot after blooming, when new growth appears.
- Only repot every 2-3 years or when the medium breaks down.
- Choose a new pot that is just one inch wider than the current one.
10. Use Clear Pots for Root Monitoring

Image Credit: Shutterstock.
One of the most valuable tools for an orchid grower is a clear plastic pot. Unlike many other plants, orchid roots are photosynthetic and can benefit from exposure to light. More importantly, a clear pot allows you to see what’s happening below the surface. You can easily monitor root health, check moisture levels, and spot problems like root rot before they become severe.
Healthy roots are firm and appear plump and green or silvery. Unhealthy roots will look brown, mushy, or papery and dry. Being able to see the roots takes the guesswork out of watering and lets you know exactly when your orchid is thirsty. You can easily maintain your home’s aesthetic by simply slipping the clear plastic pot inside a more decorative cachepot.
Quick Tips:
- Clear pots let you see root health and moisture levels at a glance.
- Healthy roots are green when wet and silvery when dry.
- Place the clear nursery pot inside a decorative outer pot.
11. Learn to Read the Leaves
Image Credit: Shutterstock.
An orchid’s leaves are a great indicator of its overall health and can tell you a lot about its needs. Wrinkled or leathery leaves are a classic sign of dehydration. This might mean you are underwatering, but it can also indicate that the roots have rotted from overwatering and can no longer absorb moisture.
Leaf color tells a story about light exposure. Bright, grass-green leaves are a sign of a healthy, happy plant. Dark green leaves suggest the plant isn’t getting enough light to bloom. Yellowish-green leaves, on the other hand, can indicate the plant is receiving the maximum amount of light it can handle, which is often ideal for triggering blooms, but be careful it doesn’t cross the line into sunburn.
Quick Tips:
- Wrinkled leaves mean the plant is dehydrated, either from too little water or root rot.
- Bright, olive-green leaves are a sign of good health.
- Dark green leaves signal a need for more light.
12. Stabilize the Growing Conditions

Image Credit: Shutterstock.
Orchids are creatures of habit and do not respond well to sudden changes in their environment. Moving your plant from one spot to another frequently, or drastically changing its watering schedule, can cause stress, leading to bud blast and a general decline in health.
Find a suitable location in your home that meets the orchid’s light, temperature, and humidity needs, and try to keep it there. When you first bring an orchid home from a nursery, expect it to drop some flowers as it acclimates to its new environment. Make any seasonal adjustments to care, like reducing water in winter, gradually over several weeks. Consistency is key to helping your orchid feel secure and thrive.
Quick Tips:
- Find a good spot for your orchid and keep it there.
- Avoid sudden changes in light, temperature, or watering.
- Make seasonal adjustments to care gradually.
13. Treat Pests Immediately

Image Credit: Shutterstock.
Even with the best care, pests can sometimes appear. The most common culprits on orchids are mealybugs, scale, and spider mites. These pests suck sap from the plant, weakening it over time. The best defense is regular inspection. When you water, take a moment to look at the undersides of leaves, in the leaf joints, and around new growth.
If you spot pests, act quickly. For small infestations of mealybugs or scale, you can dip a cotton swab in 70% isopropyl alcohol and dab it directly onto the pests. This dissolves their waxy protective coating. For larger problems, a horticultural oil or insecticidal soap, applied according to the label directions, can be effective. Isolating new plants for a few weeks before introducing them to your collection is also a wise preventative measure.
Quick Tips:
- Inspect your plants regularly for pests, especially under leaves.
- Treat minor infestations with a cotton swab and rubbing alcohol.
- Isolate any new plants for 3-4 weeks to ensure they are pest-free.
14. Keep a Simple Care Journal

Image Credit: Depositphotos.com.
Relying on memory to track your orchid care can be tricky, especially if you have more than one plant. A simple notebook or a note-taking app on your phone can be a powerful tool. Use it to log when you water, when you fertilize, and when the plant blooms.
Over time, this record will help you identify patterns. You might notice that a particular orchid rebloomed after you moved it to a spot with more morning light, or that another thrives when you water it every 10 days instead of every 7. This data empowers you to replicate your successes and troubleshoot problems more effectively, turning you into a more confident and successful orchid grower.
Quick Tips:
- Log watering and fertilizing dates for each plant.
- Note when new spikes appear and when flowers bloom.
- Use this information to fine-tune your care routine.
Encouraging Orchid Success

Image Credit: Shutterstock.
Growing orchids is a rewarding journey of observation and response. By providing the right foundation, airy potting mix, proper light, and careful watering, you’ve already won half the battle. Now, you can take your care to the next level. Start by choosing one or two tips from this list to implement.
Perhaps you’ll switch to a clear pot at the next repotting or begin using a diluted fertilizer. Don’t feel you have to do everything at once. The most important step is to start paying closer attention to your plant. With a little consistency and care, you’ll be well on your way to enjoying beautiful orchid blooms for many years.
