After watching @buildsbykristen carve out a backyard paver path with headphones and a yoga pose, a whole chunk of the internet had one collective thought: “Phenomenal!” Her results were clean, sharp, and oddly satisfying. She didn’t need a bulldozer, her crew was a shovel and a hand tamper that probably counts as a workout.
Inspired yet? Good. Because if you’ve been side-eyeing your patchy lawn or that awkward dirt trail from the back door to the shed, it might be time to take the hint and build your own paver path.
Gather your shovel, rake, level, wheelbarrow, and hand tamper. Here’s how to make a jealousy-inducing paver path in your backyard.
1. Prepare the Ground and Materials
If your yard has gone a bit feral, bring in a brush cutter to clear the edges. As for materials, plan in layers: gravel for drainage, sand for leveling, pavers for the path, and finer gravel or polymeric sand to lock everything together.
Mark your path’s route, then dig out several inches deep (take into account your need for all the layers and pavers going in!). This isn’t a light trim—you’re removing sod, rocks, roots, and anything else that would make the pavers uneven. This is also your chance to shape the path and define its width, and if you want it straight or a little curved like Kristen’s.
Use the rake to smooth it all out, then check the surface with a level and tamp it down. You want a steady base that follows a gentle slope, not a roller coaster. A flat foundation now means fewer swear words later.
2. Gravel Down and Tamp
Gravel is the first layer. Spread about two to three inches of it across the path. This is what keeps everything from sinking into mud during the first rain. Rake it even, then tamp it down like you’re settling a decades-long feud.
The gravel layer should feel solid underfoot, not loose like you’re walking on trail mix. Run the level over it again, side to side.
3. Spread Sand Over the Gravel
Next, Kirsten spread an even layer of sand on top of the compacted gravel. This acts like a cushion for your pavers and helps you level them properly. Use your rake to even it out, and your level to fine-tune the surface.
Then tamp again, like she did. It might feel repetitive, but this step locks everything into place.
4. Lay the Pavers
This is arguably the most fun part, as you can go down into a Sukhasana pose and lay the blocks as you celebrate your life choices. She began with the outer edges of the path, laying the pavers with their wider, flattest sides down. Press each one into the sand, and check for level—tap down any that sit too high.
Now fill in the center. Kristen went for a diagonal design, which gave her path a little flair. You can go geometric or classic—whatever makes your inner landscaping judge nod in approval. Line them up, space them evenly, and check every few rows.
(Note: The video left out the potential need for a tile saw to fit pieces in like a puzzle- which is more than likely a must.)
5. Fill the Gaps and Lock It Down
Once every paver is in place, pour polymeric sand over the top and sweep it into the cracks. This keeps things from shifting and helps block weeds. Use a stiff brush to work it into the gaps—don’t half-do this or you’ll be brushing again in two weeks.
Then tamp once more. Yes, again. This final tamp settles everything into place and pulls that filler deeper between the joints.
After filling the joints, give the whole path a good rinse. If you’re using polymeric sand, the water activates it so it sets firm. Clear off any remaining dust or loose filler.
Step back. Admire. Take a photo. Send it to someone who doubted your DIY chops.
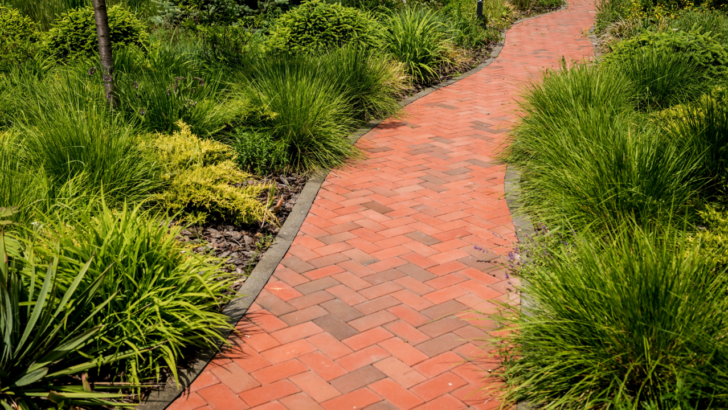
Why Do You Need a Paver Path?
Besides the obvious upgrade to your yard, a paver path brings order to your outdoor chaos. It keeps your shoes cleaner, guides guests without the awkward “where do I step?” moment, and gives your space a finished look.
If you’ve been waiting for your sign to build that path, this is it. You get a professional-looking paver path that costs way less than hiring someone, and probably add a bit of upper body strength in the process.
Other trending landscaping tips:
Creative Water Conservation Landscaping Ideas for a Greener Yard
Attractive Garden Path Ideas For A Beautiful Landscape
