If you’ve ever come home to find your once-thriving plant slumped over like it just got dumped via text, welcome to the support group of people who occasionally forget to water their plants. Life gets busy, watering schedules get fuzzy, and suddenly your plant baby is signing up for therapy due to neglect.
That’s exactly why this self-watering bucket tutorial by @saltyacresnc almost sounds as sweet as Amazing Grace. This setup is the plant equivalent of meal prepping. You set it up once, and your plant gets a slow, steady drink—no daily check-ins, no guessing games, no sad plants. It’s simple enough for beginners, but clever enough to impress your seasoned gardener friend who names their tomatoes.
How Does It Work?
Self-watering containers are common, and this is one of the simplest ones to do. The top bucket holds the soil and plants. The bottom bucket holds water. A cotton rope runs from the soil into the water, pulling moisture up as the soil dries. The plant stays hydrated without soaking the roots. You’re giving it a personal water straw that only drinks when thirsty.
The wooden strips suspend the top bucket just above the waterline. That way, the rope hangs into the water, but the bucket itself never sits in it.
Use cotton rope only—synthetics don’t wick properly. It’s advisable to refill the water reservoir every few days, depending on the sun and heat. Also, be careful about overfilling—leave a little air space so the rope can do its job.
What You’ll Need
- Two buckets (3 to 5 gallon buckets work great)
- One 1” thick cotton rope (natural fiber only)
- Four wood strips (about 1 inch thick and 4 to 6 inches long)
- Drill, screws, screwdriver
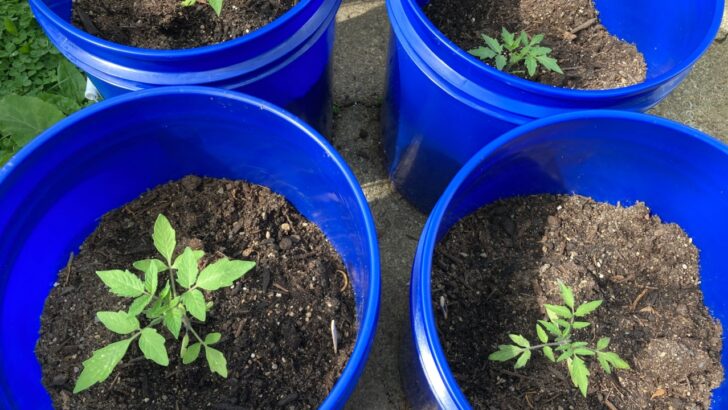
- Soil and a vegetable seedling (He used bell peppers)
- Water
How to Set It Up
Step 1: Drill and Thread the Top Bucket
Drill several small drainage holes at the base of the top bucket. Drill two larger holes and thread the rope through them so a good length (at least 8 inches) dangles underneath. The two ends of the rope are tied together at the bottom. Inside the bucket, leave enough rope to run up into the soil.
Step 2: Add the Wood Support
Take four wood strips and screw them around the outside of the top bucket, just under the rim with the long side perpendicular to the ground. These will rest on the lip of the bottom bucket and keep the top bucket elevated above the water reservoir.
Step 3: Fill the Top Bucket
Add soil to the top bucket, all the way to the top. Plant your seedling and give the soil a solid initial soak. It can take a few weeks for the roots to get long enough to get the full benefits of the wicking rope at the bottom.
Step 4: Set Up the Reservoir
Drop the top bucket into the bottom bucket. The wood strips should rest on the rim, keeping the top bucket raised. Put water into the lower bucket through the gap between the two. The rope will start wicking moisture up into the soil within minutes.
If you get a lot of rain and are concerned about overwatering, some commenters agree that holes can be drilled in the water bucket just below the bottom of the inside bucket. This keeps the water from getting too high and causing waterlogging.
Why It Works So Well
This system keeps roots consistently moist without drowning them. Plants grow faster, stay healthier, and don’t rely on your backup memory to survive. Water lasts longer, weeds struggle to grow, and there’s less mess from overwatering.
