Tomatoes reign supreme in the garden—not just for flavor, but also for the satisfaction of growing them yourself. With the right pruning technique, you can unlock a bumper harvest of big, juicy fruits. But make missteps, and your efforts can flop—literally.
Let’s dive into 12 key pruning mistakes and how to avoid them, for a tomato crop that thrives. We collected our data from extension sites like Wisconsin Agriculture to bring you evidence-based information.
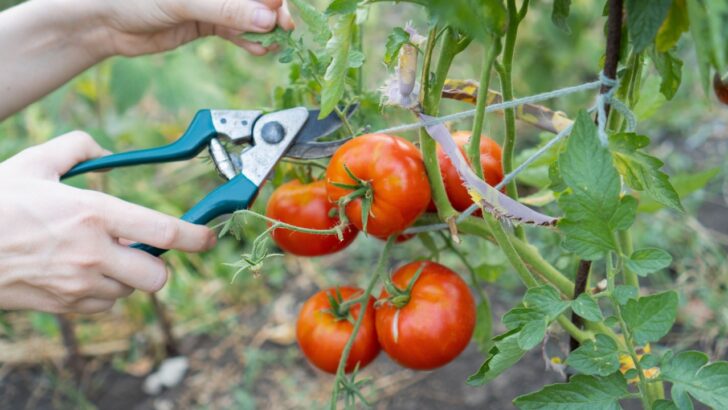
1. Neglecting Tools: Blades That Spread Disease
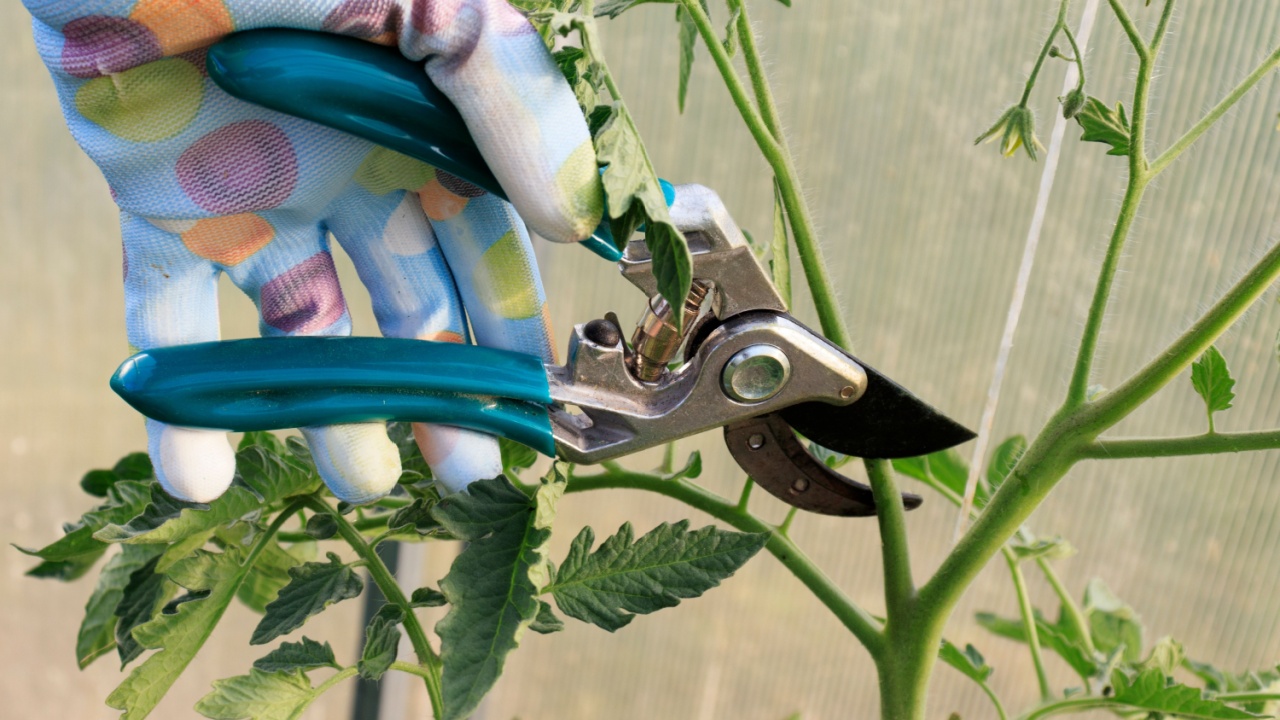
Image Credit: Shutterstock.
At first glance, dirty pruners might not look like a big deal—but they’re a disease-delivery system. Rusty or dull blades can crush stems, making wounds that invite infection. Even worse, using the same blade on multiple plants can transmit bacterial or fungal pathogens.
Do this instead:
- Clean blades with soap and water, then wipe with rubbing alcohol before pruning each plant, especially after cutting diseased stems
- Test sharpness by cutting paper—if it tears, sharpen the blade before use
- Disinfect between plants using alcohol or diluted bleach (1:9 ratio) to avoid cross-contamination.
This ensures clean cuts that heal quickly and helps protect your entire tomato patch.
2. Pruning at the Wrong Time: Heat Stress & Disease
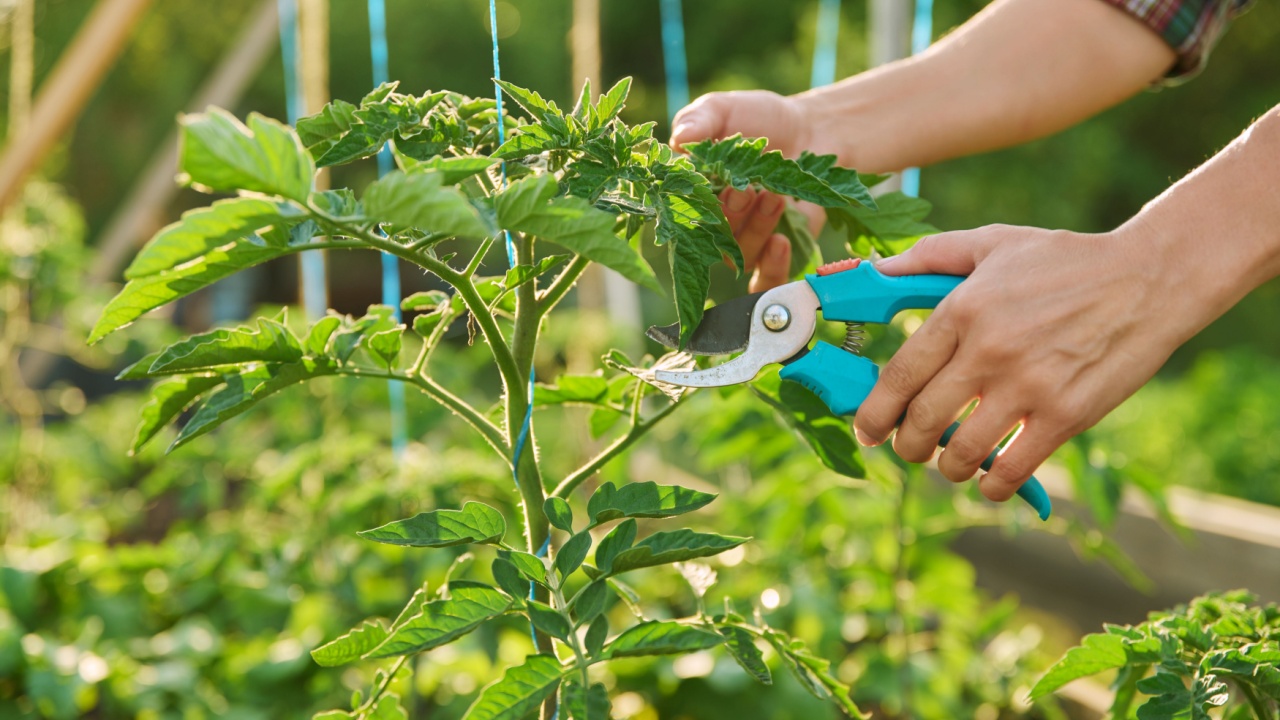
Image Credit: Shutterstock.
Pruning when it’s hot or wet stresses your plants and encourages disease. Cutting midday in blazing sun exposes open wounds to heat, while pruning wet foliage promotes fungal infections like blight
Do this instead:
- Prune in the early morning after dew has dried, but before midday heat sets in
- If rain lingers, wait for 24 hours of dry weather and sanitize tools thoroughly
This timing gives cuts time to heal under optimal conditions and significantly reduces disease risk.
3. Over-Pruning: Sunscald and Weakened Plants
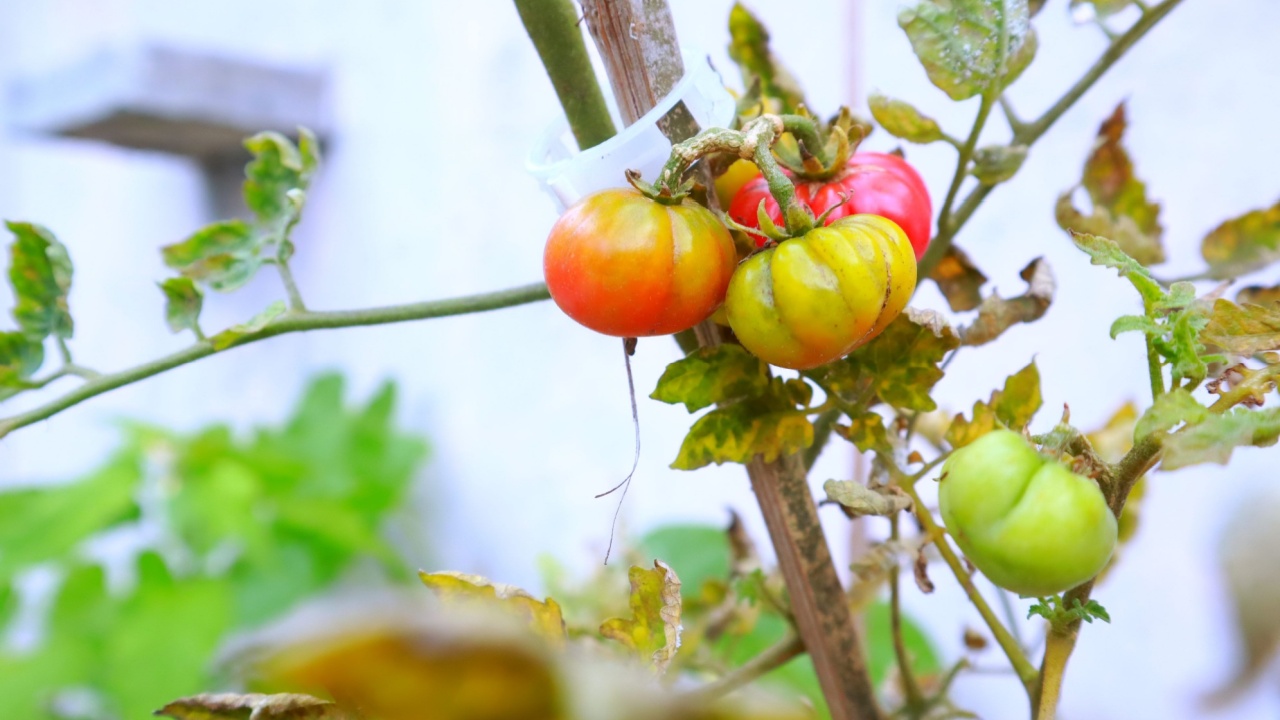
Image Credit: Shutterstock.
Less can mean more—but too little is a problem. Removing over one-third of foliage at once disrupts photosynthesis and exposes fruit to sunscald—a white or yellow blister caused by excessive sunlight after pruning
Do this instead:
- Remove no more than one-third of the foliage in a single session
- Space pruning sessions several days apart. If you’re attempting heavy cuts, split the job over a week.
- Leave a healthy canopy and, in very sunny climates, consider shade cloth to protect fruit
Balanced pruning protects both the plant and your fruit.
4. Pruning Determinate Varieties: Why Less Is More
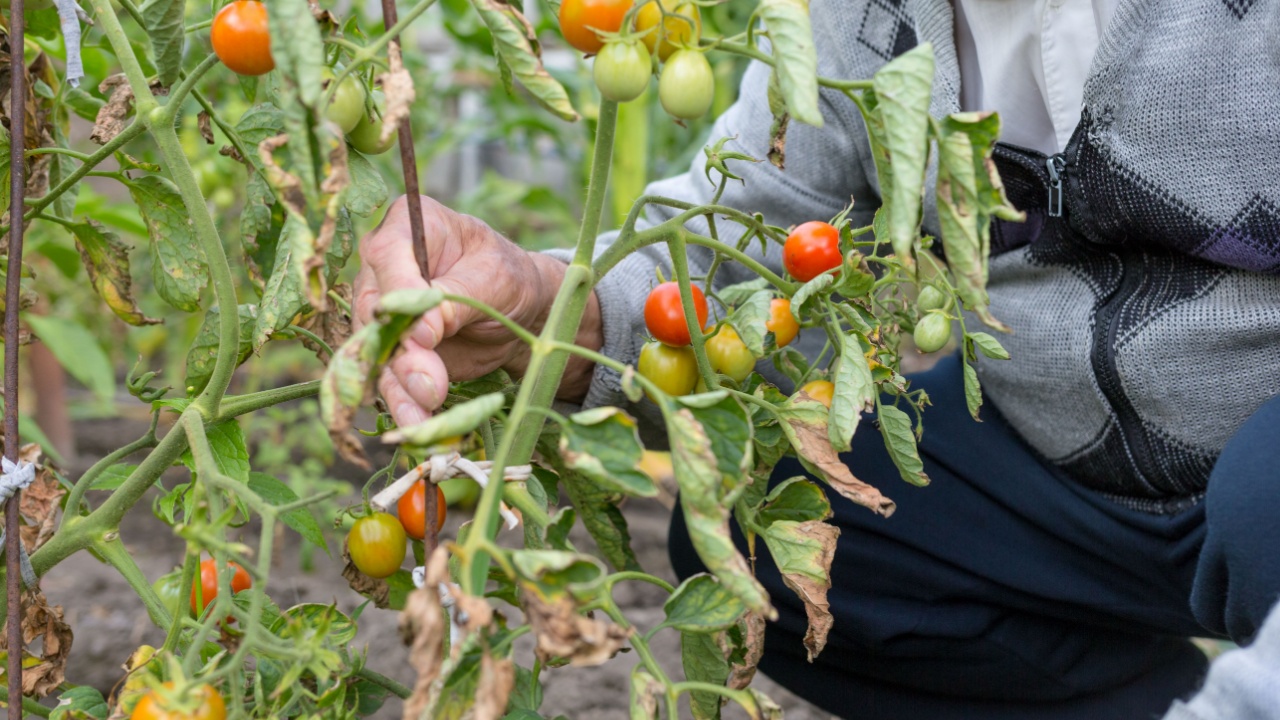
Image Credit: Shutterstock.
Determinate (bushy) tomatoes set fruit on all branches at once and then stop growing. Remove foliage, and you may stop fruiting altogether.
Do this instead:
- Know your variety—check the packet or plant tag.
- For determinate tomatoes, stick to light maintenance: remove diseased leaves, lower foliage touching soil, and skip sucker removal unless needed.
- Indeterminate varieties, however, benefit from weekly maintenance and sucker removal.
This keeps determinate plants working hard for fruit production rather than recovery.
5. Removing the Wrong Stems: Oops, That Was the Fruit Stem!

Image Credit: Shutterstock.
Forgetting what counts as a sucker leads to lost blooms and future fruits. Only pinch the 2–4″ side shoots (suckers); avoid cutting flower clusters or main stems
Do this instead:
- Suckers grow between the main stem and branch—remove before they reach 4″ with a clean pinch or sharp tool
- Leave flower-laden stems intact—they bring the flavor—and stop pruning 4–6 weeks before frost
Clear focus—and fewer accidental prune-offs—lead to a juicier harvest.
6. Ignoring Airflow: The Silent Blight Factor
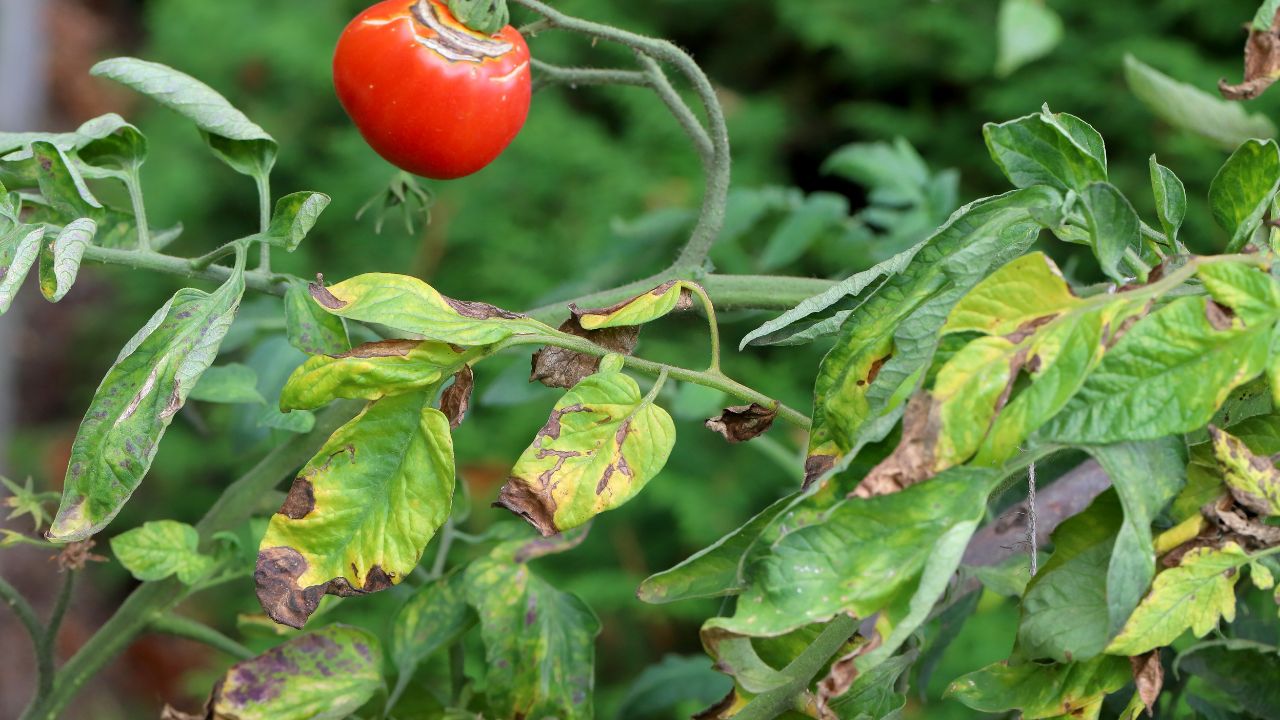
Image Credit: Shutterstock.
Dense foliage feels lush but suffocates your plant. Stagnant air encourages blight and fungal pathogens, which thrive in humidity
Do this instead:
- Remove lower leaves within 6–12 inches of the soil to reduce soil pathogen splash-up
- Thin the interior foliage weekly to improve airflow, especially after heavy rain showers
Stronger shrubs, fewer fungal issues, and a healthier harvest.
7. Letting Suckers Go Untamed: The Energy Sappers
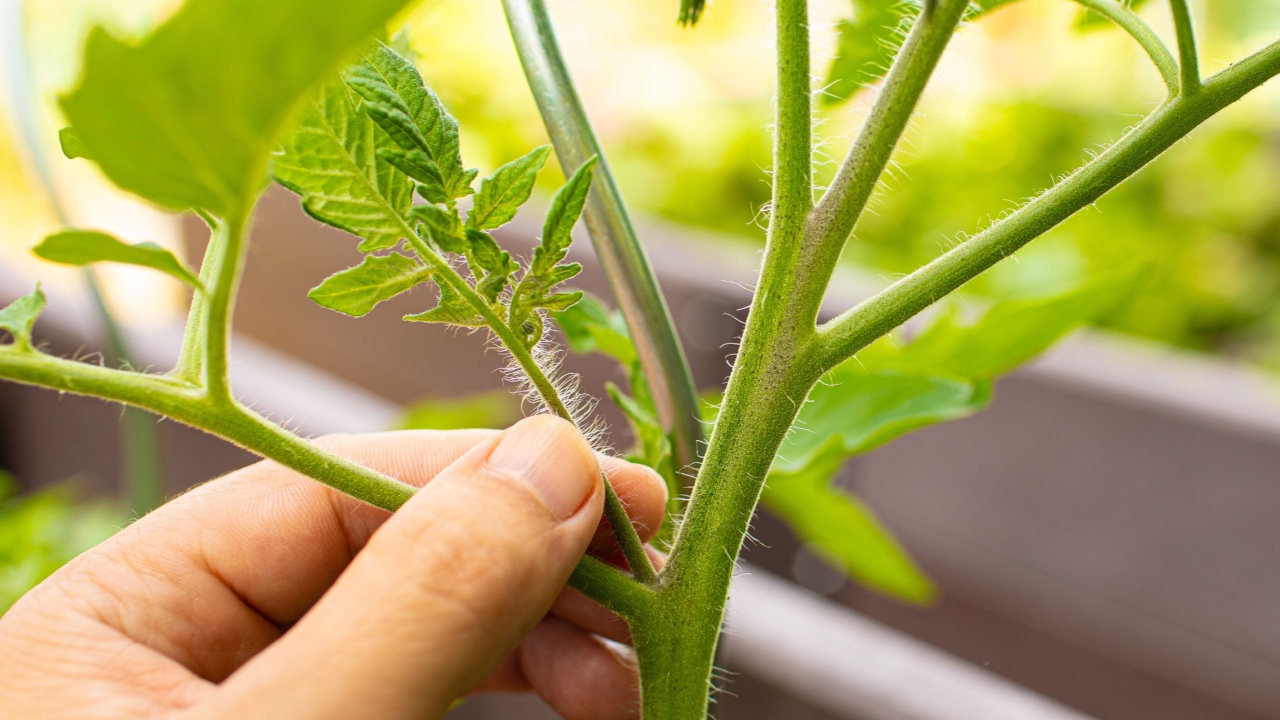
Image Credit: Shutterstock.
Letting suckers grow diverts energy to foliage, limiting fruit size and yield
Do this instead:
- Begin pruning suckers as soon as they appear. For indeterminates, remove those under the first flower cluster to focus growth
- Allow yourself one or two strong suckers if you want extra main stems—but no more.
Pinched early, your plant focuses its energy where it matters most.
8. No Plan During Pruning: Oops, You’ve Hurried Again
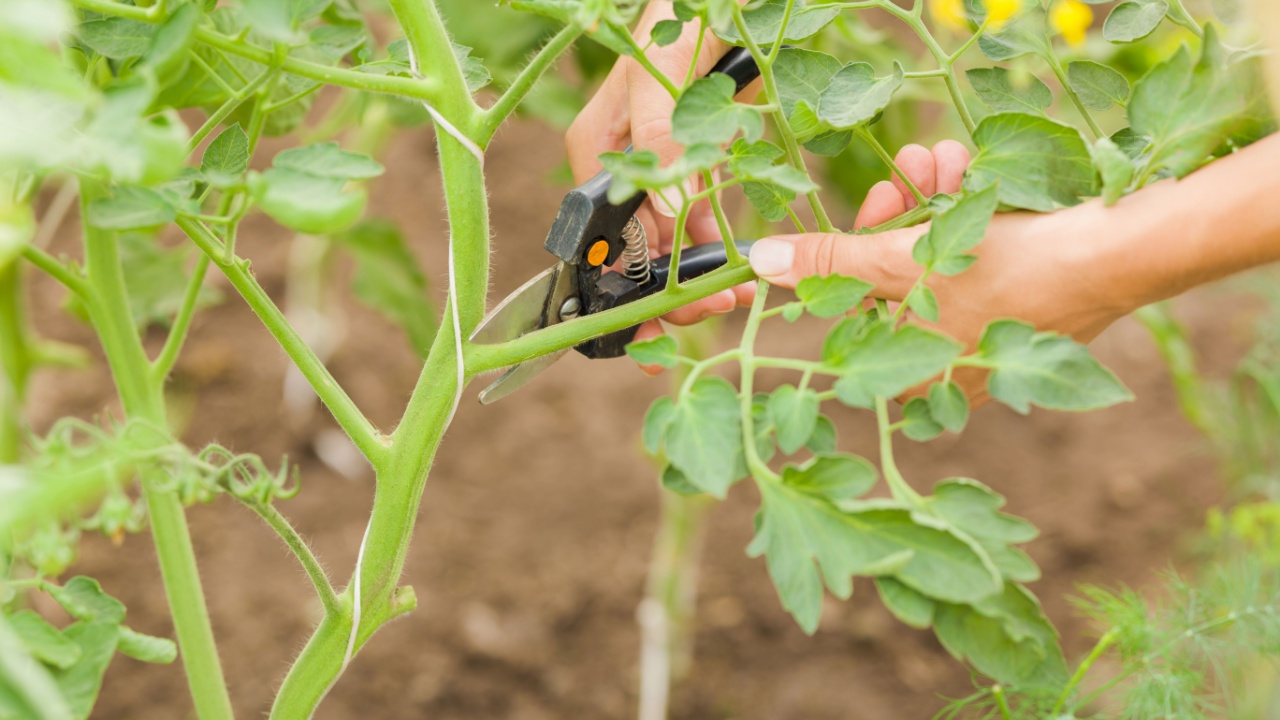
Image Credit: Shutterstock.
We already mentioned that accidental pruning is a possibility. Having a plan makes all the difference. Pruning without purpose often leads to tangled errors—fruit stems pulled, plant structure compromised, or disease-prone wounds left untreated
Do this instead:
- Step back and view the plant—what needs to happen? Airflow? Size containment?
- Decide if the goal is more fruit or airflow—don’t try to do both in one session.
- Prune with intent and stop when you’ve met your goal.
Focused pruning gets the results you came for—healthier plants and bigger harvests.
9. Leaving Prunings in the Bed: Composting Danger Zone

Image Credit: Shutterstock.
Discard leaves and suckers in place, and you risk harboring blight spores all season. Composting diseased plants spreads it universally.
Do this instead:
- Bag and remove all tomato debris from the planting area. Diseased plant matter goes into the trash, not the compost.
- Healthy pruning? Compost separately, ensuring your pile heats to 140°F+.
- Keeping disease sources out of sight prevents future outbreaks.
10. Overlooking Late-Season Cuts: The Frost Countdown

Image Credit: Shutterstock.
Leaving new foliage near frost time starts new growth that won’t ripen, and weakens your plant’s focus on existing fruit
Do this instead:
- 4–6 weeks before the first frost, remove growing tips and any new blooms.
- Focus the plant’s remaining energy on ripening existing fruit, not producing new ones.
This helps your plant and harvest finish strong with fewer losses.
11. Don’t Ignore Leaf Yellowing: It Might Be Your Fault
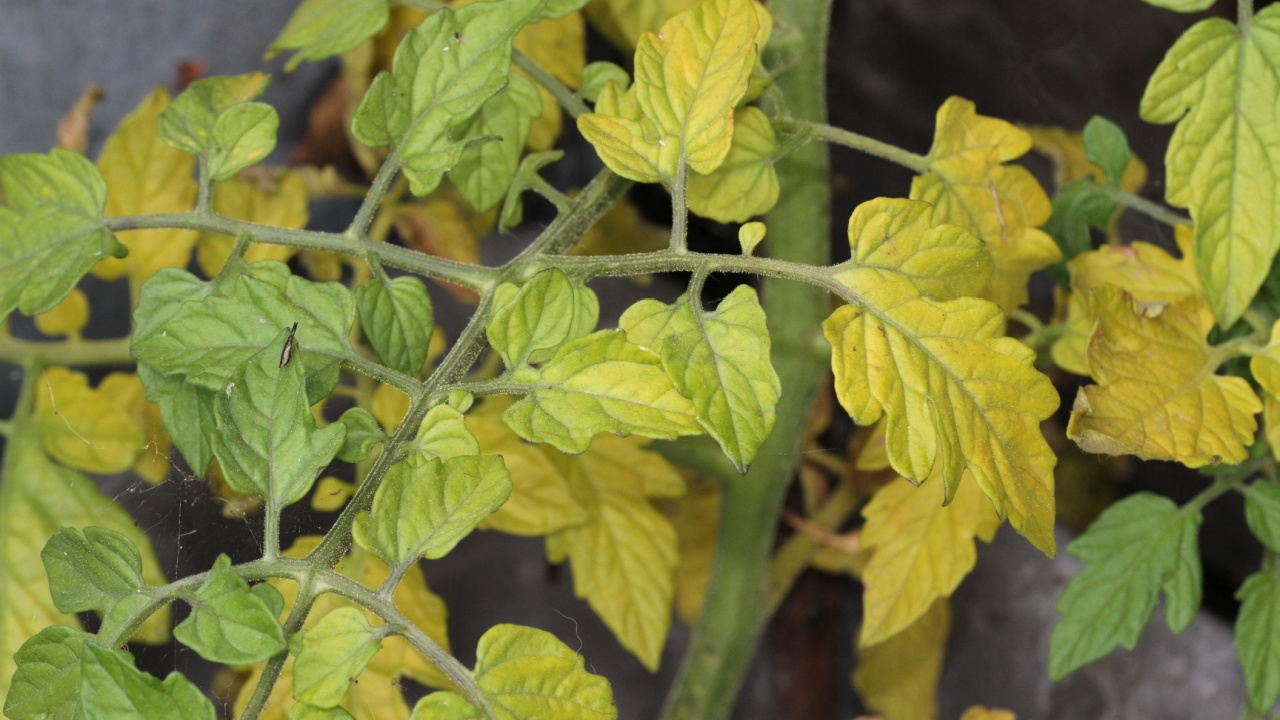
Image Credit: Shutterstock.
If your tomato leaves start yellowing after a heavy pruning session, take note: you may have removed too many leaves at once. Leaves are the plant’s food factories—too few, and your plant may stop producing enough energy to thrive. Sudden leaf loss can shock the plant, especially in full sun, leaving it vulnerable to sunscald and nutrient imbalances.
What to do instead:
- Prune gradually and observe how your plant responds.
- Prioritize removing diseased, shaded, or crowded leaves, and keep a good balance of foliage to support photosynthesis.
- If you notice yellowing, scale back pruning and give the plant time to recover.
Prune with Purpose, Harvest with Pride
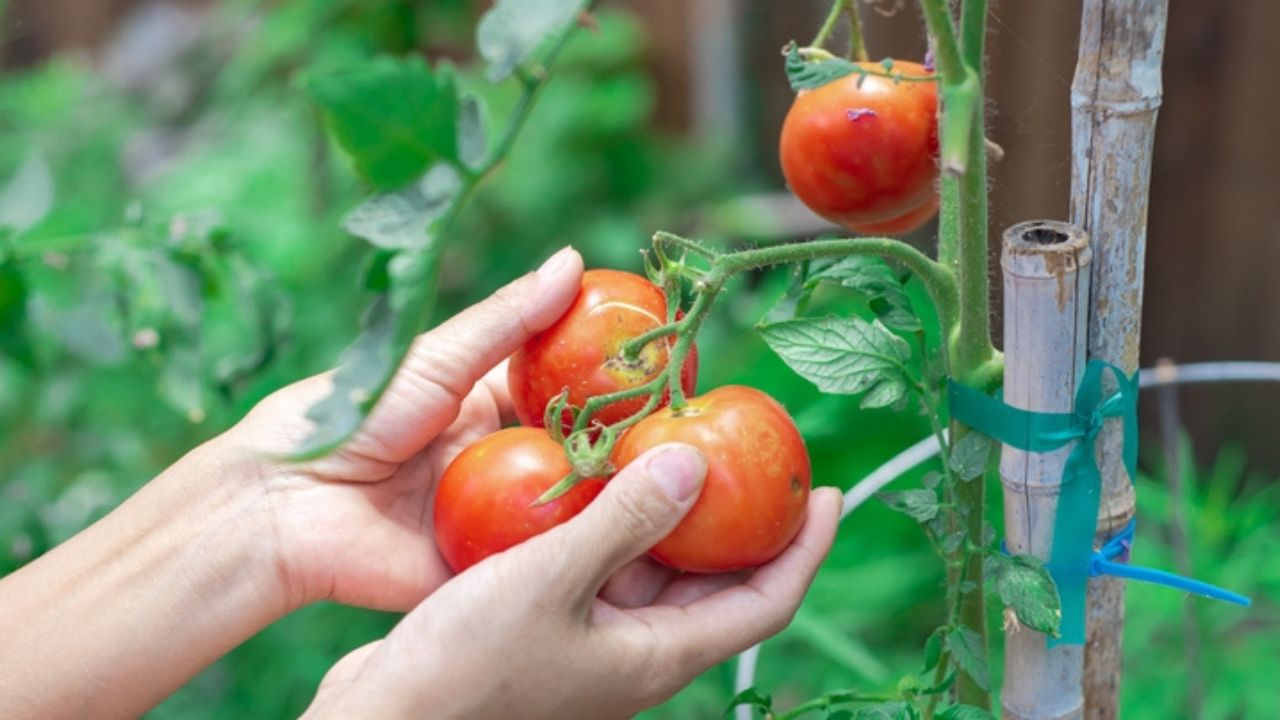
Image Credit: Shutterstock.
Pruning tomato plants might seem intimidating at first, but it’s one of the most powerful tools you have as a gardener. With a little planning and care, each snip supports a healthier plant, bigger yields, and fewer pest and disease issues down the line.
Avoid the common mistakes we’ve covered, and you’ll not only master the art of pruning—you’ll grow tomatoes that taste like summer itself. Remember: good pruning is about balance, observation, and timing. Trust the process, keep your tools clean, and listen to what your plant is telling you.
