
The garden has given its all. Tomatoes have been sauced, peppers have been pickled, and the last zucchini was foisted upon an unsuspecting neighbor weeks ago. Now, with the growing season winding down, the raised beds look a little tired.
It’s tempting to walk away and forget them until spring, but a little work now sets the stage for a spectacular return next year. Preparing those beds for their long winter nap protects the soil, prevents problems, and makes spring planting a whole lot easier.
Here is how to keep your raised garden happy in winter.
1. Clean Up and Say Goodbye
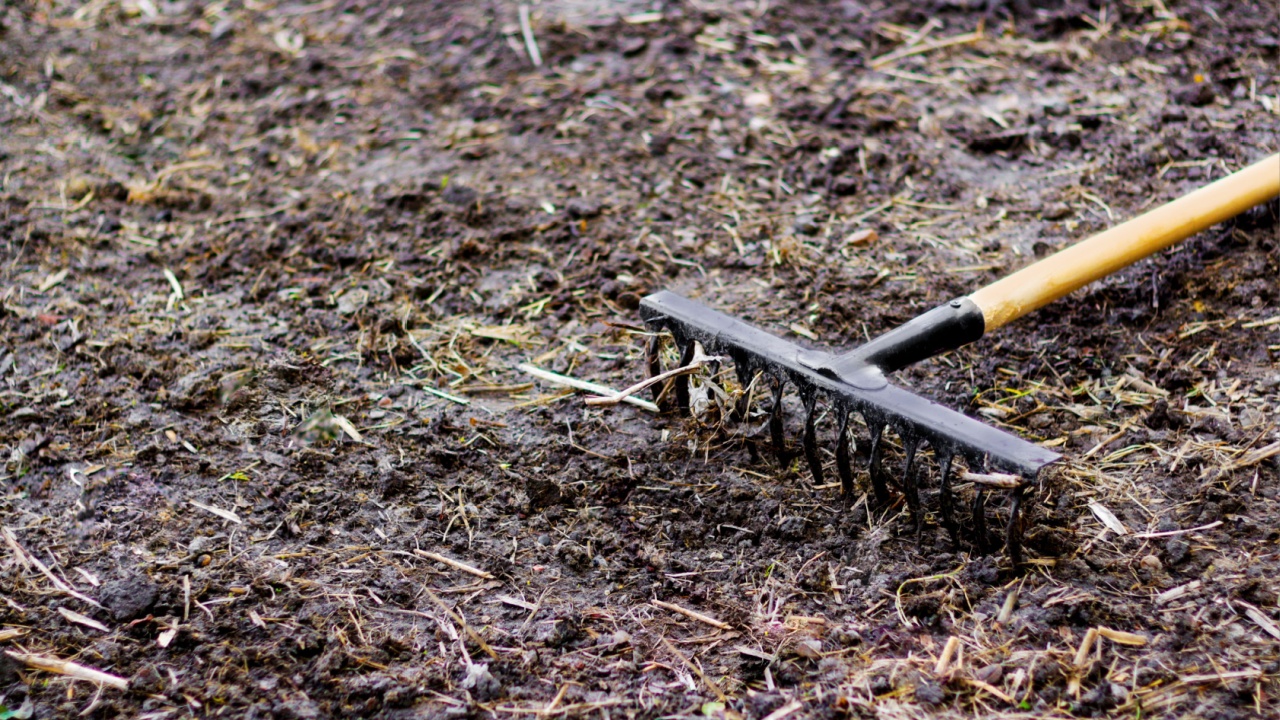
Image Credit: Shutterstock.
The first order of business is a thorough cleanup. Leaving old, diseased plants in the bed is an open invitation for pests and pathogens to spend the winter there, rent-free. They will happily overwinter in the soil and plant debris, ready to wreak havoc on next year’s crops. It’s time to evict them. Remove any spent or diseased vegetable plants.
If a plant showed signs of blight, mildew, or insect infestation, do not compost it. Bag it up and dispose of it to prevent the problem from spreading. Next, pull up all the weeds, especially any winter annuals that might be just getting started. Getting them out now stops them from setting seed and creating a bigger weed problem in the spring. Finally, gather any fallen leaves or other garden debris from the soil surface. This cleanup reduces hiding spots for pests and diseases.
2. Protect and Enrich the Soil

Image Credit: Shutterstock.
Bare soil is vulnerable soil. Winter winds can cause erosion, and heavy rains can wash away valuable nutrients and compact the soil structure. Protecting the soil surface is a top priority for winterizing raised beds. You have a few great options to accomplish this. One method is to apply a thick layer of mulch, like shredded leaves, straw, or wood chips.
This blanket insulates the soil, suppresses winter weeds, and slowly breaks down to add organic matter. Another fantastic choice is to plant a winter cover crop. Varieties like winter rye, hairy vetch, or crimson clover grow during the cooler months, holding the soil in place with their roots. In spring, you simply turn the cover crop into the soil, where it decomposes and adds a huge boost of nutrients. This is sometimes called “green manure,” and it’s a powerhouse for building healthy soil.
3. Top Up and Amend for Spring
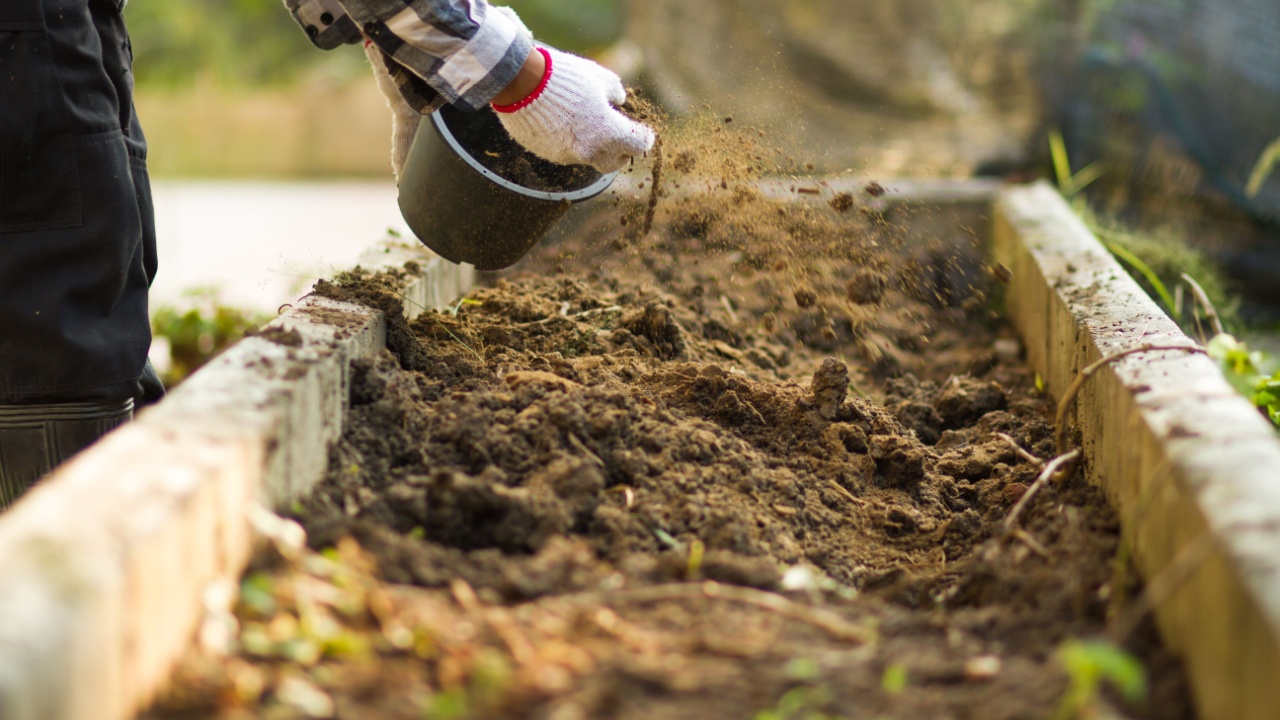
Image Credit: Shutterstock.
Even with the best care, the soil level in a raised bed tends to drop a little each season as organic matter decomposes and settles. Winter is a good time to replenish what’s been lost. Adding a light top-dressing of finished compost is a simple way to do this. A one- or two-inch layer spread over the surface will slowly work its way into the soil over the winter, adding a fresh supply of nutrients and beneficial microbes.
This is also a good moment to plan for spring amendments. A soil test in the fall can tell you what your garden needs, like if it has a pH imbalance or a nutrient deficiency. Getting these results now gives you plenty of time to find amendments like lime or bone meal. You can even apply some slow-release amendments in the fall, giving them all winter to break down before spring planting.
4. Inspect and Repair the Structures

Image Credit: Shutterstock.
Your raised bed frames work hard all season. Winter provides a perfect opportunity to give them a checkup. Wood frames are especially susceptible to rot and damage over time. Carefully inspect all the corners and boards for any signs of decay, splitting, or weakness. Catching a small problem now and making a quick repair is much easier than dealing with a total frame collapse mid-season.
While you are at it, consider pest prevention. If you’ve had trouble with voles, gophers, or other burrowing critters tunneling into your beds, now is the time to install a barrier. You can do this by digging a trench around the perimeter of the bed and burying a layer of hardware cloth a foot or so deep. This creates an underground fence that blocks their entry. It’s a bit of work, but it can save you from the heartache of seeing your prize carrots disappear from below.
5. Manage Tools and Irrigation
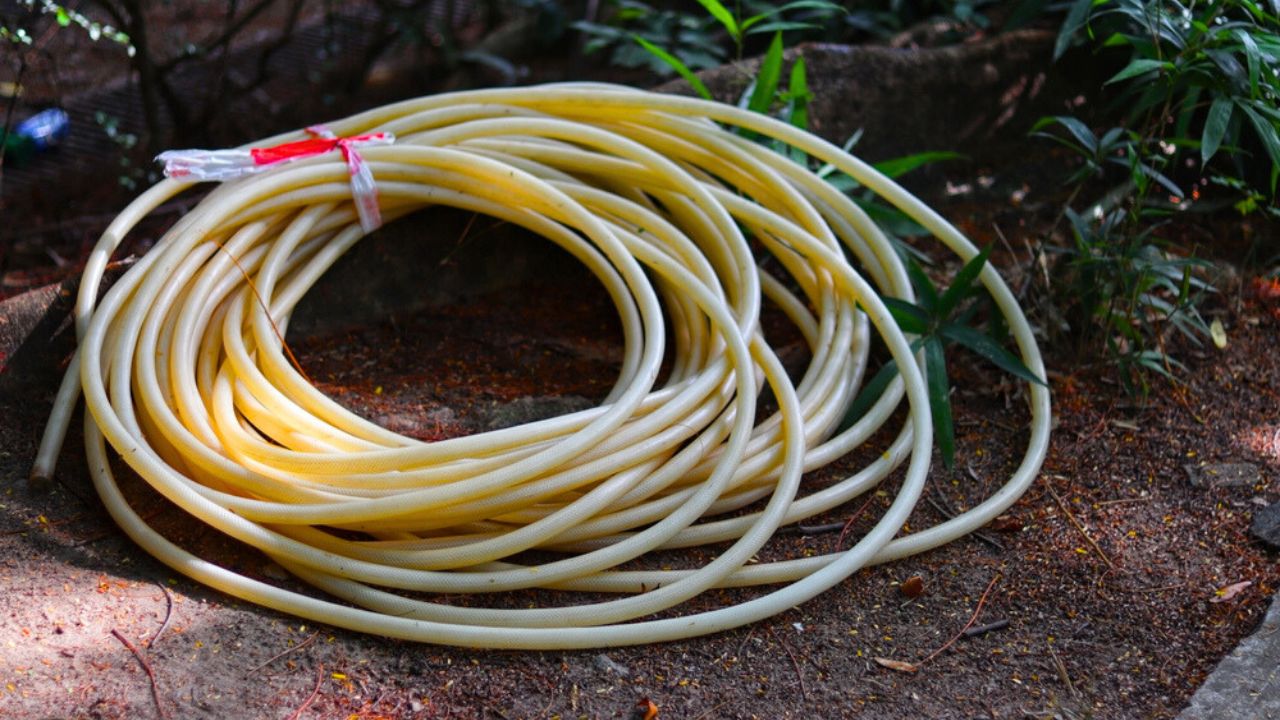
Image Credit: Shutterstock.
Winterizing your garden extends to your tools; don’t let them become casualties of winter. Water left in hoses, irrigation lines, or spigots will freeze, expand, and cause cracks or bursts. A frozen hose is a useless hose. Before the first hard freeze, it is critical to drain all your watering equipment.
Disconnect hoses from the spigot, drain them completely, and store them coiled in a garage or shed to protect them from the elements. For drip irrigation systems, follow the manufacturer’s winterizing instructions, usually draining the lines and possibly using compressed air to clear out water. Clean and disinfect trellises, tomato cages, and plant stakes to remove soil and disease spores, leaving them ready for next spring.
6. Plan for Next Year’s Success

Image Credit: Shutterstock.
With the physical work done, you can turn your attention to the most enjoyable part of winterizing: planning for next season. Now, while the memory of this year’s garden is fresh, it is the perfect time to think about crop rotation. Avoid planting vegetables from the same family in the same spot year after year. This practice helps prevent the buildup of soil-borne diseases and pests that target specific plant types. For example, don’t plant tomatoes where your potatoes were this year, as they are both in the nightshade family.
Sketch out your raised beds on a piece of paper and map out where everything grew this year. Then, create a new map for next spring, moving each plant family to a different location. This simple rotation is one of the most effective strategies for maintaining a healthy and productive vegetable garden.
What Comes Next?

Image Credit: Deposit Photos.
With your raised beds cleaned, fed, and tucked in for the winter, it’s finally time to hang up the trowel and turn attention to the indoor side of gardening life. The steps taken now will quietly set the stage for easier, happier planting once spring rolls around. While the garden snoozes, dig into those seed catalogs, daydream about what made last season a hit (or a flop), and plot out fresh schemes for new plant combinations and improved layouts. Even when the shovel is resting, garden ambitions are busy growing; sometimes all it takes is a little plotting on paper (and maybe some coffee stains on next year’s garden plan).