
As the summer sun begins to mellow and a crisp edge appears in the air, your yard and garden start a beautiful transformation.
Autumn is not just a season of endings; it’s a crucial preparation period that sets the stage for a healthy, vibrant landscape next spring. Taking the time to complete a few key tasks now will pay huge dividends, helping your lawn, plants, and tools weather the winter and emerge stronger than ever.
Let’s walk through the essential steps to tuck your garden in for its long winter nap, brought to you by a mix of gardening experts, including our own experiences.
1. Aerate Your Lawn
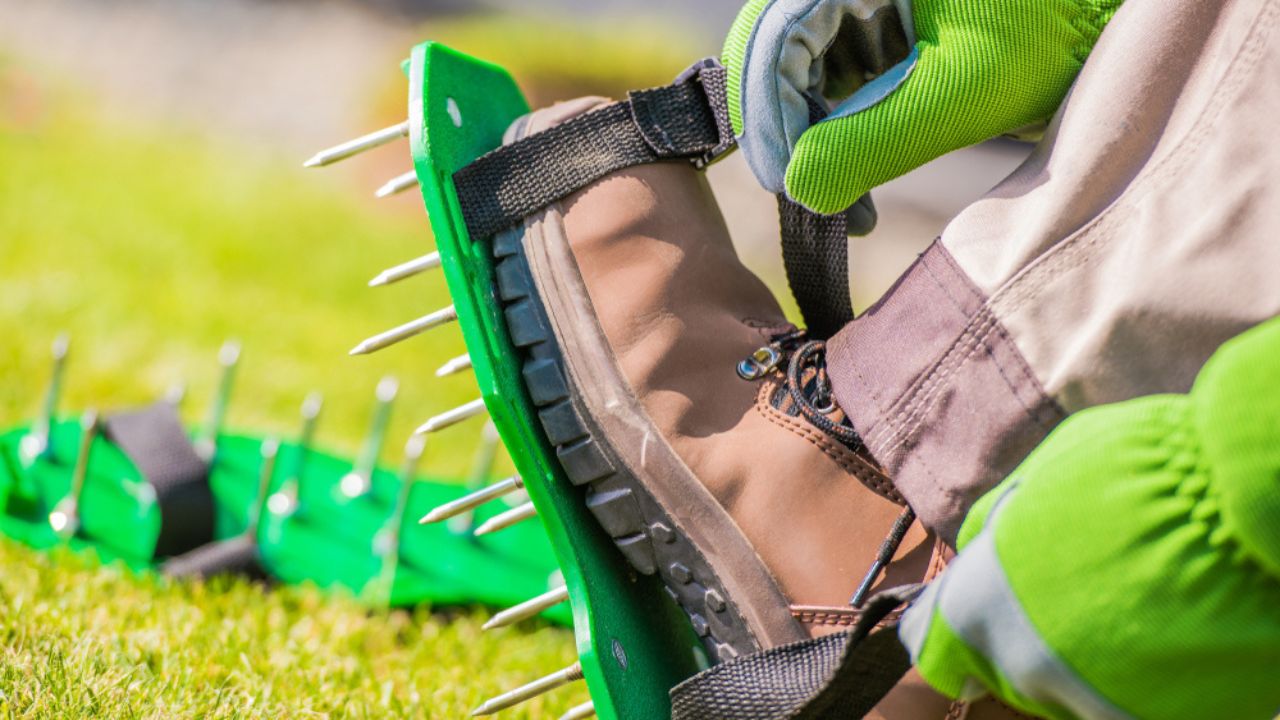
Image Credit: Shutterstock.
Aerating means creating small holes in your soil to allow air, water, and nutrients to penetrate the grassroots. Over the summer, foot traffic, mowing, and even rain can compact the soil, squeezing out the air pockets that roots need to breathe and grow. Fall is the perfect time to relieve this compaction.
This single task is one of the most beneficial things you can do for your lawn. It helps roots grow deeper and stronger, creating a more resilient turf that can better withstand drought and disease. It also significantly improves the effectiveness of fertilizing and watering.
How to Do It: For best results, rent a core aerator from a local garden or home improvement store. This machine pulls small plugs of soil out of the ground. Go over your lawn once, and for heavily compacted areas, make a second pass. The soil plugs can be left on the lawn to decompose and return nutrients to the soil.
Quick Guide:
- Why: Relieves soil compaction, allowing roots to access air, water, and nutrients.
- When: Early to mid-fall, while the grass is still actively growing.
- Next Steps: Follow up with fertilizing and overseeding for maximum benefit.
2. Fertilize for Future Growth
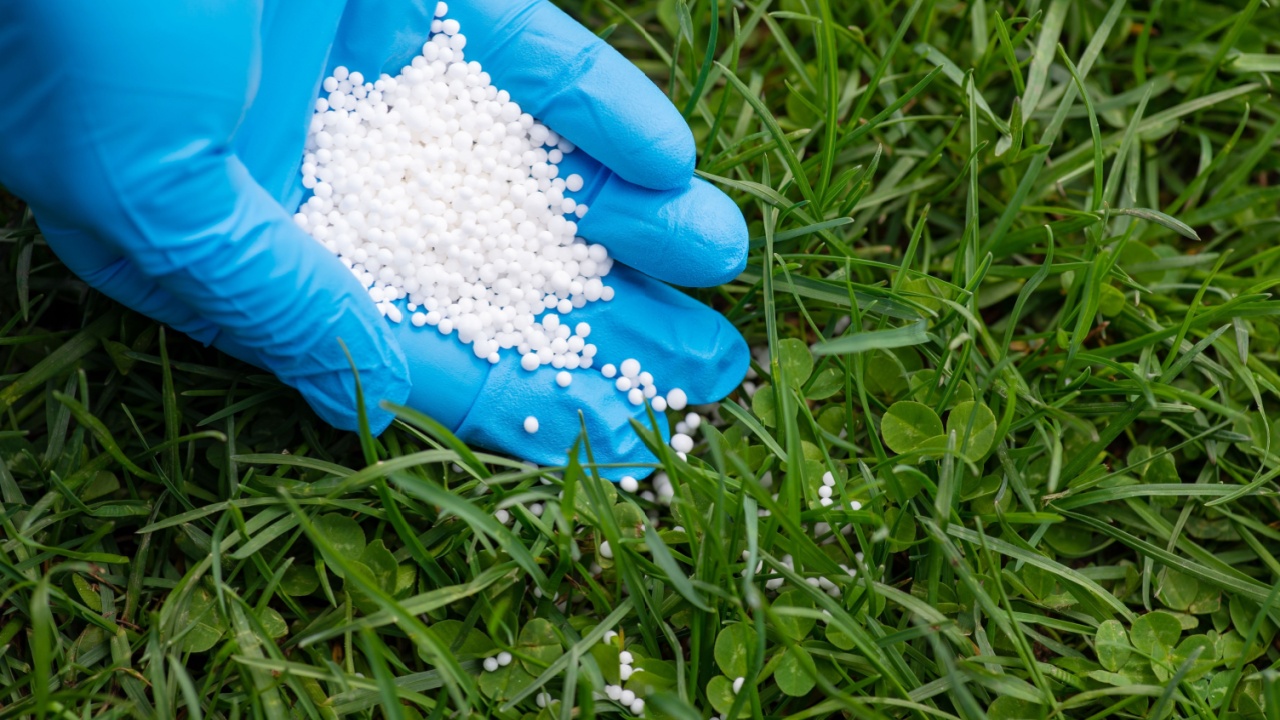
Image Credit: Shutterstock.
If you only fertilize your lawn once a year, fall is the time to do it. While top growth is slowing down, the roots are still actively growing and absorbing nutrients. A fall feeding provides the energy your lawn needs to develop a deep, robust root system before the ground freezes. This stored energy will help your grass survive the winter and give it a powerful head start in the spring, resulting in earlier green-up and a thicker, healthier lawn.
Look for a fertilizer blend specifically designed for fall application, often labeled as a “winterizer” formula. These are typically high in potassium, which boosts hardiness and disease resistance.
How to Do It: Apply fertilizer about three weeks before your area’s first expected frost. Use a broadcast or drop spreader for even application, following the rate recommendations on the product bag. Watering the lawn lightly after application helps the nutrients dissolve and reach the root zone.
Quick Guide:
- Why: Feeds the grassroots for winter hardiness and a quick start in spring.
- When: Mid-fall, about 3 weeks before the first frost.
- Next Steps: Water the lawn after applying to help nutrients soak into the soil.
3. Reseed Patchy Areas

Image Credit: Shutterstock.
Summer can be tough on a lawn, often leaving behind bare or thin spots caused by heavy foot traffic, pests, or intense heat. Fall offers the ideal conditions for seeding: cooler temperatures, more reliable moisture, and less competition from aggressive summer weeds.
Seeding in the fall gives the new grass several months to establish its root system before facing the stress of next summer’s heat. This leads to a denser, more uniform lawn that is better equipped to crowd out weeds come springtime.
How to Do It: First, rake the bare spot vigorously to loosen the soil and remove any dead grass or debris. Spread a thin layer of compost or topsoil over the area. Evenly distribute a high-quality grass seed that matches your existing lawn type. Gently rake the seed into the soil and cover it with a light layer of straw or peat moss to retain moisture and deter birds. Keep the area consistently moist until the new grass is well-established.
Quick Guide:
- Why: Cooler, wetter weather is ideal for seed germination and establishment.
- When: Late summer to early fall.
- Next Steps: Water daily until seedlings are about an inch tall, then reduce watering frequency.
4. Keep Watering
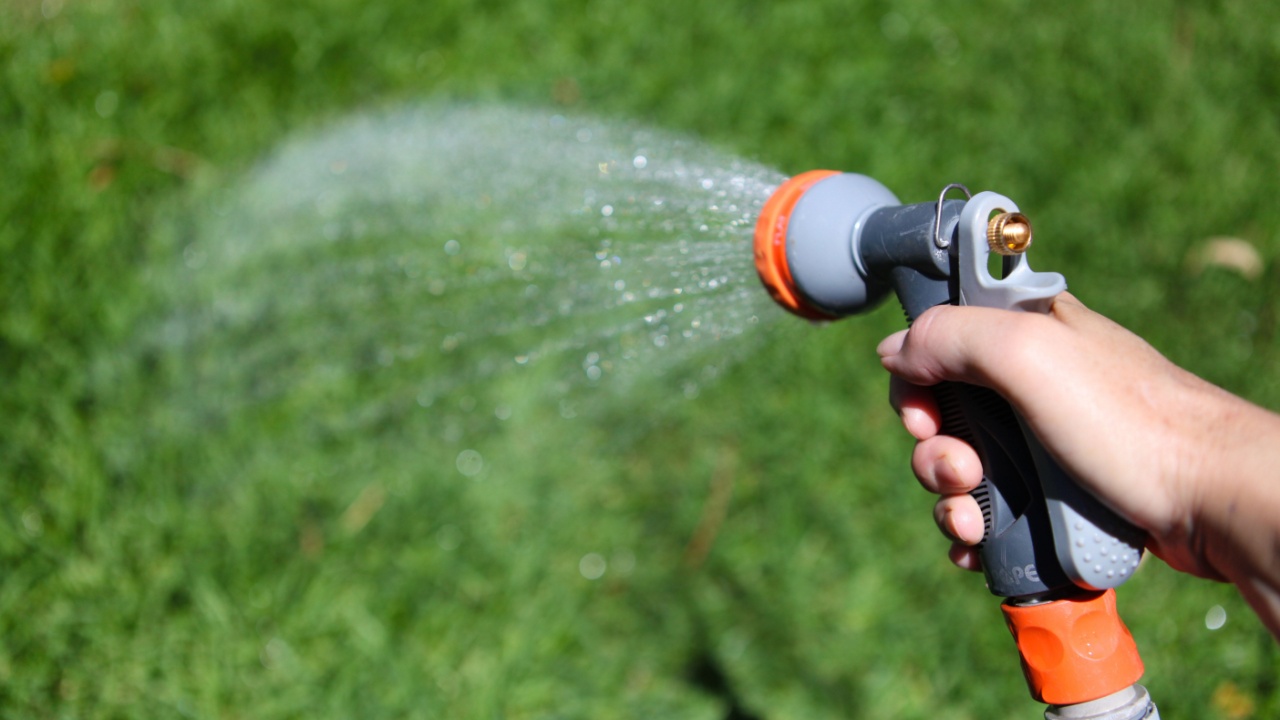
Image Credit: Shutterstock.
Just because the temperatures are dropping doesn’t mean you should put the hoses away. Your lawn and garden plants, especially evergreens, still need water to prepare for winter. Fall watering helps them recover from summer stress and build up the moisture reserves needed to survive cold, dry winter winds.
Proper hydration in the fall is particularly important for newly planted trees, shrubs, and perennials. It’s also necessary to help dissolve and activate any fall fertilizer you apply. Continue watering until the ground freezes.
How to Do It: Provide your lawn and garden beds with about an inch of water per week, either from rainfall or irrigation. A simple rain gauge can help you track this. For trees and shrubs, a slow, deep watering is more effective than a light sprinkle.
Quick Guide:
- Why: Helps plants store moisture for winter and activates fall fertilizer.
- When: Throughout the fall, until the ground freezes.
- Next Steps: Don’t forget to winterize your hoses and irrigation system before the first hard freeze.
5. Prune Your Perennials and Shrubs

Image Credit: Shutterstock.
As summer fades, many plants can look overgrown and tired. Pruning in the fall helps tidy up the garden, improve air circulation to prevent disease, and encourage vigorous growth next season. Deadheading, or removing spent flowers, can prevent plants from wasting energy on seed production.
However, be strategic. Some plants, like oakleaf hydrangeas and many spring-blooming shrubs, set their flower buds in the fall, so pruning them now would mean no flowers next year. Others provide winter interest or food for birds. Focus on cutting back herbaceous perennials that have yellowed or been damaged by frost. Also, remove any dead, diseased, or broken branches from trees and shrubs.
How to Do It: For perennials like hostas, daylilies, and peonies, cut the foliage back to a few inches above the ground after the first hard frost. For woody plants, use clean, sharp pruners to remove damaged branches.
Quick Guide:
- Why: Tidies the garden, removes diseased material, and can promote better growth next year.
- When: After the first hard frost for most perennials.
- Next Steps: Research specific plants before pruning, as some prefer a spring haircut and should be skipped in fall.
6. Mulch Your Leaves
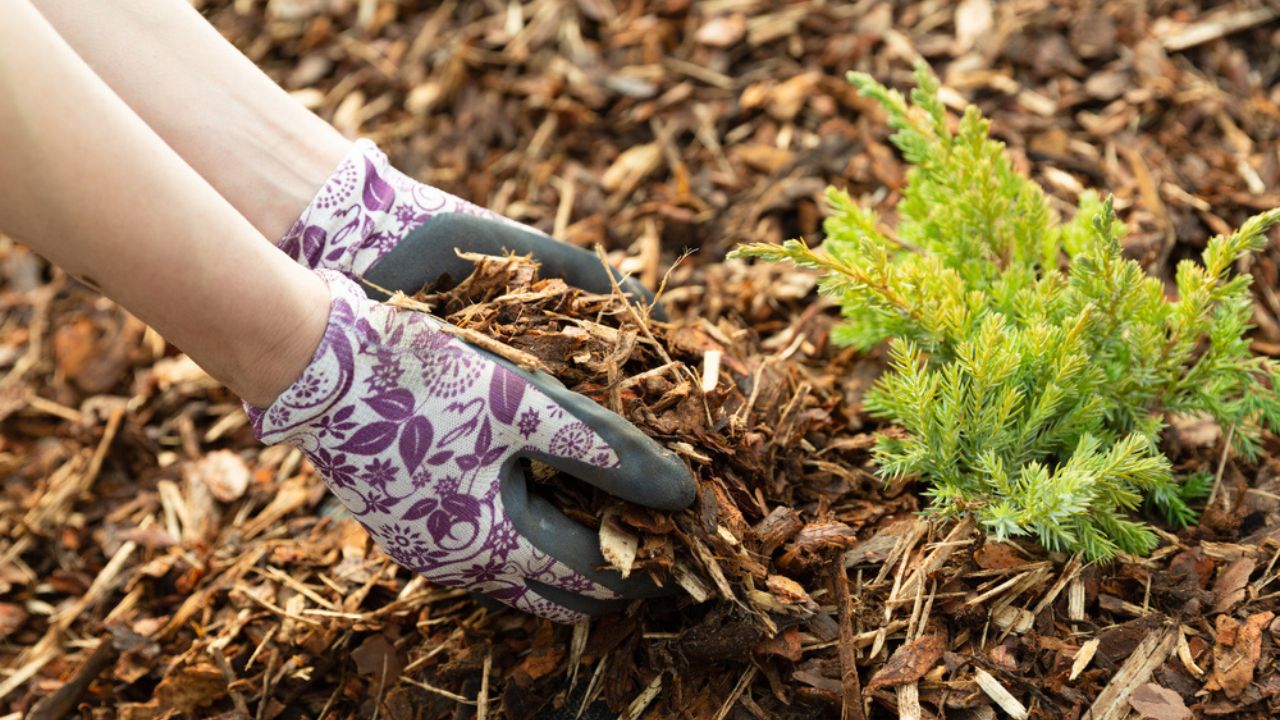
Image Credit: Shutterstock.
Raking leaves is a classic fall chore, but you don’t have to bag them all up. Leaves are a fantastic source of organic matter and nutrients for your lawn and garden beds. Using a mulching mower is a fast, easy way to shred them into small pieces. These shredded leaves will quickly decompose, acting as a natural fertilizer that enriches your soil.
This process improves soil structure, increases its ability to hold water, and feeds the beneficial microorganisms that keep your lawn healthy. It’s a win-win: less work for you and a free meal for your grass.
How to Do It: Mow over the leaves on your lawn with a mulching mower. You may need to make a couple of passes if the leaf cover is thick. The goal is to shred them into dime-sized pieces that can settle down between the grass blades.
Quick Guide:
- Why: Recycles nutrients back into the soil, improving its health and structure.
- When: As leaves fall throughout the autumn season.
- Next Steps: Rake excess shredded leaves into your garden beds to act as a protective winter mulch.
7. Shorten the Final Mow
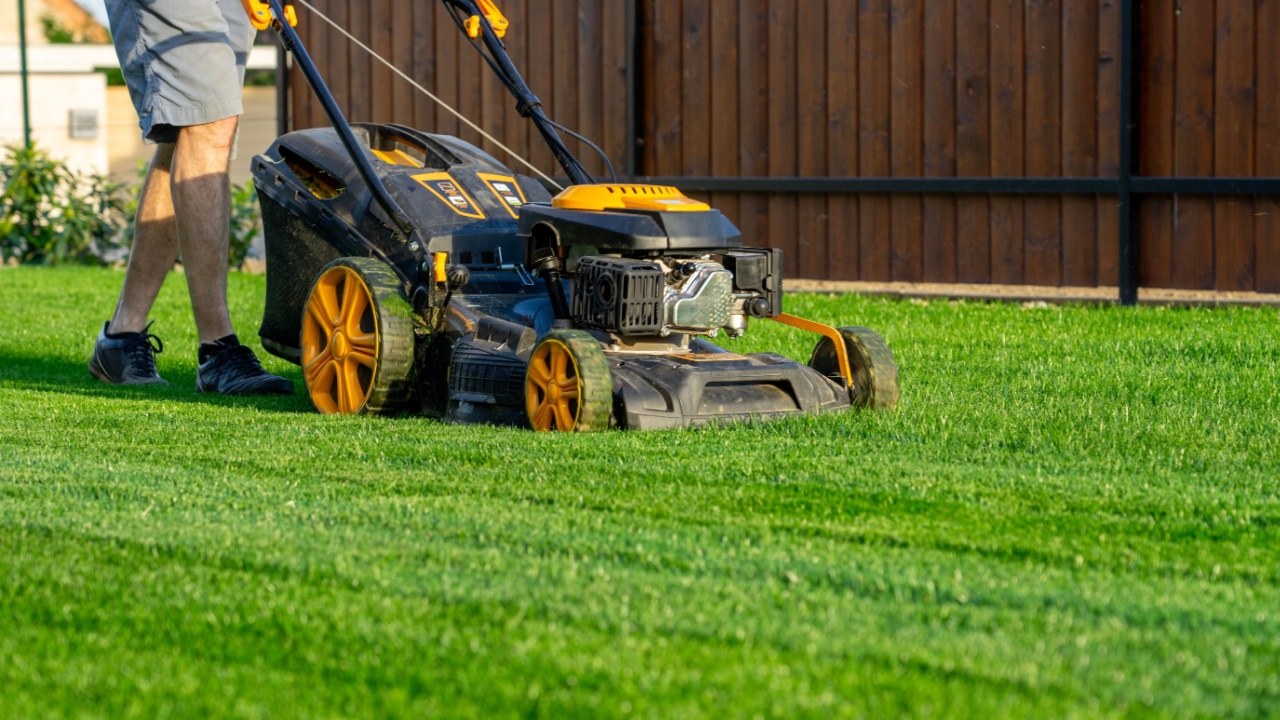
Image Credit: Shutterstock.
For your last mow of the season, lower your mower blades to cut the grass shorter than usual, around 1.5 to 2 inches. This isn’t something you’d do during the growing season, but it’s beneficial before winter. Taller grass can become matted down under snow, creating a damp, stagnant environment that is a perfect breeding ground for fungal diseases like snow mold.
A shorter cut allows more sunlight to reach the crown of the grass plant and improves air circulation, reducing the risk of disease. It also makes spring cleanup easier and discourages voles and mice from tunneling under the snow.
How to Do It: Wait until the grass has nearly stopped growing, usually after your area’s first light frost. Set your mower deck to its lowest or second-lowest setting for this final cut. Be sure to rake or mulch any remaining leaves before you mow.
Quick Guide:
- Why: Prevents snow mold and discourages pests from nesting in the lawn.
- When: For the very last mow of the season, before the first significant snowfall.
- Next Steps: After the final mow, it’s time to winterize your mower.
8. Plant Spring-Blooming Bulbs

Image Credit: Shutterstock.
One of the most rewarding fall tasks is planting spring-blooming bulbs. Tulips, daffodils, crocuses, and hyacinths all need a period of cold dormancy to bloom, making fall the only time to plant them for a spectacular spring show. Planting bulbs is an investment in future beauty.
Thinking ahead to the vibrant colors that will emerge after a long winter can be a joyful and hopeful gardening activity. Plant them in drifts and clusters for a more natural and impactful display.
How to Do It: Plant bulbs after the first frost but before the ground freezes solid. Dig holes to a depth of about two to three times the height of the bulb. Place the bulb in the hole with the pointed end up, cover with soil, and water well.
Quick Guide:
- Why: Bulbs require a cold period to trigger blooming in the spring.
- When: After the first frost but before the ground freezes.
- Next Steps: Add a layer of mulch over the planting area to insulate the bulbs.
9. Save Tender Bulbs
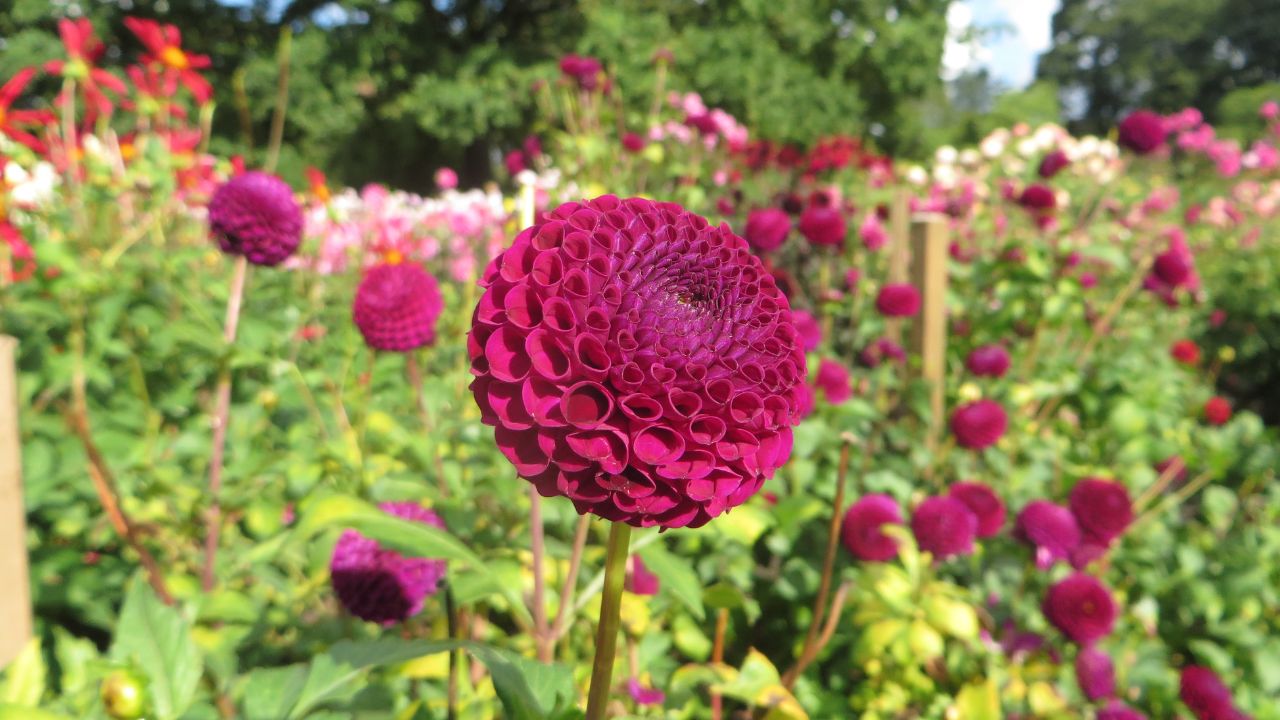
Image Credit: AfroBrazilian: Aleksandrs Balodis – Own work, CC BY-SA 4.0/Wiki Commons.
While you’re planting hardy bulbs, don’t forget to rescue your tender summer bulbs. Plants like dahlias, cannas, caladiums, and gladiolus are native to warmer climates and will not survive a freezing winter in the ground.
Digging and storing these bulbs, also known as corms and tubers, allows you to save money and enjoy the same beautiful plants year after year. It’s a simple process that ensures your summer favorites are ready to replant in the spring.
How to Do It: After the first light frost has blackened the foliage, carefully dig up the bulbs. Gently brush off the excess soil and let them cure in a dry, shady spot for a few days. Store them in a cardboard box or paper bag filled with peat moss or sawdust in a cool, dark, and dry place like a basement or garage.
Quick Guide:
- Why: Tender bulbs cannot survive freezing winter temperatures.
- When: After the first frost kills the top foliage.
- Next Steps: Label the bulbs clearly so you know what you have in the spring.
10. Clean and Inspect Gutters

Image Credit: Shutterstock.
As beautiful as falling leaves are, they can quickly clog your gutters and downspouts. This is more than just an aesthetic issue; clogged gutters can lead to serious and expensive water damage. When gutters overflow, water can seep behind siding, damage your roof, and even erode your home’s foundation.
In winter, trapped water can freeze, forming heavy ice dams that can tear gutters right off the house. A thorough cleaning after most of the leaves have fallen is essential preventive maintenance.
How to Do It: Working from a sturdy ladder, use a trowel or gutter scoop to remove leaves and debris. Flush the gutters and downspouts with a hose to ensure they are clear. If a downspout is clogged, a plumber’s snake can often pull out the blockage.
Quick Guide:
- Why: Prevents water damage to your roof, siding, and foundation.
- When: After most leaves have fallen from surrounding trees.
- Next Steps: Consider installing gutter guards to make this chore easier in the future.
11. Drain and Store Hoses and Sprinklers

Image Credit: Shutterstock.
Water left inside garden hoses, sprinklers, or an irrigation system will freeze and expand in the winter, potentially cracking pipes and fittings. Taking a few minutes to properly drain and store this equipment can save you from costly replacements in the spring.
This task marks the true end of the watering season. It protects your investment and ensures your equipment is ready to go as soon as it’s needed next year.
How to Do It: Disconnect hoses from the spigot, drain them completely by stretching them out on a sloped surface, and coil them for storage in a garage or shed. For in-ground sprinkler systems, shut off the water supply and use an air compressor to blow all the water out of the lines, zone by zone. If you’re not comfortable doing this yourself, it’s a service many irrigation companies provide.
Quick Guide:
- Why: Prevents freezing water from cracking hoses, pipes, and sprinkler heads.
- When: Before the first hard freeze.
- Next Steps: Don’t forget to shut off the water to exterior spigots from inside your house.
12. Winterize Your Mower and Tools

Image Credit: Shutterstock.
Your lawn mower and other gas-powered equipment need a little care before their long winter hibernation. Stored gasoline can degrade and gum up the fuel system, leading to frustrating start-up problems in the spring. Proper winterization ensures your equipment will start reliably when you need it and extends its overall lifespan.
This includes cleaning, changing the oil, and protecting the engine from internal corrosion.
How to Do It: First, add a fuel stabilizer to the gas tank and run the engine for a few minutes to circulate it through the system. Alternatively, run the engine until the tank is completely empty. Clean the mower deck to remove corrosive grass clippings. This is also a great time to change the oil, replace the air filter, and sharpen the blades so you’re ready for the first mow of spring.
Quick Guide:
- Why: Prevents fuel system clogs and corrosion, ensuring an easy start in spring.
- When: After the final mow of the season.
- Next Steps: Store equipment in a dry, covered location.
13. Prepare for Snow

Image Credit: Shutterstock.
Before the first snowflake flies, take a walk around your property to clear any potential obstacles for snow removal. Garden hoses, dog tie-outs, extension cords, and stray rocks can be hidden by snow and cause serious damage to a snowblower or create a tripping hazard.
Marking the edges of your driveway and walkways is also a smart move. This helps you (or your snow removal service) know where the paved surface ends, preventing damage to your lawn and landscaping.
How to Do It: Do a final sweep of the yard, storing away any loose items. Pound reflective driveway markers into the ground along the edges of your driveway and paths. If the ground is already frozen, you can often drill a pilot hole with a masonry bit.
Quick Guide:
- Why: Protects your snowblower from damage and prevents you from tearing up your lawn.
- When: Any time in late fall, before the first expected snowfall.
- Next Steps: Get your snowblower or shovels out of storage and make sure they are in good working order.
14. Document Your Garden

Image Credit: Depositphotos.com.
This is a unique and incredibly useful tip. Before everything dies back, take photos of your garden beds from multiple angles. Make notes on what worked well, what didn’t, and which plants you’d like to move or divide in the spring. It’s amazing how much we can forget over the winter. This visual record serves as a blueprint for next year’s garden. It reminds you where your perennials are, highlights empty spaces that need filling, and helps you avoid digging up dormant bulbs by mistake. This simple act of documentation can be your most powerful planning tool.
How to Do It: Use your phone to take pictures and add notes directly to the images or in a dedicated notebook. Label your plants and sketch a rough map of your garden beds, noting successes, failures, and ideas for the future.
Quick Guide:
- Why: Creates a record to help you plan and improve your garden next year.
- When: Mid-fall, when plants are still identifiable but the season is winding down.
- Next Steps: Review your notes and photos during the winter to dream up and design your perfect spring garden.
15. Create a Compost Pile

Image Credit: Shutterstock.
Fall is the ultimate season for composting. The abundance of fallen leaves (“browns”) and the final green clippings from your garden cleanup (“greens”) provides the perfect mix of materials to create nutrient-rich compost, often called “black gold” by gardeners. Starting a compost pile diverts a huge amount of yard waste from landfills and transforms it into a free, high-quality soil amendment. Adding compost to your garden beds next year will improve soil structure, add nutrients, and help the soil retain moisture.
How to Do It: Choose a level, well-drained spot for your pile or bin. Start by layering “brown” materials like dried leaves, straw, and small twigs with “green” materials like grass clippings, kitchen scraps (no meat or dairy), and green plant cuttings. Aim for a ratio of roughly two parts brown to one part green. Keep the pile moist like a damp sponge and turn it every week or two to aerate it.
Quick Guide:
- Why: Recycles yard and kitchen waste into a valuable soil amendment for your garden.
- When: Start anytime in the fall as you clean up your yard.
- Next Steps: Continue adding to the pile throughout the year. It will be ready to use in your garden in about six months to a year.
By tackling these tasks, you are not just cleaning up; you are actively partnering with nature to prepare your landscape for the seasons ahead. Your future self—and your thriving spring garden—will thank you. Now that you have a plan, the next steps are to gather your tools, check your local frost dates, and enjoy the crisp autumn air as you give your yard the care it deserves.
