
Ginger is a fantastic spice, known for its zesty flavor in everything from stir-fries to teas. It’s also packed with health benefits, like aiding digestion and reducing inflammation. While you can easily pick it up at the store, there’s something special about having a fresh, continuous supply right in your own home. Growing ginger indoors is surprisingly simple and creates a self-sustaining plant that you can harvest from indefinitely.
By following these 10 simple steps, you can cultivate a thriving ginger plant that will keep your kitchen stocked with this amazing herb.
Where We Got This Data

Image Credit: Deposit Photos.
We pulled this guide together from a mix of solid gardening know‑how and scientific research. The planting tips come from university extensions and trusted references on tropical plants, while the hands‑on tricks are inspired by gardeners who’ve shared what works for them in real life. When it comes to health, we leaned on studies that explore ginger’s potential perks for digestion, inflammation, and overall wellness.
1. Select a Healthy Ginger Root

Image Credit: Deposit Photos.
Your ginger-growing journey begins with choosing the right ginger root, also known as a rhizome. Look for a root at your local grocery store or garden center that is plump, firm, and has smooth skin.
Avoid any pieces that are shriveled, soft, or moldy. The most important feature to look for is several “eyes” or small growth buds on the surface. These buds, similar to the eyes on a potato, are where new shoots will sprout. If you can find a piece of organic ginger, that’s even better, as non-organic ginger is often treated with a growth inhibitor to prevent it from sprouting in the store.
Quick Tips:
- Look for plump, firm roots with visible eye buds.
- Avoid shrivelled, soft, or moldy pieces.
- Pro Tip: Choose organic ginger to avoid growth inhibitors.
2. Prepare the Root for Planting

Image Credit: Deposit Photos.
Once you have your ginger root, it’s a good idea to prepare it for planting. If your root is large, you can cut it into smaller sections, making sure each piece is at least 1-2 inches long and has one or two healthy eye buds.
After cutting, allow the pieces to sit out in a dry place for a day or two. This helps the cut surfaces form a callus, which prevents the root from rotting when you plant it. The next step is to soak the root in water.
Fill a bowl with warm water and submerge the ginger pieces for at least 8 hours, or even overnight. This process helps to wash off any potential growth inhibitors and stimulates the germination process, giving your plant a head start.
Quick Tips:
- Divide large roots into 1-2 inch pieces, each with an eye bud.
- Let the cut pieces dry for 24-48 hours.
- Submerge the pieces in warm water overnight to encourage sprouting.
3. Choose the Right Pot
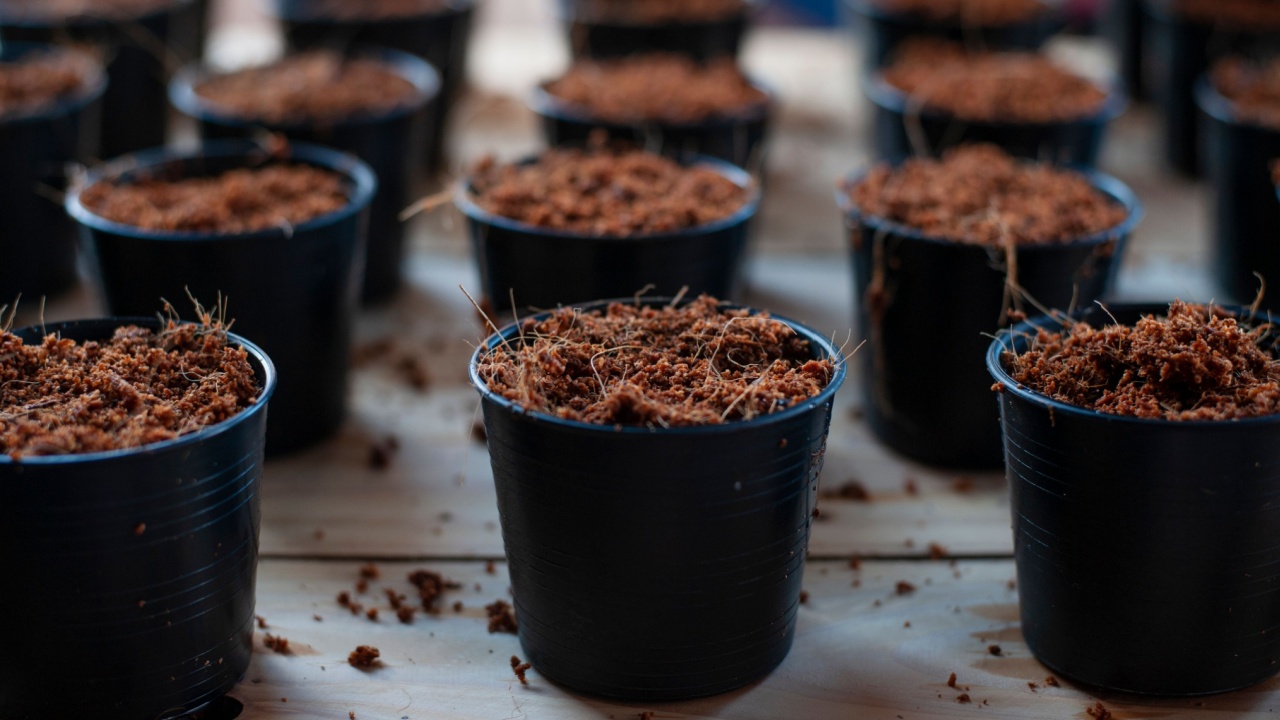
Image Credit: Shutterstock.
Ginger roots grow horizontally, spreading outwards rather than downwards. Because of this unique growth pattern, a wide and relatively shallow pot is the best choice. Look for a container that is at least 12 inches wide and about 12 inches deep. This gives the rhizomes plenty of room to expand.
Most importantly, ensure the pot has several drainage holes at the bottom. Ginger plants thrive in moist soil but are susceptible to root rot if the soil becomes waterlogged. A pot with good drainage is essential for a healthy plant.
Quick Tips:
- Choose a pot that is wide and shallow (at least 12 inches wide).
- Ensure the pot has plenty of drainage holes.
- Place a deep saucer underneath to catch excess water.
4. Use Well-Draining Potting Soil
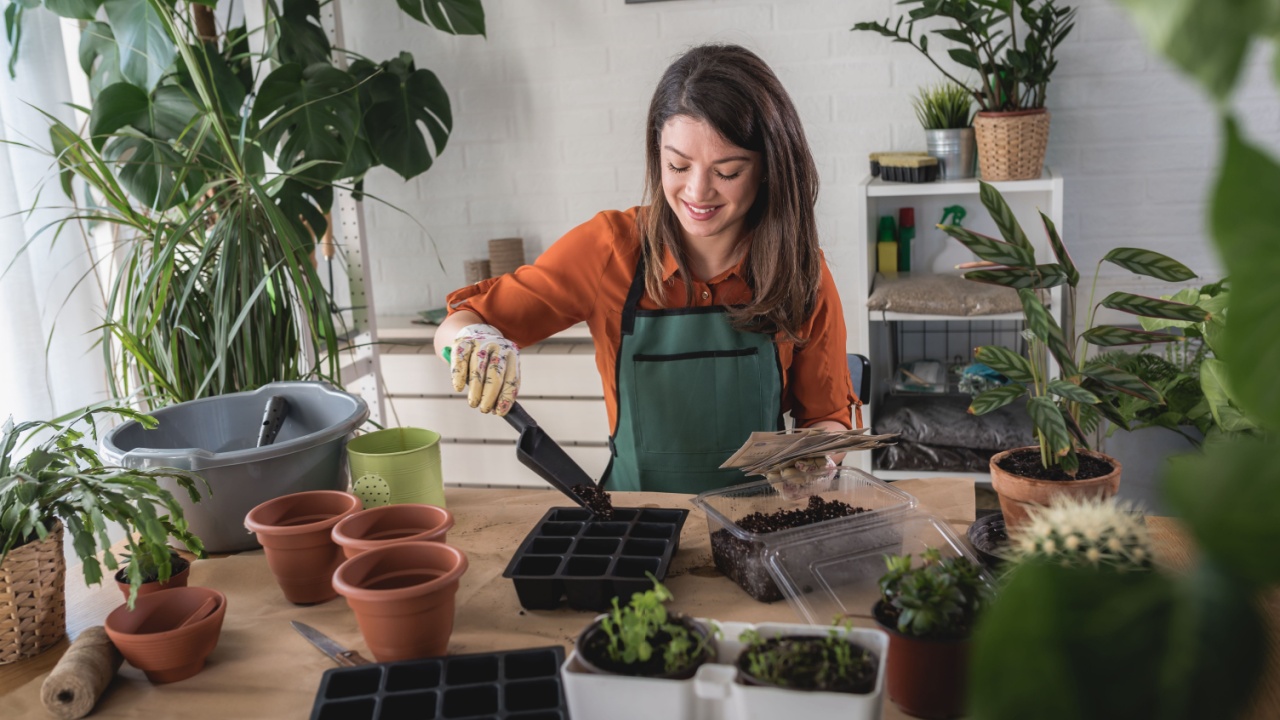
Image Credit: Shutterstock.
The right soil is crucial for growing ginger successfully. You need a potting mix that is rich in organic matter but also drains well. Look for a high-quality potting soil that contains ingredients like sand, perlite, or vermiculite.
These materials help create air pockets in the soil, which allows excess water to drain away freely, preventing the roots from sitting in soggy conditions. An all-purpose, soil-free mix can also be an excellent option because it provides plenty of organic material while still offering the drainage your ginger plant needs to thrive.
Quick Tips:
- Use a high-quality, well-draining potting soil.
- Look for mixes containing sand, perlite, or vermiculite.
- Heavy, dense soils like clay that retain too much water.
5. Plant the Ginger Root

Image Credit: Deposit Photos.
Fill your chosen pot with the well-draining soil, leaving a few inches of space at the top. Take your soaked ginger pieces and place them on top of the soil, with the eye buds pointing upwards toward the sky.
This is where the new green shoots will emerge. If you’re planting multiple pieces in the same pot, space them about 6 to 8 inches apart to give each one enough room to grow without competing for resources.
Quick Tips:
- Place the root with the eye buds facing up.
- Keep pieces 6-8 inches apart if planting more than one.
6. Cover and Water the Root
Image Credit: Deposit Photos.
After positioning the ginger root(s) in the pot, gently cover them with about 1 to 2 inches of soil. The entire root should be buried, but not too deeply. Once covered, give the plant a thorough watering. You want to moisten the soil completely, but avoid creating puddles on the surface.
Water until you see it begin to flow out of the drainage holes at the bottom of the pot. This initial watering helps the root settle into its new home and provides the moisture needed to kickstart growth.
Quick Tips:
- Cover the root with 1-2 inches of soil.
- Water thoroughly until the soil is evenly moist.
7. Find the Perfect Spot

Image Credit: Deposit Photos.
Ginger plants are tropical, so they love warmth and humidity, but they don’t like harsh, direct sunlight. Find a spot in your home that receives bright, but indirect, sunlight for a few hours each day.
A spot near a window that gets morning sun is often ideal. Too much direct sun can scorch the leaves and turn the ginger green. The ideal temperature range for growing ginger is between 70°F and 90°F (21°C to 32°C). Try to maintain this temperature, even overnight, to keep your plant happy.
Quick Tips:
- Provide bright, indirect sunlight.
- Keep the plant in a warm spot, ideally 60-90°F.
- Direct, intense sunlight can burn the leaves.
8. Care for Your Growing Plant
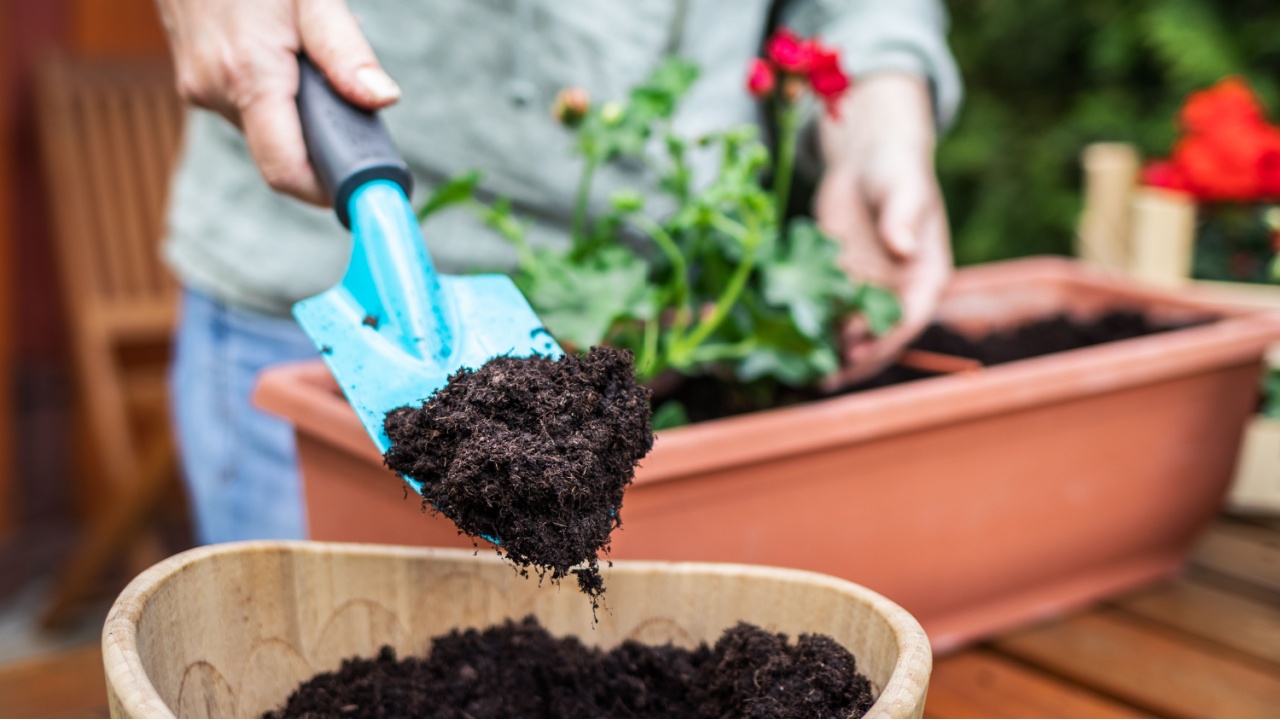
Image Credit: Shutterstock.
Consistency is key when caring for your ginger plant. The soil should be kept consistently moist but never soggy. A good method is to mist the soil with a spray bottle daily or water it lightly a couple of times a week.
Always check the soil before watering; if the top inch feels dry, it’s time to water. As the plant grows, you’ll also want to provide it with nutrients. Once a month, add a layer of rich compost or a balanced liquid fertilizer to the soil. This replenishes the nutrients and helps the plant produce healthy, flavorful rhizomes.
Quick Tips:
- Keep the soil moist but not waterlogged.
- Add compost or a balanced fertilizer once a month.
- Yellow leaves (overwatering) or scorched leaves (too much sun).
9. Be Patient

Image Credit: Deposit Photos.
Growing ginger is a marathon, not a sprint. It grows more slowly than many other herbs. After planting, you can expect to see the first green shoots emerge from the soil in about two to three weeks.
However, the plant won’t be ready for harvesting for at least three to four months after that. You’ll know it’s getting close when the green stems growing above the soil are about 3 to 5 inches tall. Just continue to care for your plant, and your patience will be rewarded.
Quick Tips:
- Shoots will appear in 2-3 weeks.
- The plant will be ready to harvest in 3-4 months.
10. Harvest Your Ginger

Image Credit: Deposit Photos.
After months of care, it’s finally time to harvest! The great thing about growing your own ginger is that you can harvest it continuously. Simply push aside some of the soil at the edge of the pot to expose one of the rhizomes.
Use a small, sharp knife to carefully cut off a piece of the ginger that you need. Then, gently push the soil back to cover the remaining rhizome. As long as you continue to water and feed the plant, it will keep growing and producing new ginger for you to enjoy indefinitely.
Quick Tips:
- Push aside the soil to find a rhizome.
- Use a small knife to cut off the amount you need.
- Cover the remaining rhizome with soil to allow it to keep growing.
Your Homegrown Ginger Journey Begins!
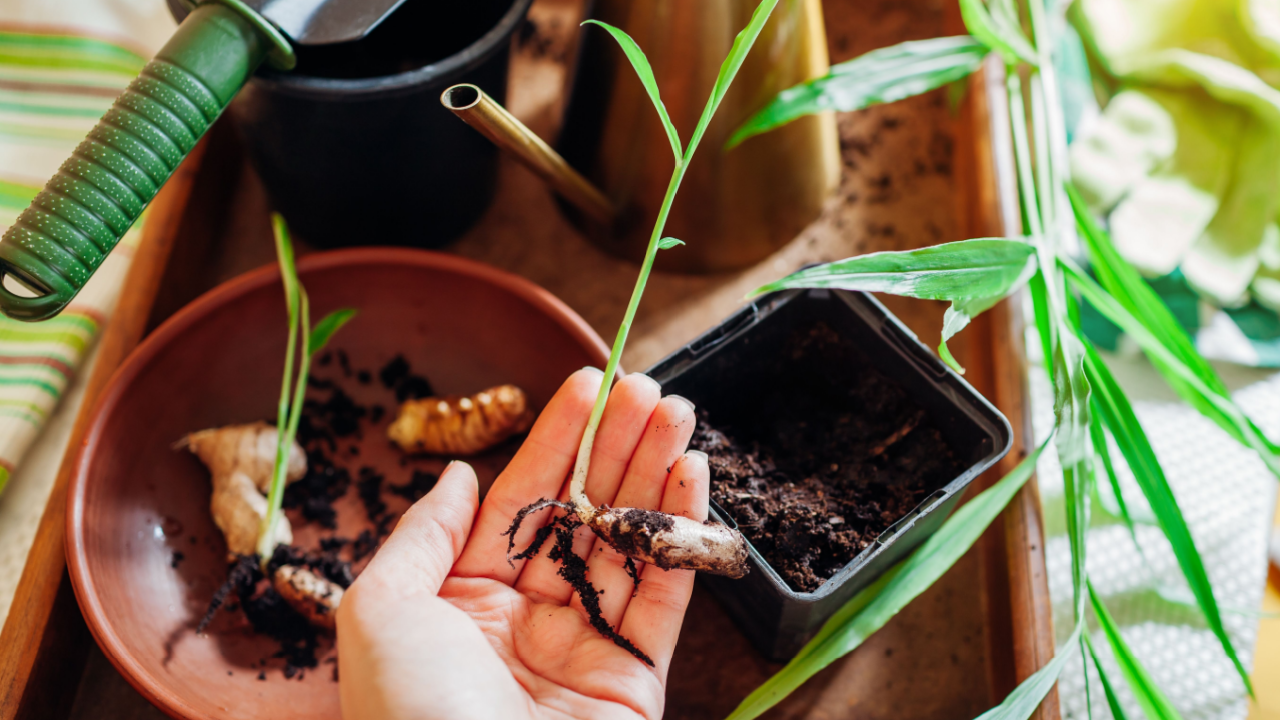
Image Credit: Shutterstock.
With these steps, you’re well on your way to growing a beautiful and productive ginger plant right inside your home. Once your plant thrives, you can enjoy fresh ginger for cooking, teas, or remedies. Happy gardening!