
Tired of that lumpy, bumpy texture looming over you? Popcorn ceilings, once a hallmark of home design from the 50s to the 80s, are now seen as dated relics that trap dust and are a nightmare to repair. While they were great for hiding flaws and muffling noise, today’s homeowners are looking for a sleeker, more modern finish.
If you’re ready to say goodbye to your stuccoed ceiling, you’ve come to the right place. Updating it can transform your living space, making it feel brighter, cleaner, and more contemporary. Here are nine smart options, from scraping it all away to clever cover-ups, to help you find the best solution for your home, budget, and DIY skills.
Where We Got This Data
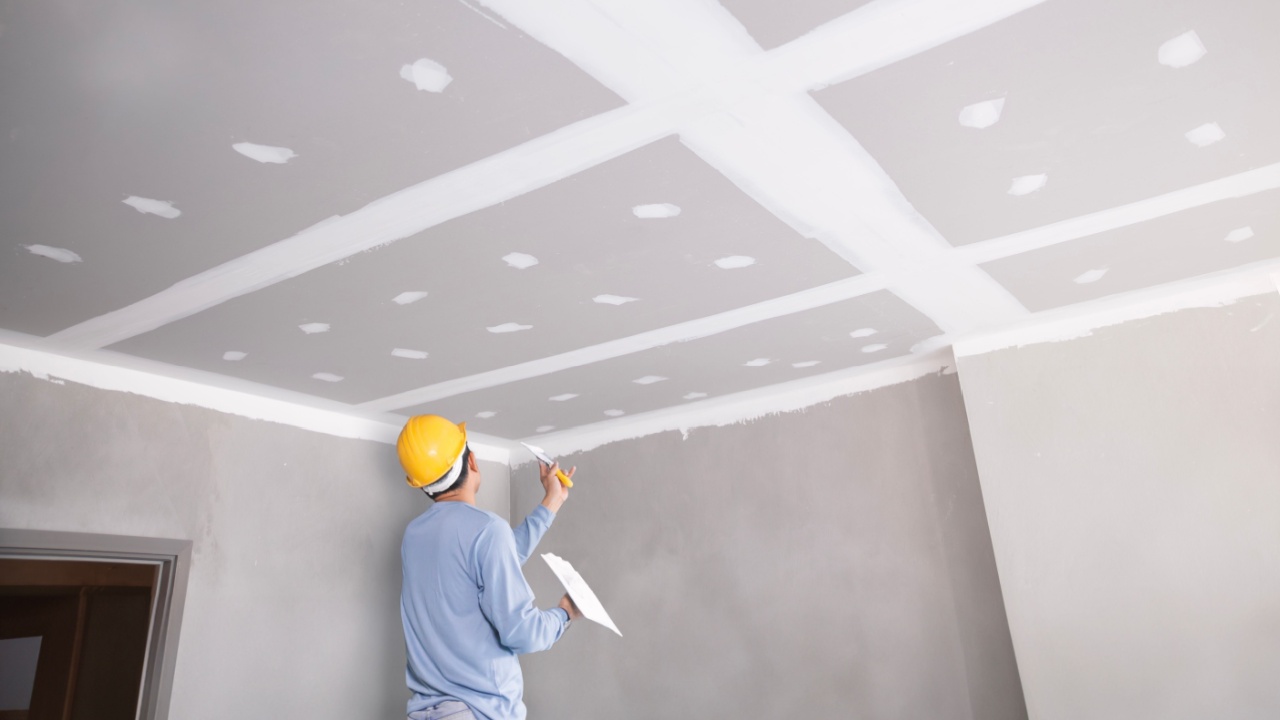
Image Credit: Shutterstock.
The details in this article were gathered from a mix of trusted sources, including home improvement experts, building contractor associations, interior design publications, and educational extension programs. We also reviewed guidance from health and safety authorities regarding asbestos risks
1. Scrape It Away
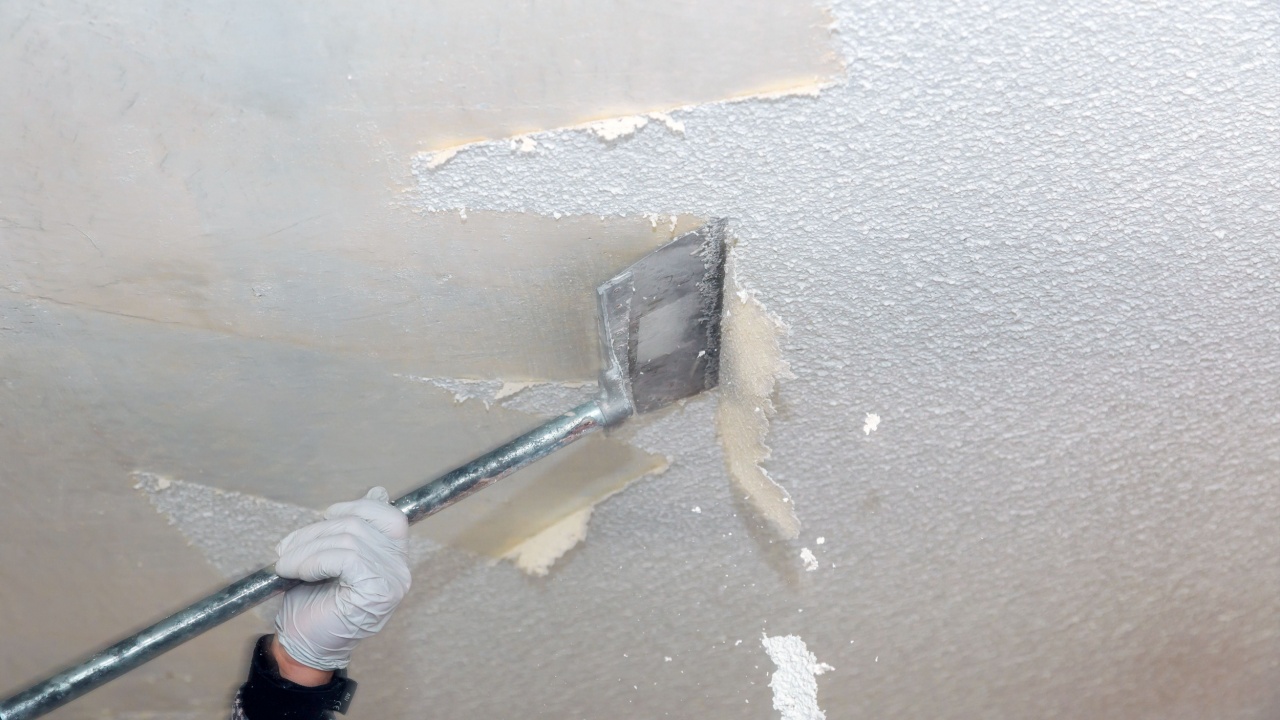
Image Credit: Shutterstock.
The easiest way to update a popcorn ceiling is to scrape it off, revealing smooth drywall underneath. While effective, it’s a messy, labor-intensive process that costs $1–$2 per square foot (without asbestos), when done by a pro, more if the ceiling has been painted. For homes built before the mid-1980s, test for asbestos first, as scraping can release harmful dust.
If asbestos-free, DIY is possible but requires cleanup, sanding, patching, and painting for a sleek finish. Best for those seeking a smooth, modern look and prepared for the mess or cost of professional help.
- Why it’s a good option: It permanently removes the outdated texture, offering a clean slate for any future design choices.
- Next steps: Test for asbestos. If clear, gather your tools (scraper, sprayer, plastic sheeting, safety gear) or get quotes from local contractors specializing in ceiling scraping.
2. Replace the Drywall

Image Credit: Deposit Photos.
If scraping sounds like too much trouble, or if your ceiling contains asbestos, replacing the drywall entirely is a more effective alternative. This involves tearing down the old popcorn-textured drywall and installing new sheets.
While more expensive than scraping, costing roughly $4 to $6 per square foot, it guarantees a perfectly smooth and new ceiling. This method completely removes the asbestos issue rather than just containing it, providing a long-term, safe solution. It’s a job best left to professionals, as it requires precision to achieve a seamless finish.
- Best for: Situations where the ceiling has asbestos, is in poor condition, or if you’re already planning a major renovation.
- Why it’s a good option: Provides a flawless, brand-new ceiling and completely resolves any asbestos concerns.
- Next steps: Contact drywall contractors for estimates. This is not typically a DIY-friendly project unless you have extensive experience.
3. Cover with New Drywall
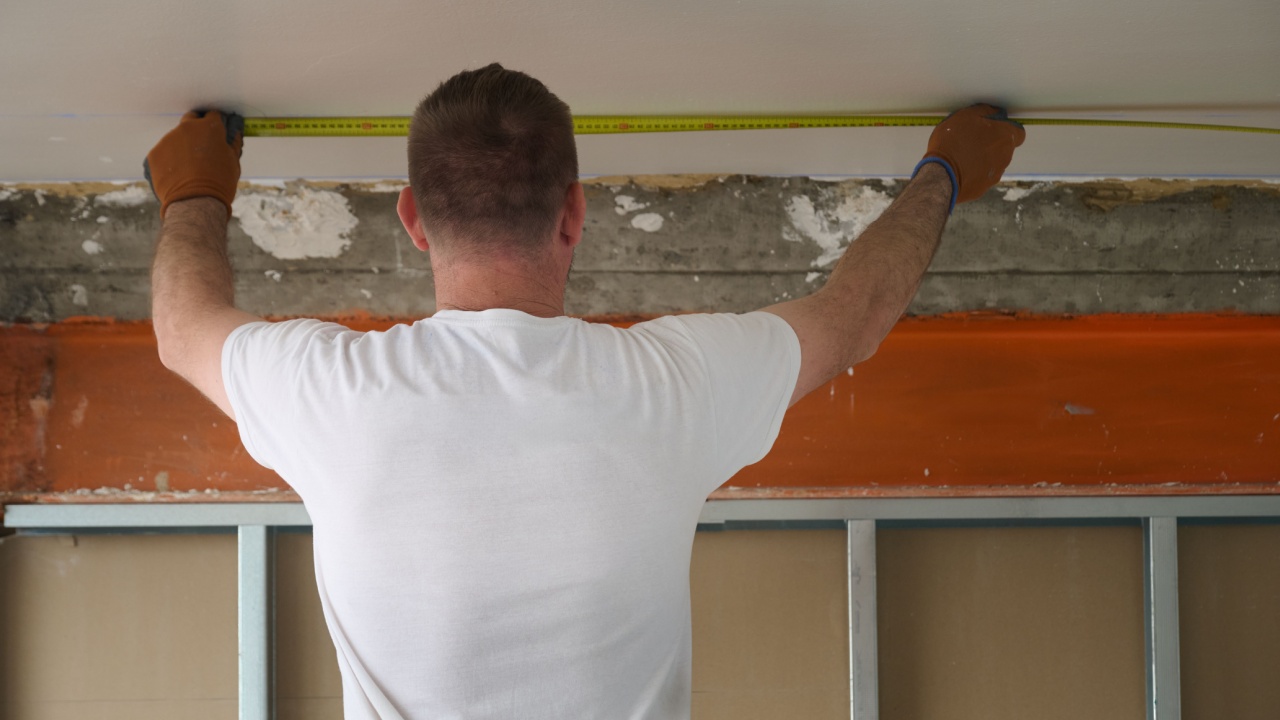
Image Credit: Shutterstock.
An easier alternative to removing a popcorn ceiling is layering thin drywall over it. This avoids messy scraping, seals in old texture or asbestos, and only reduces ceiling height by about half an inch. It’s a quick, clean way to get a smooth, paint-ready surface without full demolition.
- Best for: Homeowners who want a smooth finish without the mess and hassle of scraping, especially if asbestos is present.
- Why it’s a good option: It’s a clean, efficient way to get a new ceiling while safely encapsulating the old one.
- Next steps: Measure your ceiling to determine how much drywall you’ll need and consult with a contractor to ensure this method is suitable for your home.
4. Install Beadboard or Wood Paneling
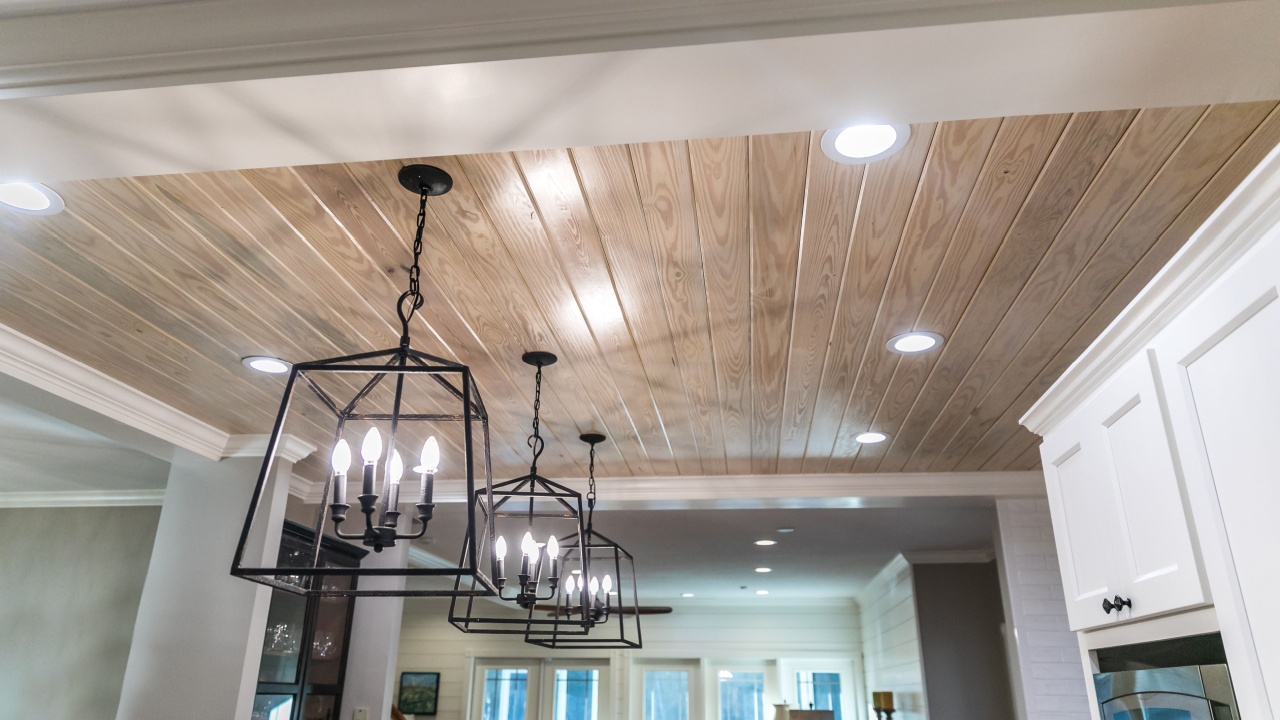
Image Credit: Shutterstock.
For a touch of character and warmth, consider covering your popcorn ceiling with beadboard or other wood paneling. This is a fantastic way to add architectural interest and is particularly well-suited for cottage, farmhouse, or coastal-style homes.
Beadboard panels are relatively affordable and DIY-friendly. You can paint them classic white for a clean, bright look or choose a natural wood finish to create a cozy, den-like atmosphere. The panels can be installed directly over the popcorn texture, making it a quick and transformative fix.
- Best for: Adding decorative flair and texture to a room, especially in traditional or rustic homes.
- Why it’s a good option: It completely hides the popcorn texture while introducing a stylish design element.
- Next steps: Choose your preferred style of paneling. Plan your layout, locate the ceiling joists for secure installation, and decide on a finish (paint or stain).
5. Add Faux Beams

Image Credit: Shutterstock.
If you want to add a dramatic architectural element that also distracts from the ceiling texture, faux beams are a fantastic choice. These lightweight beams can replicate the rustic look of solid wood without the weight or expense.
By drawing the eye to their strong lines and rich texture, they make the popcorn ceiling fade into the background. You can arrange them in a simple parallel pattern or a more complex coffered design. This adds a sense of height and grandeur to a room and works well in spaces with vaulted or standard-height ceilings.
- Best for: Creating a focal point and adding architectural character to living rooms, dining rooms, or bedrooms.
- Why it’s a good option: It distracts from the popcorn texture rather than covering it, adding significant design impact.
- Next steps: Design your beam layout. Purchase lightweight faux wood beams from a home improvement store and follow the manufacturer’s instructions for installation.
6. Use Pressed Tin or Faux-Tin Tiles
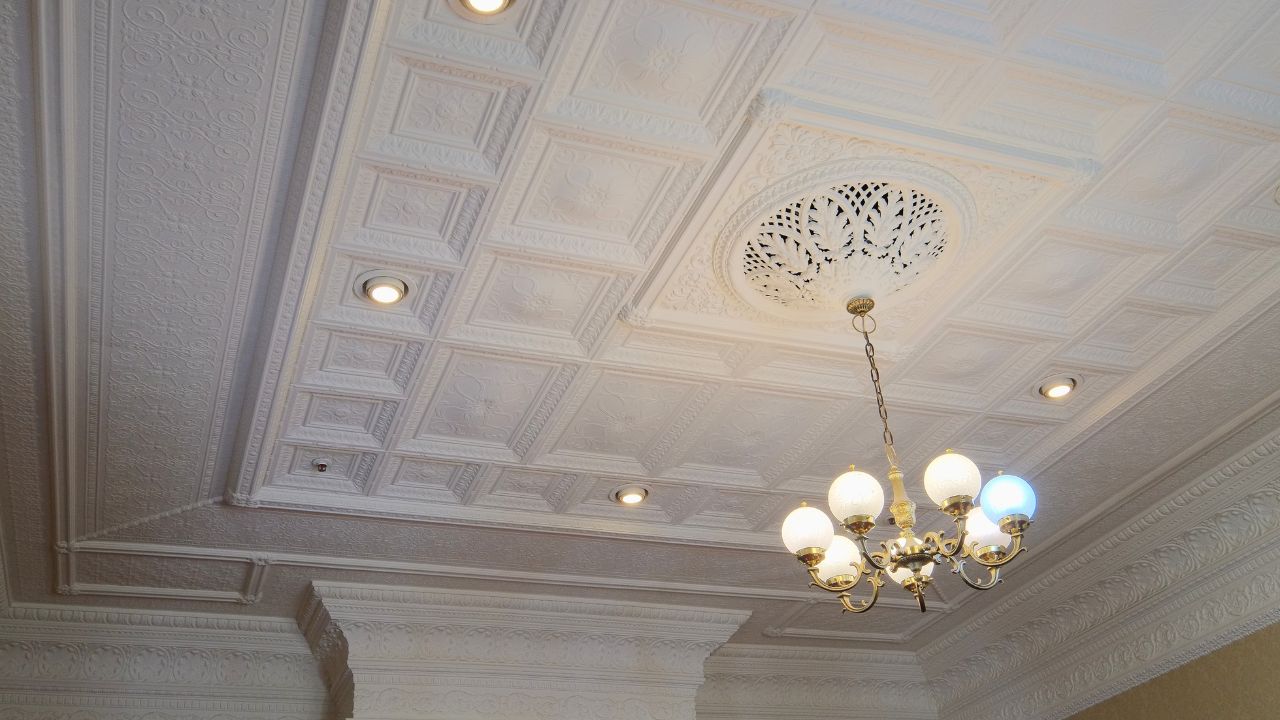
Image Credit: Pseudopanax (Own work)- Public Domain/Wiki Commons.
Install pressed tin tiles to add vintage charm to your room. Available in various patterns and finishes, these tiles can be installed directly over the popcorn ceiling. While real tin can be expensive, affordable faux-tin tiles made from PVC offer a similar look. This is a great way to make a bold statement in kitchens or dining rooms.
- Best for: Adding a vintage, industrial, or speakeasy vibe to a room.
- Why it’s a good option: It’s a highly decorative solution that completely covers the old ceiling and becomes a major design feature.
- Next steps: Explore different tile patterns and finishes online or in-store. Order samples to see how they look in your space before committing.
7. Skim Coat with Plaster
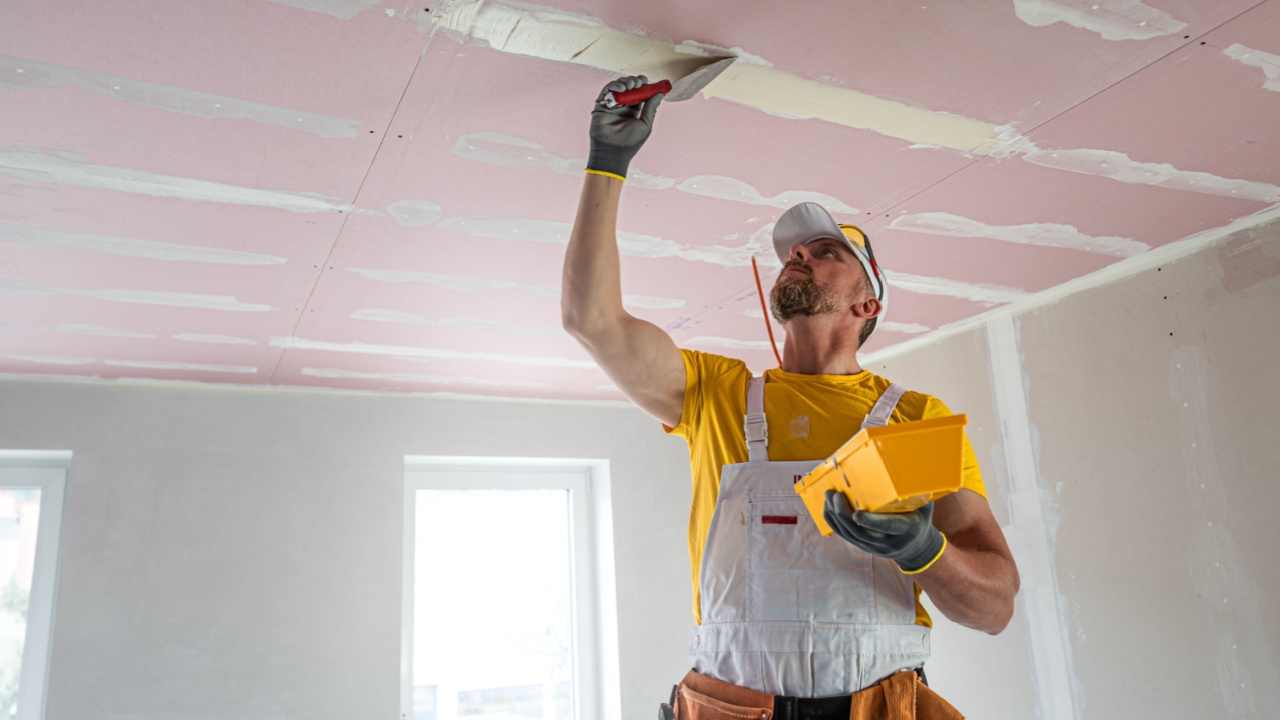
Image Credit: Shutterstock.
Skim coating is a great way to get a smooth ceiling without a full demolition. The process involves applying a thin layer of plaster over the popcorn texture to create a flat, paint-ready surface. While it’s a cost-effective DIY project, achieving an even finish requires skill and patience, so many homeowners choose to hire a professional.
- Best for: Achieving a smooth finish without the mess of scraping or the cost of drywall replacement.
- Why it’s a good option: It directly addresses the texture, resulting in a modern, flat ceiling.
- Next steps: If you’re going the DIY route, watch several tutorials to understand the technique. Purchase joint compound, a trowel, and a sanding pole. If hiring a pro, get quotes from plastering or painting contractors.
8. Distract with Strategic Lighting

Image Credit: Shutterstock.
To minimize the look of a popcorn ceiling, be strategic with lighting. Avoid uplighting or fixtures that highlight the ceiling. Instead, use recessed lights, opaque pendants, or track lighting focused downward or on specific features. Keep the ceiling in shadow for a less noticeable texture.
- Best for: A budget-friendly, non-invasive approach in rooms where a major renovation isn’t feasible.
- Why it’s a good option: It’s an easy and inexpensive way to de-emphasize the ceiling without any construction.
- Next steps: Evaluate your current lighting fixtures. Swap out any that highlight the ceiling texture for downward-facing alternatives.
9. Paint It to Blend In
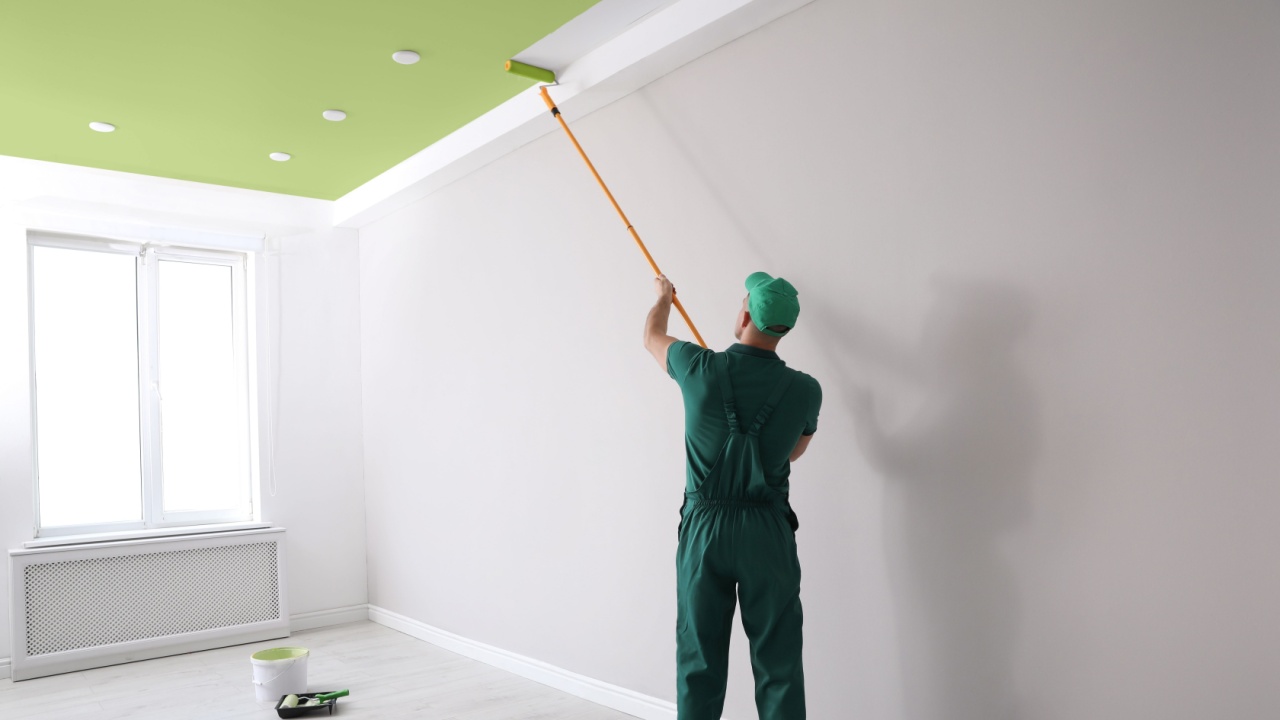
Image Credit: Shutterstock.
If you’re not ready for a renovation, painting the ceiling can make a surprising difference. A fresh coat of paint can brighten the room and make the texture feel a little less overbearing. For the best effect, paint the ceiling and the walls the same color.
This technique blurs the lines between the wall and ceiling, creating a cohesive look that makes the texture less of a focal point. Use a thick-nap roller designed for textured surfaces to ensure even coverage. A flat or matte finish is best, as glossy sheens will highlight every bump and imperfection.
- Best for: A quick, low-cost refresh when removal or covering isn’t an option.
- Why it’s a good option: It’s a simple DIY project that can make the ceiling feel cleaner and less obtrusive.
- Next steps: Choose a high-quality ceiling paint and a thick-nap roller. Clean the ceiling of any dust or cobwebs before you begin painting.
How to Refresh Your Home by Tackling Popcorn Ceilings
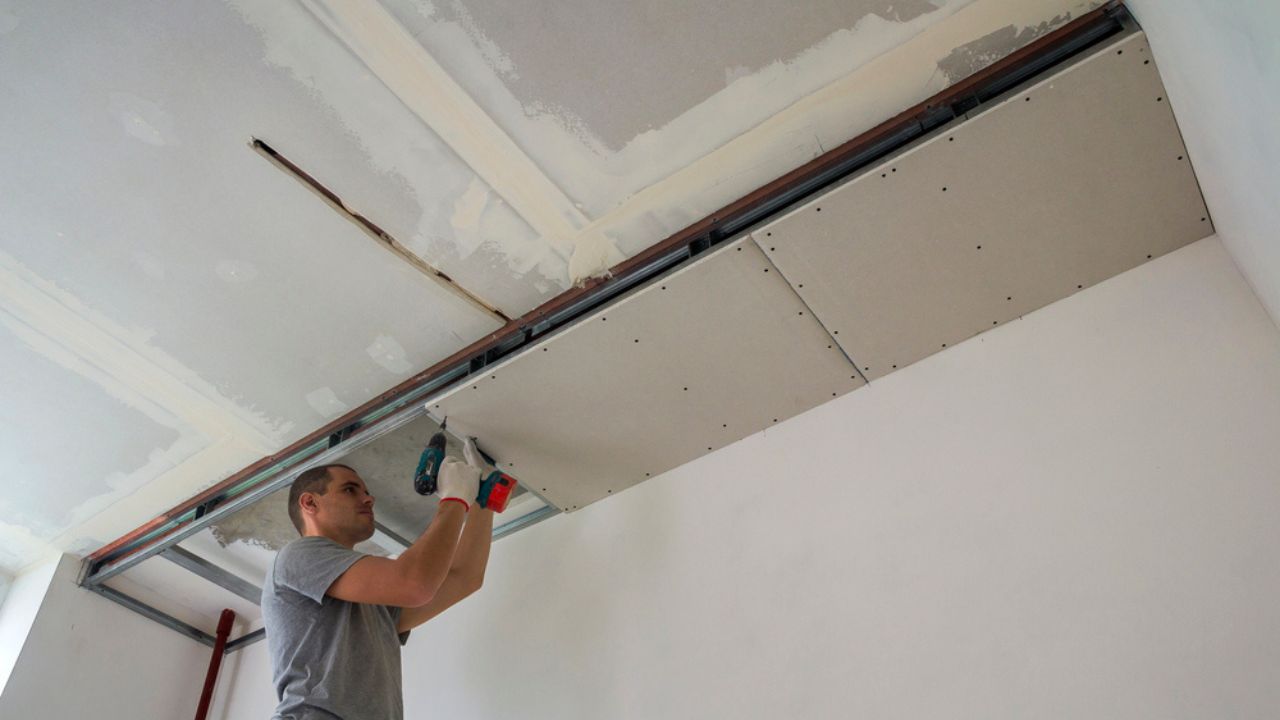
Image Credit: Deposit Photos.
With so many options available, there’s no need to feel stuck with a ceiling you don’t love. Whether you decide to scrape, cover, or distract, tackling that outdated popcorn ceiling can breathe new life into your home.
Evaluate your budget, timeline, and DIY skills to choose the path that’s right for you. Your newly refreshed space is just a project away.