Once the colorful rack of seed packets pops up in Lowe’s and the local dollar store, the spring excitement is here! It’s like a secret signal to gardeners that planting season is just around the corner!
Seeds are way cheaper than starter plants and full-size blooms. You also have a better choice of varieties, not to mention the satisfying “I grew this myself” bragging rights.
Feeling ready to tear them open and get started? Hold on! There’s a little more to it than just digging in the dirt.
Smart Advice from Seed to Sprout

Image Credit: Deposit Photos.
Each type of seed has different requirements to grow and flourish. But no matter what seeds you grow, some common mistakes beginners and even long-time gardeners make can thwart your gardening success.
We have rounded up great advice from garden educators, master gardeners, and university extensions, like the University of Maine and the University of Arkansas, to help you avoid pitfalls while growing your garden from seed.
1. Starting Too Early
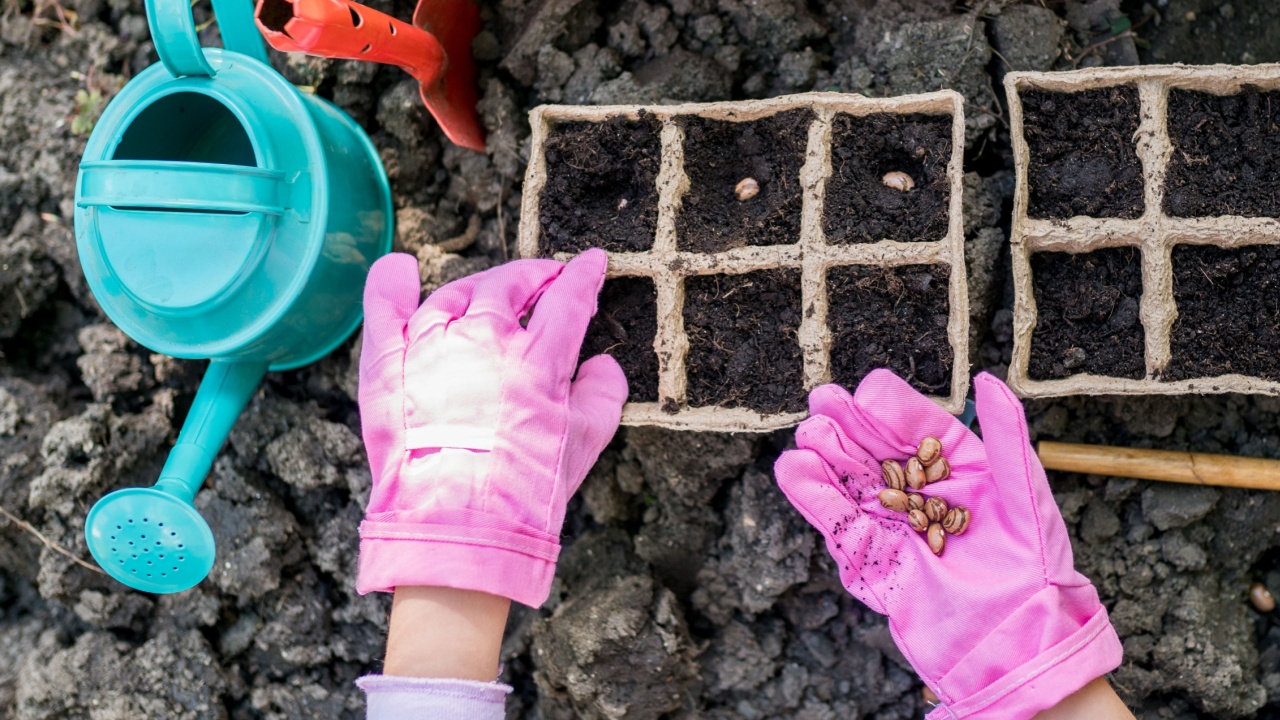
Image Credit: Shutterstock.
Planting your seeds outside too early can prevent them from germinating, or it may kill delicate seedlings when the temperatures drop. If your area hasn’t seen its last frost yet, it is likely too early to go that route. Most seed packets will tell you what months to plant them in your area and if it’s best, or necessary, to start them indoors.
Some plants take longer to mature and are susceptible to cold damage, so starting them indoors is important. University of Maine Cooperative Extension professor Marjorie Peronto and extension master gardener Theresa Guethler note that peppers, tomatoes, eggplants, and melons fall into this category.
If you know the seedlings don’t transplant well or you have seeds that germinate quickly, it’s better to plant the seeds outside. You may need to wait until it’s warm enough, but it’s worth the wait. Examples include beans, peas, corn, spinach, lettuce, zucchini, and root crops like turnips, beets, and carrots.
2. Using the Wrong Soil
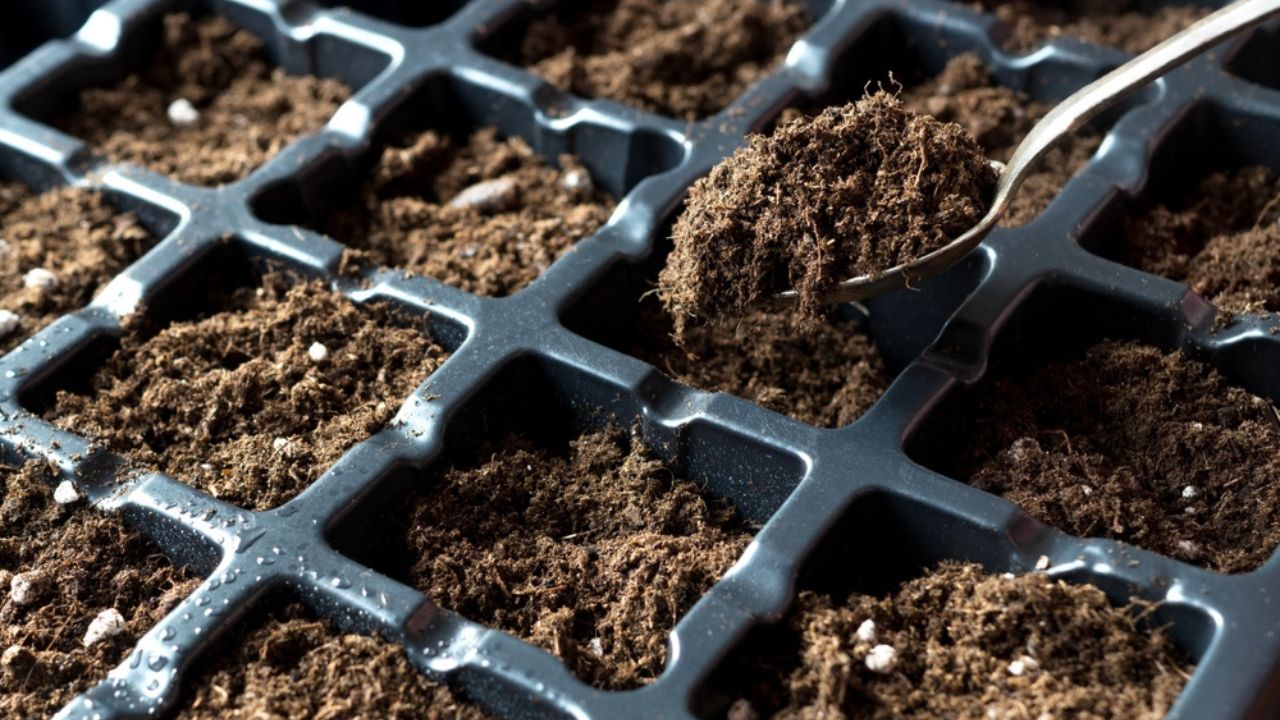
Image Credit: Shutterstock.
If you are new to growing seeds indoors, you may think it’s silly to pay for dirt when there’s plenty outside to dig up. It seems logical, but there are many reasons why a soilless mixture from the store may be far superior to outside soil. For example, Peronto and Guethler say soil tends to compact, dry out, and crust over, making it hard for little seedlings to push through. Soil also comes with disease pathogens and weed seeds that can easily kill vulnerable seedlings.
The University of Missouri Extension state horticulturist, David Trinklein, suggests using a “soilless medium that’s extremely porous, well-drained and contains no pathogens” because seeds germinate quickly if watered correctly. You can find these soilless mediums where seeds are sold. They contain a mix of sphagnum peat moss and either vermiculite or perlite, or both.
3. Planting Too Deeply or Not Deep Enough

Image Credit: Shutterstock.
If your seedlings aren’t sprouting, you may have planted them too deeply. Or maybe they all washed away because they weren’t planted deeply enough. Resist the urge to guess the correct depth when you don’t have explicit instructions from the seed pack. Seeds need to be planted at varying depths to grow successfully.
Generally, the bigger the seed, the further down in the soil it can go. University of Maryland Extension explains that planting seeds at a depth of 2 to 3 times the diameter of the seed is a good rule of thumb. If you have light, sandy soil, plant a bit deeper. Plant more shallowly for clay soils. For lettuce and celery seeds, simply sprinkle them on top of the soil. They germinate best in the light.
To make it easy, Green Education Foundation offers a nicely illustrated, printable table detailing the planting depths of common vegetables and some fruits. It has other helpful info, too!
4. Labeling Issues

Image Credit: Shutterstock.
If you’re tired or in a rush while sowing the seeds and decide to label them later, or if you think you will just remember where everything is planted, you may regret that! I have made that mistake. It’s a smart move to plan ahead and have your plant labels ready before you start planting. Whether you label as you go or prepare them in advance, it’ll save you confusion later. Trust me – when those seedlings start to sprout, many look the same! A little prep now can save a lot of guessing down the road.
Last year, I wrote plant names with a black Sharpie marker on plastic tags that I picked up at the store. I stuck them in the soil, and the rain washed them off! Or was the sun to blame? Maybe both, but what a headache! Maryland Grows Master Gardener Erica Smith says a regular Sharpie won’t be enough (I learned that the hard way!), but an “Industrial Sharpie” will hold up against the weather. There are other cute and clever ways to label your plants, too, like painting rocks or hand-stamped vintage forks.
5. Not Enough Light

Image Credit: Shutterstock.
A windowsill is a great place to grow your seedlings, right? That’s what I thought, but my sad seedlings (or lack thereof) from years past would not agree. If your windowsill gets bright sun all day, you may be fine starting your seeds there. But weak winter light and cloudy days are not so great, so having a grow light to provide more consistent light is helpful.
The University of Maine Cooperative Extension explains how to build an easy and inexpensive, collapsible light frame using fluorescent shop lights and PVC pipe, so your seedlings can thrive indoors.
6. Watering Incorrectly and Damping Off

Image Credit: Shutterstock.
Water is important for your seeds to germinate and grow, but too much of a good thing can cause problems. If your indoor pots are watered too much or if they drain poorly, damping off may be a problem. “Damping off” occurs when a water mold causes poor germination and growth. It’s more problematic with indoor growing, but it can also happen outdoors in poorly drained soils. It affects larger seeds more often than smaller ones. University of Maryland Extension lists signs of damping off as browning or yellowing leaves, stunting, wilting, and stem cankers.
Peronto and Guethler have suggestions on ways to avoid damping off. These include waiting until the soil dries out before watering again, avoiding frequent sprinkling, and arranging the seedlings so there is space between them for air to circulate. Setting a small fan to blow gently on the tops of the seedlings will also increase air circulation and toughen the plant tissue.
7. Not Stratifying Seeds

Image Credit: Shutterstock.
Have you tried growing your own milkweed from seed with terrible results? I have – because I didn’t think stratifying the seeds was important. Some seeds need stratification to germinate.
“Stratifying seeds” means giving them a period of cold, moist conditions – essentially mimicking winter – so they can break dormancy and begin to grow. Garden educator and ethnobotanist Rebecca Chandler from SaveOurMonarchs.org suggests placing milkweed seeds in a damp paper towel, folding it into quarters, placing the towel in a ziploc bag, and sticking it in the fridge.
The way to do this naturally is to plant seeds in pots and set them outside in late fall. University of Arkansas White County extension agent Sherri Sanders says stratification works well for many perennials, like bleeding heart and garden phlox, as well as fall-ripening trees and shrubs.
8. Not Hardening Off Seedlings

Image Credit: Shutterstock.
With May’s warm weather, it’s probably time to move your plants outdoors. But if you forget to harden off the seedlings first, they may experience shock once they’re outside, exposed to stronger sunlight and chilly nights. “Hardening off” means you gradually introduce the seedlings to the outdoors to acclimate them before transplanting.
Koziol recommends bringing them outside for a few hours each day once temperatures are consistently warm. Be sure to choose a spot that’s protected from direct sunlight and wind. Slowly increase the time outside until they’re ready to be planted in the ground.
9. Not Thinning Seedlings

Image Credit: Shutterstock.
It feels a little heartbreaking, like choosing a favorite child, but if your seedlings are too snug, it’s time to thin them out so the others can flourish! But why would you plant them so close together if you need to remove some? Tiny seeds can be difficult to spread out evenly, so thickly sewing them – planting the seeds super close together – is usually easier. Hegeman Crim notes the advantages of thickly sewn seeds: they make up for low germination, the best plants can be selected, and you can grow more seedlings in a smaller space.
But don’t leave your seedlings crowded and competing for nutrients after they sprout! Koziol suggests cutting the smallest or weakest plants at ground level so the stronger seedlings have room to grow. You can also carefully pull out the weaker plants or transplant them. And the best part? Hegeman Crim says the thinned lettuce and greens can be enjoyed as microgreens!
10. Ignoring Pests
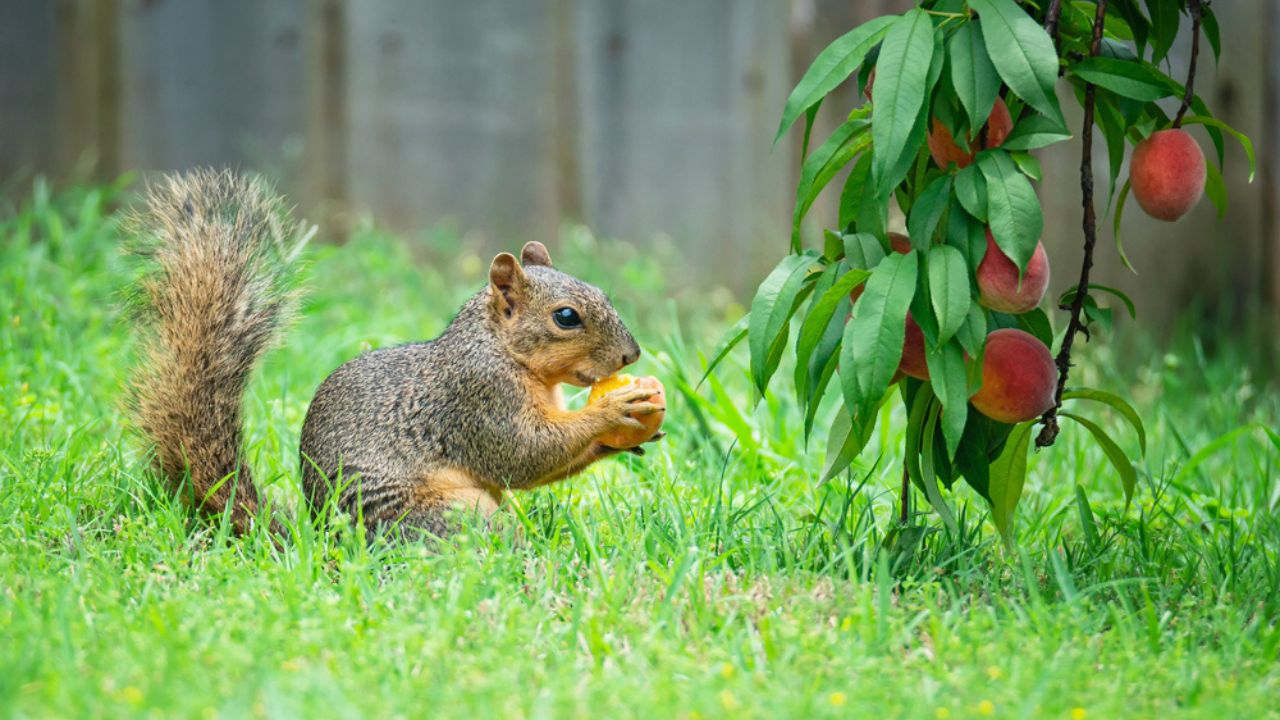
Image Credit: Shutterstock.
Wildlife can’t resist snacking on fruits, vegetables, and flowers, but seeds are a favorite, too. Birds, chipmunks, and squirrels won’t think twice about eating your vegetable seeds. University of Maryland Extension says these particular birds – crows, pigeons, starlings, finches, and sparrows – will even dig up and eat your seeds before or after they germinate.
There are a few steps you can take to discourage these feathered and furry rascals. A three-foot-high fence surrounding your garden works well to keep out rabbits and groundhogs – cats and dogs, too. I finally used this method after groundhogs decimated my vegetable garden twice in the same growing season. I used rolled fencing attached to t-posts. Chicken wire is another good choice. University of Maryland Extension recommends having the fence go 4 – 6 inches below the soil line to stop animals that love to dig.
Other methods to stop wildlife from eating your seeds include electric fencing, row covers, and pre-sprouting them before planting. Crushed red pepper, blood meal, or human hair spread around your garden will act as a repellent to rabbits and voles, but rainfall and time will make these less effective.
What’s Easy and What’s Rewarding
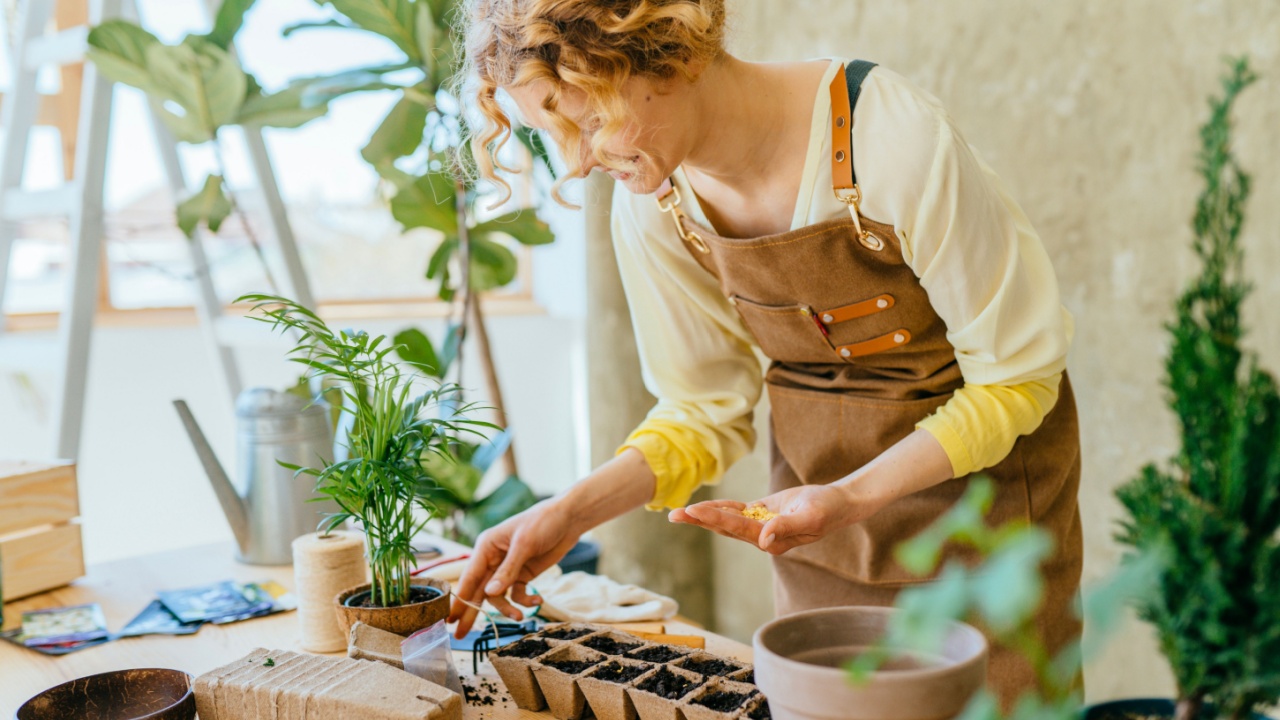
Image Credit: Shutterstock.
In my experience, the easiest approach is to wait and sow seeds directly outdoors once the weather is warm enough. But I admit I often cheat with some varieties. For example, I buy young pepper plants instead. In my area, they won’t mature fast enough to produce a great harvest. That’s why learning to start them indoors has advantages.
Growing all your plants from seed feels incredibly rewarding, so even if you make mistakes, don’t let it stop you from trying again!