
Bringing a new houseplant home is exciting. You find the perfect spot, give it a welcoming drink of water, and admire how it instantly brightens up the room. But then, a few weeks later, the leaves start to yellow, the stems begin to droop, and you’re left wondering what went wrong. If you’ve ever felt like you have a “black thumb,” you’re not alone. Many plant parents accidentally kill their leafy friends with kindness.
The good news is that a dying houseplant is often just a cry for help. By learning to recognize the signs, you can diagnose the problem and nurse your plant back to vibrant health. Know these 11 reasons and get ready to turn that black thumb green and cultivate a thriving indoor jungle.
Where We Got This Data
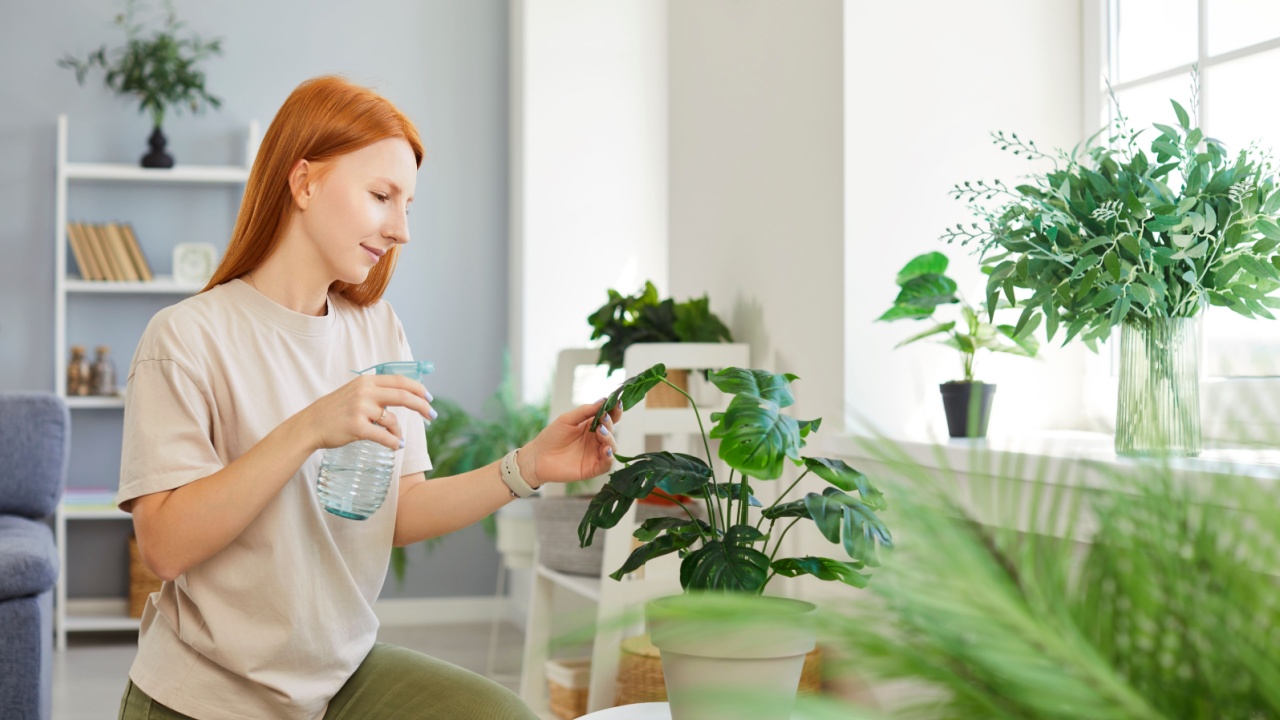
Image Credit: Shutterstock.
The tips and fixes in this article are based on guidance from horticulture experts, university extension programs, and trusted plant care resources. We pulled together advice from professional growers, scientific studies, and long-standing gardening communities to make sure the information is accurate, practical, and easy to follow.
1. Improper Watering
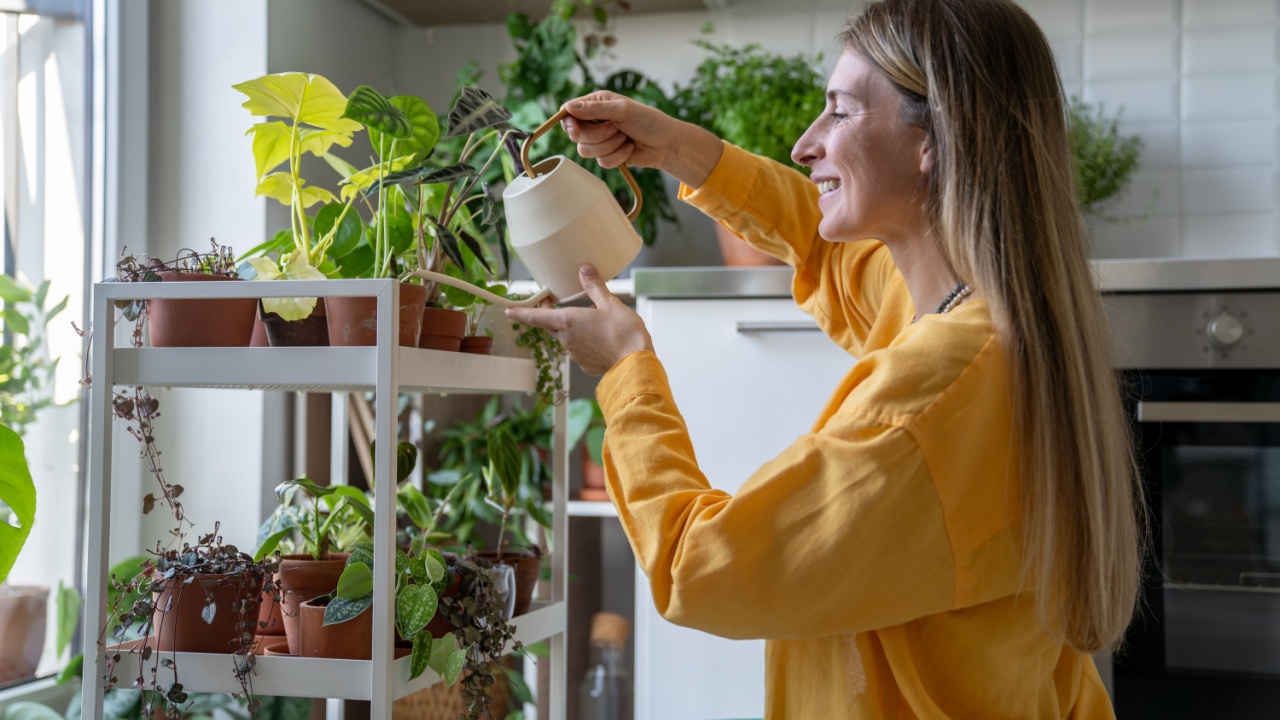
Image Credit: Shutterstock.
Improper watering is the top killer of houseplants and often the main culprit is overwatering. Soggy soil causes root rot, preventing plants from absorbing water and nutrients, leading to yellowing leaves and death. Underwatering, while less common, causes dryness, brown leaves, and stunted growth.
How to Fix It: Don’t stick to a rigid watering schedule. Instead, check the soil by inserting your finger about an inch deep. If it feels dry, it’s time to water; if it’s moist, wait a few more days. When you do water, soak the soil thoroughly until water drains from the bottom of the pot.
- Signs of Overwatering: Yellowing lower leaves, mushy stems, fungus gnats, a constantly damp feeling to the soil.
- Signs of Underwatering: Wilting, dry and crispy leaf edges, soil pulling away from the sides of the pot.
2. Not Enough Light
Image Credit: Shutterstock.
Plants use sunlight to create the energy they need to grow. Without enough light, they can’t photosynthesize, causing them to weaken. A common sign is a plant becoming “leggy”, stretching its stems with large gaps between leaves as it reaches for a light source. The leaves might also turn pale and drop off.
How to Fix It: Homes are often darker than we realize, especially in winter. If light is the problem, move your plant to a brighter spot, like an east-facing window. If that’s not possible, consider an energy-efficient LED grow light.
- Check Your Plant’s Needs: Research your specific plant’s light requirements. “Bright, indirect light” is a common need, meaning a spot near a window but out of the harsh, direct sunbeams.
- Low-Light Options: If your space is truly dark, opt for plants known to tolerate low light, such as the ZZ plant, snake plant, or pothos.
3. Too Much Direct Light

Image Credit: Shutterstock.
Just like too little light, too much can also be a problem. Many houseplants are native to jungle floors and can’t handle harsh, direct sunlight. Too much sun can scorch their leaves, causing brown, crispy spots, bleached color, or wilting.
How to Fix It: This one’s easy: move the plant out of direct sun. A spot a few feet from a south- or west-facing window, or behind a sheer curtain, is usually perfect. The goal is bright, indirect light. Scorched leaves won’t heal, but new growth will be safe from further damage.
Window Direction Matters: South-facing windows get the most intense sun, while north-facing windows get the least. East- and west-facing windows offer a happy medium for many species.
4. Wrong Container Size
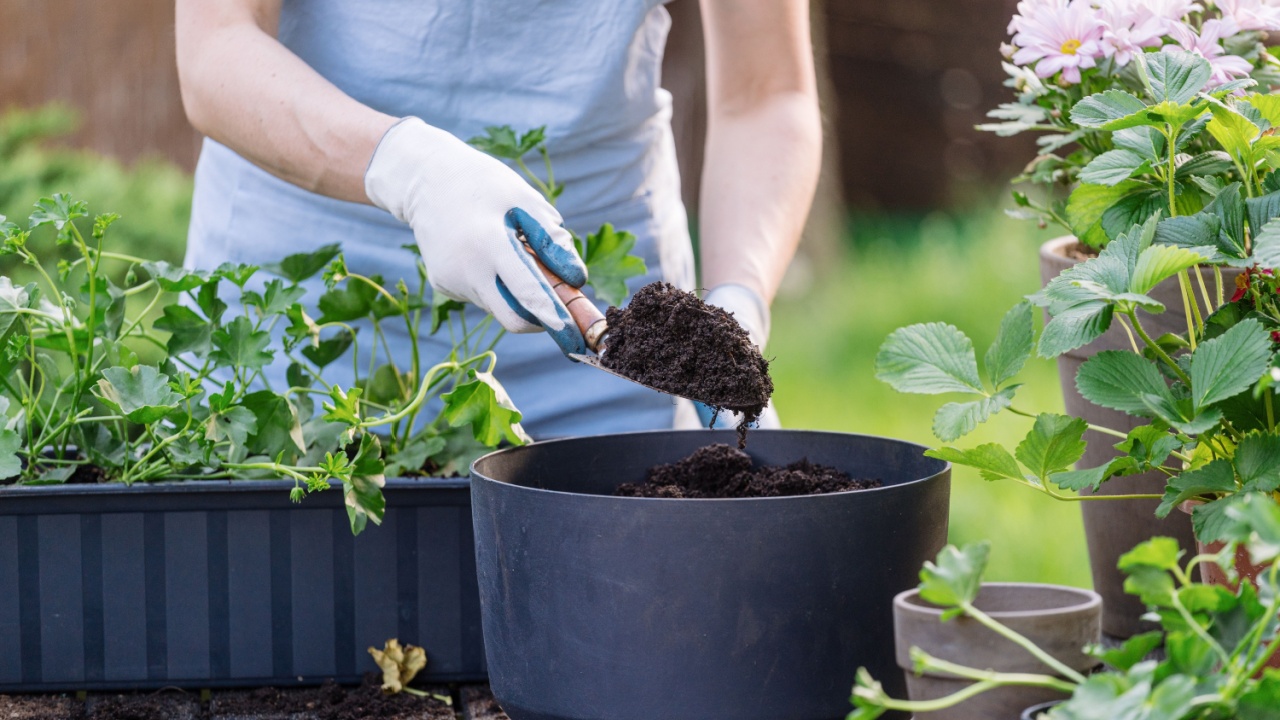
Image Credit: Shutterstock.
Goldilocks had it right, things need to be “just right,” and that includes pot size. A pot that’s too large holds more soil, which in turn holds more moisture than a small root system can absorb. This creates the perfect conditions for root rot. On the other hand, a pot that’s too small restricts root growth. The plant becomes “rootbound,” with a dense, tangled mass of roots that can’t access enough water or nutrients, leading to stunted growth.
How to Fix It: Choose a pot 1-2 inches larger than the current one when repotting to allow roots to grow without excess soil. For rootbound plants (roots visible in drainage holes), gently loosen the root ball and repot into a slightly larger container with fresh soil.
- Check for Drainage: No matter the size, ensure your pot has drainage holes. Without them, water will pool at the bottom, guaranteeing root rot.
5. Environmental Shock

Image Credit: Shutterstock.
Plants are creatures of habit. They don’t like sudden changes in their environment. A sudden shift in temperature, light, or humidity, like moving from a bright, humid greenhouse to a dry, air-conditioned home, can cause stress. This results in leaf drop, yellowing, or a general failure to thrive as the plant expends all its energy just trying to adapt.
How to Fix It: To avoid plant shock, transition gradually. Mimic its previous environment and avoid sudden changes, like moving it from shade to bright sunlight. Keep it away from drafts or temperature fluctuations to reduce stress.
- Be Patient: It’s normal for a new plant to drop a leaf or two as it adjusts to its new home. Give it a few weeks to settle in before you worry.
6. Lack of Nutrients
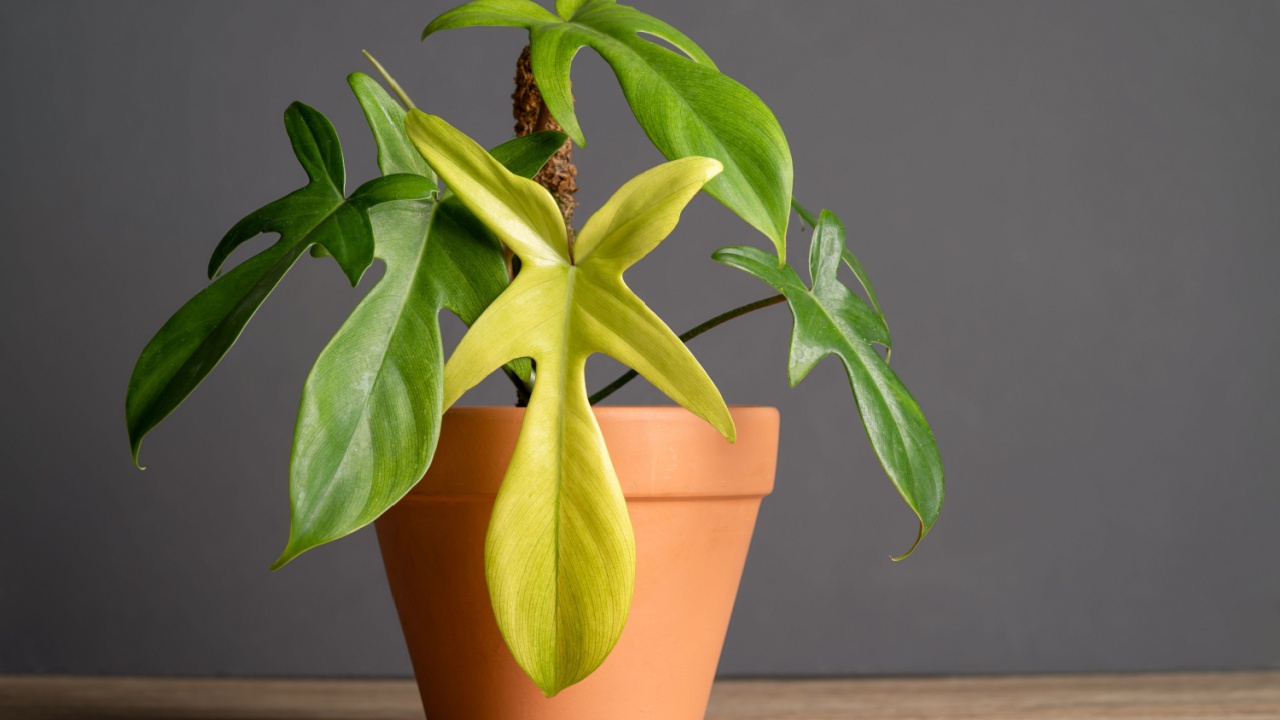
Image Credit: Shutterstock.
As your houseplant grows, it uses up the essential minerals in its soil. Over time, this depletion can cause growth to slow or stop. Common signs of nutrient deficiency include yellowing leaves, weak stems, and a lack of new growth.
How to Fix It: Fertilizing is like giving your plant a multivitamin. During the spring and summer, when most houseplants are actively growing, feed them with a balanced liquid fertilizer every 4-6 weeks. Dilute the fertilizer to half the recommended strength to avoid burning the roots. There are many types of houseplant fertilizers available, including organic options. Choose one that is formulated for indoor plants.
- Don’t Fertilize in Winter: Most plants go dormant in the fall and winter and don’t need extra nutrients. Stop fertilizing until you see signs of new growth in the spring.
7. Overfertilizing
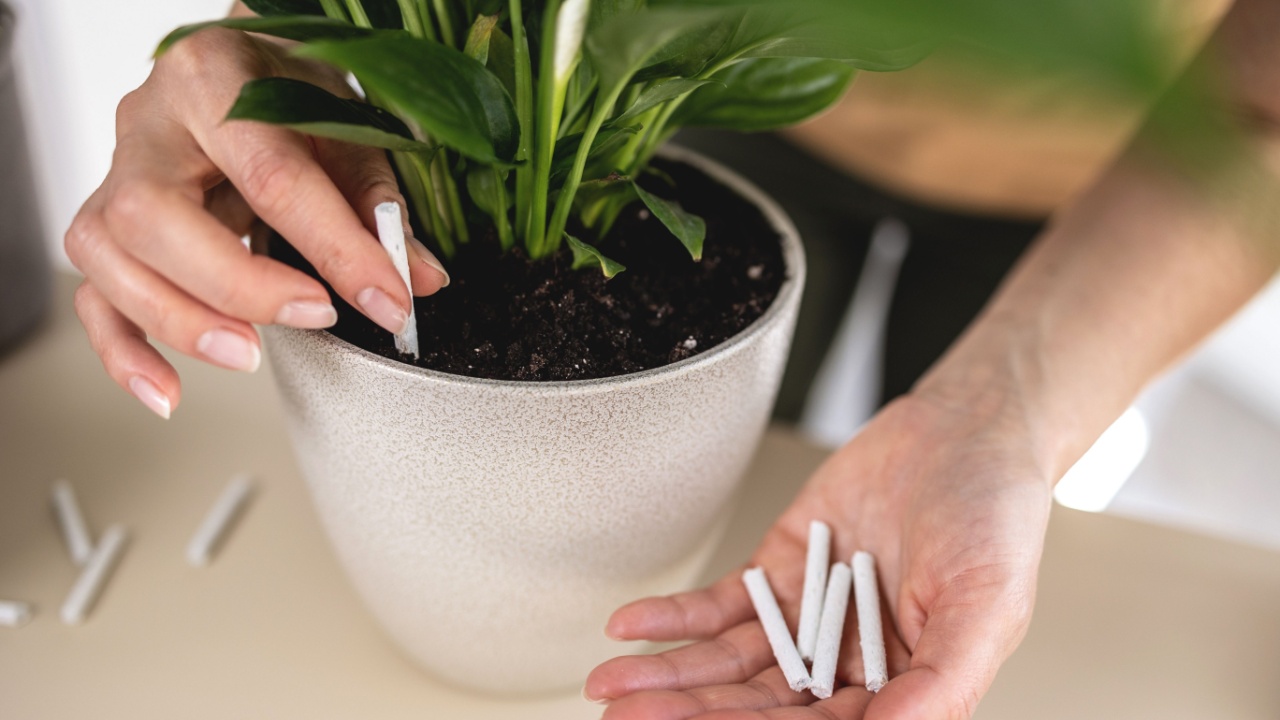
Image Credit: Shutterstock.
Overfertilizing can cause a buildup of mineral salts in the soil, which can “burn” the plant’s roots, damage the leaves, and inhibit water absorption. Signs of fertilizer burn include brown, crispy leaf edges, a white crust on the surface of the soil, and sudden leaf drop.
How to Fix It: If you suspect overfertilization, flush the soil thoroughly with lukewarm water to remove excess salts. Let it drain completely, then avoid fertilizing for 1-2 months. Always follow fertilizer instructions; it’s better to under-fertilize than over-fertilize.
8. Pest Infestations

Image Credit: Shutterstock.
Even indoor plants are susceptible to pests. Tiny critters like spider mites, mealybugs, aphids, and scale can suck the life out of your plants, causing yellowing, distorted growth, and sticky residue on the leaves.
Weakened plants are more susceptible to infestations, so a pest problem can sometimes be a sign of an underlying issue like improper watering or lighting.
How to Fix It: Regularly inspect your plants for pests, including the undersides of leaves. If you see any, act fast. A strong spray of water can knock them off, or you can wipe them away with a cotton swab dipped in rubbing alcohol. For stubborn infestations, use insecticidal soap or neem oil, which are safer for indoor use than harsh chemicals.
9. Lack of Humidity
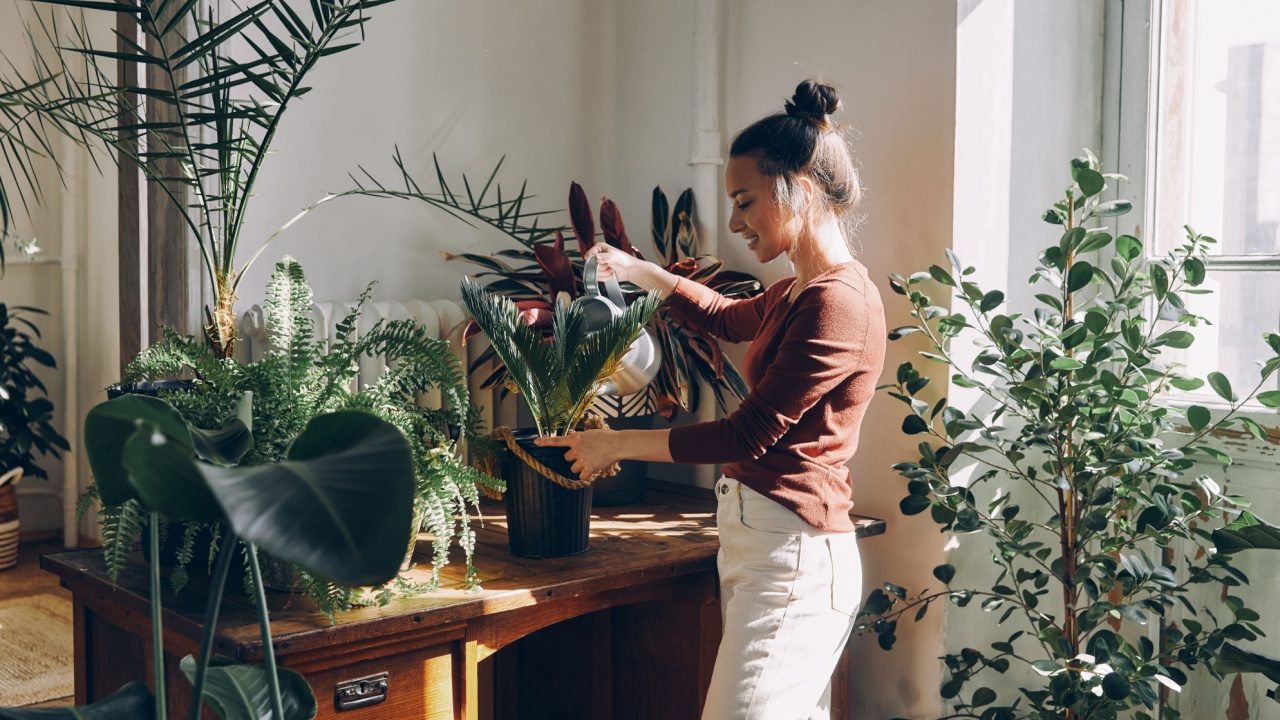
Image Credit: Shutterstock.
Many of your favorite houseplants, like ferns, calatheas, and orchids, are native to humid, tropical rainforests. The air in most of homes, especially in winter when the heat is on, is far too dry for them. Low humidity can cause brown, crispy leaf tips, yellowing, and stunted growth.
How to Fix It: Grouping plants together is an easy way to create a more humid microenvironment. As plants transpire (release water vapor), they naturally increase the humidity around them. You can also place your plants on a pebble tray: fill a shallow tray with pebbles, add water until it’s just below the top of the pebbles, and set your pot on top. The evaporating water will boost humidity. For humidity-loving plants, a small room humidifier can be a game-changer.
10. Using the Wrong Soil
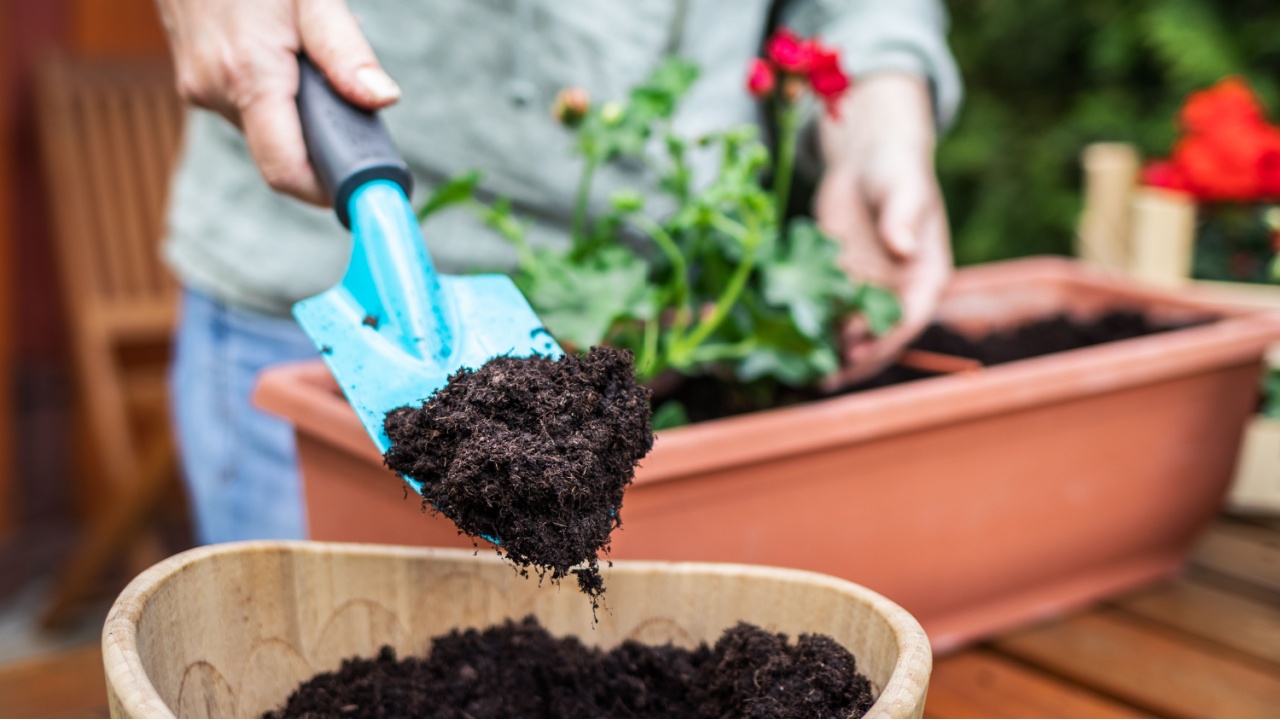
Image Credit: Shutterstock.
Soil isn’t just dirt. Different plants have different needs when it comes to soil composition. A cactus needs a sandy, fast-draining mix that mimics its desert habitat, while a fern needs a rich, moisture-retentive soil. Using a standard, dense potting mix for a plant that needs sharp drainage can quickly lead to waterlogged roots and rot.
How to Fix It: Choose the right potting mix for your plant. Succulents, orchids, and African violets often need specialized mixes, while tropical houseplants do well with general indoor potting mix plus perlite or pumice for drainage. Check your plant’s native habitat for soil clues!
11. It Has Reached the End of Its Natural Lifespan
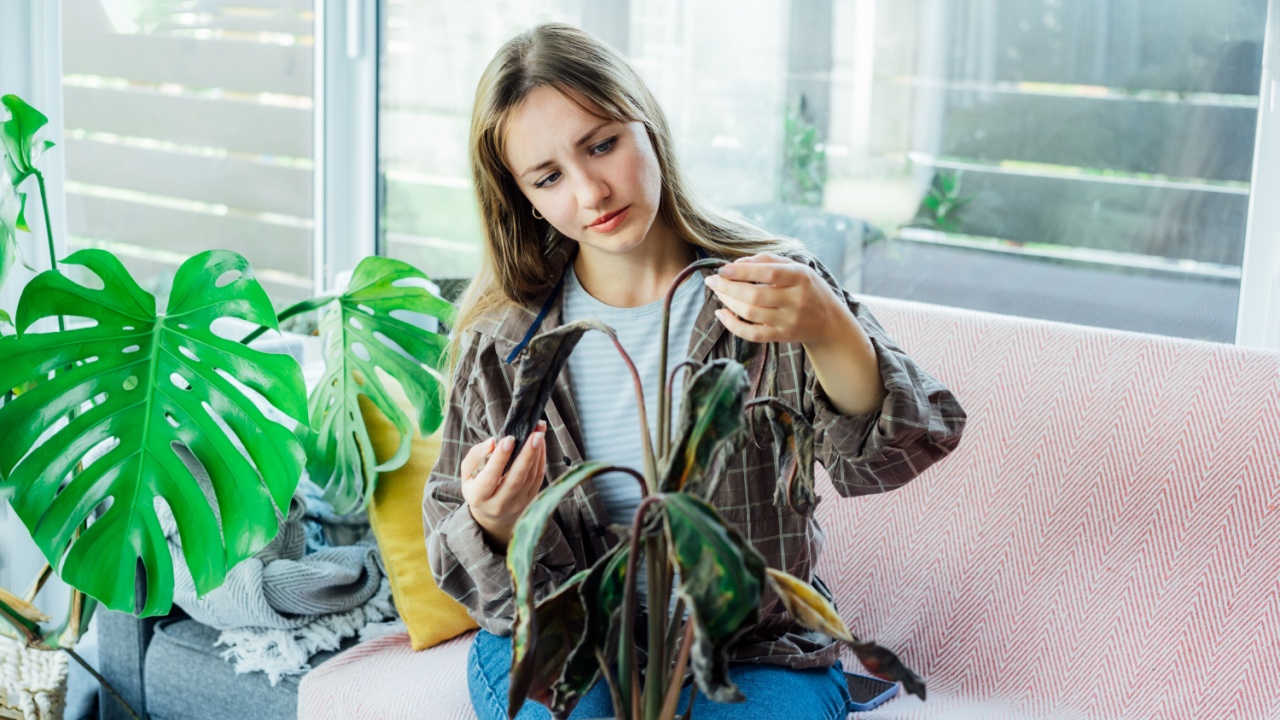
Image Credit: Shutterstock.
Sometimes, a plant dies, and it’s no one’s fault. While many houseplants can live for decades with proper care, some, particularly certain flowering varieties, have shorter natural lifespans. They are grown to put on a spectacular but brief show. If you’ve provided excellent care and the plant still declines, it may have simply completed its life cycle.
How to Fix It: There isn’t a fix for this one, but there is a silver lining. A plant’s passing is an opportunity to try something new. Consider taking a cutting from a healthy part of the plant before it completely fades to propagate a new one. Otherwise, thank the plant for the beauty it brought into your home, add it to your compost pile, and get excited about choosing a new green companion for your space.
Don’t Give Up! Your Green Thumb Awaits
Image Credit: Deposit Photos.
Don’t let a few past failures discourage you. Every plant you care for teaches you something new. By paying close attention and learning to recognize these common signs of distress, you can become a more confident and successful plant parent. Start by choosing one new plant that suits your home’s conditions, follow these tips, and watch your indoor garden thrive.