Living in a small space can feel like a constant battle against clutter. You buy a new book, and suddenly your coffee table disappears. You get a nice piece of mail, and the kitchen counter is lost forever under a pile of envelopes. Every square inch counts, and the walls are often overlooked for their storage potential, not just their looks.
This guide is for anyone who has ever stared at a blank wall and wished it could do more. We’ll explore creative ways to transform your favorite pictures and art pieces into clever, hidden storage compartments. They can be used for the bathroom to store toothbrushes or medication (a modern-day medicine cabinet), in the living room to store cables or small games, or in the kitchen for spices or other small items.
It is time to make your walls work as hard as you do.
1. Start with a Hinged Wooden Box

Image Credit: Shutterstock.
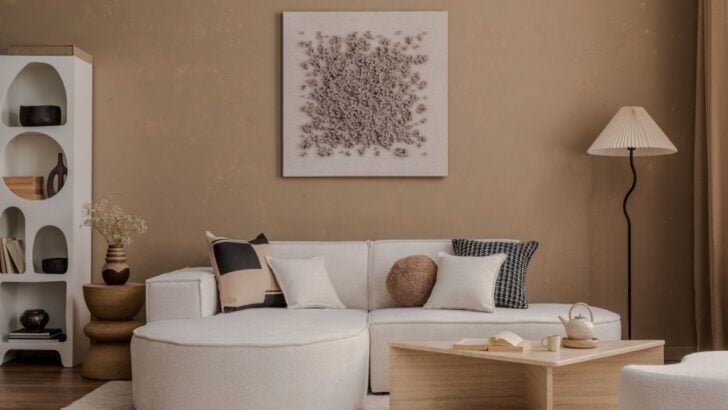
The foundation of your secret storage art is a simple wooden box with a hinged lid. You can find these at most craft stores or online. They come in various sizes, so you can choose one that fits the artwork you plan to display. Think of it as a blank canvas for your project. The key is to select a box that is deep enough to hold what you need to store but not so bulky that it juts out awkwardly from the wall.
When you mount the box, stand it upright so the lid opens outward, like a little cupboard door. This orientation is crucial for easy access to your hidden items. You can paint or stain the box to match your wall color for a more seamless look, or leave it natural for a rustic feel. This initial step sets the stage for a functional and discreet storage solution that cleverly hides in plain sight.
2. Attach Artwork to the Box Lid
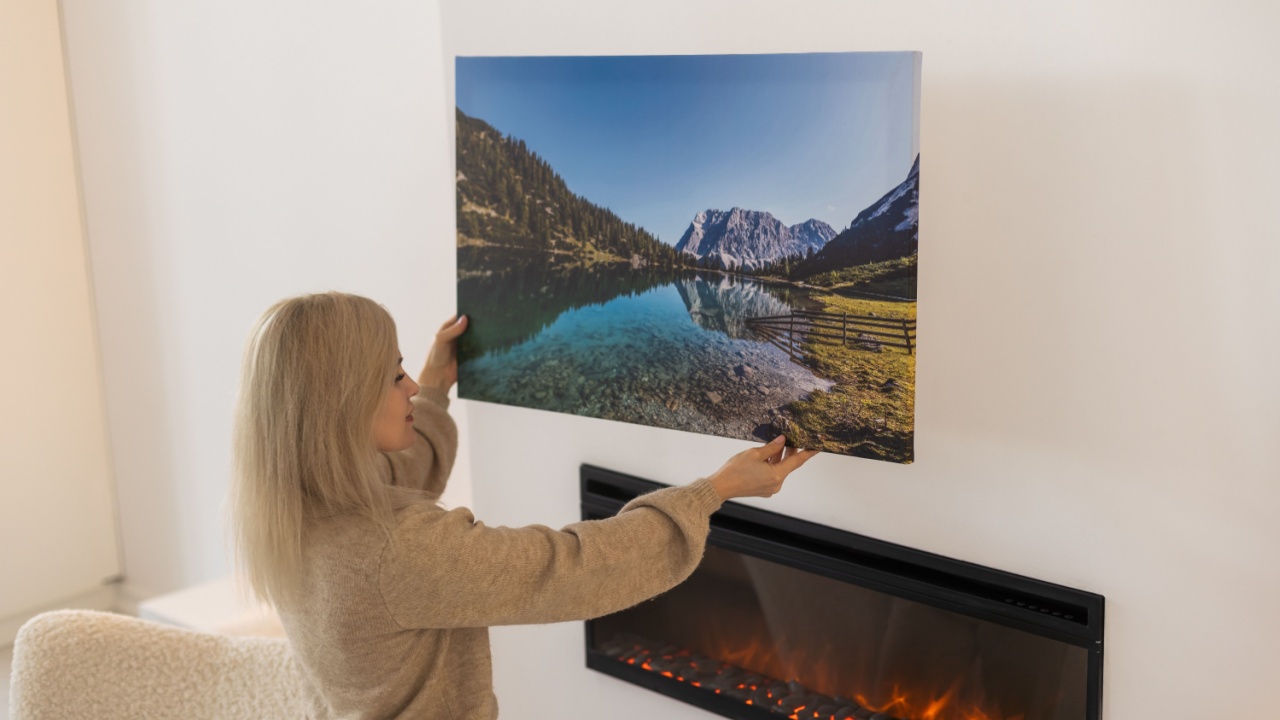
Image Credit: Shutterstock.
With your box mounted, the next step is to camouflage it using some artwork. Choose a framed picture, a canvas painting, or any piece of flat wall decor that is slightly larger than the box’s lid. The artwork will act as the “door” to your hidden compartment, so you want it to completely cover the front of the box. A strong wood glue or construction adhesive is the best choice for attaching the frame directly to the outside of the hinged lid.
Apply the adhesive evenly to the back of the art frame and press it firmly onto the box lid. You might need to clamp it or place a heavy object on top while the glue dries to create a solid bond. The result is a piece of art that looks perfectly normal hanging on your wall. No one will suspect that behind that lovely landscape or family photo lies a secret stash of remote controls, keys, or your emergency chocolate supply.
3. Install an Interior Dowel Rod
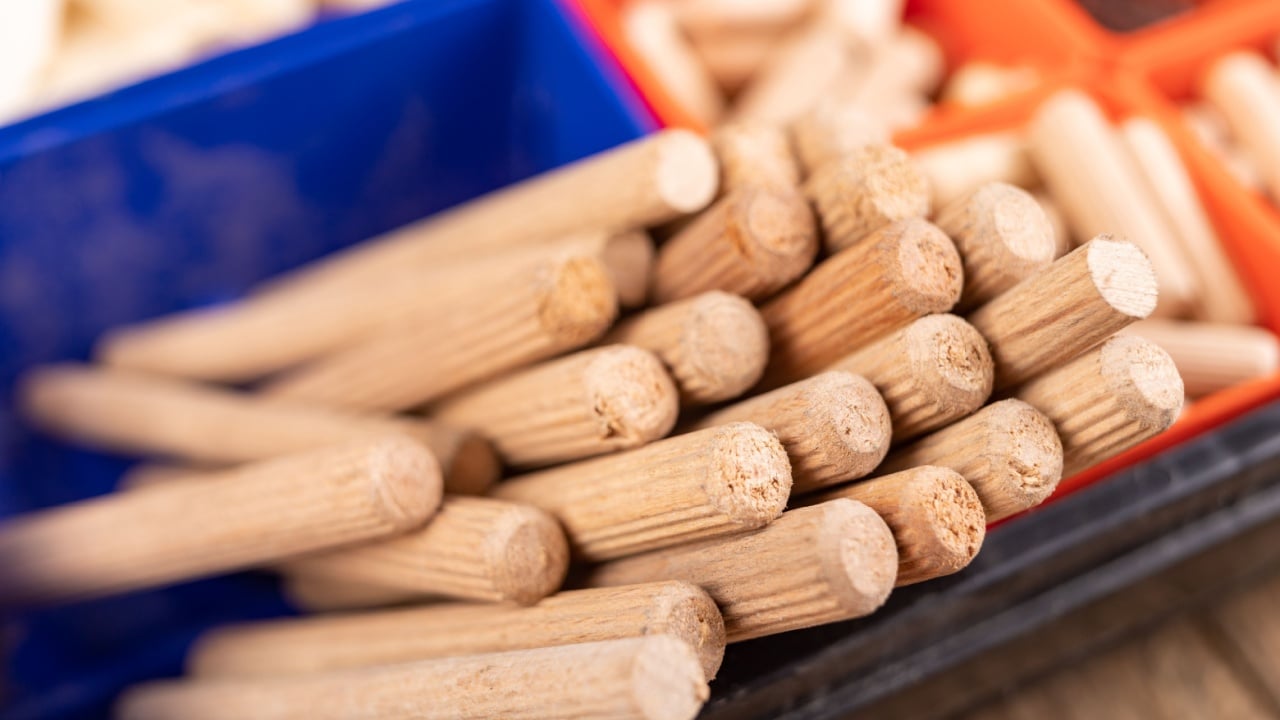
Image Credit: Shutterstock.
Once the exterior is complete, it is time to customize the inside. One of the simplest and most effective ways to make the space functional is by installing a wooden dowel. A small dowel rod, cut to fit the width of the box, can act as a barrier to keep items from tumbling out when you open the lid. It is particularly useful for storing things like spice jars, small bottles, or even a collection of sunglasses.
To install it, simply measure the interior width of the box and cut the dowel to size. You can secure it in place with a bit of wood glue on each end. For added stability, you can pre-drill small holes and use screws. Position the dowel a few inches up from the bottom of the box to create a secure ledge. This small addition keeps the contents organized and prevents an avalanche of your hidden treasures every time you access them.
4. Add Hooks or Small Shelves

Image Credit: Shutterstock.
For even more organizational power, consider adding small hooks or shelves inside your art box. This transforms the simple open space into a multi-level storage unit, perfect for smaller items that tend to get lost. Tiny screw-in hooks are ideal for hanging keys, jewelry, or charging cables, keeping them untangled and easy to grab. You can line the top or sides of the box’s interior with a row of hooks for maximum utility.
If you have slightly larger items, installing a small shelf can create separate compartments. You can cut a thin piece of plywood to fit the box’s depth and width and secure it with glue or small L-brackets. This effectively doubles your storage surface, allowing you to stack items without them becoming a jumbled mess. A small shelf could hold a wallet and a phone on top, with smaller trinkets tucked underneath.
Your Walls, Reimagined

Image Credit: Shutterstock.
You have now learned the steps it takes to make your wall decor pull double duty. The next phase is to look at your own space and identify where a piece of hidden storage could make a real difference. Is it the entryway where keys always go missing? Or maybe the bathroom that needs a spot for extra toiletries? Choose a location and a piece of art that you love. By combining a simple box with a bit of creativity, you can add valuable storage without sacrificing style.
Having a hard time visualizing the final product, see the original IG video here.