Starting your first backyard garden can feel overwhelming. There’s soil to prepare, plants to choose, tools to buy, and plenty of advice coming at you from every direction.
Learning how to start a garden doesn’t have to be complicated. When you break it into clear, manageable steps, the process becomes far less intimidating and far more rewarding. Starting with a strong foundation that focuses on sunlight, soil, space, and timing can mean the difference between a frustrating season and one that fills your kitchen with fresh produce.
Here’s your beginner-friendly checklist to start a backyard garden the right way.
Step 1: Choose the Right Location

Image Credit: Shutterstock.
Before you plant anything, observe your yard.
Most vegetables require 6 to 8 hours of direct sun daily.
Leafy greens can tolerate partial shade, but fruiting crops like tomatoes and peppers need consistent sunlight.
Your garden space should also be:
- Well-drained (no standing water after rain)
- Sheltered from strong winds
- Close to a water source
- Easy to access
If you can’t create sun, you can’t fix the problem later—so choose your brightest spot first.
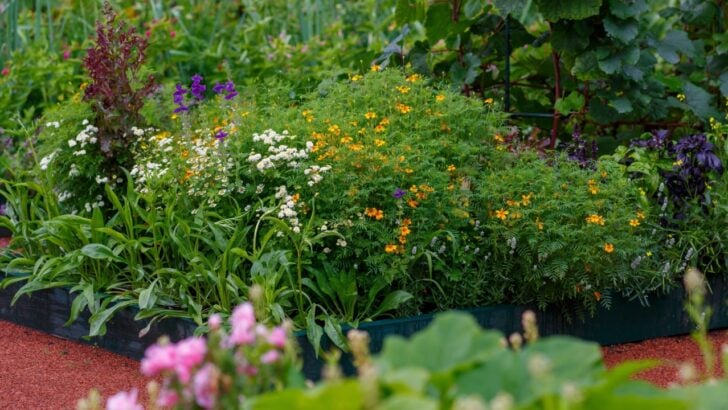
Step 2: Decide Your Garden Type

Image Credit: Shutterstock.
You have three main options:
- In-ground beds
- Raised beds
- Containers
Raised beds are especially beginner-friendly because they improve drainage and give you full control over soil quality. A simple 4×4 or 4×8 raised bed works well for beginners.
If you have limited space, containers can also work beautifully, especially for growing herbs or cherry tomatoes, but they require proper sizing and more frequent watering.
Step 3: Start Small and Plan Your Layout
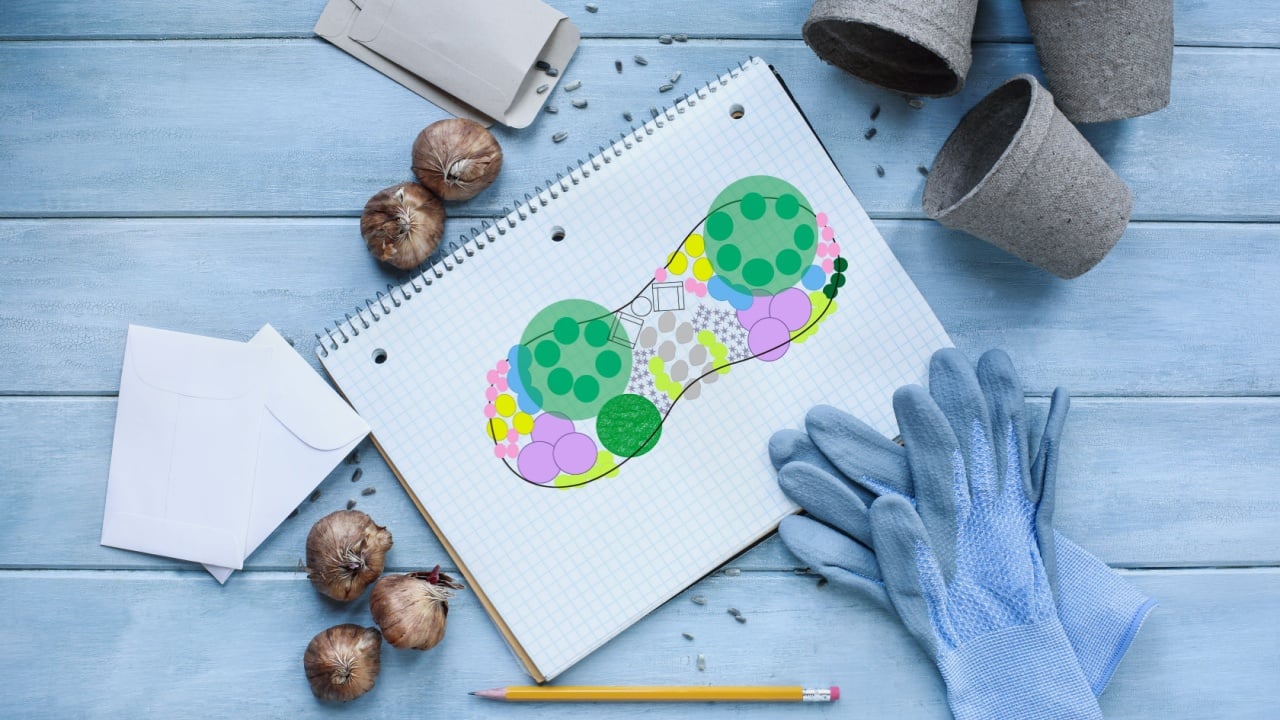
Image Credit: Shutterstock.
One of the biggest beginner mistakes? Planting too much at once.
Start with one manageable bed and add more as each year progresses. Sketch your layout on paper before digging. You need to make sure to leave room for pathways, ideally 2–3 feet wide, so you can weed, harvest, and move comfortably through your garden.
This simple planning step prevents overcrowding and mid-season overwhelm.
Step 4: Build and Prepare Your Soil
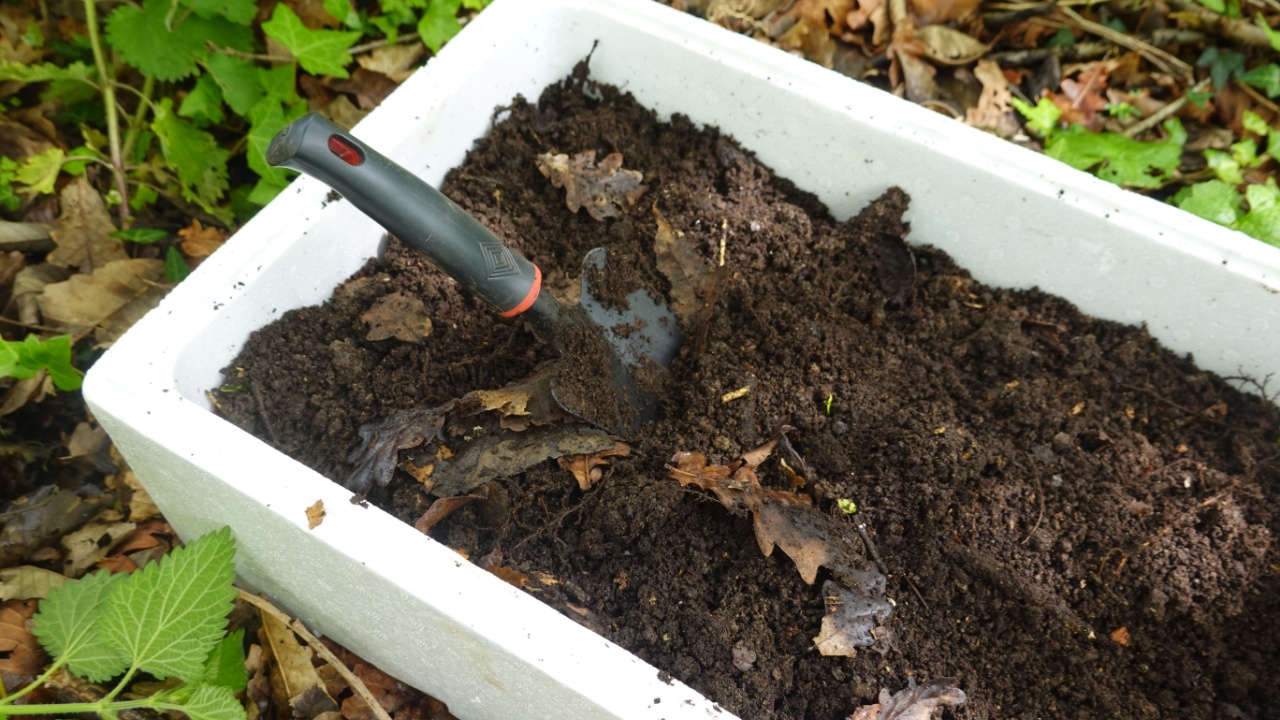
Image Credit: Shutterstock.
Healthy soil is non-negotiable. Beginner guides consistently recommend mixing compost or organic matter into your soil before planting.
Well-draining sandy loam is ideal for raised beds. If you’re unsure about your soil quality, test it. Even a simple squeeze test can reveal whether your soil is too sandy or too clay-heavy. Good soil should hold its shape slightly when damp, but crumble easily.
Strong soil equals strong plants.
Step 5: Know Your Climate and Frost Dates
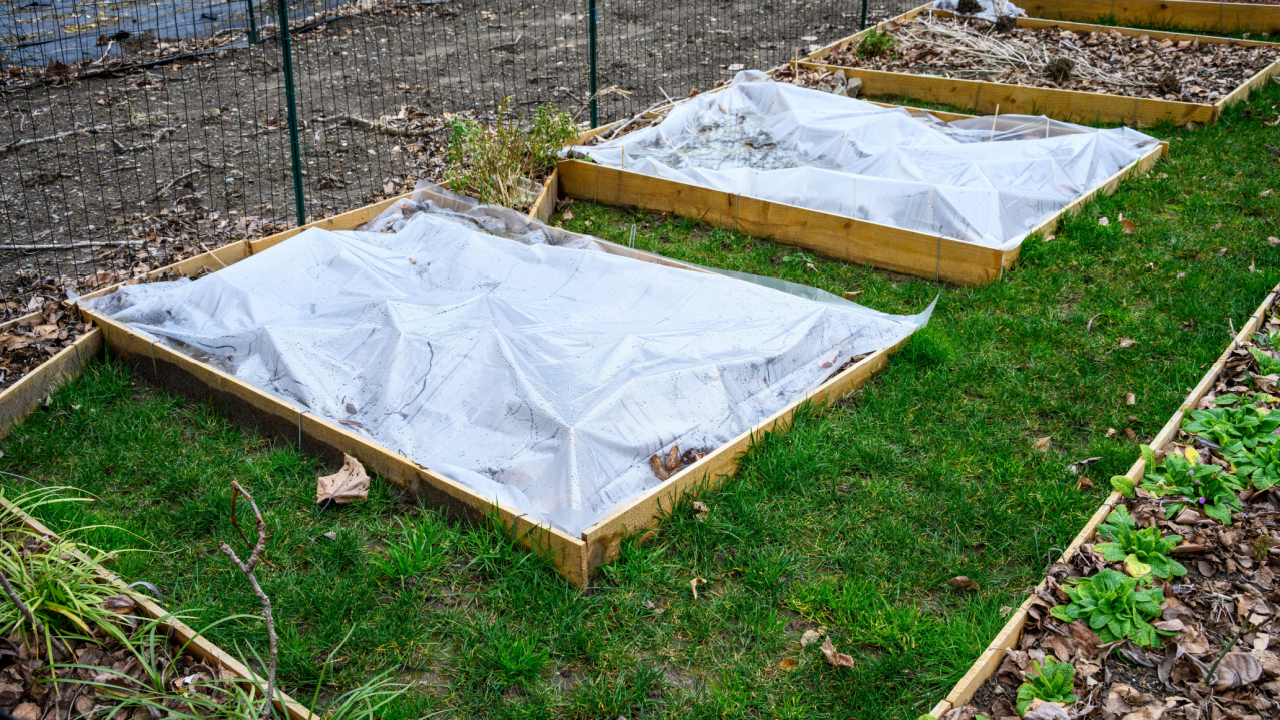
Image Credit: Shutterstock.
Timing matters just as much as location.
Find your area’s average last frost date before planting warm-season crops. Cool-season crops like lettuce and peas can be planted in early spring. Tomatoes and peppers are warm-season crops that require warm soil and should be planted after your last frost date.
Understanding your growing season prevents early plant loss and disappointment.
Step 6: Choose Beginner-Friendly Plants

Image Credit: Shutterstock.
When learning how to start a garden, choose crops that are easy to grow and reward you quickly.
Good first-year choices include:
- Lettuce
- Green beans
- Radishes
- Zucchini
- Cherry tomatoes
- Peppers
Avoid high-maintenance or finicky crops in your first season. Quick-growing vegetables build confidence and momentum.
Step 7: Install Support and Watering
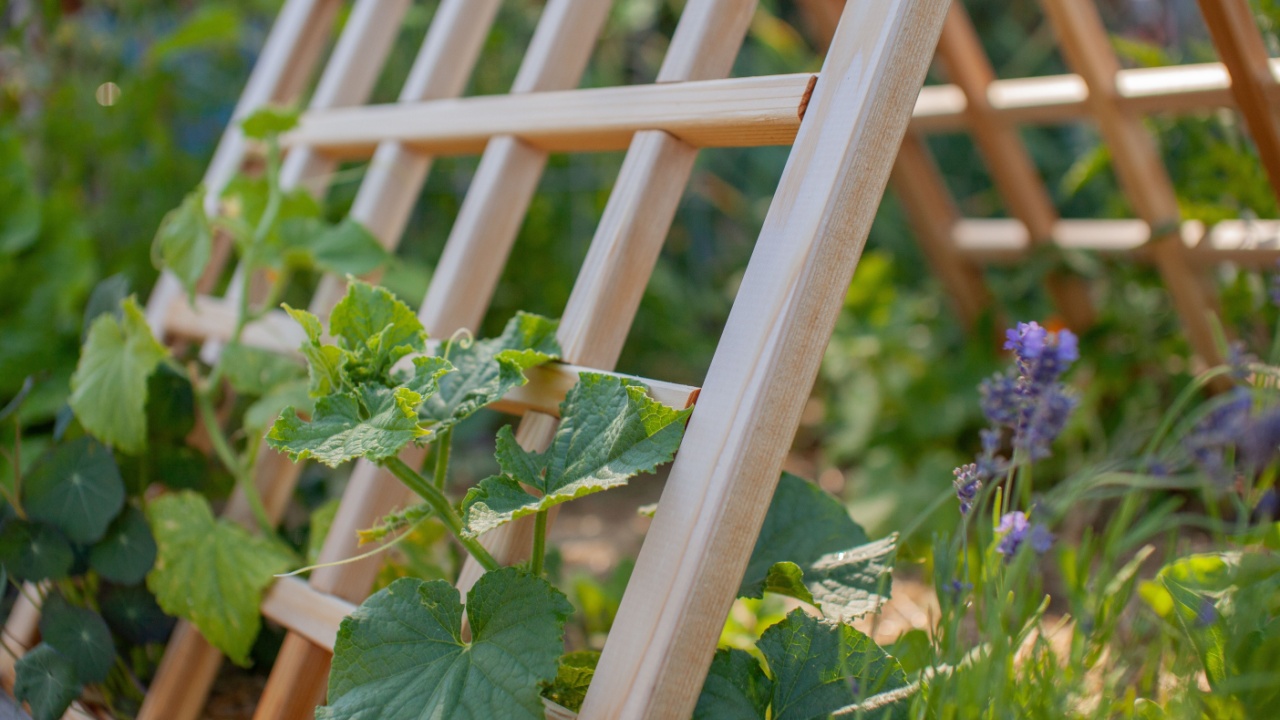
Image Credit: Shutterstock.
Before planting, think ahead.
If you’re growing tomatoes, cucumbers, or beans, install trellises early. Trellises help support vining plants and keep them healthier by maintaining airflow.
For watering, consistency is key. Overwatering is a common beginner mistake. A simple hose with an adjustable nozzle works well, but drip irrigation systems can automate and stabilize moisture levels.
Step 8: Plant, Mulch, and Maintain
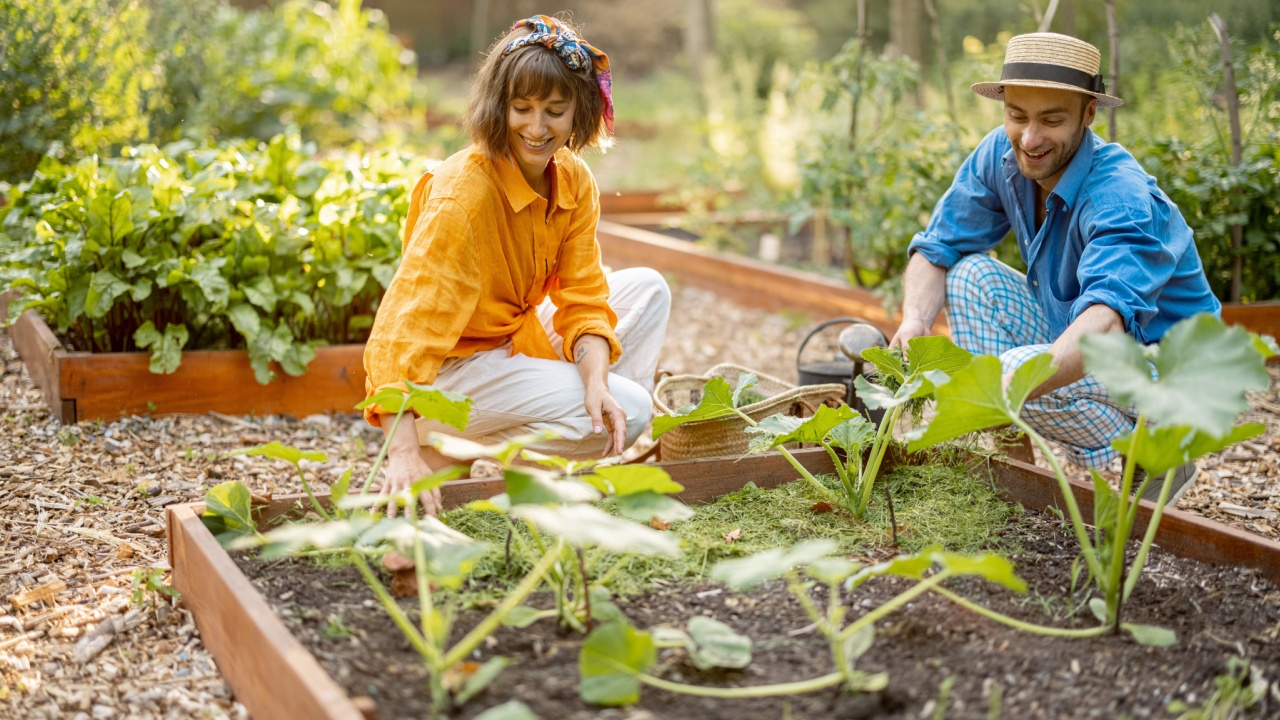
Image Credit: Shutterstock.
Once planted:
- Water deeply but not daily
- Add mulch to reduce weeds and retain moisture
- Harvest regularly
Mulch not only suppresses weeds but also keeps soil temperature stable and roots healthier.
Pay attention to your plants. Yellowing leaves or stunted growth may indicate nutrient or watering issues.
Step 9: Harvest and Learn
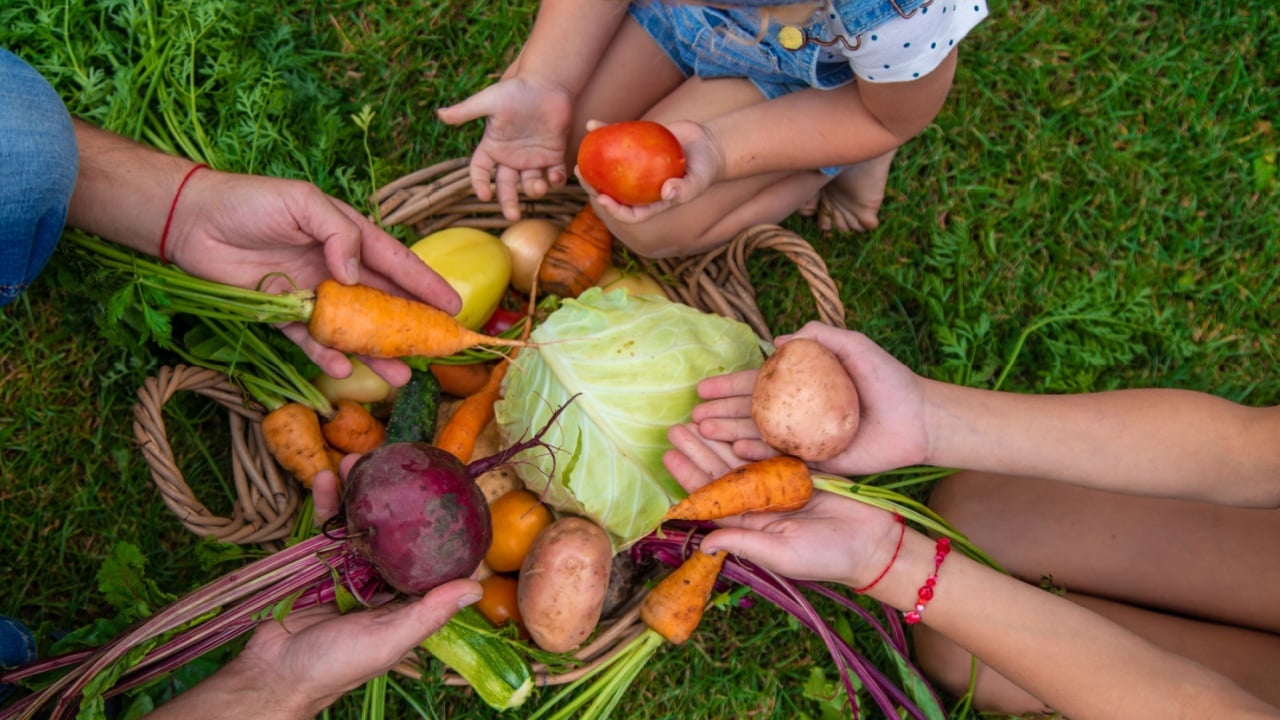
Image Credit: Shutterstock.
Harvest when the produce is ripe, but not overripe. You’ll want to get in the practice of checking on your garden daily, especially when produce is ready. Many beginners wait too long to harvest.
Regular harvesting encourages continued production and prevents plants from shutting down early.
Your first garden won’t be perfect, and it doesn’t need to be. Every season teaches you something new. Gardening is an experiment!
Just Get Started
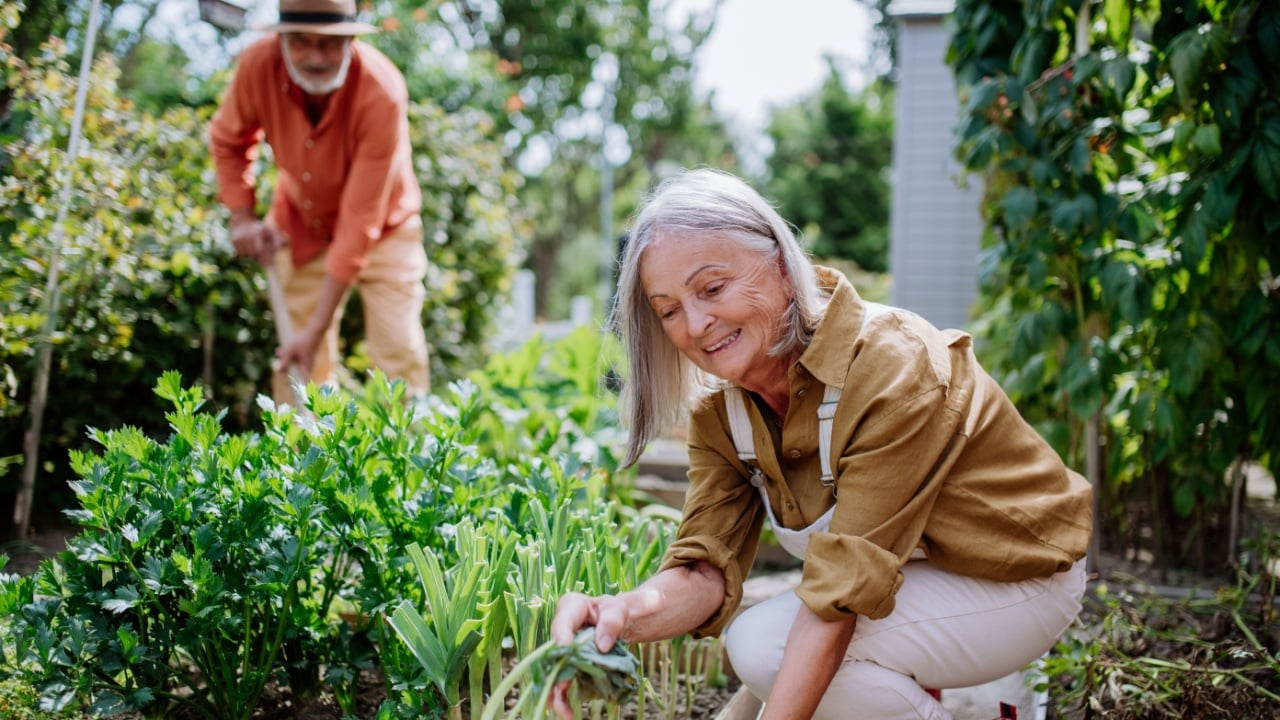
Image Credit: Shutterstock.
Learning how to start a garden is less about mastering everything at once and more about building steadily.
When you focus on sun, soil, spacing, and timing, you eliminate most first-year mistakes before they happen. Small, thoughtful steps now lead to stronger harvests later.
And once you pick your first homegrown tomato, you’ll understand exactly why it was worth it.