
The sound of a silent garbage disposal when the sink is full of water and dinner scraps can feel stressful. That missing hum or a sudden click from a tripped breaker usually means something has interrupted the normal cleanup routine. Before calling a professional, it helps to know that many of these issues can be handled at home with simple tools and a bit of care.
Most garbage disposal problems come from a few common causes. These include small objects getting stuck, the motor overheating, or minor clogs in the drain line. When you understand how the unit works, it becomes easier to figure out whether the issue is serious or just a quick fix.
This guide walks through the most practical steps to get your disposal running again. Each section builds on the last, helping you check power, clear blockages, and prevent future problems without making the process complicated.
1. Check for Power and Reset the Unit
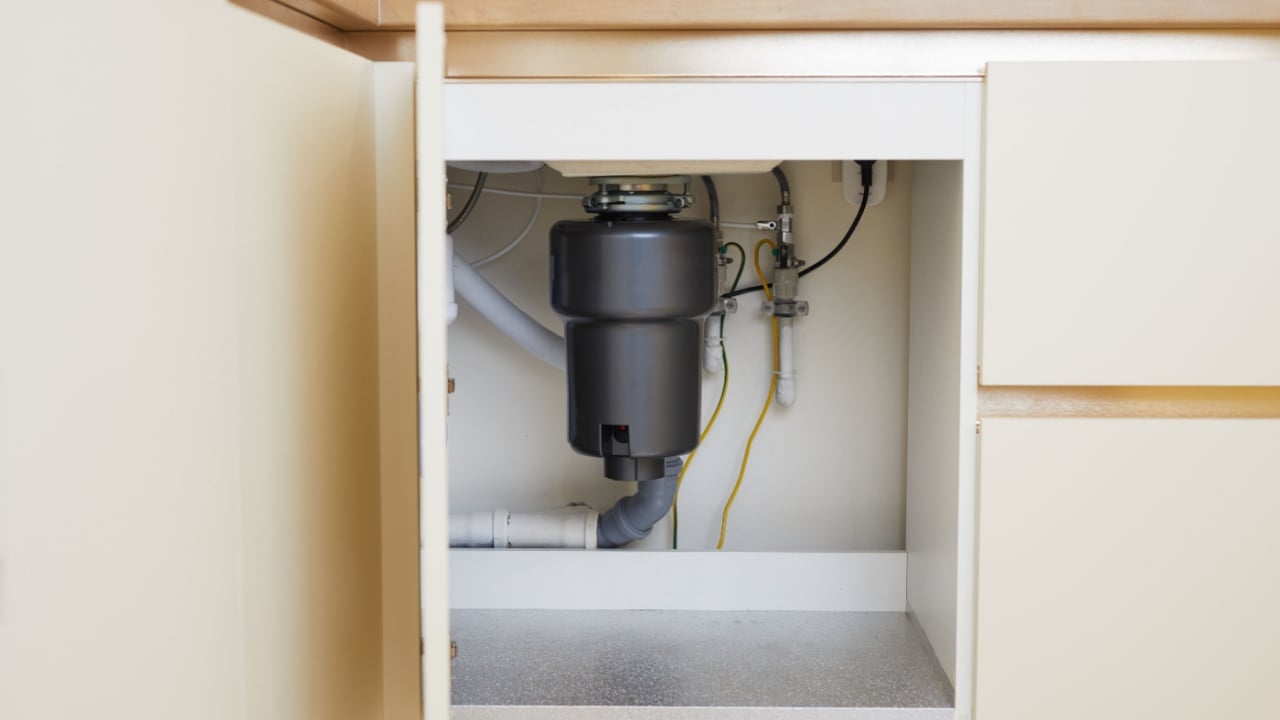
Image Credit: Shutterstock.
A disposal that does not make any sound at all often just needs a power reset. Locate the small red button on the bottom of the unit under the sink. This is a built-in circuit breaker that trips if the motor gets too hot or encounters too much resistance; pressing this button back in restores the electrical connection so the machine can attempt to spin again.
If the red button does not stay pushed in, wait five minutes for the motor to cool down before trying again. Check the main electrical panel of the home to see if the kitchen circuit breaker flipped. Plugging a different small appliance into the same outlet can confirm if the socket itself still has power before you assume the unit is broken.
2. Clear Jams Using a Hex Wrench
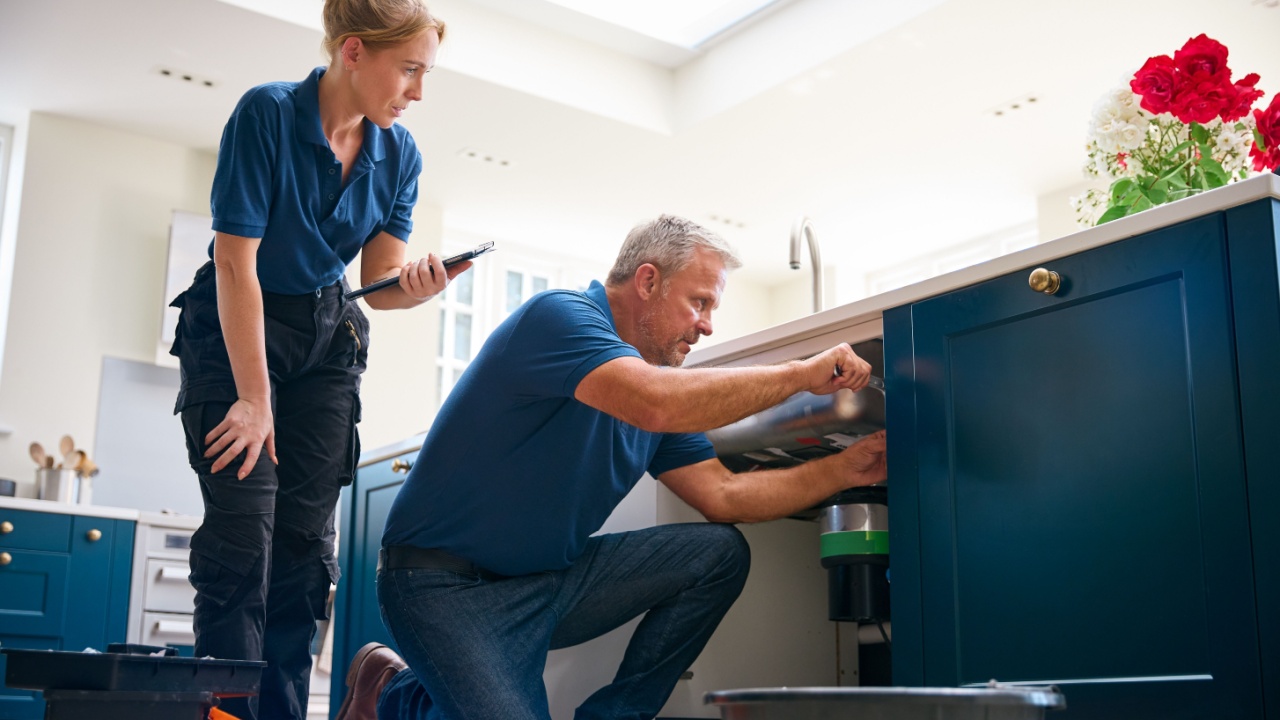
Image Credit: Shutterstock.
If the disposal hums but does not spin, something is likely stuck inside. At the bottom of the unit, there is a small hex-shaped slot. Insert a 1/4 inch Allen wrench and turn it back and forth to move the internal parts manually.
Keep turning until the motion feels smooth and complete. This usually means the blockage has been loosened. If the wrench refuses to move, avoid forcing it too hard, as this could damage the motor.
3. Remove Objects with Pliers
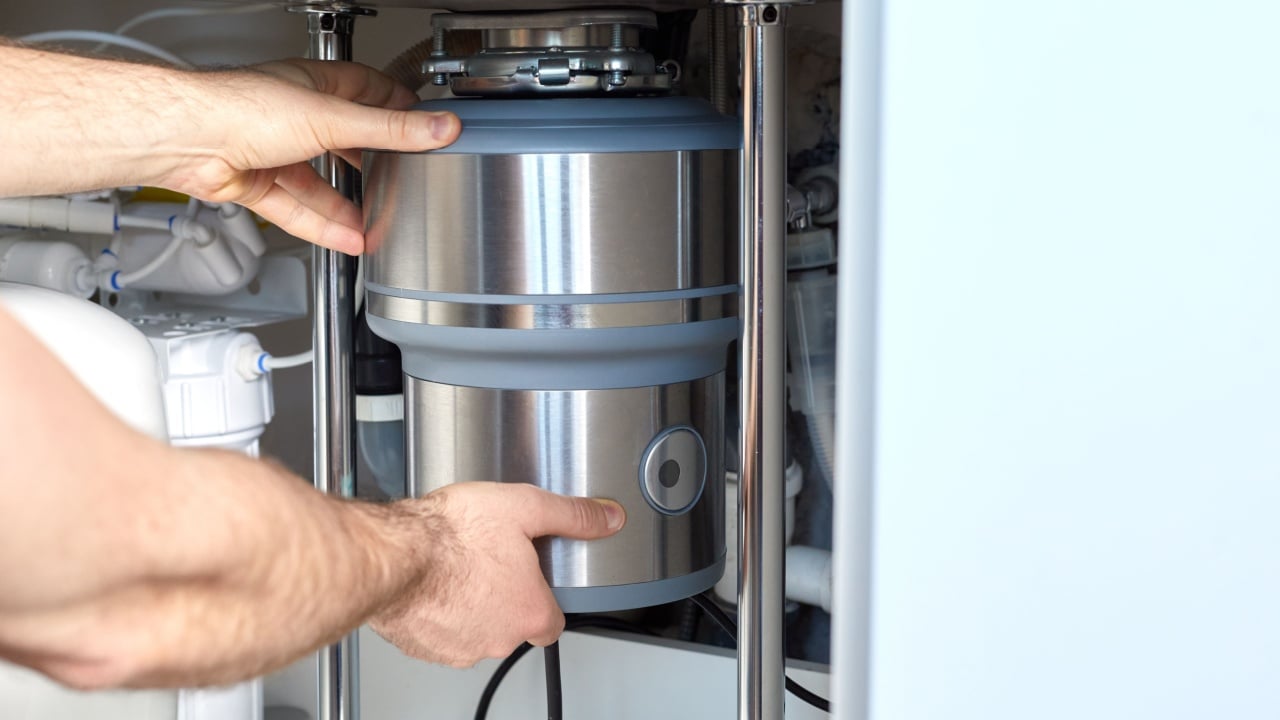
Image Credit: Shutterstock.
Manual rotation sometimes leaves the debris inside the chamber, where it can cause another jam immediately. Shine a flashlight down the drain to spot the offending item, like a coin, a piece of bone, or a metal ring. Use long-handled needle-nose pliers or specialized tongs to reach in and pull the object out safely.
Never put hands down the drain, even if the power is off. Use the pliers to feel around the outer edge of the rotating plate where items tend to get stuck. Once the object is removed, test the rotation again with the hex wrench to confirm the path is clear before you attempt to restore power.
4. Address a Leaking Discharge Pipe
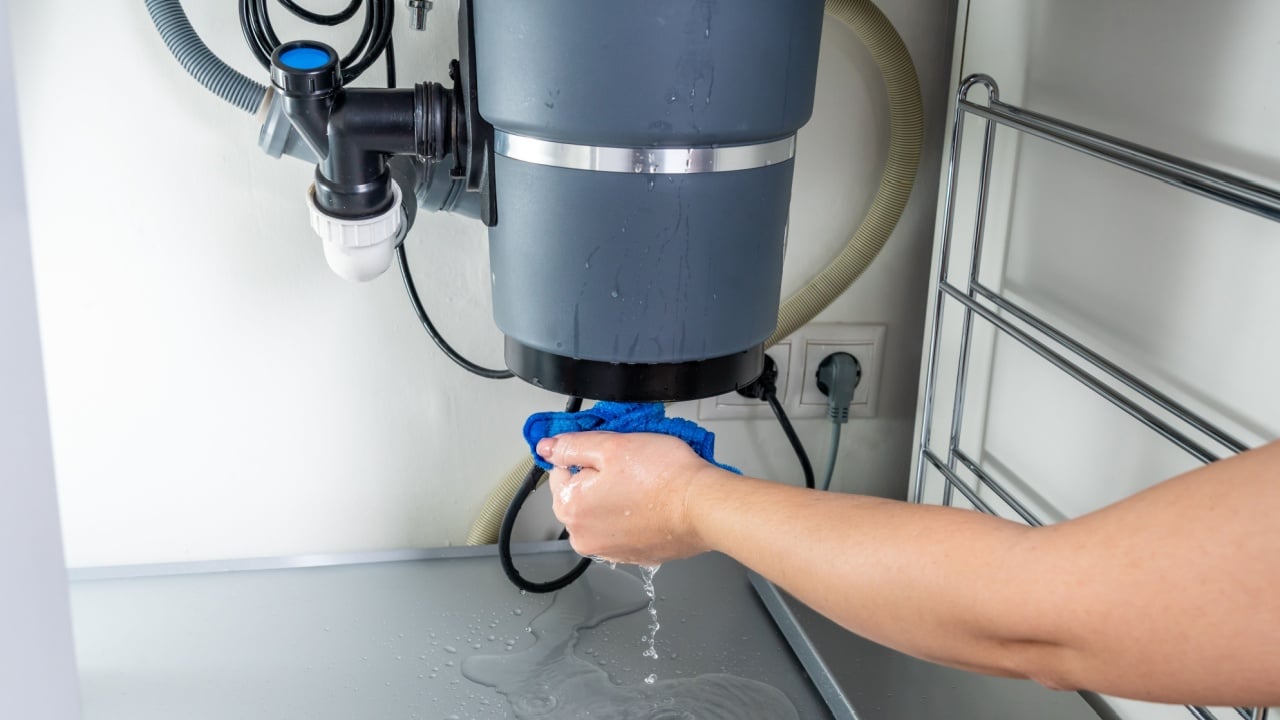
Image Credit: Shutterstock.
Water leaking under the sink often comes from the pipe connected to the side of the disposal. Check the bolts that hold this pipe in place. Over time, they can loosen due to vibration.
If tightening does not work, the rubber gasket inside that connection might be worn out or misaligned. Remove the bolts, pull the pipe away, and replace the old gasket with a new one from a hardware store. Reassemble the connection and run the water to verify the seal is tight and the leak is fully resolved.
5. Fix Leaks at the Sink Flange
Image Credit: Shutterstock.
Leaks from the top of the unit usually point to a worn seal where the disposal connects to the sink. This area relies on plumber’s putty to keep water from seeping through.
To fix it, the unit needs to be lowered and resealed with fresh putty. Apply a new layer around the drain opening, then secure the mounting ring again. Clean away any extra putty for a neat finish.
6. Clear Clogs in the Drain Lines
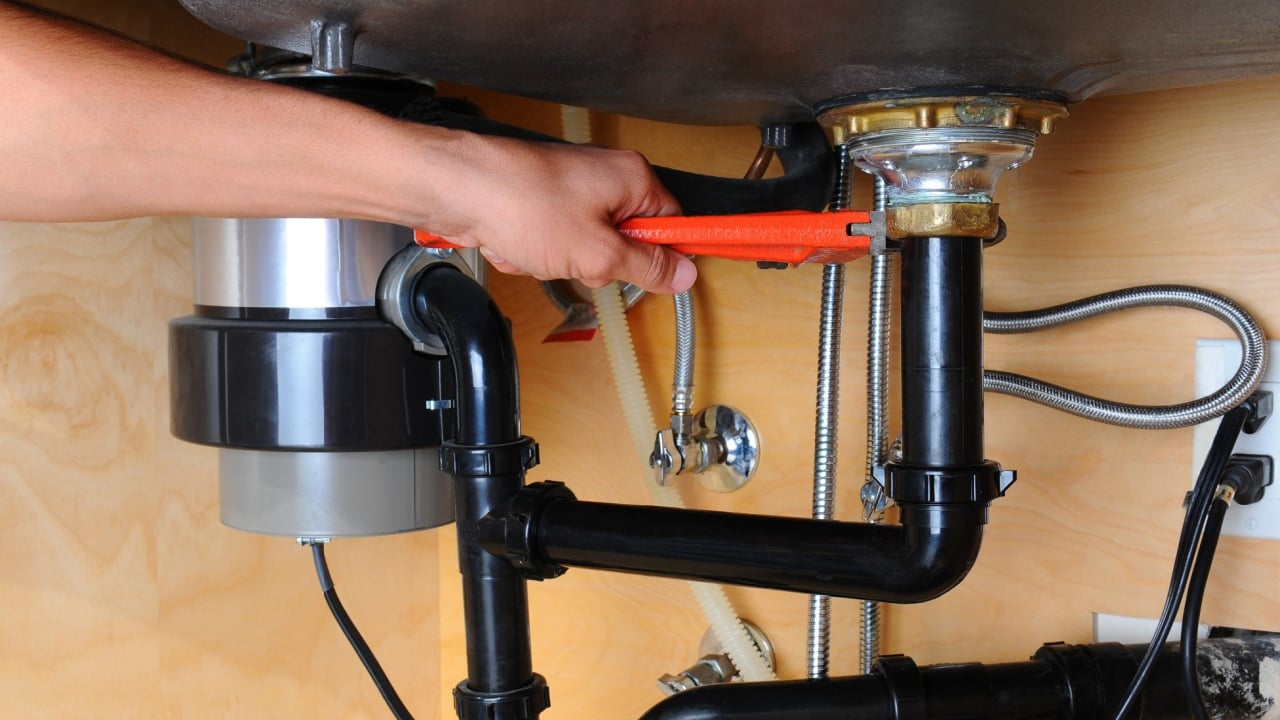
Image Credit: Shutterstock.
Standing water in the sink that remains after the disposal runs indicates a blockage further down the pipe. Disconnect the P-trap, which is the U-shaped pipe under the sink, and check for a buildup of food waste or grease. Empty the debris into a bucket and scrub the inside of the pipe with a flexible brush to restore flow.
If the P-trap is clear, the clog is likely deeper in the wall pipes, requiring a small hand snake to break up the obstruction. Avoid using harsh chemical cleaners, as they can damage the internal components of the disposal and the plumbing seals. Manual cleaning is always the safer and more effective route for the longevity of your pipes.
7. Replace the Flywheel Gasket
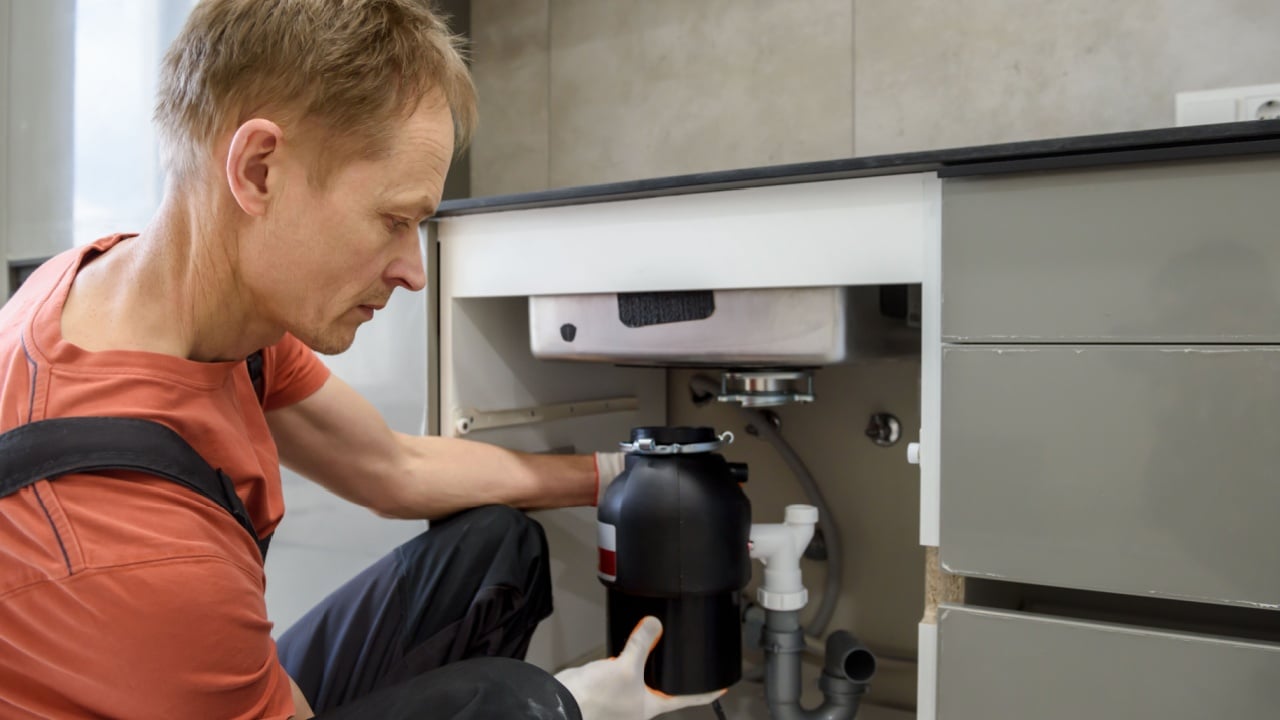
Image Credit: Shutterstock.
A leak coming from the bottom of the disposal often signals a failure in the internal seal around the motor shaft. This is a more serious issue because it allows water to enter the motor housing, which can lead to electrical damage over time.
While it is possible to replace the internal gasket, the process can be complex and may not be worth the effort for older units. Inspect the disposal for signs of rust or long-term wear before deciding. In many cases, replacing the entire unit is the more practical and reliable solution if internal leakage has already begun.
8. Clear the Dishwasher Knockout Plug
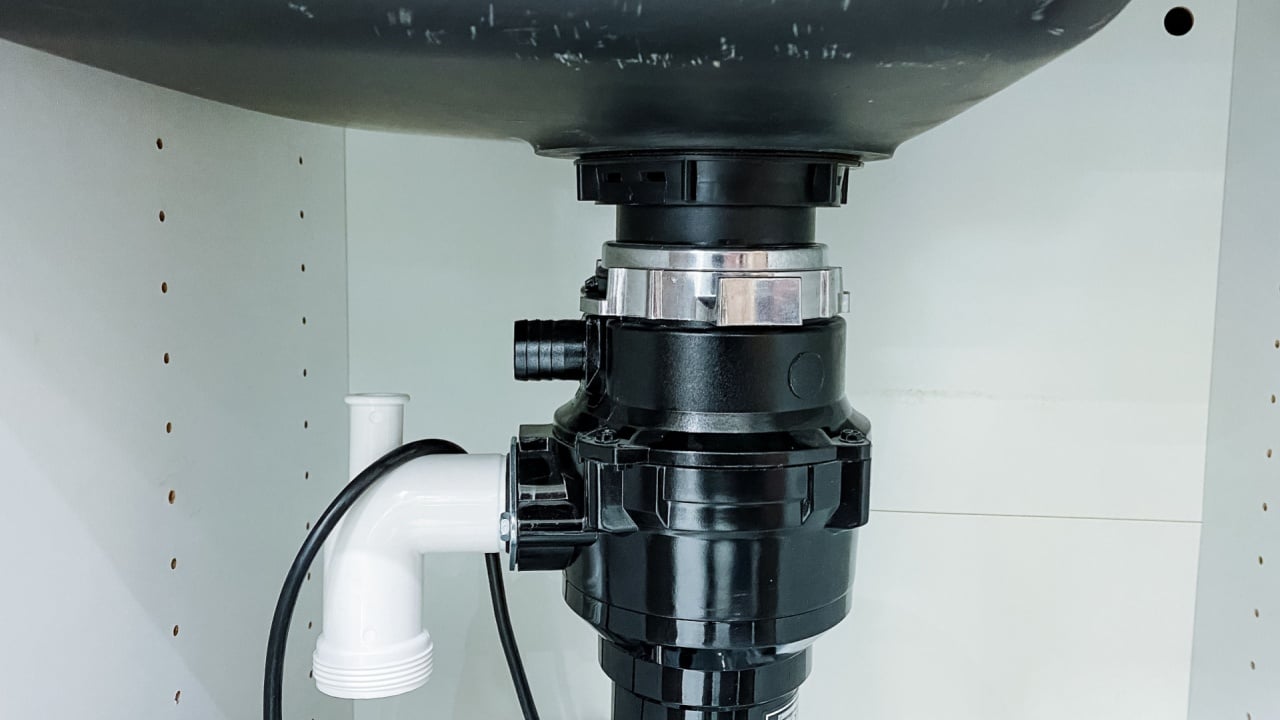
Image Credit: Shutterstock.
If you have recently installed a new disposal and notice that your dishwasher is not draining properly, the issue may be a small overlooked detail. Inside the dishwasher inlet on the disposal is a plastic knockout plug that must be removed during installation.
Use a screwdriver and gentle taps to break the plug loose, then retrieve it from inside the disposal chamber. Leaving this piece in place blocks the flow of water from the dishwasher, causing it to back up. Once removed, check that the hose connection is tight and secure to prevent leaks.
9. Prevent Issues with Cold Water
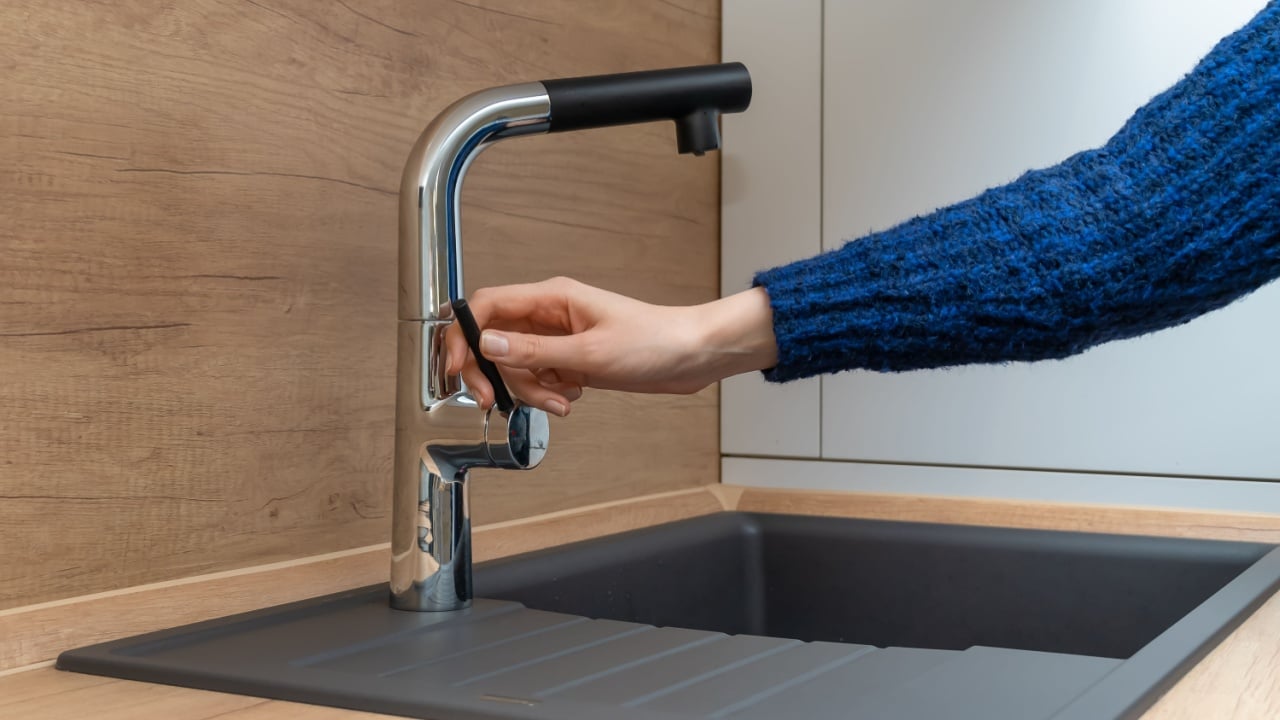
Image Credit: Shutterstock.
Running cold water while using the disposal is a simple habit that makes a noticeable difference. Cold water helps keep fats and oils in a solid state, allowing the blades to break them down properly instead of letting them coat the pipes.
Keep the water running for several seconds after the grinding noise stops. This ensures that all food particles are flushed through the system and do not settle in the pipes. Over time, this practice reduces buildup and keeps the entire drainage system working more efficiently.
10. Use Natural Cleaners for Maintenance
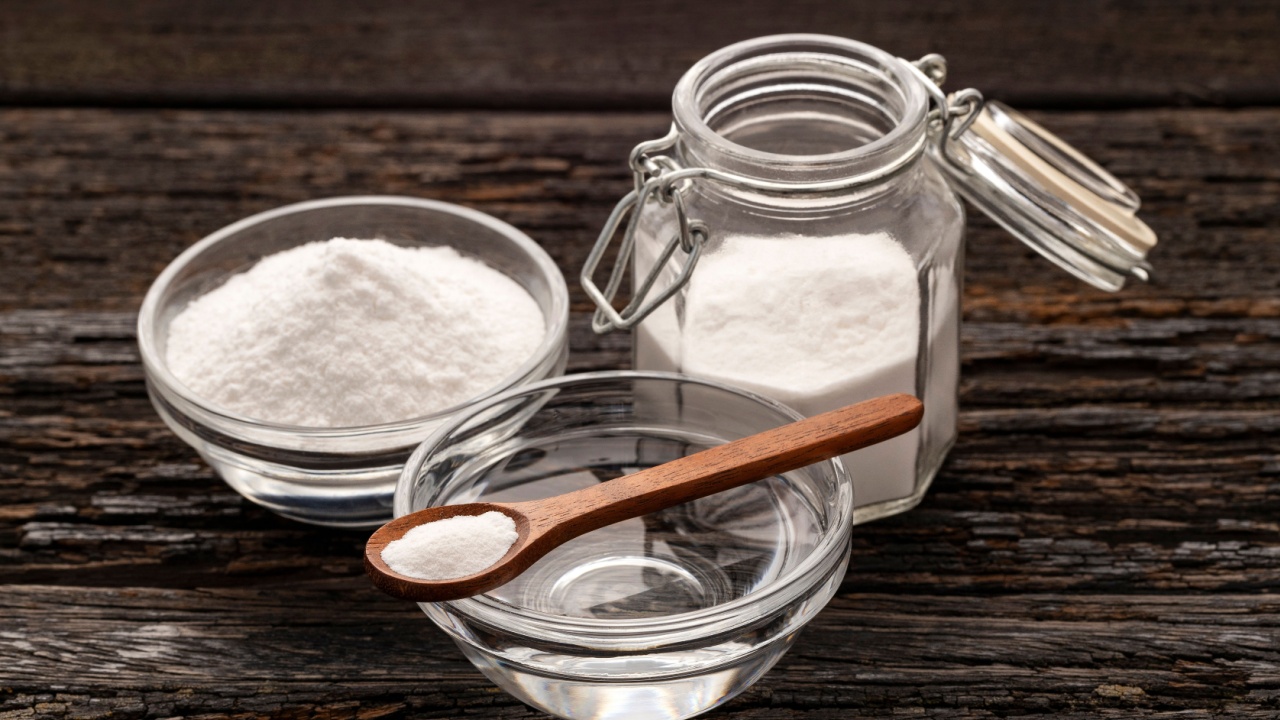
Image Credit: Shutterstock.
Routine cleaning helps prevent odors and keeps the disposal working smoothly. Grinding a handful of ice cubes can help remove debris stuck to the internal surfaces, while citrus peels add a fresh scent without introducing harsh chemicals.
For a deeper clean, use a mixture of baking soda and vinegar. Pour both into the drain, allow the mixture to sit briefly, then rinse with water. This combination helps break down organic buildup in areas that are difficult to reach, keeping the unit cleaner with minimal effort.
11. Manage the Input Materials
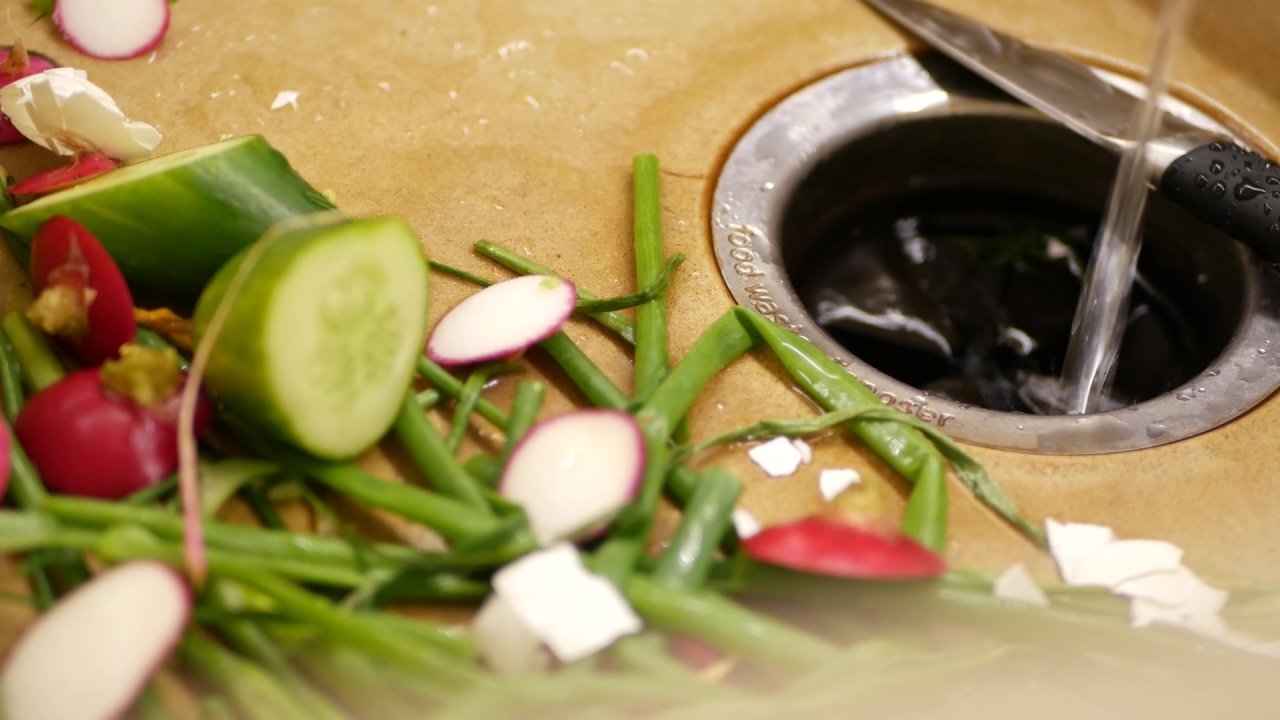
Image Credit: Shutterstock.
One of the most effective ways to avoid disposal problems is to be mindful of what goes into it. Certain foods do not break down easily and can create blockages or wrap around the internal components. Fibrous items like celery and corn husks are especially problematic.
Starchy foods such as rice and pasta expand when exposed to water and can form thick clogs inside the pipes. Coffee grounds and eggshells may seem harmless, but they tend to settle and build up over time. Limiting these materials helps extend the life of the disposal and reduces the need for repairs.
A Simple Fix That Lasts With the Right Care
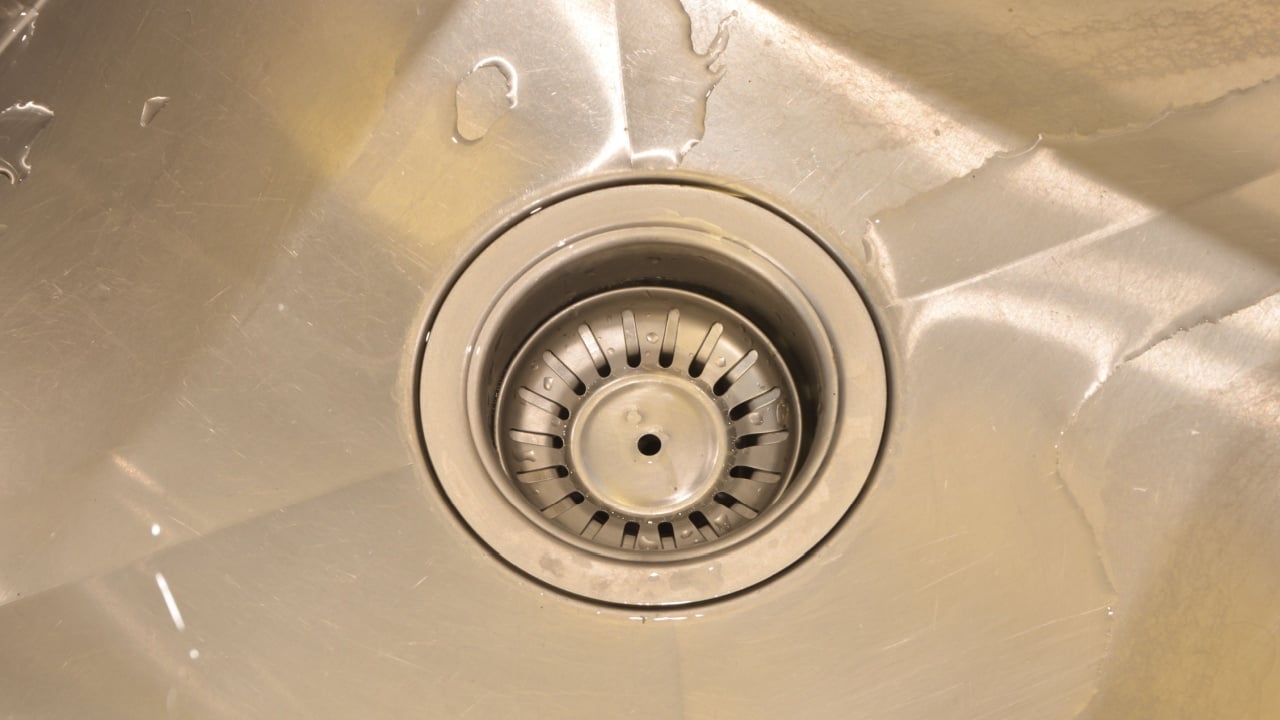
Image Credit: Shutterstock.
Fixing a garbage disposal does not have to be difficult. Most issues come down to simple causes that can be handled with a bit of patience and the right steps. With regular care and better habits, the unit can stay in good working condition for years without unexpected breakdowns.
Read More
This Popular Holiday Food Prep is Ruining the Garbage Disposal
How to Turn Garbage Into Supper: Delicious Ways to Avoid Food Waste and Boost Your Grocery Budget