Most people think a pollinator garden requires tearing up their entire lawn, hiring a landscaper, or knowing the Latin names of plants. None of that is true.
You can start with a five-by-five-foot patch of dirt, a bag of native seeds, and an afternoon, and by midsummer, you’ll have bees and butterflies visiting like clockwork.
Why Your Yard Needs This Right Now
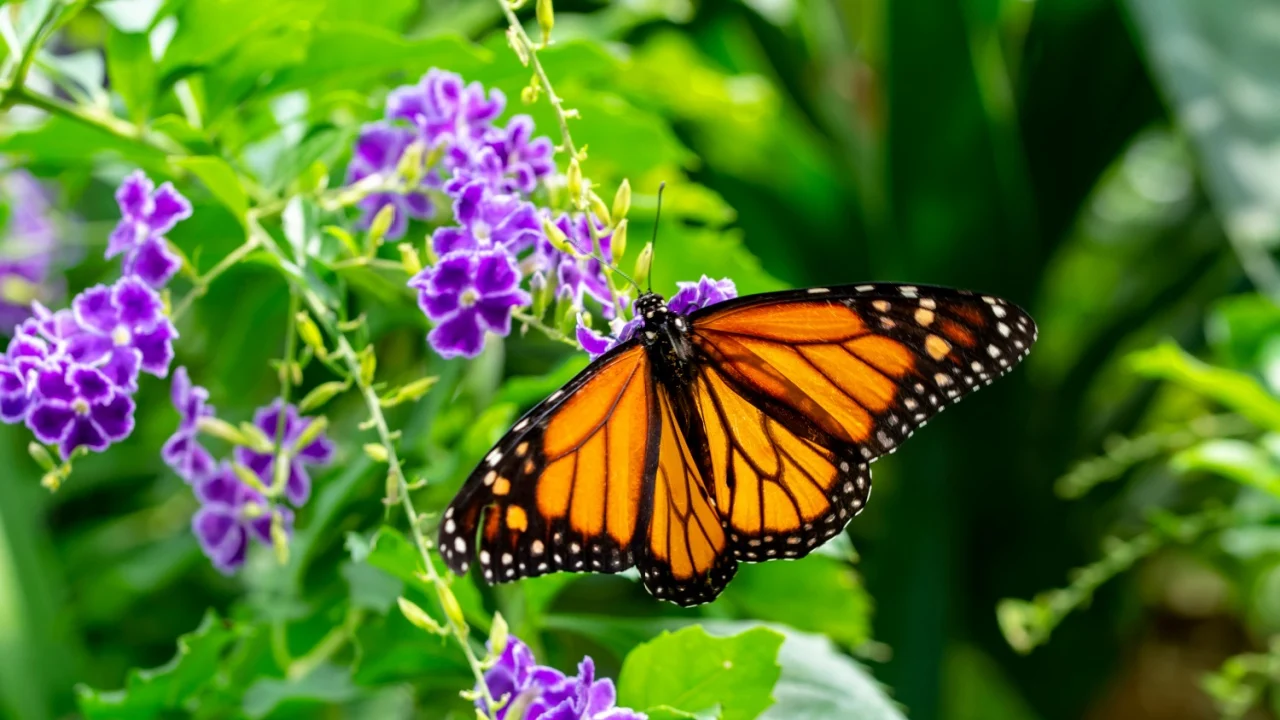
Image Credit: Shutterstock.
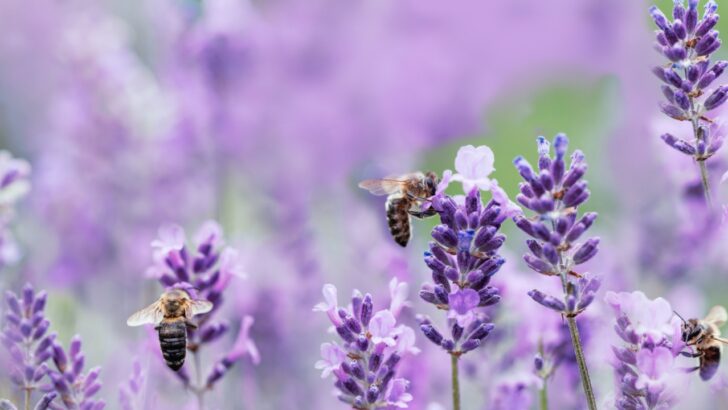
Pollinator populations are in serious trouble.
According to the New York Botanical Garden, the western monarch butterfly population declined by an estimated 99.9% between the 1980s and 2021. Bees, moths, and beetles are facing similar pressures from habitat loss and pesticide exposure. Your yard, however modest, is part of the solution.
As Colorado State University Extension notes, more than 70% of the world’s flowering plants depend on pollinators to reproduce, which means this isn’t just about pretty butterflies. It’s about the health of the food system itself.
The good news is that even a container garden on a sunny porch can make a measurable difference.
Step 1: Pick a Sunny Spot
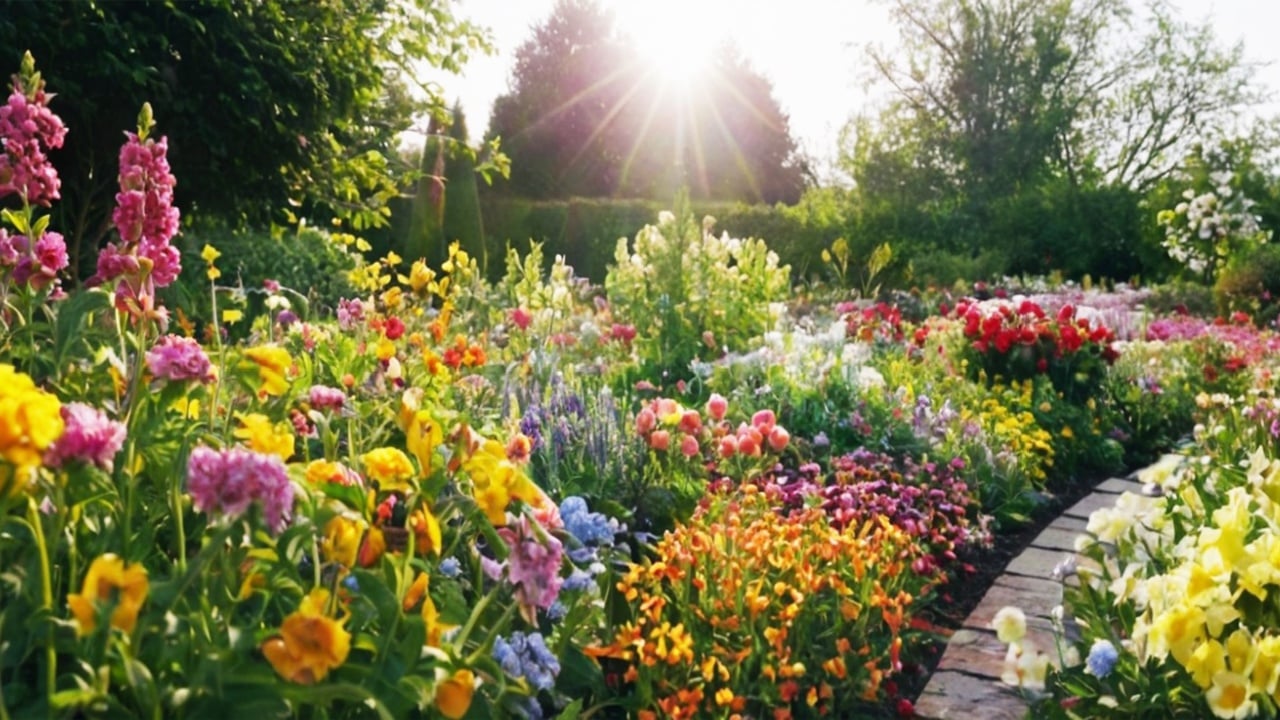
Image Credit: Shutterstock.
Most pollinators, especially bees and butterflies, are sun-lovers. According to the U.S. Fish and Wildlife Service, flowering plants and their pollinator visitors perform best in full or partial sun, with some protection from wind. Aim for a spot that gets at least six to eight hours of direct light daily.
Don’t have a lot of ground space? The Old Farmer’s Almanac confirms that even a few well-placed pots on a sunny porch or a small window box can provide meaningful food and shelter for local pollinators. Start where you are.
Step 2: Prepare the Bed Without All the Digging
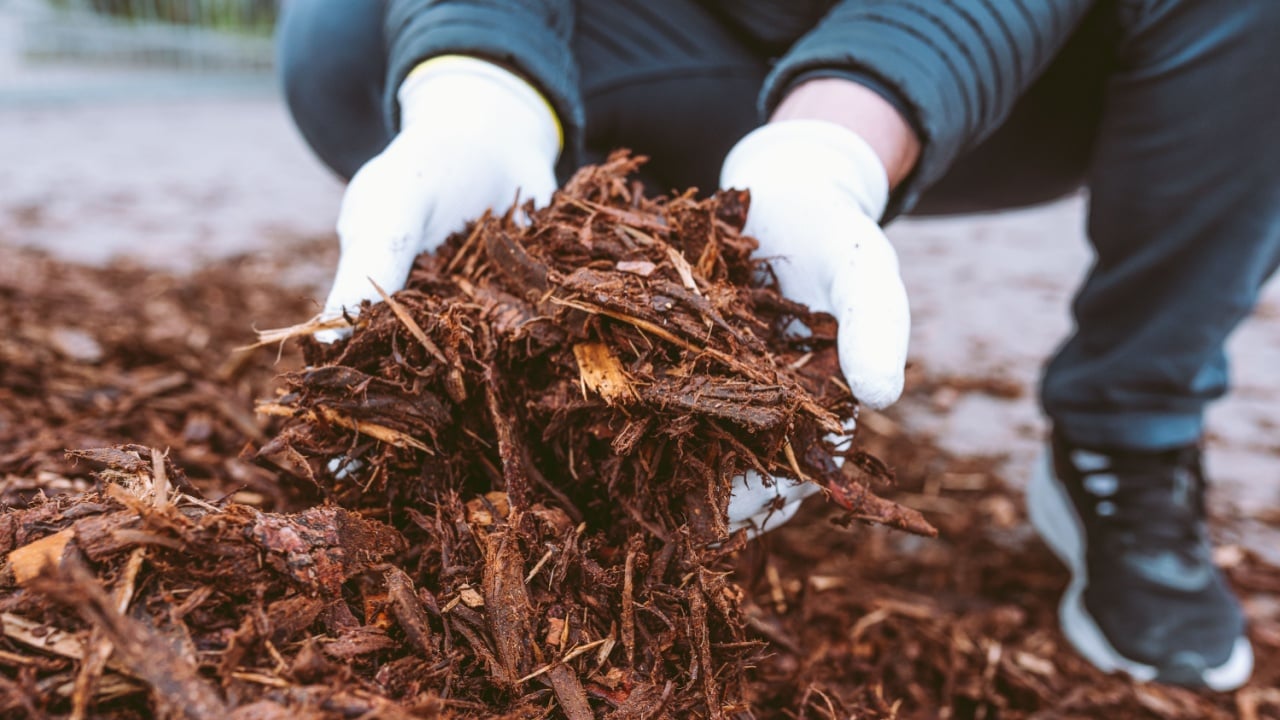
Image Credit: Shutterstock.
Here’s the part that surprises most first-time gardeners: you do not have to dig up your lawn to create a new planting bed. Sheet mulching, sometimes called lasagna gardening, lets you build a garden right on top of existing grass.
The method is simple. Mow the grass short, lay down a single layer of non-glossy cardboard with all tape removed, overlap the edges so grass can’t sneak through, and cover it with three to four inches of undyed wood chips. Water it occasionally, and the cardboard will smother the grass below while it biodegrades into soil. Lay it in spring, and your bed will be ready to plant by fall, or lay it in fall for a spring planting. No shovels, no sore backs.
Step 3: Choose Native Plants First
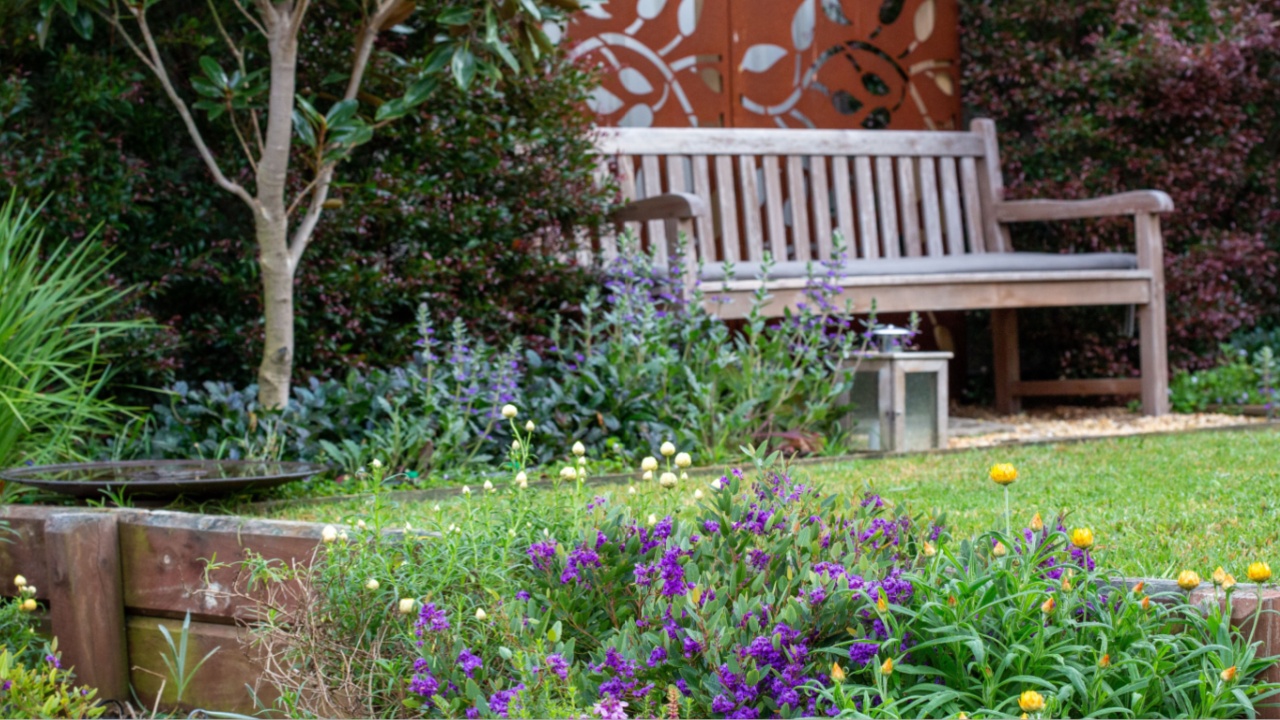
Image Credit: Shutterstock.
This is the single most important decision you’ll make for your pollinator garden, and the research is unambiguous. According to Penn State Extension, native plants are four times more attractive to pollinators than non-native species. That’s not a marginal difference. It means a garden full of common nursery annuals is essentially a food desert compared to one planted with native wildflowers, even if both look equally colorful from the street.
Native plants have co-evolved with local pollinators over thousands of years. They produce the right pollen, at the right time, in the right quantities. They also require far less water and maintenance once established, since they’re already adapted to your region’s rainfall and soil.
Ask your local nursery for native options, or look for a “pollinator kit” curated for your region, as the Sierra Club recommends. Native plant societies and Wild Ones chapters in your area are also excellent, often free, resources.
Step 4: Plan for Blooms from Spring Through Fall
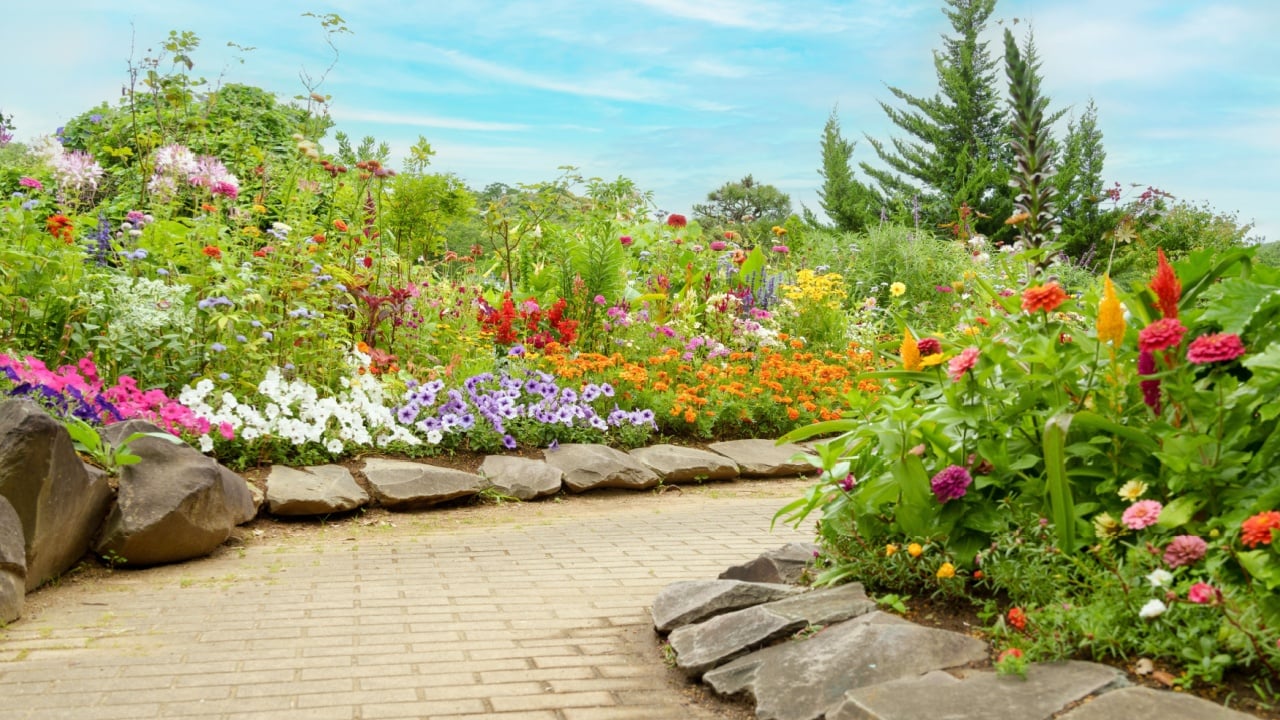
Image Credit: Shutterstock.
A pollinator garden that only blooms in July is like a restaurant that only opens on Tuesdays. Pollinators need food throughout the entire growing season, from the first warm days of spring through the last blooms of fall.
The U.S. Forest Service advises using a wide variety of plants that bloom from early spring into late fall, and planting them in clumps rather than as single specimens. Grouping three to five plants of the same species makes it far easier for pollinators to find and work efficiently. Some reliable early-season options include pasque flower and serviceberry. Mid-season standouts include bee balm, milkweed, and blazing star. For late-season support, goldenrod and asters are exceptional, flowering long after most other blooms have faded.
Step 5: Skip the Hybrid Flowers with Doubled Petals
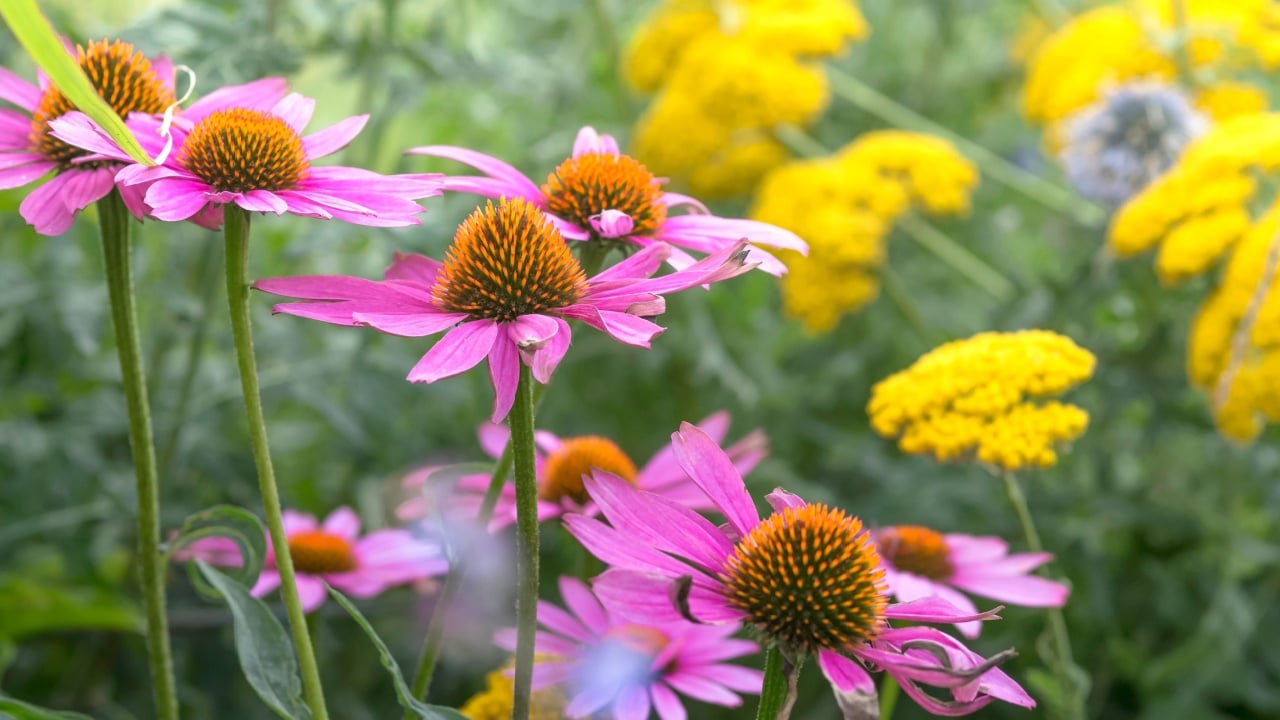
Image Credit: Shutterstock.
This is a mistake even experienced gardeners make. Those lush, ruffled double-petaled flowers at the garden center, the ones that look almost too perfect, have often been bred in ways that reduce or eliminate their pollen, nectar, and fragrance. The U.S. Forest Service explicitly warns against modern hybrid flowers with “doubled” blooms, noting that plant breeders have inadvertently stripped out the very things pollinators are looking for.
A flower that looks spectacular to you may be nutritionally empty to a bee. When in doubt, choose the simpler, single-flowered variety over the showier cultivar.
Step 6: Plant Densely and Leave the Mess Alone
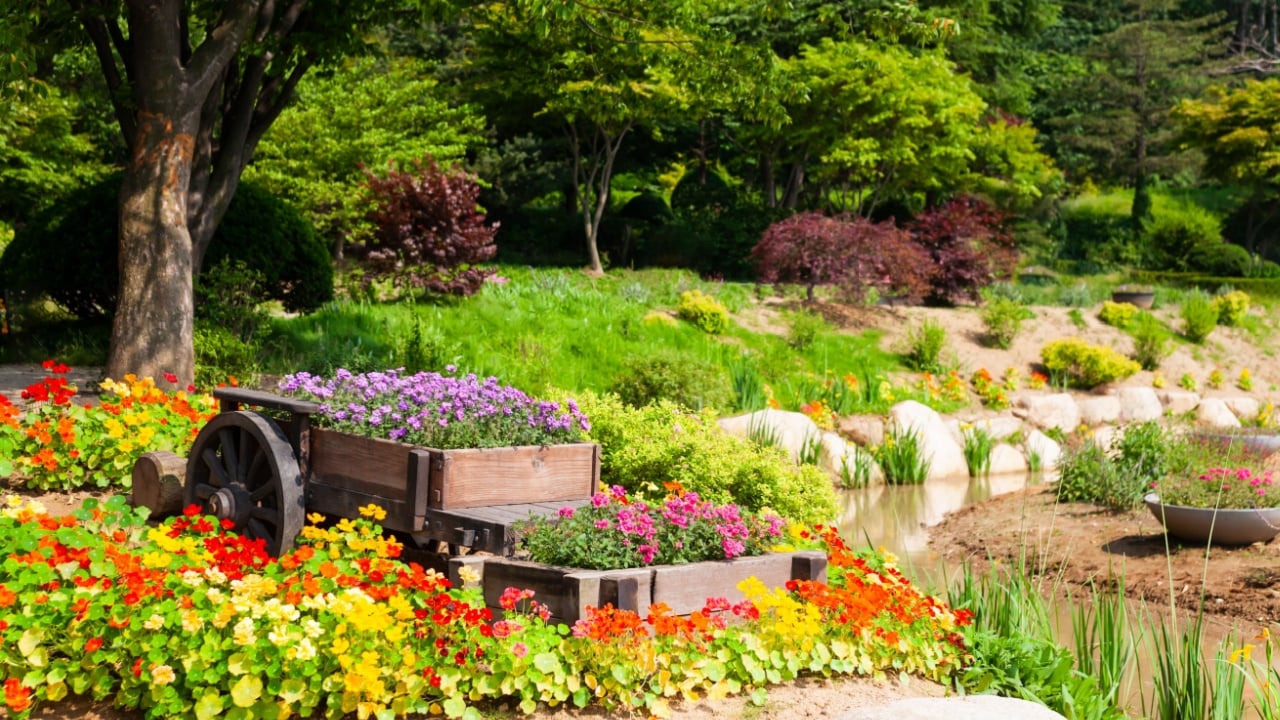
Image Credit: Shutterstock.
Dense planting is both beautiful and practical. According to pollinator conservationist Heather Holm, the closer you plant, the fewer weeds you’ll have to deal with, because the plants themselves shade out the soil and outcompete unwanted growth. Plant in layers, replicating how plants grow in nature: taller shrubs and grasses at the back, medium perennials in the middle, and low groundcovers at the edges.
Then, come autumn, resist the urge to tidy everything up. Many bees, moths, and butterflies overwinter in hollow stems, leaf litter, and bare patches of soil. Cutting everything down in fall or early spring destroys the very shelter your garden is meant to provide. Leave the stems standing until temperatures are consistently above 50 degrees F in spring. What looks like neglect is actually habitat.
Step 7: Cut Out the Pesticides Entirely

Image Credit: Shutterstock.
There is no such thing as a “pollinator-safe” pesticide schedule if you’re spraying regularly. That includes mosquito foggers, which, as the Sierra Club notes, kill pollinators along with mosquitoes. Even pesticide residues on nursery-bought plants can linger in plant tissue for years, causing harm long after the spray has dried.
The practical upside is that native plants don’t need chemical intervention. As your garden matures, it will attract birds and predatory insects that manage pest populations naturally. If you’re purchasing plants from a nursery, ask directly whether they’ve been treated with neonicotinoids, a class of systemic insecticides particularly harmful to bees.
Step 8: Add Water and a Place to Rest
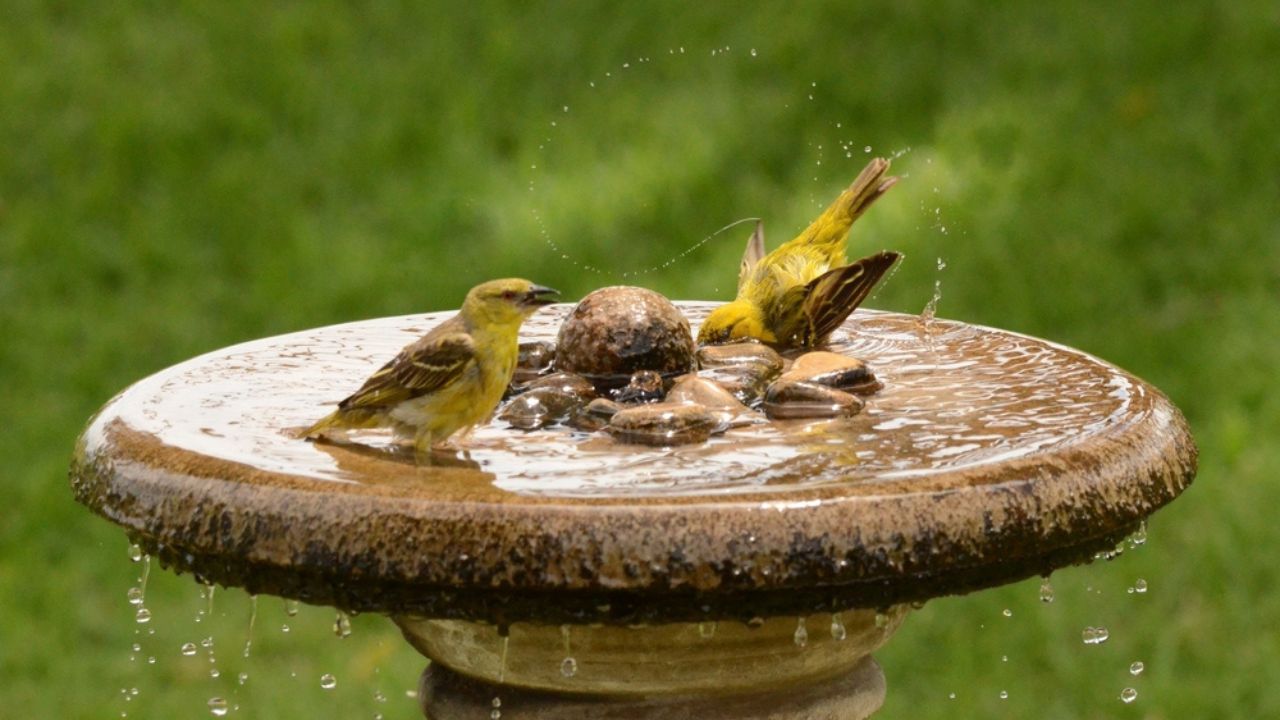
Image Credit: Shutterstock.
Pollinators need more than pollen and nectar. They need water, and they need somewhere to land. A shallow birdbath works well, but add a few clean stones or pebbles to one side so small insects can climb out rather than drowning. The Old Farmer’s Almanac suggests a solar-powered fountain or misting attachment as a simple, low-maintenance option that also provides a gentle water source.
Flat stones placed in sunny spots give butterflies a place to bask and warm their wings, which they need to fly. Dead tree limbs, if safe to leave in place, provide nesting sites for native bees. Most North American bees are solitary and nest in the ground or in hollow stems, not in hives. A simple bee house, drilled with holes of varying diameter in untreated scrap lumber, gives solitary species a place to raise their young.
The Garden That Takes Care of Itself
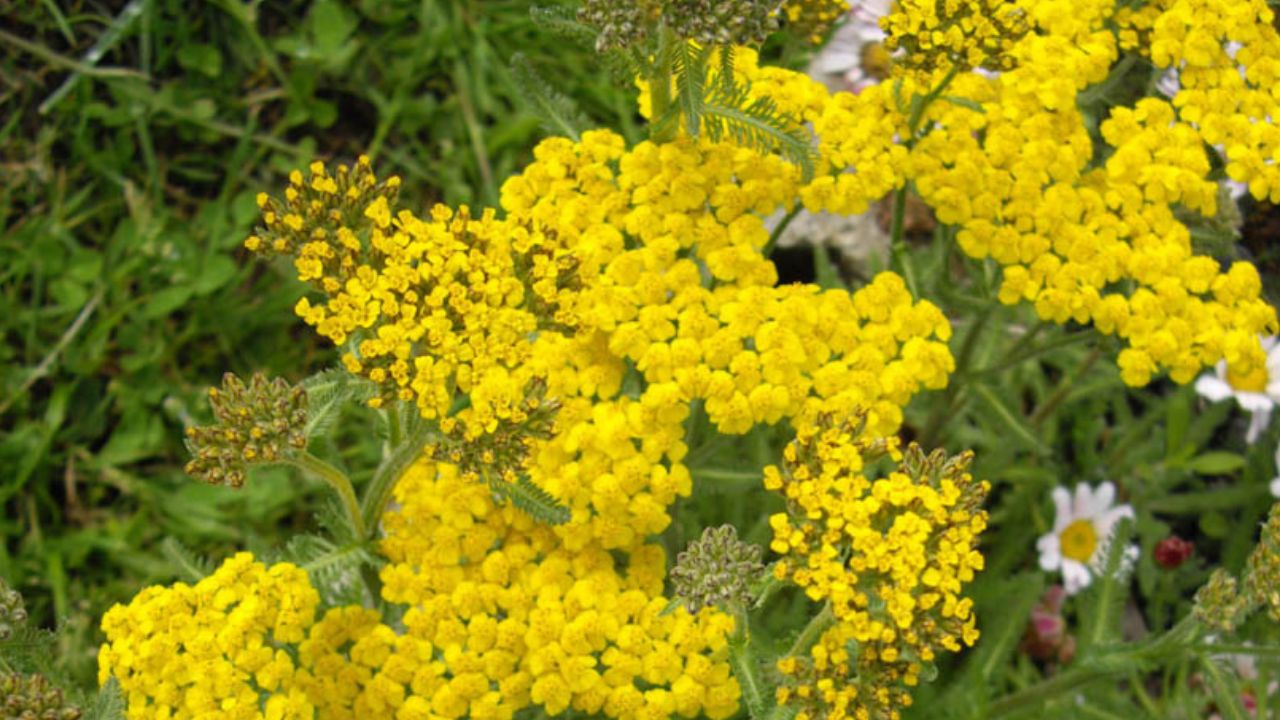
Image Credit: Ghislain118 http://www.fleurs-des-montagnes.net – Own work, CC BY-SA 3.0/Wiki Commons.
Here is the thing no one tells you until you’re a few seasons in: a pollinator garden gets easier every year. Native perennials come back stronger, spread on their own, and require progressively less water and attention as their roots establish. Some, like yarrow and bee balm, will divide themselves and fill in gaps without any help from you.
The goal was never a perfect garden. It was a living one. Once pollinators find your space, they’ll keep finding it, and the neighbors, sooner or later, will start asking what you planted.
Read more:
Direct Sow These 9 Seeds in June Before the Window Closes for Good
June Is National Pollinator Month. Are You Accidentally Harming the Bees You Want to Help?