The most expensive mistake you can make with new perennials isn’t neglect. It’s the wrong kind of attention. Gardeners who water daily, fertilize faithfully, and watch obsessively over their new plants are often the same gardeners whose perennials don’t survive year 1, and they never understand why. The problem isn’t effort; it’s effort applied in exactly the wrong direction.
Here’s what’s really happening beneath the soil: a new perennial isn’t being lazy when it sits all summer quietly without putting on a show. It’s doing the most important work of its entire life, building a root system that will sustain it for the next 50 to 90 years. Every plant that dies in year 1 doesn’t just cost you the $15 to $40 you paid for it; it costs you a decade of beauty and a winter of regret.
Right now is the moment that separates the gardeners with stunning, self-sustaining perennial beds from the ones who replant the same spots every spring and can’t figure out why nothing lasts. Year 1 care isn’t about feeding and coddling. It’s about specific, targeted support that lets roots go deep and wide before summer heat and winter freeze have their say. Get these first weeks right, and you’ll be rewarded with plants that come back stronger every year, plants that eventually take care of themselves.
What follows are seven of the most common first-year perennial mistakes, the kind that nursery professionals see play out in their customers’ gardens year after year but rarely spell out clearly at the point of sale. If you’ve just planted or are about to, these are the things worth knowing before your plants pay the price.
1. Watering Too Lightly, Too Often

Image Credit: Shutterstock.
Daily sprinkling feels like diligent care. It is, in fact, one of the fastest ways to grow a weak perennial that will struggle every summer for the rest of its life.
When water only penetrates the top inch or two of soil, roots stay near the surface to find it. Those shallow roots can’t access deeper moisture during dry spells, can’t anchor the plant against wind, and can’t pull the nutrients found in lower soil layers. You end up with a plant that needs you to water it forever.
Penn State Extension recommends one inch of water per week for established plants, applied deeply rather than in daily doses. For brand-new transplants, water thoroughly every two to three days during dry weather, letting the top inch of soil dry out between sessions. This teaches roots to reach downward, which is exactly the behavior you’re trying to encourage in year 1. According to the Dyck Arboretum of the Plains, after the first two weeks of daily watering post-planting, gardeners should taper gradually to every other day and then less frequently, monitoring each plant for signs of wilting.
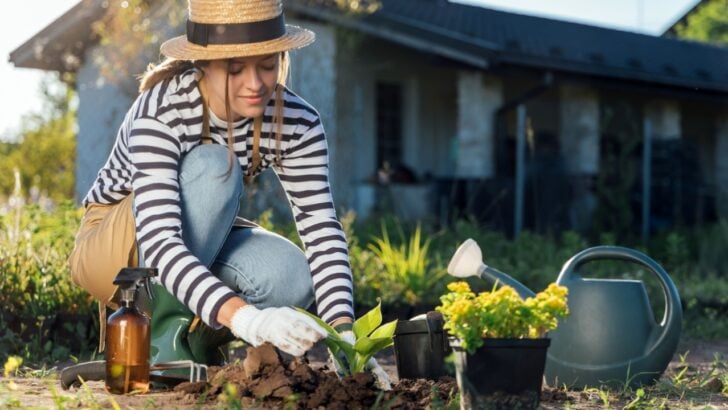
2. Skipping the Deep Soak at Planting
The first watering is the one time you genuinely cannot overdo it with a new perennial.
When a new plant goes into the ground, its root ball needs to make full contact with the surrounding soil, and that contact is made through water. A dry planting hole filled with dry soil and a dry root ball is a recipe for transplant failure, even if you water normally every day after that.
UConn Extension describes the establishment period as the moment when a newly transplanted plant pushes roots beyond the original root ball to anchor itself into the surrounding soil. That process cannot begin if there’s an air gap or moisture barrier between the root ball and the ground. Water deeply at planting, flooding the hole before you backfill, then water again after. If the root ball was very dry at purchase, soak it in a bucket of water for 30 minutes before it ever goes in the ground. According to Michigan State University Extension, dried-out root masses at the center of container plants often cannot rehydrate from overhead watering alone.
3. Over-Fertilizing in Year 1
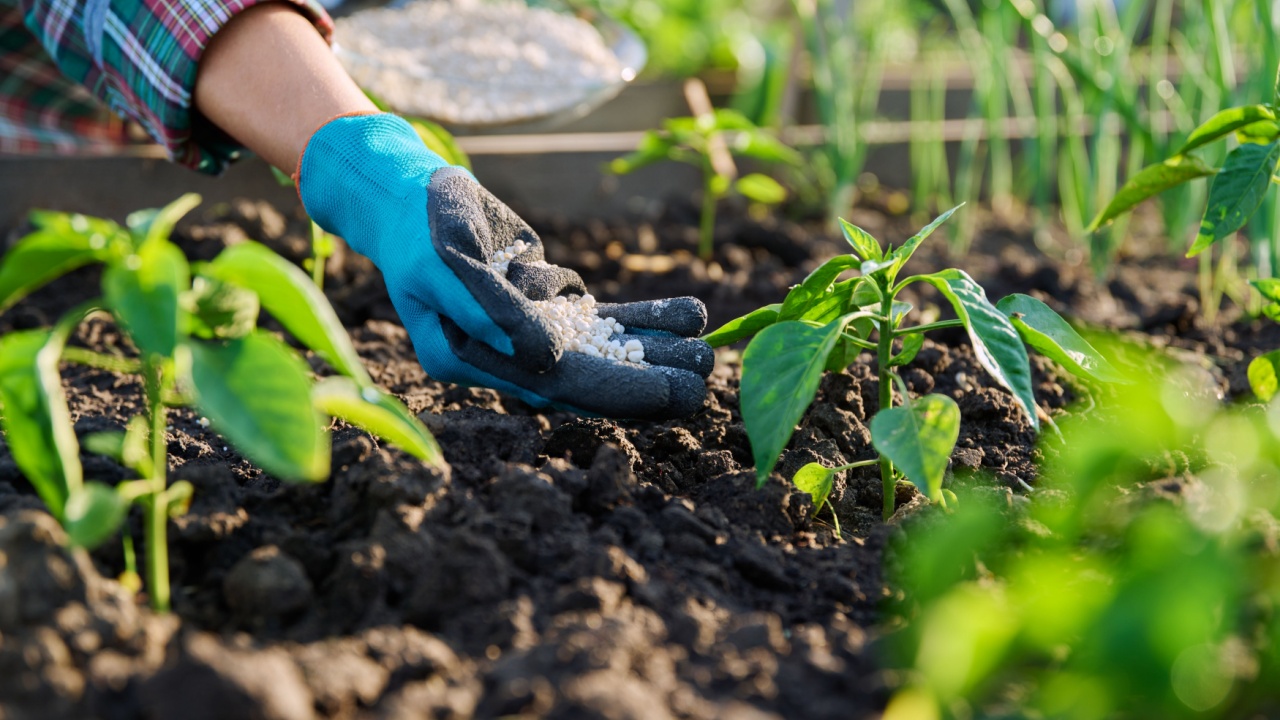
Image Credit: Shutterstock.
Nitrogen-heavy fertilizer applied to a new perennial looks like it’s working; the plant produces a rush of lush green growth almost immediately. But that top growth is being produced by a root system that isn’t remotely ready to sustain it. The result is a stressed, vulnerable plant that’s putting on a show above ground while struggling below it. By the time the damage becomes visible, it’s often too late in the season to recover.
According to the Dyck Arboretum of the Plains, fertilizing native perennials in year 1 is actively counterproductive: those plants are built to find their own nutrients, and forcing top growth on immature roots sets their development back significantly.
Your grandmother’s garden didn’t come with a bag of NPK. It came with a thick layer of compost worked into the bed before anything went into the ground. That old-fashioned approach, amend the soil, then leave the plant alone, is still the right one. If you feel compelled to fertilize at all, Michigan State University Extension recommends a slow-release formula applied as a side dressing at planting time, nothing more.
Remarkably, the roots of many native prairie perennials reach 15 feet deep under natural conditions, pulling everything they need from the soil on their own.
4. Mulching Against the Crown
Mulch is one of the best things you can do for a new perennial. Volcano mulching, piling it against the stem in a mound, is one of the worst.
When mulch is packed against the crown (the junction where roots and stems meet), it traps moisture against tissue that needs to breathe. Crown rot sets in slowly and is often mistaken for winter damage or poor establishment, because the plant may not die until spring, long after the real cause has been buried under inches of mulch and good intentions.
The New York Botanical Garden‘s recommended approach is simple: two to three inches of mulch around the plant, pulled back from the crown so that there’s a clear ring of soil showing around the base. Think of it as a donut; the plant sits in the hole, and the mulch covers the surrounding area without touching the center. According to the Old Farmer’s Almanac, this donut method protects roots and conserves moisture while keeping the crown dry enough to prevent rot.
5. Staking After Plants Already Need It
Image Credit: Shutterstock.
The most common staking mistake isn’t failing to stake at all. It’s waiting too long.
By the time a tall perennial is flopping, its roots have colonized the surrounding soil, and driving a stake into the ground at that point is certain to damage them. Staking after the fact is also significantly less effective: stems that have already kinked or bent at the base rarely straighten fully.
The rule most experienced gardeners know, and rarely share, is this: stake at planting, or when stems are still short enough that the plant can grow through and around the support structure by mid-season. Tomato cages, hoop supports, and bamboo-and-twine setups placed in spring become invisible by July, hidden by the plant they’re supporting.
According to Penn State Extension, placing supports early prevents both root disturbance and stem damage. For clump-forming plants like peonies, a grow-through hoop set at ground level in early spring keeps the entire plant upright without a single visible stake by bloom time.
6. Planting a Root-Bound Ball Without Loosening the Roots
When a perennial has been in its nursery container long enough to become root-bound, the roots are circling the inside of the pot. Left that way, they will continue to circle after planting, and eventually girdle the crown, cutting off the plant’s own water and nutrient supply from below. This is a slow death that can take two to three years, during which the plant looks fine, then declines mysteriously, then fails.
The fix is 30 seconds of work: loosen the root ball with your fingers before planting, untangling circling roots, and spreading them outward. A few broken roots are acceptable and heal quickly. According to the University of Maryland Extension, this step is often skipped because it looks drastic, but it produces measurably healthier root systems in the years that follow.
7. Giving Up on a Perennial That’s Just Dormant
Right now, in May, gardening forums are full of posts from people asking if their new perennial is dead. A surprising number of them are about to make the most expensive mistake of their first season: digging up a plant that is very much alive.
First-year perennials and slow-establishing species like peonies, baptisia, and hellebores can look like nothing is happening for months. The crown sits at soil level, no top growth appears, and the temptation to declare failure and replant is overwhelming. Before you pick up the trowel, do two tests. Press the crown firmly with your thumb. If it’s firm, the plant is dormant, not dead. Scratch the lower stem lightly with a fingernail. If you see green underneath the surface, the plant is alive.
According to Make It a Garden, a mushy or hollow crown is the one true sign of rot; everything else is patience. The old gardening adage says it best: the first year they sleep, the second year they creep, the third year they leap. For species like baptisia or peonies, this is a literal three-year timeline. Digging up a sleeping perennial destroys a year’s worth of underground root infrastructure and starts the clock over entirely.
The Investment That Pays for Decades
Image Credit: Shutterstock.
The first-year perennial checklist is shorter than most gardeners expect. Deep watering two to three times per week in the absence of rain. Two to three inches of mulch, kept clear of the crown. No fertilizer if the soil was amended before planting. Stakes are placed early for tall varieties. And, above all, patience with plants that appear to be doing nothing.
Perennials are one of gardening’s greatest bargains, but only if they make it past year 1. A well-established garden of hardy perennials can last 50 to 90 years with minimal intervention. Year 1 isn’t the hard part. It’s the infrastructure year. Everything happening below the soil right now is building the root system that will carry your garden through drought, heat, cold, and years of benign neglect.
Give your new perennials deep water, light mulch, and room to sleep this summer. By next May, you’ll see the creep. By year three, the leap.
Read more:
Why wildlife experts are telling people to take down their bird feeders
Plant these 10 companion plants with your tomatoes — and stop planting these 4