Those perfectly round holes in your deck aren’t a minor nuisance. They are an open invitation — to next spring’s carpenter bee infestation, to moisture and rot, and to a woodpecker problem you didn’t know was coming.
Carpenter bees bore into unpainted, exposed wood every spring to create nesting tunnels where they lay their eggs. The bees overwinter inside those tunnels, and when the next generation emerges, they return to the same wood, expand the existing galleries, and start the cycle again. Left unchecked for several seasons, a single deck’s worth of small holes can balloon into a repair bill anywhere from $200 to $5,000, depending on the extent of structural and water damage — and homeowners’ insurance typically doesn’t cover it, since insurers classify pest damage as a preventable maintenance issue.
The good news: carpenter bees are highly manageable if you catch them early and follow the right sequence. Most homeowners make one critical mistake that keeps the problem coming back year after year. Read on.
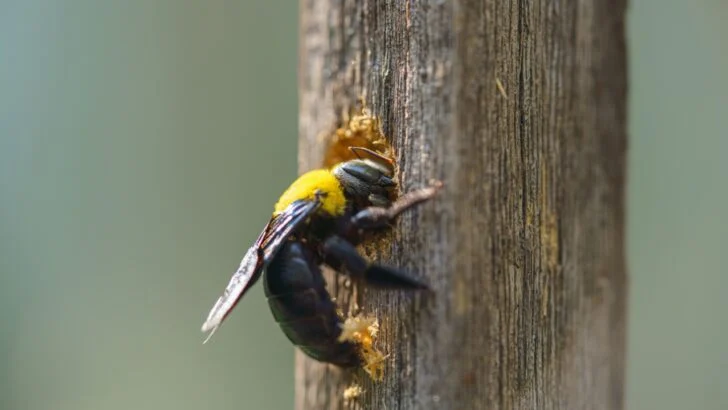
Step 1: Identify the Infestation Before You Touch Anything

Image Credit: Shutterstock.
Start by walking the perimeter of your home and looking for the telltale signs: perfectly round entry holes about the diameter of a dime, usually on the undersides of decks, soffits, fascia boards, eaves, porch ceilings, and fence posts. Below active holes, you will find fine sawdust (called frass) and yellow-brown pollen stains. On warm afternoons, you may actually hear the bees chewing inside wood.
One overlooked secondary sign of carpenter bees is woodpecker activity near your eaves or siding. Woodpeckers can hear carpenter bee larvae moving inside the tunnels and will peck through wood to reach them, turning a half-inch bee hole into a two-inch gouge. If you are seeing woodpecker damage, your carpenter bee problem is almost certainly more advanced than it looks from the outside.
The large, hovering bees dive-bombing you near the deck are almost certainly males, which cannot sting. Females can sting, but rarely do unless physically grabbed. According to Dr. Keith Delaplane, professor of entomology at the University of Georgia, in over 30 years of research, he has never documented a single sting from a carpenter bee. The aerial acrobatics are territorial posturing, nothing more.
Step 2: Suit Up and Time Your Treatment Right

Image Credit: Shutterstock.
Timing matters more than most homeowners realize. The best window for treatment is early spring, when bees are actively drilling and will carry insecticide back into their tunnels. A secondary ideal window is late August through September, when adult bees vacate tunnels and females begin searching for winter shelter; treating and sealing holes during this window prevents infestation at the source the following spring, according to pest control specialists at Better Termite & Pest Control.
Whatever the season, treat in the evening. Carpenter bees return to their tunnels at dusk, which means more bees will be home to contact the treatment. Before you begin, put on protective clothing, including gloves, eye protection, and long sleeves at a minimum. A full bee suit provides the most thorough protection if you have a large infestation.
Step 3: Apply Insecticidal Dust Directly Into the Tunnels
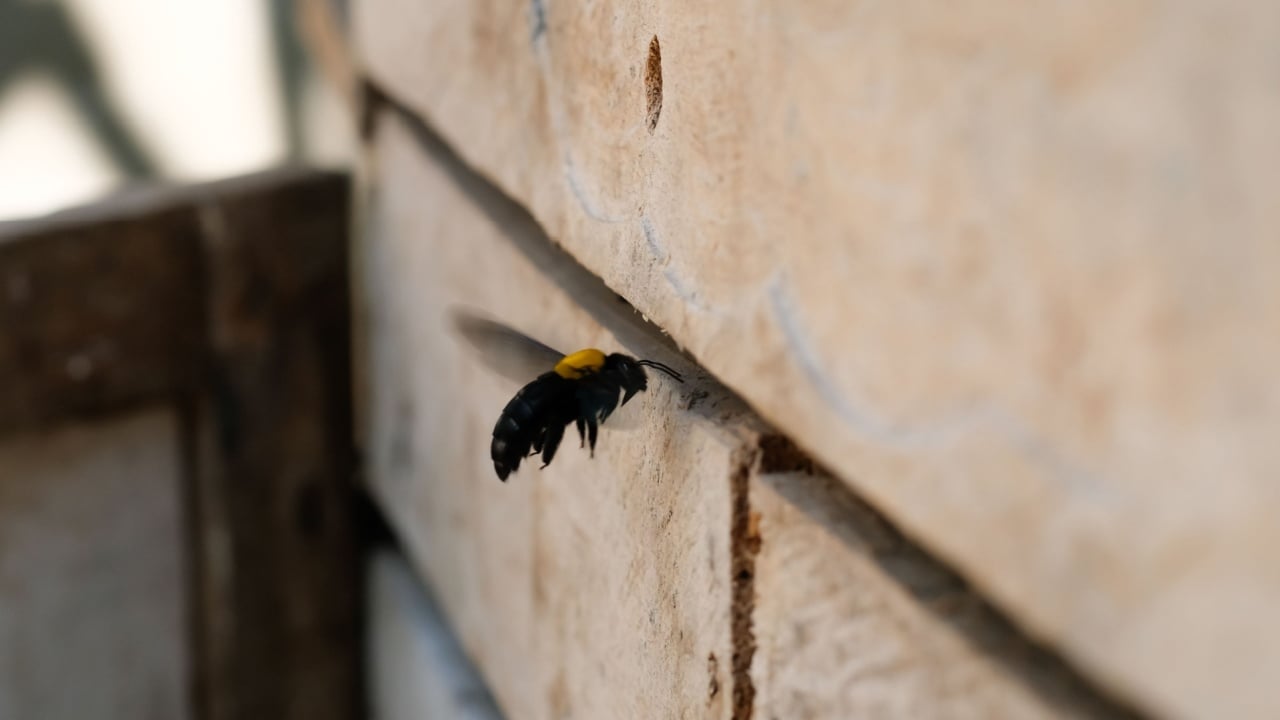
Image Credit: Shutterstock.
When pest control professionals were asked by the editors of Homes & Gardens to name the single most effective method for eliminating carpenter bees, dust insecticide was the near-unanimous answer. “The best way to get rid of carpenter bees is to use a powder pesticide dusted into the hole,” says Matt Smith, founder of Green Pest Management. “The liquid ones absorb into the wood too quickly and don’t have nearly the shelf life of a powder.”
Apply insecticidal dust using a hand bellows duster, inserting the nozzle as far as possible into each entry hole. Although the openings appear shallow, they almost always extend several inches before making a 90-degree turn with the grain of the wood. The goal is to coat the interior of the tunnel so that any bee moving through it contacts the dust. In spring, plan on two applications spaced three to four weeks apart to cover the full active season.
If you prefer a non-chemical approach, diatomaceous earth applied to the tunnels will kill bees and larvae by damaging their exoskeletons. A citrus spray made from boiling citrus peels in water, cooling the mixture, and applying it to the tunnel opening can also deter activity, though it requires consistent reapplication to remain effective, according to Marc McCollough at Lowe’s.
Step 4: Never Seal Carpenter Bee Holes Right Away
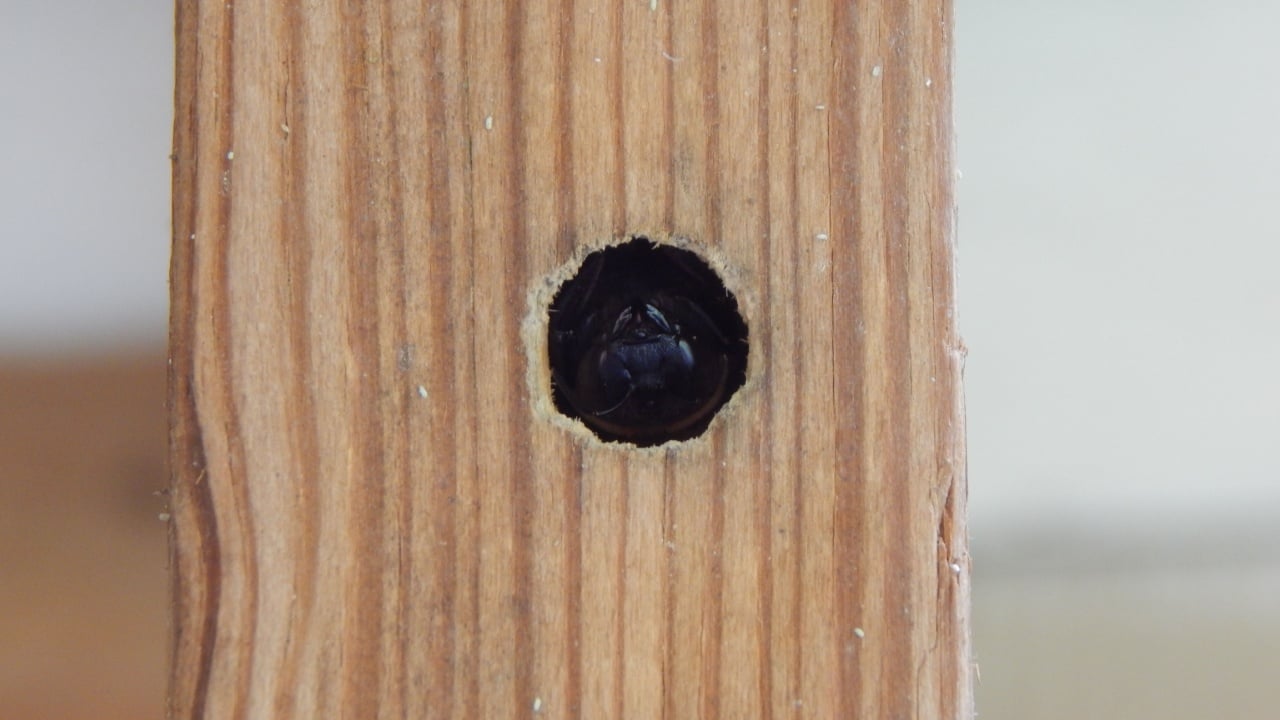
Image Credit: Shutterstock.
Here is the step that separates the homeowners who solve their carpenter bee problem from those who have the same problem again next year: do not plug the holes immediately after treatment.
“Many people will think that if they plug up their hole now, they will be gone forever,” says Matt Smith of Green Pest Management, speaking to Homes & Gardens. “That isn’t the case — they can very easily just drill another hole.” By leaving treated tunnels open for at least three to seven days, you allow foraging bees to return to their nest, contact the dust, and carry it further into the gallery. Sealing too soon traps healthy bees inside, who will simply chew an exit hole through nearby wood and restart the cycle.
Wait until you see no activity around the entry hole for two to three consecutive days before moving to the sealing step.
Step 5: Seal the Holes Properly
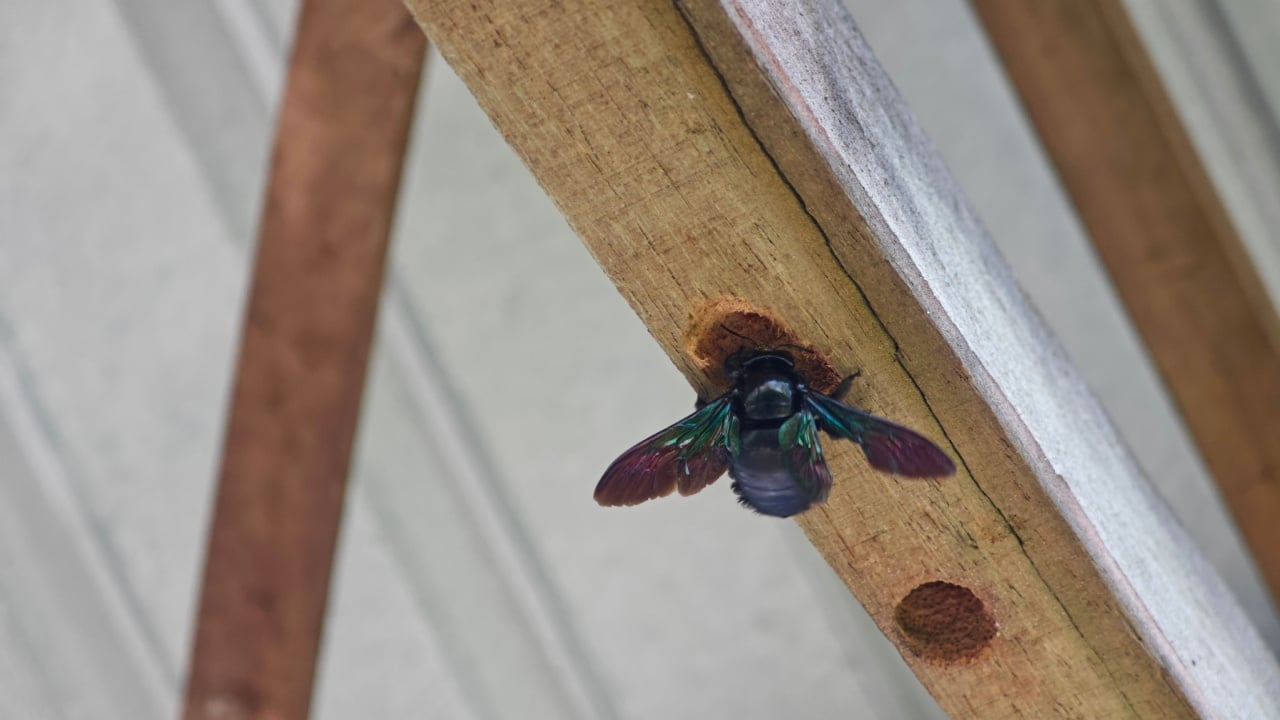
Image Credit: Shutterstock.
Once the tunnels are clear, seal every entry point without exception. Unsealed holes leave a pheromone trail inside the wood that signals to the next generation of carpenter bees that this is a good place to nest. Even if you repaint the surface afterward, bees navigating by scent will locate and reopen old galleries.
Three effective sealing methods work well: fill holes with an exterior-grade caulk; use pre-mixed wood putty applied with a putty knife and slightly overfilled to allow for sanding; or cut a wooden dowel to size, coat it with waterproof wood glue, press it snugly into the hole, let it cure, and sand flush. All three approaches restore structural integrity and block moisture from entering the tunnel.
For the exposed end grain of beams and structural timbers, which carpenter bees target aggressively, metal caps or wire mesh flashing provide an additional physical barrier. Dr. Keith Delaplane of the University of Georgia recommends protecting the rough ends of timbers with wire screening for long-term deterrence.
Step 6: Repel Future Bees With Paint and Surface Treatments
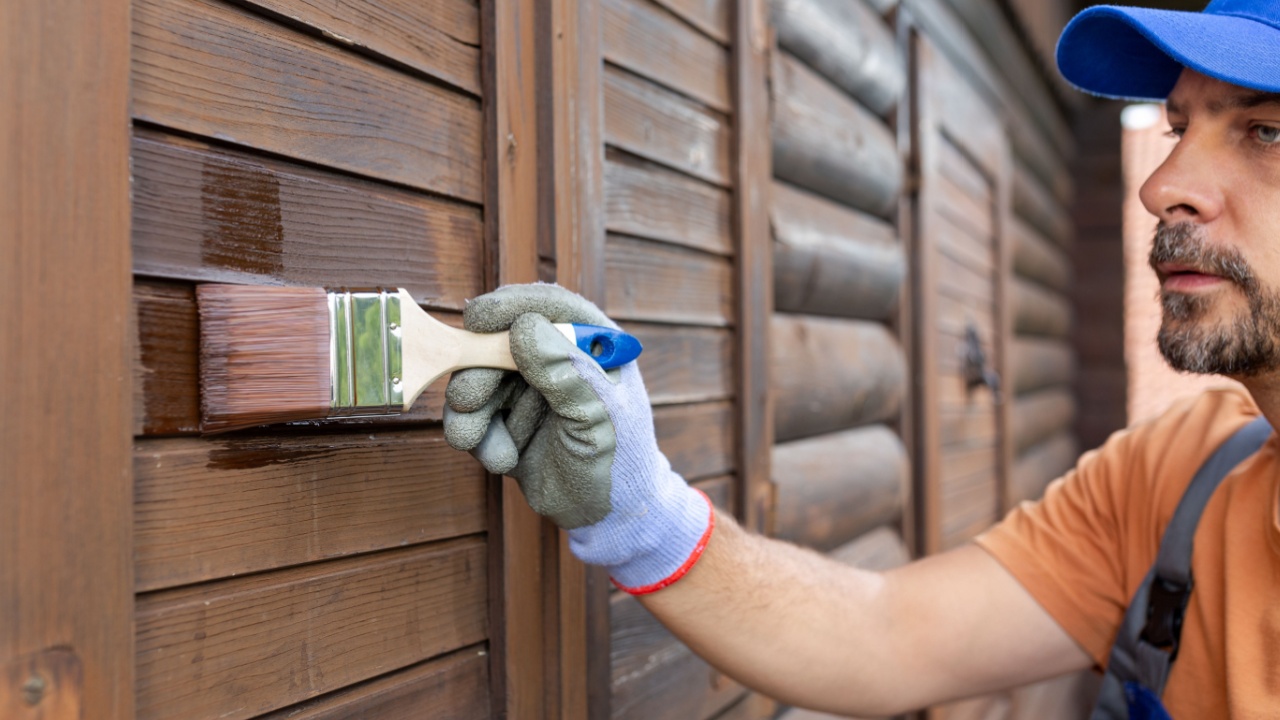
Image Credit: Shutterstock.
The single most effective long-term prevention measure costs you nothing beyond a Saturday afternoon and a can of exterior paint. Carpenter bees strongly prefer bare, weathered wood because unpainted surfaces are easier to drill. According to Dr. Dan Suiter, professor of urban entomology at the University of Georgia, carpenter bees also avoid strong scents. A DIY spray combining peppermint, tea tree, or citrus essential oils in water, applied directly to wood surfaces, can add a layer of deterrence between paint jobs.
A finished surface isn’t permanent protection. Carpenter bees will target weathered or chipped paint over time. Plan on touching up exterior paint and caulk every five to seven years, paying special attention to the undersides of structures where surfaces tend to degrade first.
If you are building or replacing structures, use composite lumber, PVC trim, vinyl, or fiber-cement materials wherever possible. These materials are essentially impenetrable to carpenter bees, writes Marc McCollough at Lowe’s. For existing infestations, carpenter bee traps hung in spring on the sunniest side of structures can reduce the active bee population as a companion measure alongside dust treatment.
Step 7: Know When to Stop DIY and Call a Professional
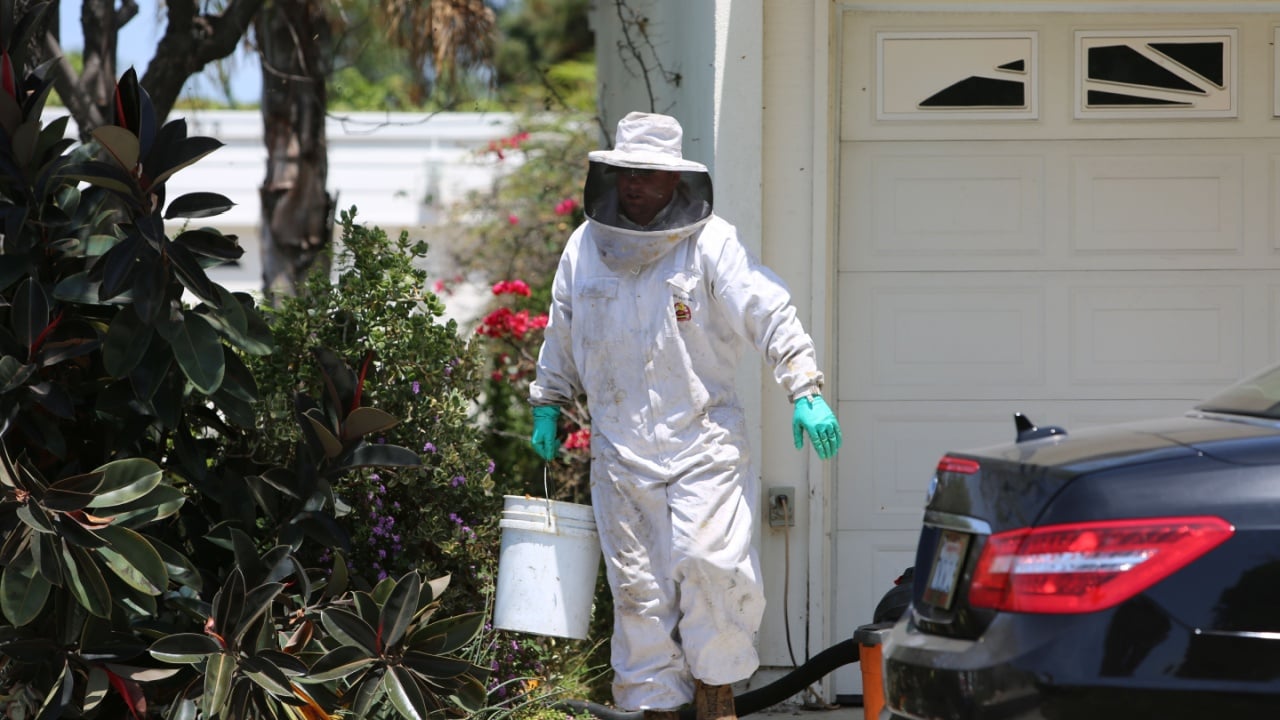
Image Credit: mikeledray at Shutterstock.
DIY treatment is effective for moderate infestations on reachable surfaces. However, if you are seeing carpenter bee holes high on a two- or three-story structure, if you have multiple seasons of accumulated tunnel networks, if woodpecker secondary damage has already begun, or if structural wood shows any signs of sagging or weakness, the scope of the problem has moved beyond what a hand duster and a tube of caulk can solve.
A professional pest control visit for carpenter bees typically costs between $100 and $450 for treatment alone, according to industry data compiled by Waltham Pest Control. Waiting while damage compounds and moisture works its way into unsealed tunnels can push the combined treatment and repair cost to $2,500 or more. Professional technicians can also apply protective surface coatings and set up a multi-visit treatment schedule that prevents reinfestation through the following season.
Act now, while March is just waking the bees up. The earlier you intercept them, the less they will have drilled, the simpler your repairs will be, and the smaller your bill. A few hours of diligent work this spring can break the cycle entirely and keep those round holes off your deck for good.
Read More
Plant these 10 companion plants with your tomatoes — and stop planting these 4
13 Plants That Grow Better (and Faster) Hydroponically — and Why March Is the Perfect Time to Start