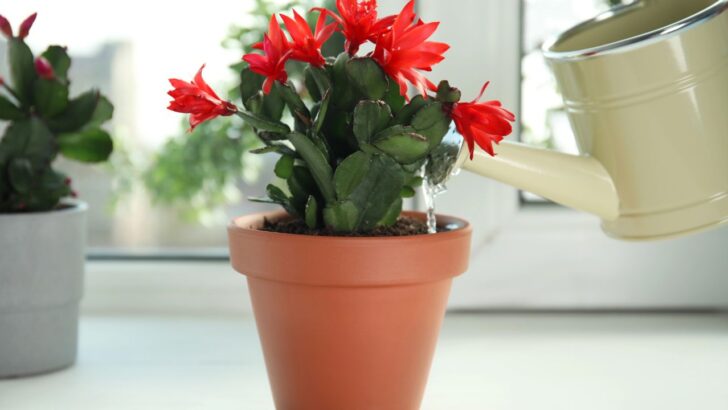
Giving a plant you grew yourself is a top-tier gift. It says, “I spent weeks nurturing this for you instead of panic-buying something at the last minute.” The Christmas cactus is the perfect candidate for this thoughtful project. It’s a forgiving plant that doesn’t demand much, and its festive blooms arrive just in time for the holidays.
Propagating one from a cutting is a simple process that turns one plant into many, letting you cross multiple names off your gift list. This guide will walk you through creating new Christmas cacti from a parent plant, giving you a living, blooming present that will last for years.
1. Take a Few Cuttings
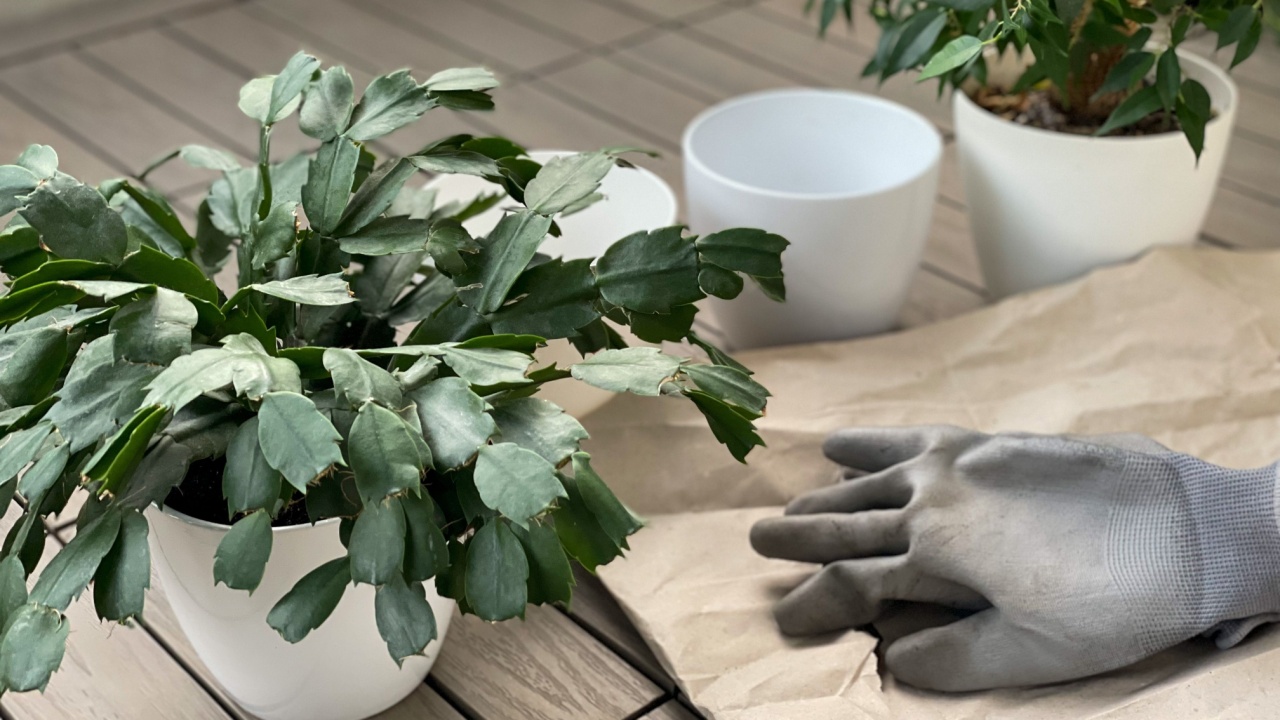
Image Credit: Shutterstock.
First, you need to snip a piece from a healthy, established Christmas cactus. Look for a robust plant and select a few Y-shaped segments from the tips of its branches. This Y-shape is important because it gives you a solid base for rooting. Use clean, sharp scissors or pruning shears to make a clean cut.
You could also gently twist the segment off with your fingers where it connects to the next piece. Taking a few cuttings is a good strategy; it increases the odds of success, as some may not root. It also allows you to plant multiple cuttings in one pot for a fuller-looking plant right from the start.
2. Let the Cuttings Heal
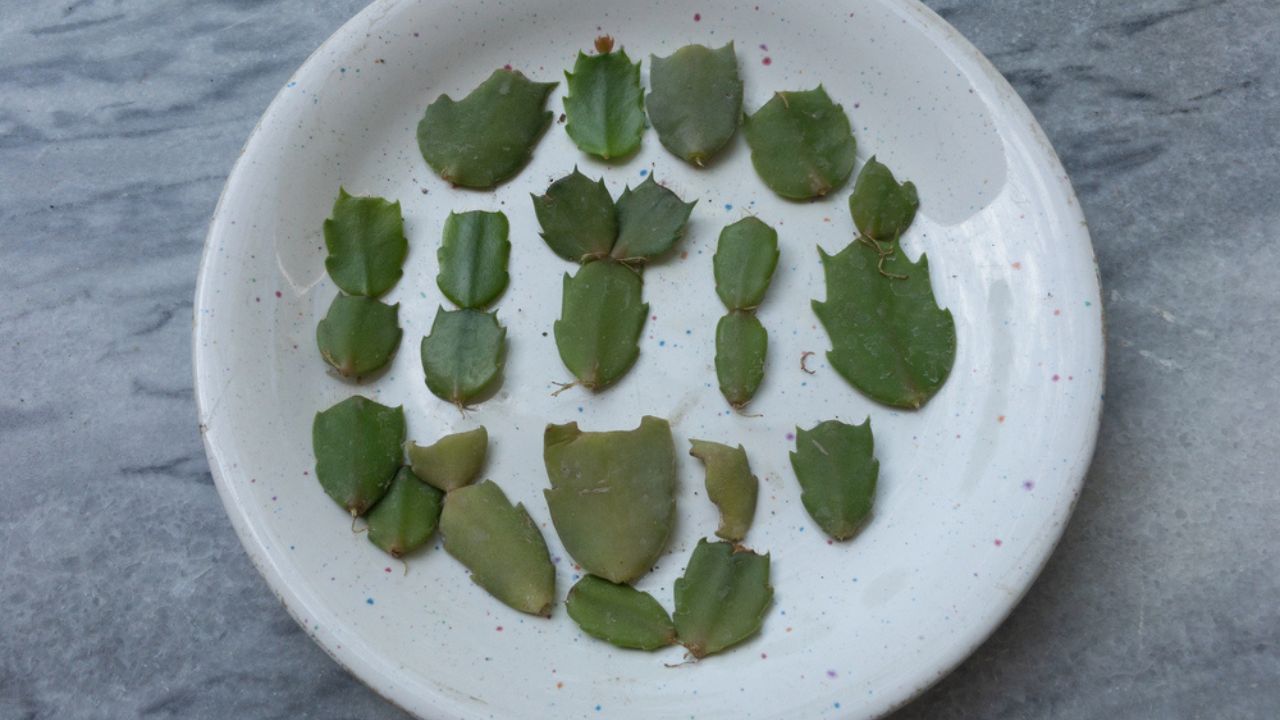
Image Credit: Deposit Photos.
After taking your cuttings, you can’t just stick them in soil immediately. The fresh cuts need time to dry and form a callus, a protective layer of tissue over the wound. This step is critical for preventing rot, which is a common issue when propagating succulents.
Lay the cuttings on a paper towel in a dry, cool spot away from direct sunlight. Let them sit for a few days until the cut ends look dry and sealed. This simple pause significantly boosts your chances of growing a healthy new plant instead of a mushy stem.
3. Plant the Cuttings
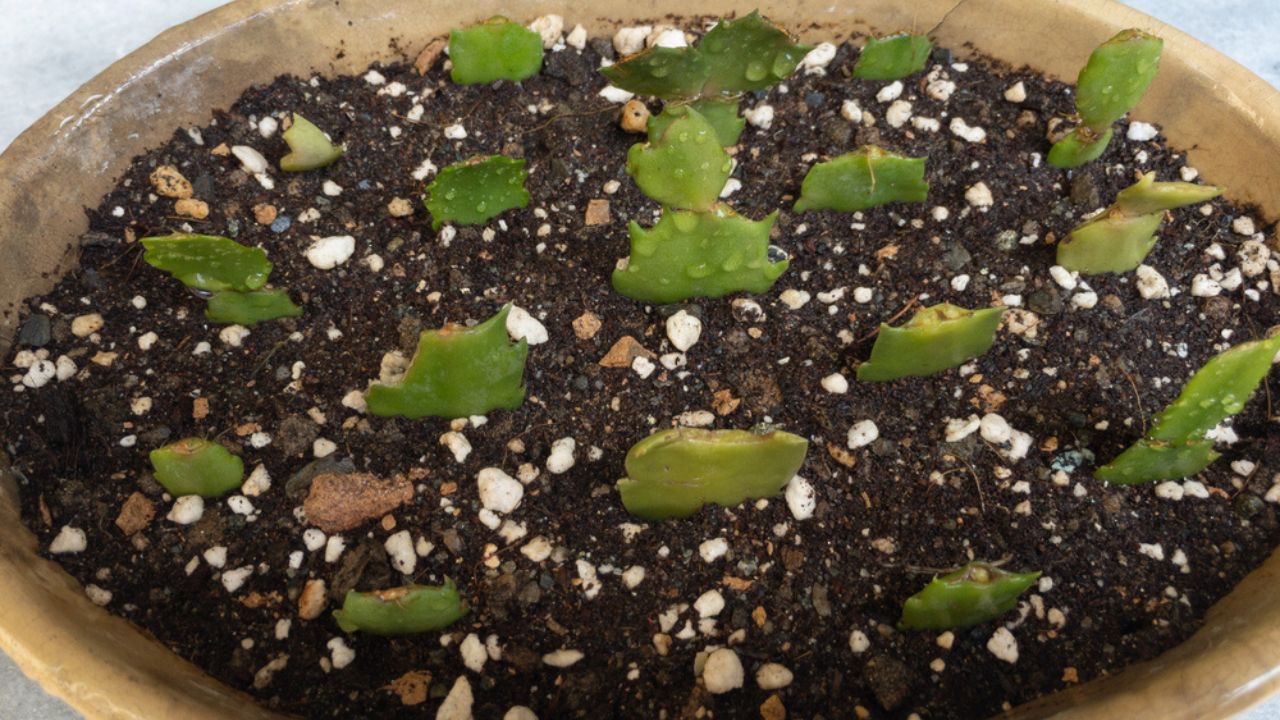
Image Credit: Deposit Photos.
Once the cuttings have callused, it’s time to plant them. You can start them in either water or soil. For soil propagation, choose a small pot with drainage holes and fill it with a well-draining potting mix, like one formulated for cacti and succulents. Insert the callused end of each cutting about one inch deep into the soil.
You can place several cuttings in the same pot to create a bushier plant. If you prefer water propagation, place the cuttings in a jar or glass with just enough water to submerge the bottom segment. This method lets you watch the roots grow, which can be quite rewarding.
4. Give Them the Right Conditions
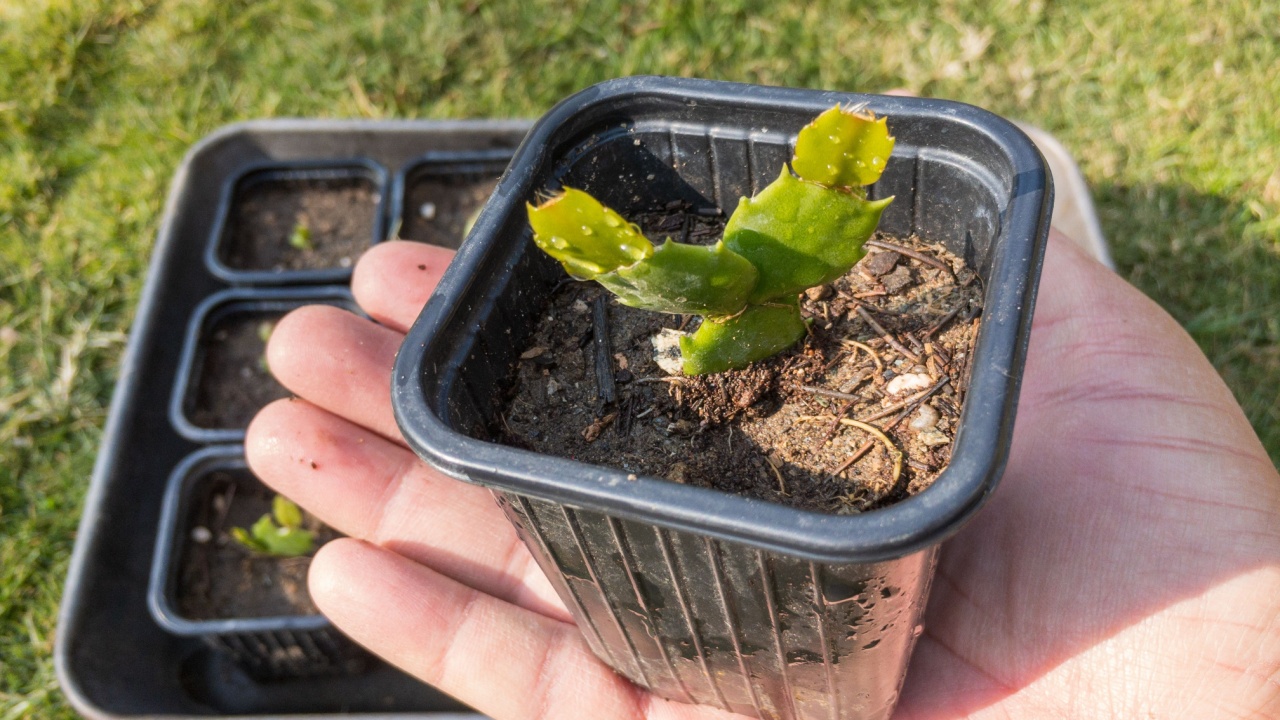
Image Credit: Shutterstock.
Your newly planted cuttings need the right environment to develop roots. Place the pot or jar in a location that receives bright, indirect light. A spot near an east-facing window is often ideal. Direct sunlight can scorch the young cuttings before they have a chance to establish.
The main task now is to manage moisture. For soil-propagated cuttings, water lightly, keeping the soil just barely moist but never soggy. For water-propagated cuttings, change the water every few days to keep it fresh and prevent bacterial growth. Patience is your best tool here; root development can take anywhere from three to twelve weeks.
5. Transplant and Care for Your New Plant
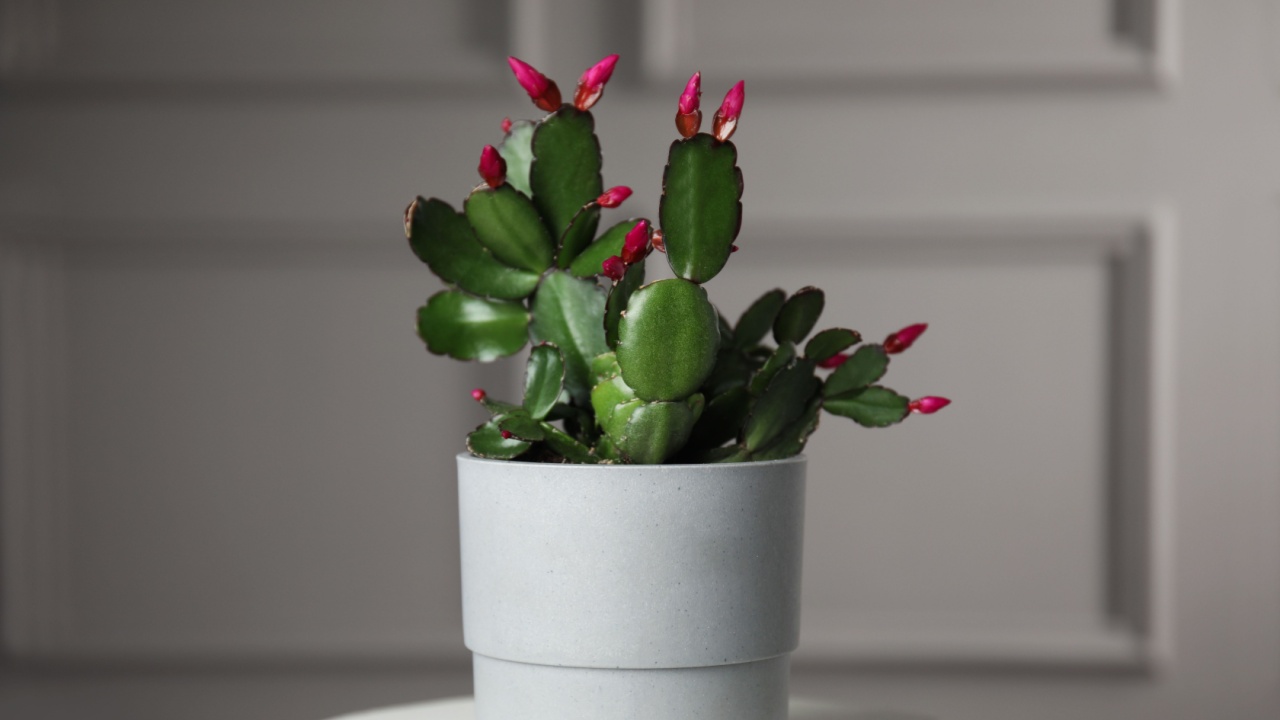
Image Credit: Shutterstock.
You’ll know your soil cuttings have rooted when they resist a gentle tug or show signs of new growth. For water-propagated cuttings, you can move them to soil once the roots are about an inch long. Transplant them into a small pot with a well-draining mix, just as you would with soil-started cuttings.
Now, you can begin caring for it like a mature Christmas cactus. Water thoroughly when the top inch of soil feels dry, and continue to provide bright, indirect light. In a few months, your little cutting will have grown into a small, thriving plant, ready to be gifted. It’s a great Christmas present; it flowers even in winter.
Beyond the Basics
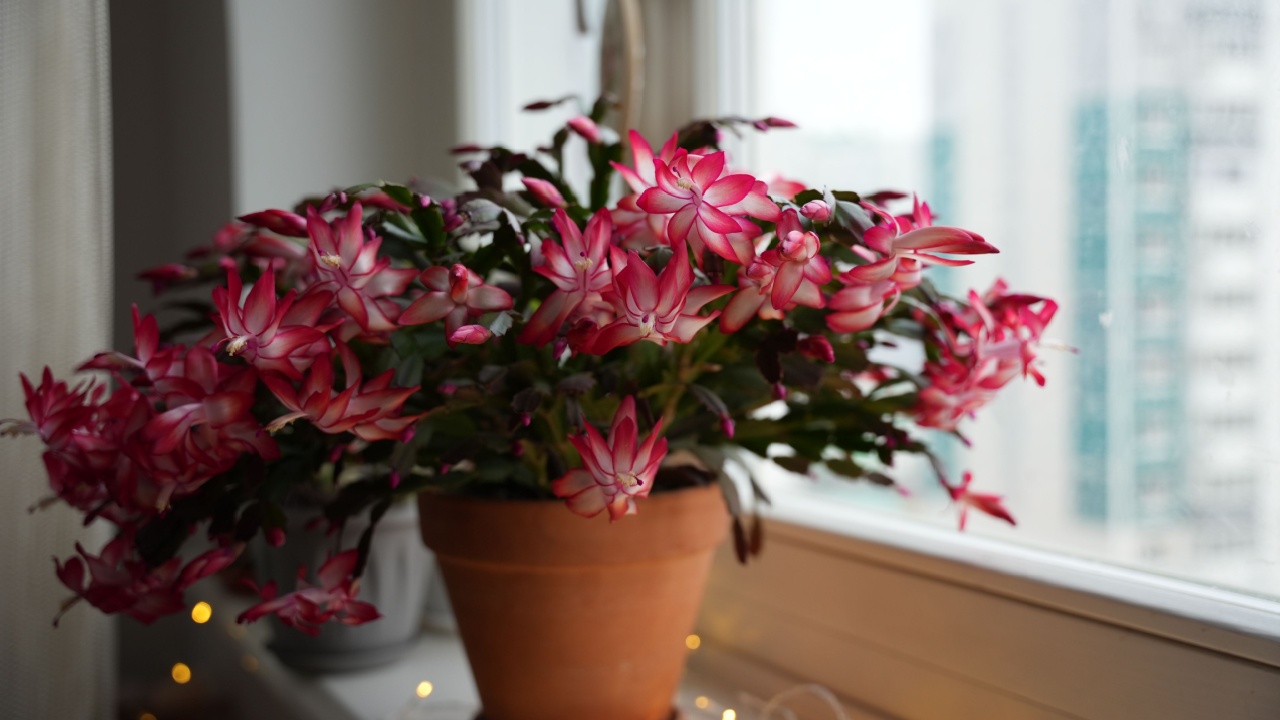
Image Credit: Shutterstock.
Your new Christmas cactus is now on its way. To encourage those famous holiday blooms, the plant needs a specific light and temperature cycle in the fall. Starting around September, it requires about 12 to 14 hours of complete darkness and cooler temperatures each day. You can achieve this by moving it into a dark closet overnight or simply placing it in a room that isn’t used in the evenings. This “short day” treatment signals the plant to set buds. With a little planning, your DIY gift will be covered in beautiful flowers, ready to bring cheer to a friend or family member. It’s a gift that keeps on growing, a living reminder of your thoughtfulness.