Winter often brings a beautiful, quiet blanket of white. It also brings the not-so-beautiful reality of digging out driveways, walkways, and cars. Dealing with snow can feel like a losing battle against nature, especially when another storm is on the horizon. Instead of wrestling with heavy, wet snow and stubborn ice, a few clever strategies can make the job much easier. You need easy methods that will save time, reduce strain, and help keep outdoor spaces clear and safe.
From simple preparations to creative uses for household items, these seven hacks will help you manage snow removal with less effort.
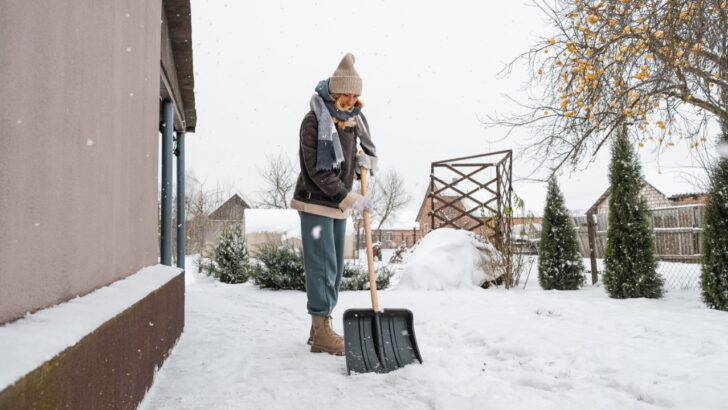
1. Coat Your Shovel with Nonstick Spray
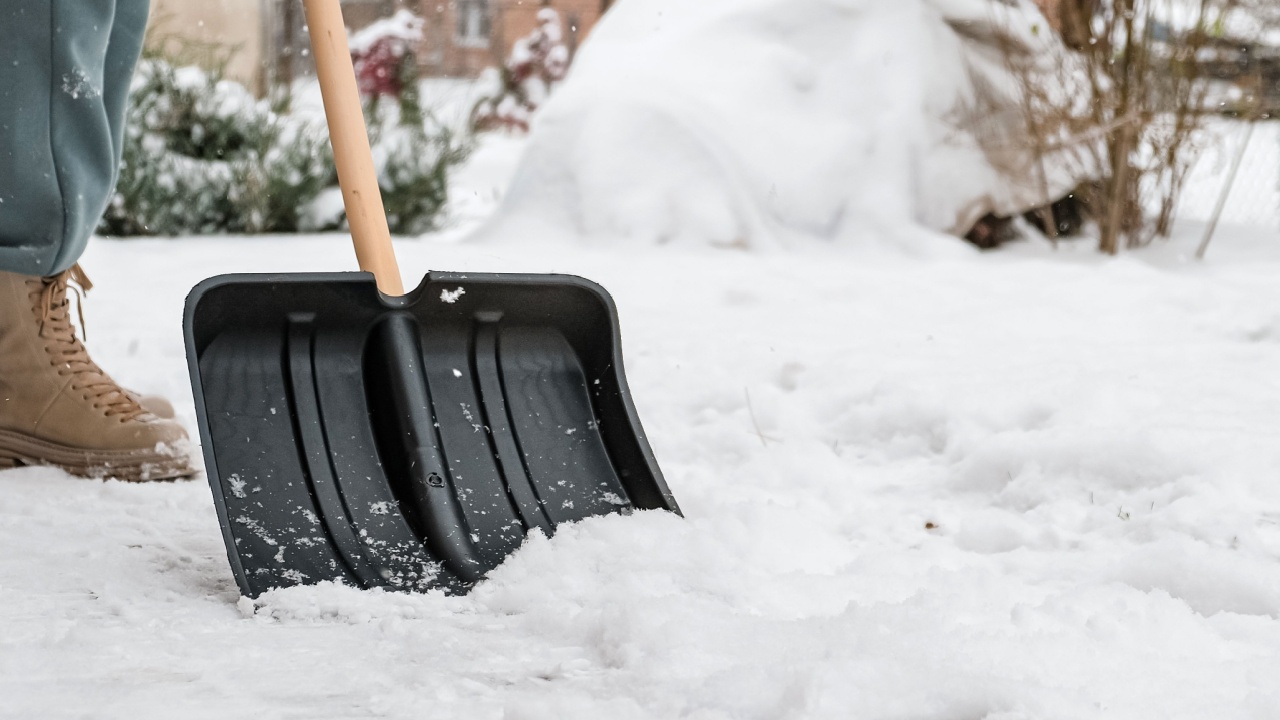
Image Credit: Shutterstock.
Shoveling snow is hard enough without heavy clumps sticking to the blade. A shovel coated with snow adds weight and forces you to stop and knock it off repeatedly. This slows down the process and adds to the physical strain. A simple household item can prevent this frustrating cycle.
Applying a layer of nonstick cooking spray, car wax, or even a light coat of vegetable oil to your shovel blade creates a slick, hydrophobic surface. Water and snow have a hard time adhering to this coating, allowing them to slide right off. This trick works best on metal and plastic shovels. The result is a lighter, more efficient tool that lets you work continuously without interruption. Reapply the coating as needed, especially during long shoveling sessions, to maintain its effectiveness.
Quick Guide:
- What you need: A shovel and nonstick cooking spray, car wax, or vegetable oil.
- How it works: Creates a slick surface that prevents snow from sticking to the shovel blade.
- Why it’s effective: Reduces the weight of each shovelful, minimizes interruptions, and lessens physical exertion.
- Pro Tip: Clean and dry your shovel before applying the coating for the best adhesion. Reapply before each major snowfall for consistent results.
2. Use a Tarp Before it Snows

Image Credit: Shutterstock.
For smaller areas like a deck, patio, or a short walkway, clearing snow can be done in minutes with a bit of foresight. Instead of waiting to shovel, you can lift the snow away entirely. This method is a great proactive measure for anyone who wants to avoid manual labor after a storm.
Lay a large, durable tarp over the surface you want to keep clear before the snow begins. Secure the corners with heavy objects like bricks, firewood, or weights to prevent the wind from blowing it away. Once the snow has stopped, grab two corners of the tarp and pull it, along with all the accumulated snow, to a designated spot in your yard. You are left with a perfectly clear surface. This works best with light to moderate snowfall, as a very heavy, wet snow could make the tarp too heavy to move safely.
Quick Guide:
- What you need: A large, sturdy tarp and heavy objects to anchor it.
- How it works: The tarp collects the snow, allowing you to remove it all at once by dragging the tarp away. This works like a charm on windshields!
- Why it’s effective: Eliminates the need for shoveling on smaller surfaces and provides an instantly clear path.
- Pro Tip: Choose a tarp slightly larger than the area you want to cover. When removing it, have a friend help you drag it to avoid straining your back.
3. Make a DIY De-Icer
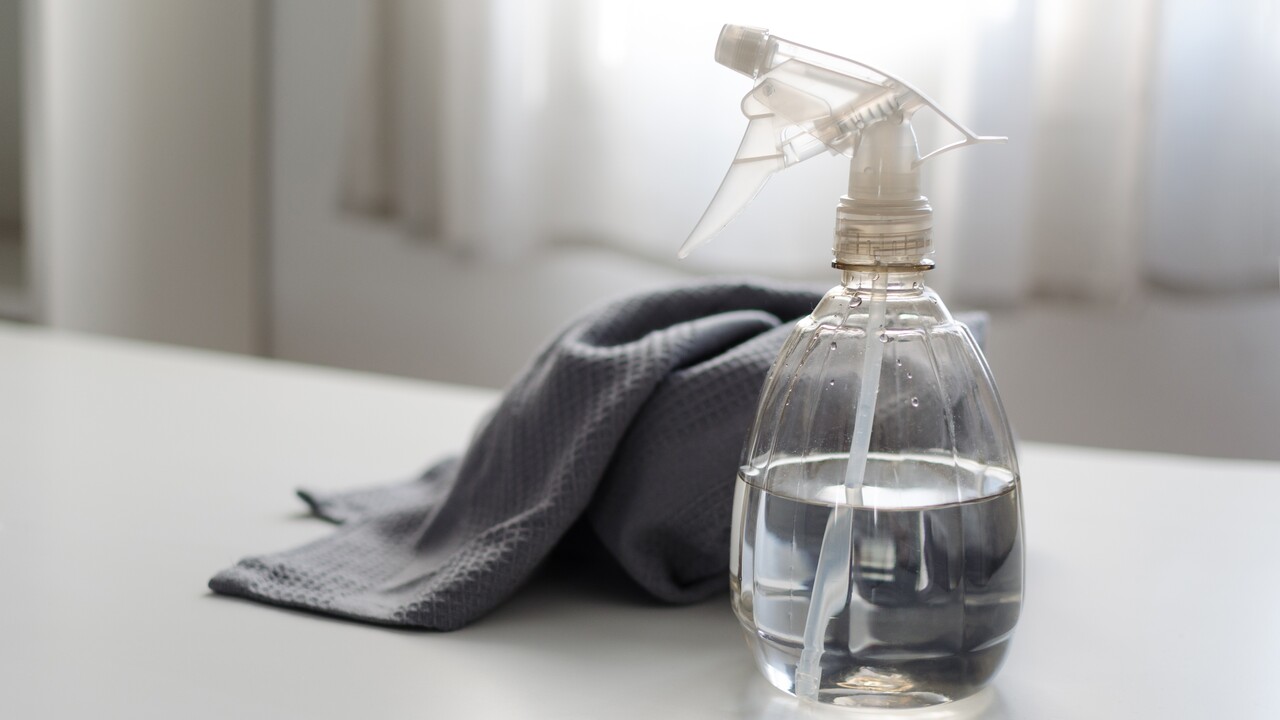
Image Credit: Shutterstock.
Commercial ice melts can be expensive and sometimes contain chemicals that are harsh on concrete, plants, and pet paws. A simple, effective, and less damaging alternative can be made with common household items. This homemade solution helps break the bond between ice and pavement, making it easier to remove.
To make your own de-icer, mix one quart of warm water, one teaspoon of dish soap, and one tablespoon of rubbing alcohol in a spray bottle. The rubbing alcohol has a lower freezing point than water, which helps to melt the ice, while the dish soap assists in breaking it down. Spray the solution generously on icy steps, railings, and walkways. Let it sit for a few minutes to work its magic, and the ice should become slushy and easy to scrape away. This is an excellent solution for thin layers of ice and for preventing refreezing on treated surfaces.
Quick Guide:
- What you need: A spray bottle, warm water, dish soap, and rubbing alcohol.
- How it works: The alcohol lowers the freezing point of water, melting the ice, while the soap helps break it down.
- Why it’s effective: It’s a cheap, pet-friendly, and plant-safe alternative to commercial de-icers for light ice accumulation.
- Pro Tip: This solution is most effective on thin layers of ice. For thicker sheets, you may need to apply it more than once or use a metal scraper to break up the ice first.
4. Pre-Salt Walkways and Driveways
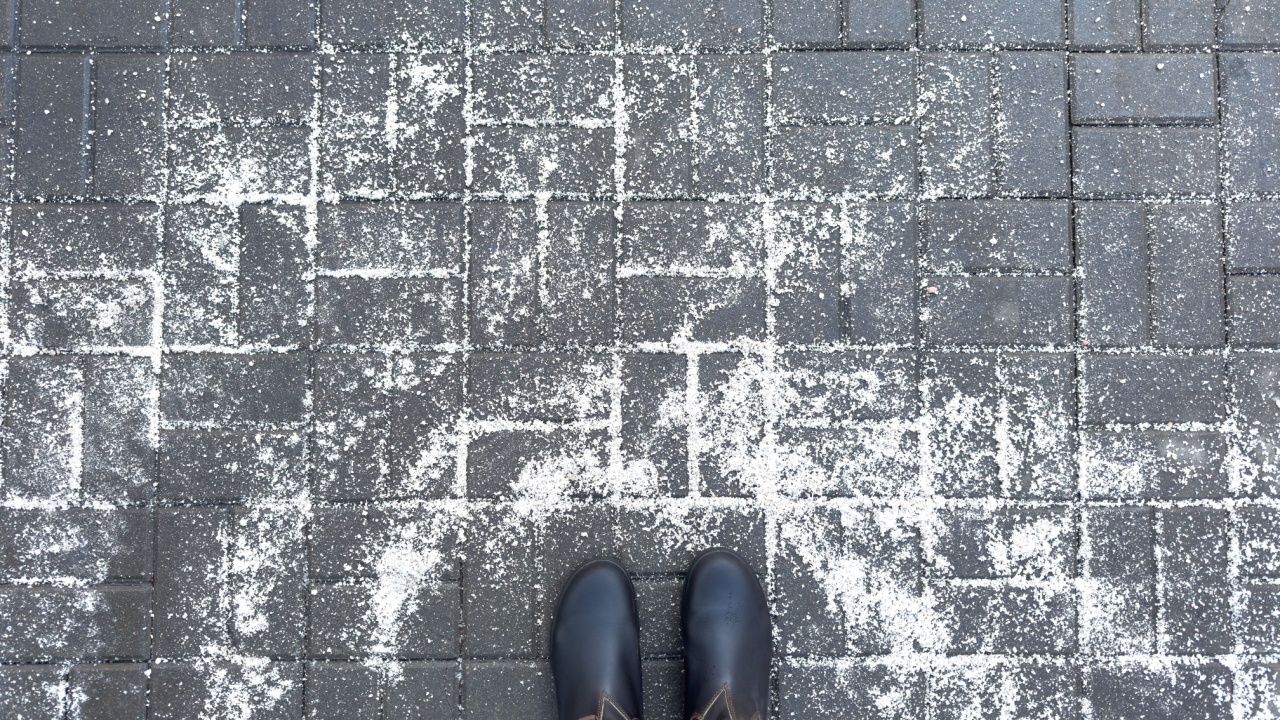
Image Credit: Shutterstock.
One of the most effective ways to manage ice is to prevent it from forming in the first place. Applying salt before a storm arrives creates a brine on the surface of your driveway and walkways. This brine has a lower freezing point than water, which keeps snow and ice from bonding to the pavement.
When you hear a storm is coming, spread a thin, even layer of rock salt on your surfaces. This proactive step makes future shoveling significantly easier because the snow will not be stuck to the ground in a solid sheet. You will be able to push or shovel it away with much less effort. Be mindful not to over-apply the salt, as excessive amounts can damage concrete and surrounding vegetation.
Quick Guide:
- What you need: Rock salt, calcium chloride, or another de-icing agent.
- How it works: Creates a brine that prevents ice from bonding with the pavement.
- Why it’s effective: Makes snow and ice much easier to remove after a storm, reducing the need for heavy scraping.
- Pro Tip: Use a spreader for an even application. If you have pets, look for pet-safe ice melt products to protect their paws from chemical burns.
5. Use a Leaf Blower for Fluffy Snow
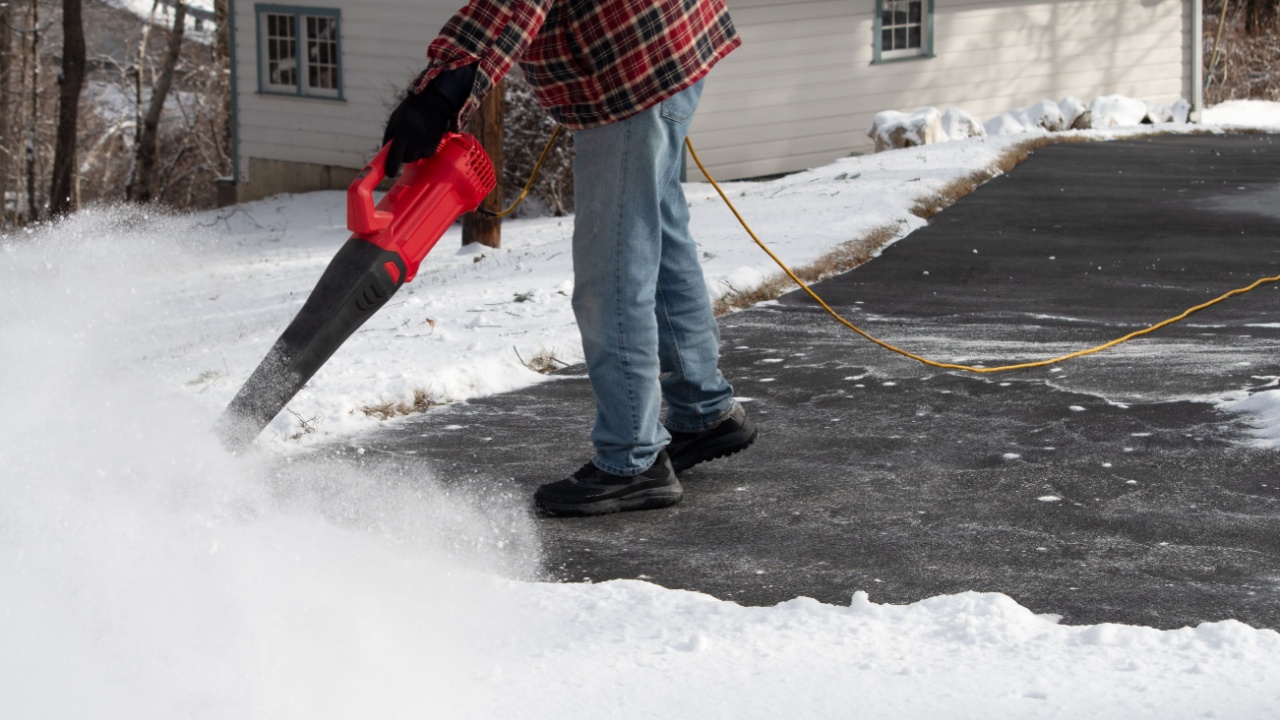
Image Credit: Shutterstock.
When you receive a light, powdery snowfall of a few inches or less, you can leave the shovel in the garage. A leaf blower can be a powerful tool for clearing this type of snow quickly and with minimal physical effort. It is an ideal method for clearing decks, patios, cars, and walkways.
Simply start up your gas or electric leaf blower and use the powerful stream of air to push the light snow off the surfaces you want to clear. Work systematically, blowing the snow in one direction toward your lawn. This method is fast and saves your back from the strain of bending and lifting. It is not effective for wet, heavy snow or accumulations deeper than about four inches, but for the right kind of storm, it is a fantastic time-saver.
Quick Guide:
- What you need: A gas or electric leaf blower.
- How it works: Uses a strong current of air to blow light, powdery snow off surfaces.
- Why it’s effective: Extremely fast and requires very little physical effort for light snowfalls.
- Pro Tip: For best results, clear the snow shortly after it has fallen, before it has a chance to melt and refreeze. Pay attention to wind direction to avoid blowing snow back onto cleared areas.
6. Spread Sand or Kitty Litter for Traction
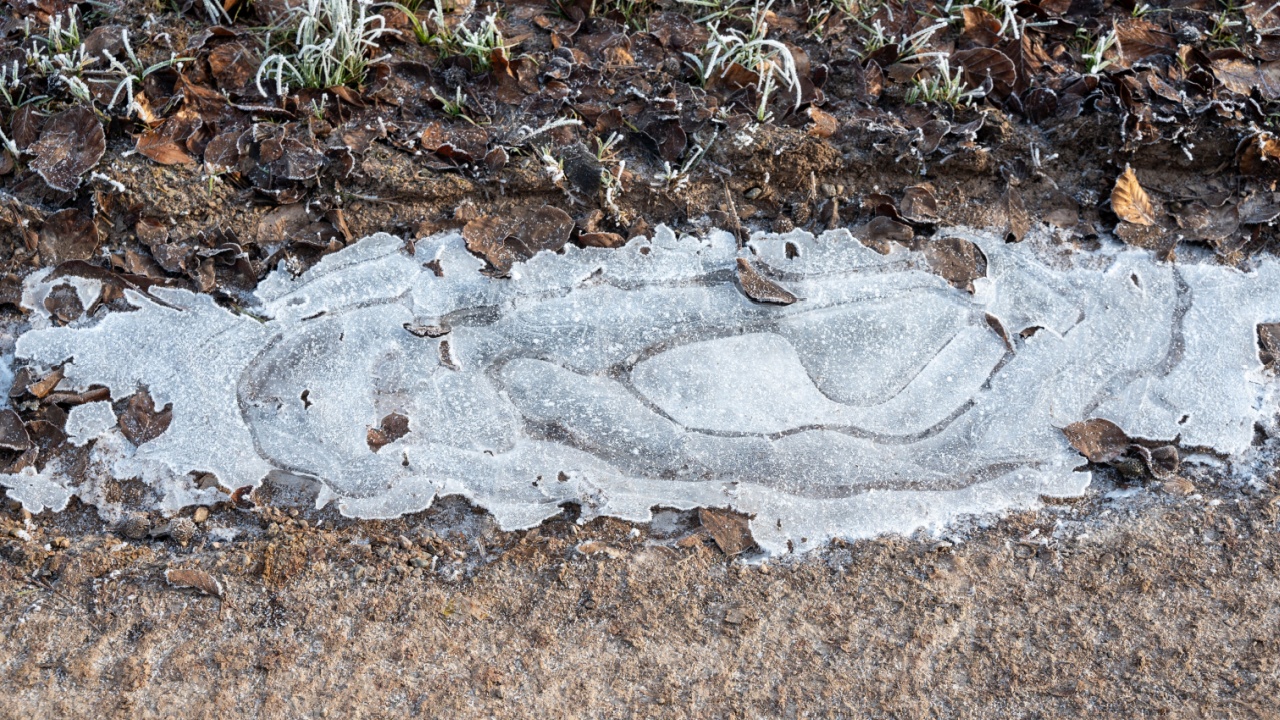
Image Credit: Shutterstock.
Sometimes, removing every last bit of ice is not possible or practical. In these situations, the priority shifts from removal to safety. Creating traction on slippery surfaces is essential to prevent falls. Common materials like sand and non-clumping kitty litter are great for this purpose.
Sprinkle a generous layer of sand, kitty litter, or even fireplace ash over icy patches on your driveway and walkways. These materials do not melt the ice, but they create a gritty, high-friction surface that provides grip for your shoes and your car’s tires. This is a simple, inexpensive, and immediate solution for improving safety. Keep a bucket of one of these materials near your entryway for easy access after a freeze.
Quick Guide:
- What you need: Sand, non-clumping kitty litter, or fireplace ash.
- How it works: Adds a gritty texture to icy surfaces to increase friction and provide traction.
- Why it’s effective: An immediate, low-cost way to make icy areas safer to walk and drive on.
- Pro Tip: Use non-clumping kitty litter, as the clumping variety will turn into a messy sludge when wet. Be prepared to sweep up the material once the ice melts to keep your walkways clean.
7. Use a Metal Scraper to Break Up Ice

Image Credit: Shutterstock.
Thick, stubborn sheets of ice can defeat shovels and chemical de-icers. When you are faced with formidable ice buildup, you need a tool with more muscle. A sturdy metal scraper or a garden hoe with a flat edge can be used to break up thick ice into manageable chunks.
Use the sharp, flat edge of the tool to chip and chop at the ice, breaking it apart. Once you have shattered the ice into smaller pieces, you can easily scoop them up with a shovel and move them out of the way. This manual method requires some effort, but it is highly effective for removing thick ice that other methods cannot handle. Focus on creating cracks and breaking the ice’s bond with the pavement below.
Quick Guide:
- What you need: A metal ice scraper, garden hoe, or another sturdy tool with a flat, sharp edge.
- How it works: Physically breaks and shatters thick ice into smaller, removable pieces.
- Why it’s effective: The most direct way to remove thick, stubborn ice that resists melting agents.
- Pro Tip: Wear safety glasses to protect your eyes from flying ice chips. Avoid using this method on delicate surfaces like wooden decks, which can be damaged by the metal tool.
What to Do After the Storm

Image Credit: Shutterstock.
Once the snow and ice are cleared, your work is not quite done. Take a moment to inspect your property for any damage caused by the storm or your removal efforts. Check for cracked pavement, damaged plants, and scratches on your deck or patio.
Clean and dry your tools, especially metal shovels and scrapers, to prevent rust. Finally, restock your supplies of salt, sand, and homemade de-icer, so you are fully prepared for the next winter blast. A little post-storm care guarantees you and your property are ready for whatever winter sends your way next.