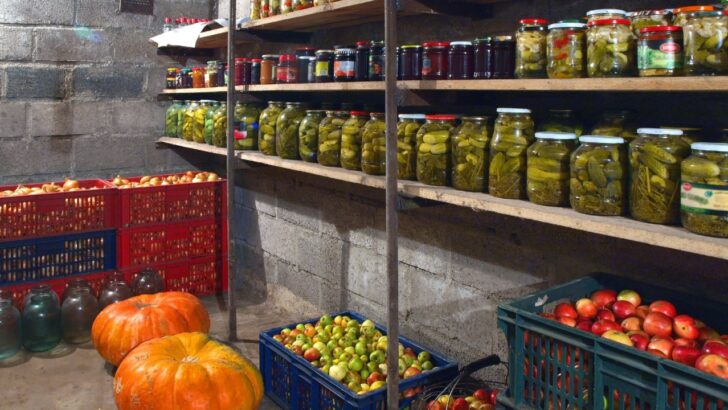
We should be displaying our garden produce the way hunters display deer heads. Pulling a humongous carrot from your own garden is no small feat. However, trying to figure out what to do with 40 pounds of carrots at the end of the season is a different kind of insanity. Before you start force-feeding carrots to your neighbors and their pets, consider a classic vegetable storage method: the root cellar.
This old-school technique uses the earth’s natural coolness and humidity to keep your harvest fresh for months, no electricity required. It’s a wonderfully low-effort way to enjoy your homegrown produce deep into the winter, long after the garden has been put to bed. A proper root cellar provides the perfect chilly, damp conditions that many vegetables crave.
Here are 12 vegetables whose life you can extend to reduce food waste, and give you access to delicious, nutrient-dense food all winter long.
1. Potatoes
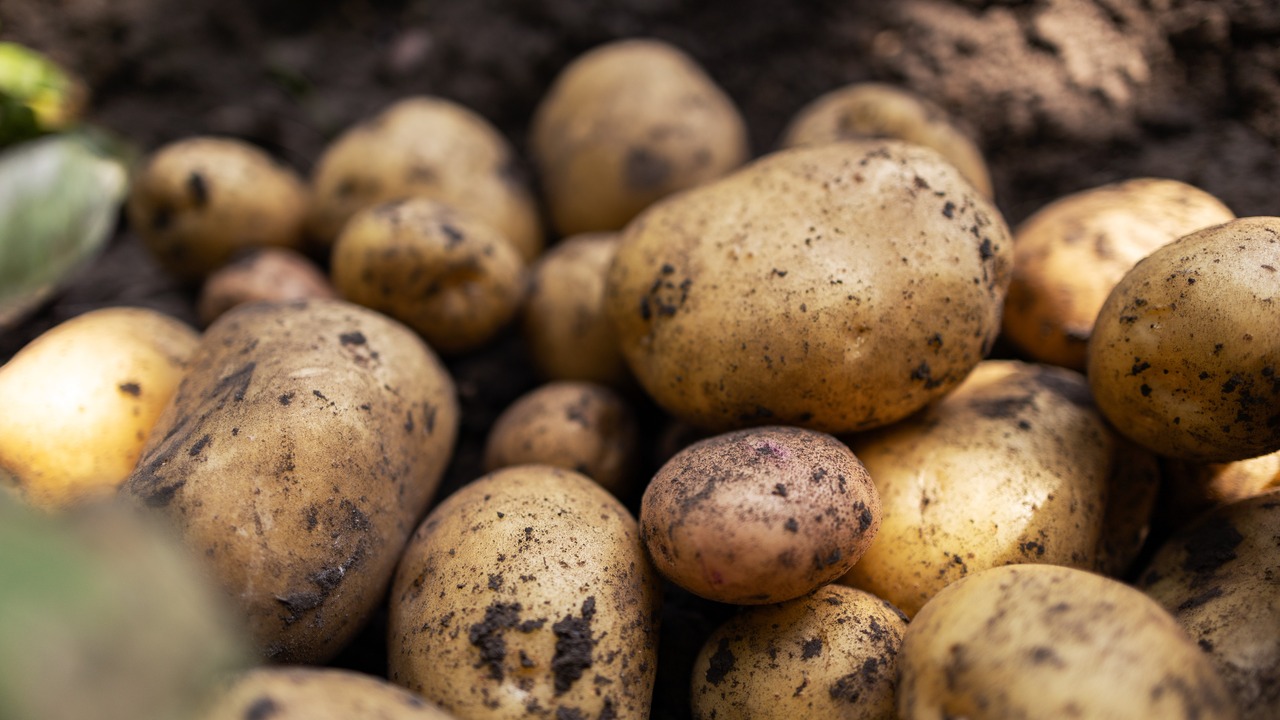
Image Credit: Shutterstock.
Potatoes are the reigning kings of root cellaring. When stored correctly, they can last for months, providing a hearty base for countless winter meals. I once tried to store them in my kitchen and ended up with a sad, spidery mess of sprouts. The key is finding that sweet spot of temperature and darkness.
To prepare the potatoes after they have grown, you need to cure them first. After digging them up, gently brush off the excess dirt and let them sit in a dark, well-ventilated spot at around 45 to 60°F for about two weeks. This process toughens up their skin and heals any minor cuts. After curing, move them to your root cellar. The ideal conditions are cold (38-40°F) and moist (80-90% humidity), but most importantly, dark. Light is the enemy, as it encourages sprouting and can cause the potatoes to turn green.
Quick Storage Guide:
- Harvest: After the plant tops have died back.
- Prep: Cure for 10-14 days in a dark, ventilated area. Do not wash.
- Storage: Keep in complete darkness in bins or burlap sacks.
- Keep Away From: Apples. They release ethylene gas, which will make your potatoes sprout.
- Expected Shelf Life: 4 to 6 months.
2. Carrots
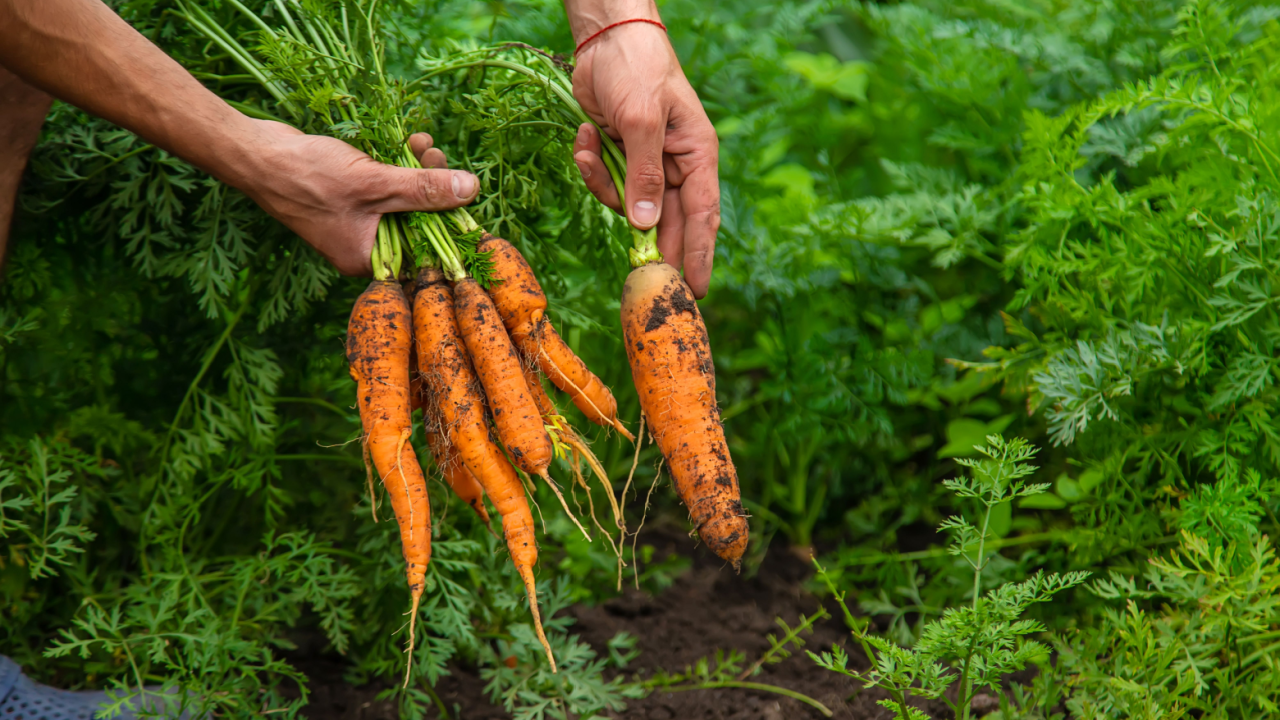
Image Credit: Shutterstock.
Carrots left in the ground after a light frost become wonderfully sweet. You can leave them in the garden beds under a thick layer of mulch, but pulling them for the root cellar protects them from the freeze-thaw cycles that can turn them to mush. Attempting to dig a carrot out of frozen ground is a special form of winter punishment I wouldn’t wish on anyone.
For cellar storage, trim the leafy green tops down to about an inch. The greens will continue to pull moisture and nutrients from the root, causing it to shrivel. Pack the carrots in boxes or buckets filled with damp sand, sawdust, or peat moss, making sure they aren’t touching. This insulation keeps them from drying out and maintains a consistent temperature.
Quick Storage Guide:
- Harvest: After a few light frosts for the best flavor, but before the ground freezes solid.
- Prep: Trim the tops to about one inch from the root.
- Storage: Layer in bins with damp sand, peat moss, or sawdust.
- Conditions: Cold and very humid (33-40°F, 90-95% humidity).
- Expected Shelf Life: 4 to 6 months.
3. Beets
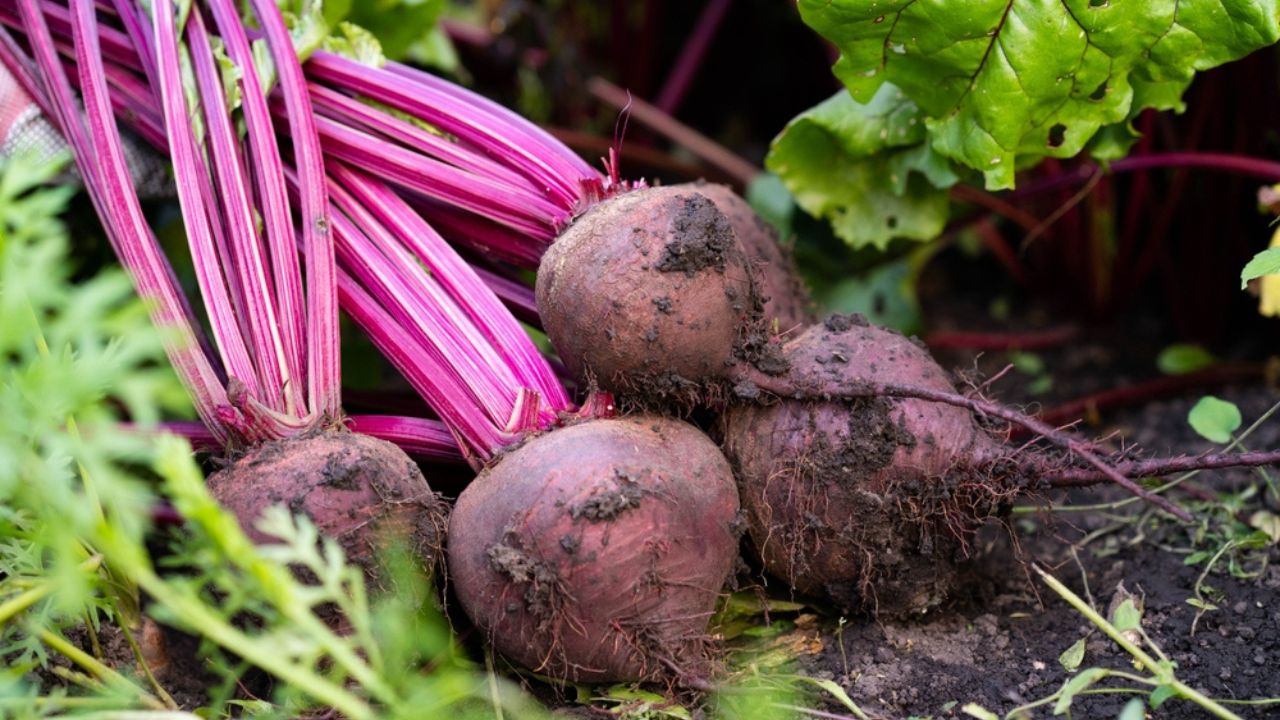
Image Credit: Shutterstock.
Beets are another root vegetable that thrives in a cool, damp environment. Like carrots, they store best when insulated. The trick is to handle them gently during harvest to avoid any nicks or bruises, which can lead to spoilage.
When you pull them from the ground, trim the tops, but leave about one to two inches of the stem attached. This prevents the beets from “bleeding” and losing their vibrant color and moisture. Brush off any loose soil and layer them in a container with damp sand or sawdust. It’s a good idea to sort them by size and use the smaller ones first, as larger beets tend to store a bit longer.
Quick Storage Guide:
- Harvest: When roots are about 2 inches in diameter.
- Prep: Cut off the tops, leaving 1-2 inches of stem.
- Storage: Layer in damp sand or sawdust, ensuring they don’t touch.
- Conditions: Cold and humid (32-40°F, 90-95% humidity).
- Expected Shelf Life: 3 to 5 months.
4. Parsnips
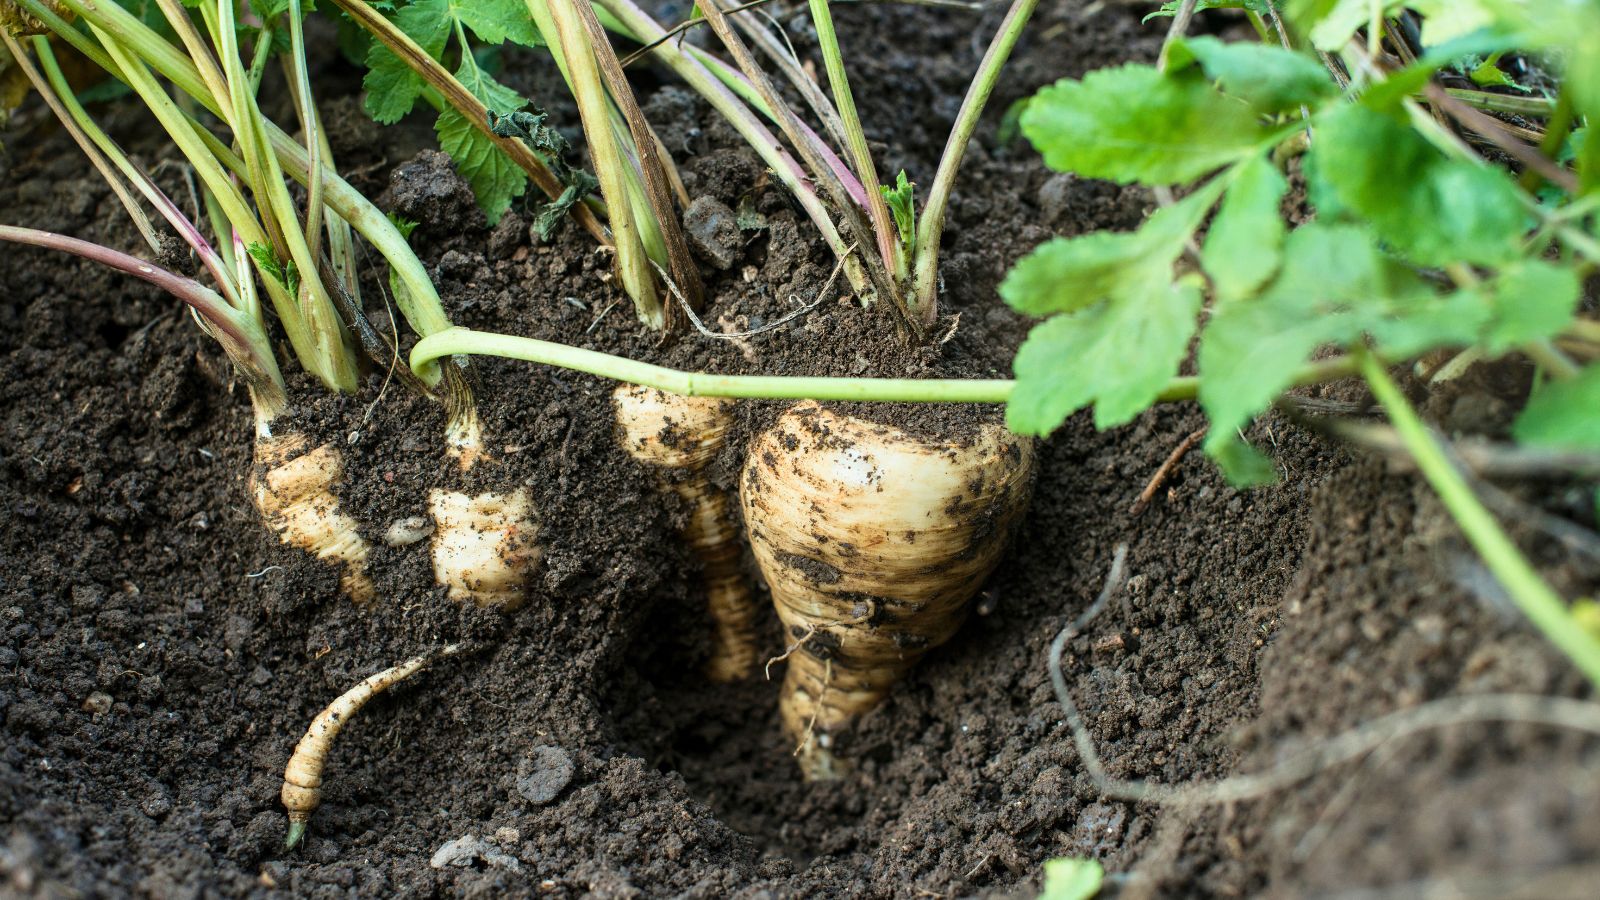
Image credit: YAY Images.
Parsnips follow the same rules as carrots. They develop a richer, sweeter flavor after being exposed to a few frosts. While they can be overwintered in the garden under mulch, storing them in a root cellar gives you easier access and better protection from pests and rot.
Prepare them for storage by cutting off the tops and layering them in a box with damp sand or peat moss. This method ensures they remain hydrated and crisp. Their storage needs are simple: cold and moist. Keep an eye on the packing material and lightly dampen it if it starts to dry out.
Quick Storage Guide:
- Harvest: After a few frosts.
- Prep: Cut off the tops completely.
- Storage: Pack in containers with damp sand or peat moss.
- Conditions: Cold and very humid (33-40°F, 90-95% humidity).
- Expected Shelf Life: 2 to 4 months.
5. Garlic

Image Credit: Shutterstock.
Garlic is one of the easiest crops to store, provided it’s cured properly. After harvestyour hard-grown garlic, gently brush off the soil and lay the bulbs in a dry, shady, and well-ventilated area for 2 to 4 weeks, until the outer wrappers are papery and the necks are completely dry. Once cured, trim the roots and stems or braid the softneck varieties for hanging.
For long-term storage, keep garlic in a cool, dry space between 32–38°F with 60–70% humidity and plenty of airflow. Avoid plastic bags or sealed containers that trap moisture and cause rot. Softneck types generally store the longest, up to 8–9 months, while hardneck varieties keep well for about 3–6 months under ideal conditions.
Quick Storage Guide:
- Harvest: When the lower leaves begin to yellow and the tops fall over.
- Prep: Cure for 2-4 weeks in a shady, well-ventilated location.
- Storage: Braid and hang, or store in mesh bags.
- Conditions: Cool and dry (40-50°F, 60-70% humidity).
- Expected Shelf Life: 5 to 8 months.
6. Onions
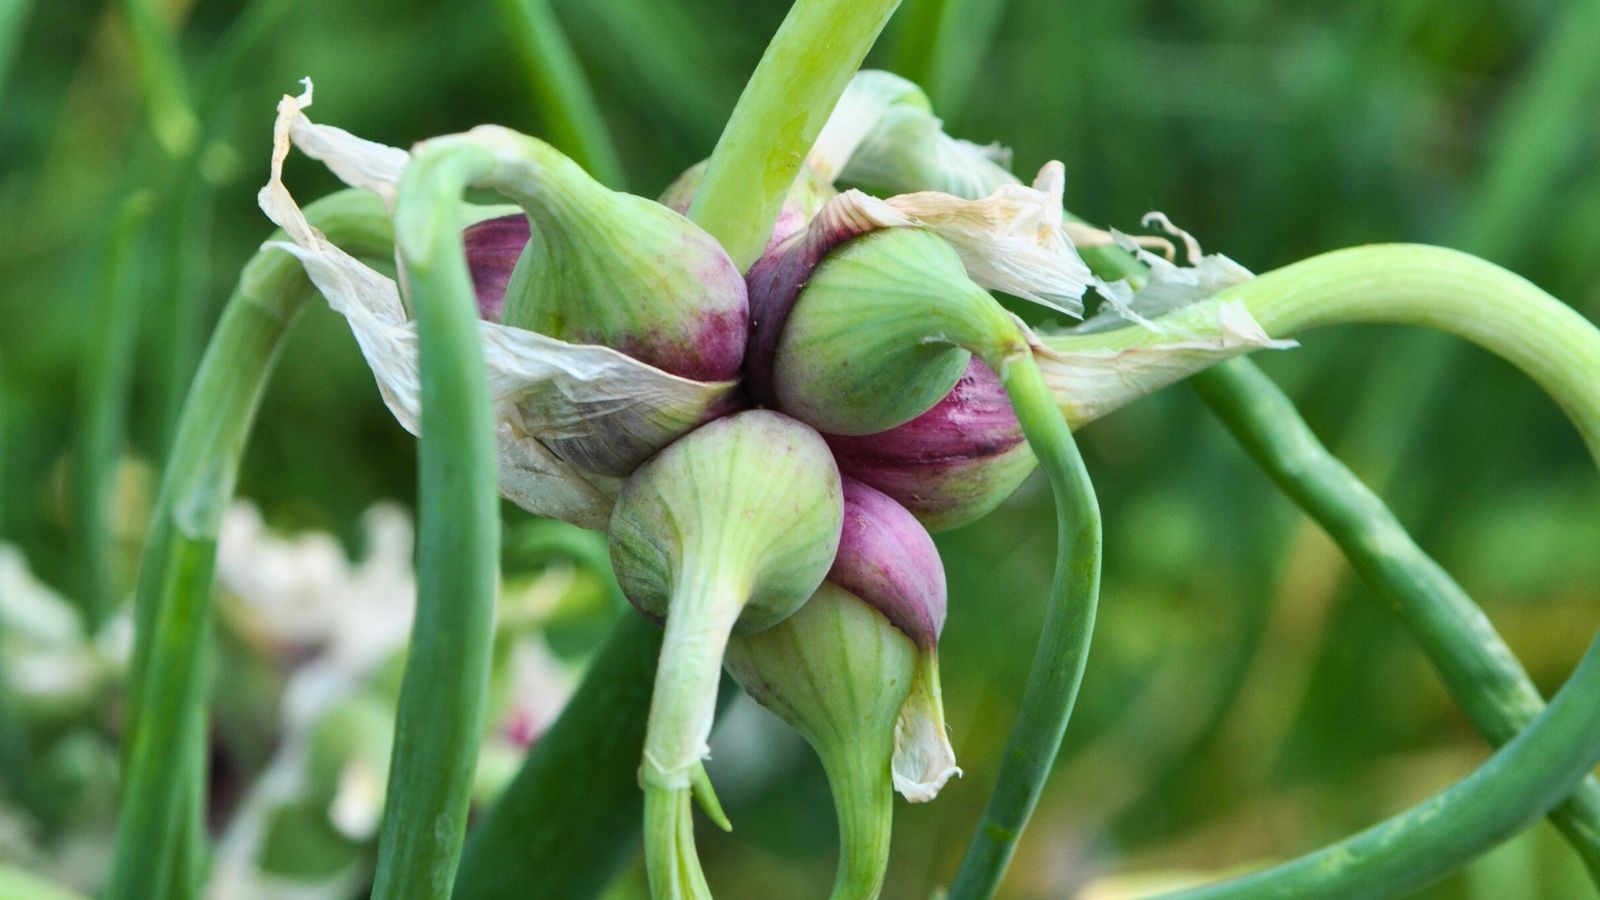
Image credit: Depositphotos.com.
Like garlic, onions need to be cured before storage. Spread them out on a screen or newspaper in a dry, well-ventilated area away from direct sunlight. After 10 to 14 days, their skins will be papery and their necks will be tight and dry.
Once cured, snip the tops to about an inch and place them in mesh bags or even old pantyhose, tying a knot between each onion for optimal air circulation. Hang the onions in your root cellar. Proper airflow is critical to prevent spoilage. Just remember to store them far away from your potatoes; the gases they release will encourage each other to sprout.
Quick Storage Guide:
- Harvest: After the tops have yellowed and fallen over.
- Prep: Cure for 10-14 days until skins are papery.
- Storage: Use mesh bags or pantyhose to ensure good airflow.
- Conditions: Cool and dry (35-40°F, 60-70% humidity).
- Expected Shelf Life: 5 to 8 months.
7. Cabbage
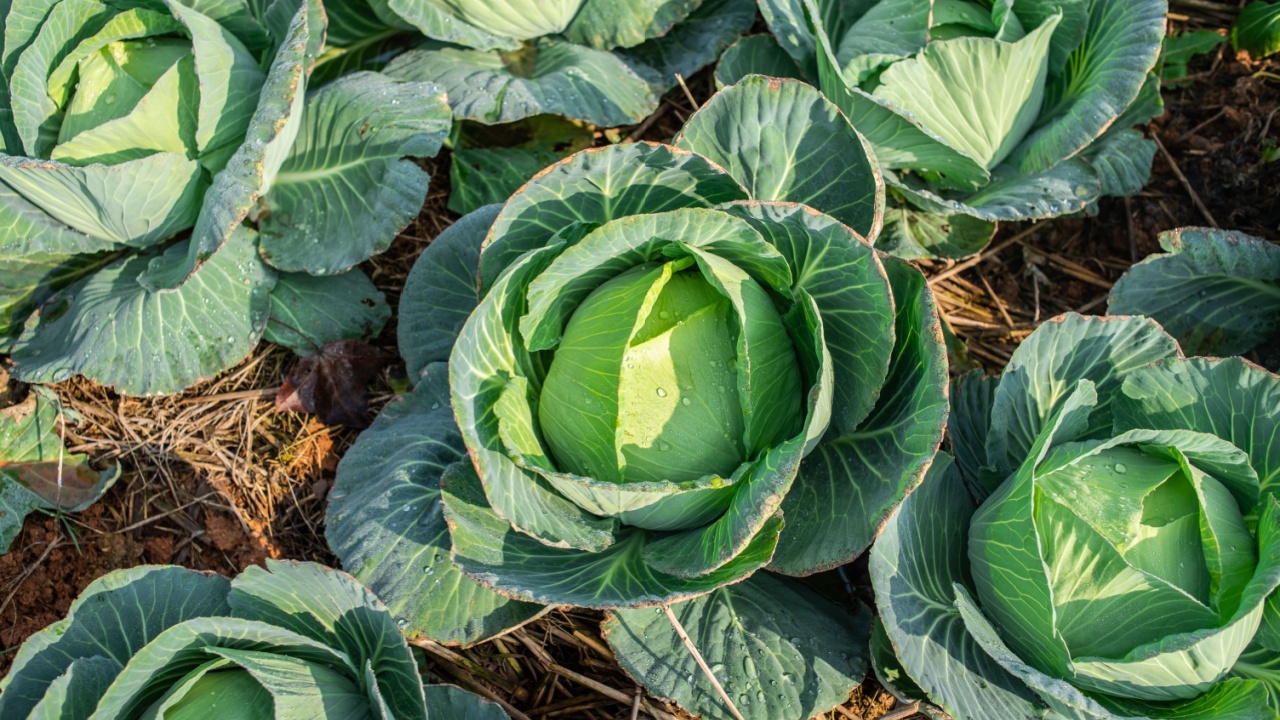
Image Credit: Shutterstock.
It might seem strange to store a leafy green in a root cellar, but cabbage holds up remarkably well. There are a couple of methods. The first, and most dramatic, is to pull the plants up with the roots still attached. Hang them upside down from the ceiling or “replant” them in a bucket of damp soil in your cellar.
If that sounds like too much work, you can also just wrap individual heads in newspaper or butcher paper and place them on a shelf. Leave some space between them for air to circulate. Cabbages can release an odor, so wrapping them helps contain it and prevents the flavor from transferring to other produce like apples or pears.
Quick Storage Guide:
- Harvest: Before a hard freeze.
- Prep: Pull up with roots attached or remove outer leaves and wrap individual heads.
- Storage: Hang upside down or place on shelves with space between them.
- Conditions: Cold and very humid (32-40°F, 90-95% humidity).
- Expected Shelf Life: 3 to 4 months.
8. Winter Squash & Pumpkins
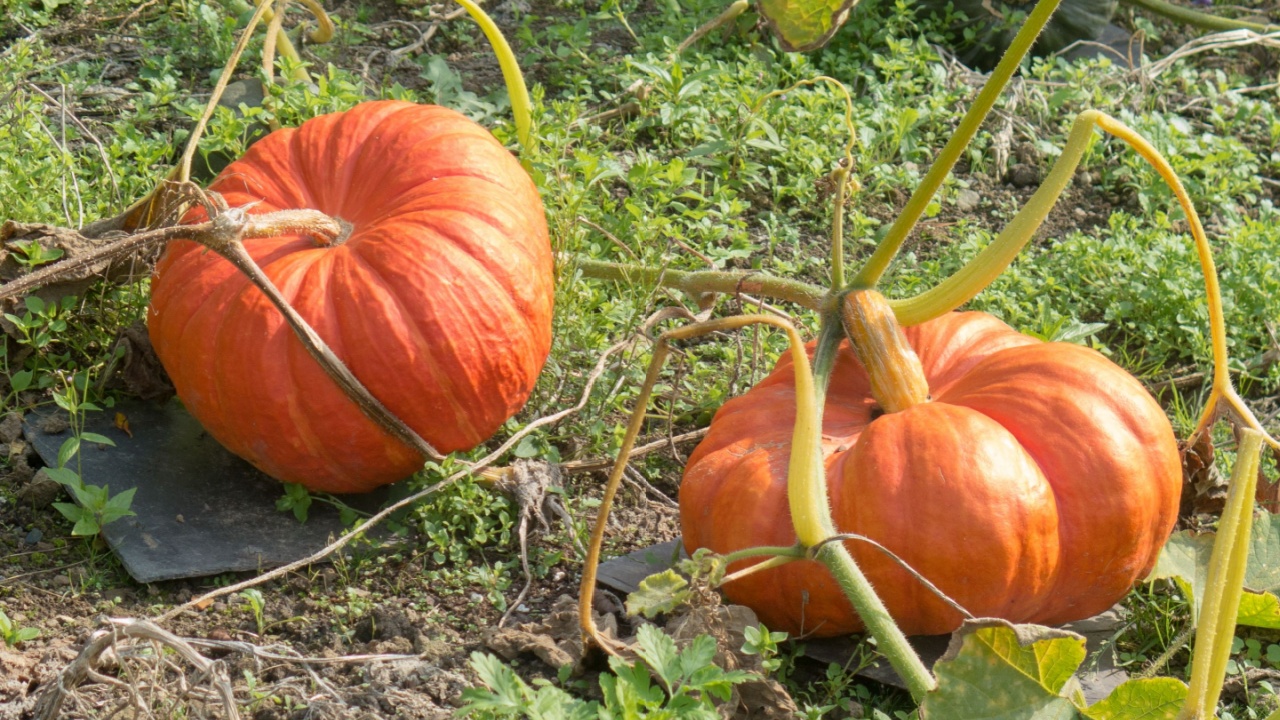
Image Credit: Shutterstock.
Winter squash and pumpkins are icons of the fall harvest, and with a little prep, they can last well into the new year. Harvest them before the first hard frost, being careful to leave at least an inch of stem attached. A pumpkin without its stem is like a boat with a hole—it’s going to spoil quickly.
After harvesting, cure them in a warm, sunny spot (around 80-85°F) for about 10 days. This hardens the skin and improves their flavor and storage potential. Then, move them to a cool, dry area of your cellar. They prefer it less humid than root vegetables. Place them on shelves in a single layer, ensuring they don’t touch.
Quick Storage Guide:
- Harvest: Before a hard frost, leaving the stem intact.
- Prep: Cure in a warm place for 10 days.
- Storage: Place on shelves in a single layer, not touching.
- Conditions: Cool and dry (40-50°F, 60-70% humidity).
- Expected Shelf Life: 3 to 6 months.
9. Turnips

Image Credit: Shutterstock.
Turnips are another excellent root crop for long-term storage. They behave much like beets and rutabagas, preferring cold and moist conditions. Harvest them when they are firm, tender, and medium-sized—about 2-3 inches in diameter.
Prepare them by trimming the leafy tops and brushing off excess soil. Like other root vegetables, pack them in boxes of damp sand or sawdust to maintain high humidity and prevent them from shriveling. This simple step makes a huge difference in how long they’ll last.
Quick Storage Guide:
- Harvest: When roots are 2-3 inches in diameter.
- Prep: Trim the tops and brush off soil.
- Storage: Layer in boxes of damp sand or sawdust.
- Conditions: Cold and very humid (32-40°F, 90-95% humidity).
- Expected Shelf Life: 4 to 5 months.
10. Rutabagas
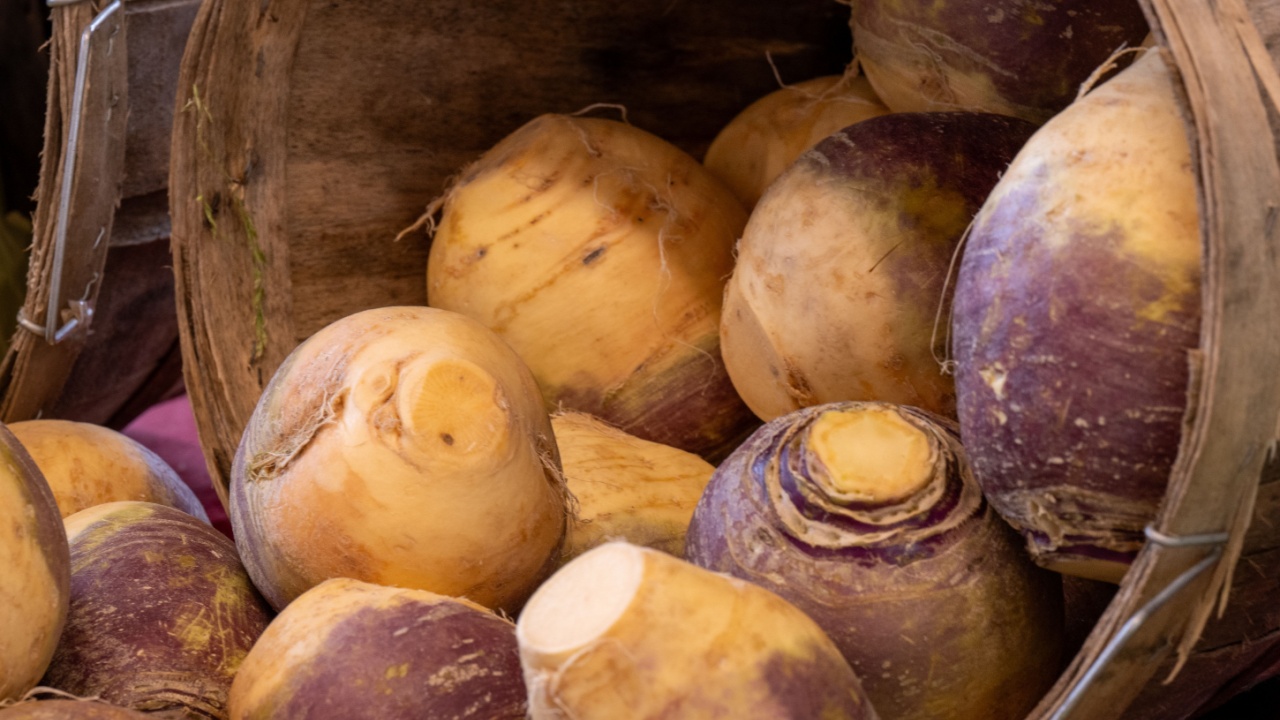
Image Credit: Shutterstock.
Rutabagas are tougher and larger than turnips, and they store exceptionally well. Their storage needs are identical to carrots and parsnips. A cool, moist environment will keep them firm and flavorful for months.
After harvesting, trim the tops and pack them in damp sand. One thing to note is that rutabagas can sometimes develop a strong odor during storage. If you’re sensitive to the smell, you might want to give them their own corner of the cellar or store them in a separate, ventilated container.
Quick Storage Guide:
- Harvest: Late in the fall, after a few frosts.
- Prep: Trim tops and brush off loose dirt.
- Storage: Layer in damp sand.
- Conditions: Cold and very humid (33-40°F, 90-95% humidity).
- Expected Shelf Life: 2 to 4 months.
11. Leeks
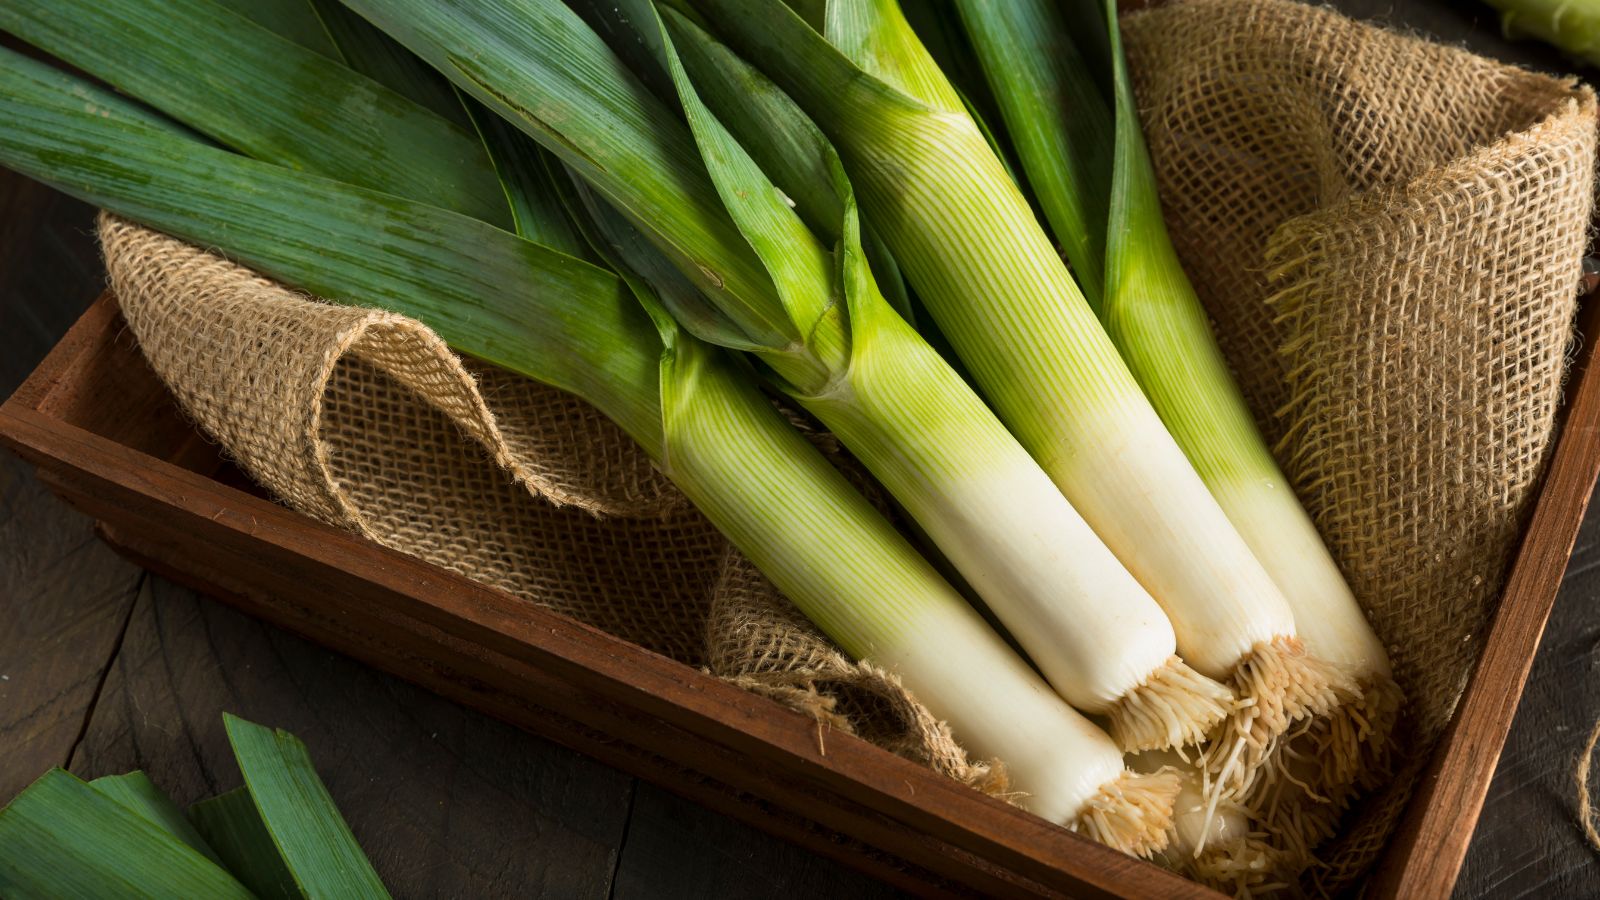
Image Credit: Depositphotos.com.
Leeks are surprisingly hardy and can be stored for several months. Many gardeners simply leave them in the ground under heavy mulch, but bringing them into the root cellar provides easier access.
To store them, dig up the leeks with their roots intact. Place them upright in a deep bucket or box filled with several inches of damp sand or soil. This method mimics their growing conditions and helps them stay fresh. They prefer it very cold and humid.
Quick Storage Guide:
- Harvest: After a light frost but before the ground freezes.
- Prep: Keep roots and part of the tops intact.
- Storage: Store upright in a bucket of damp sand or soil.
- Conditions: Cold and humid (32-40°F, 90-95% humidity).
- Expected Shelf Life: 2 to 3 months.
12. Sweet Potatoes
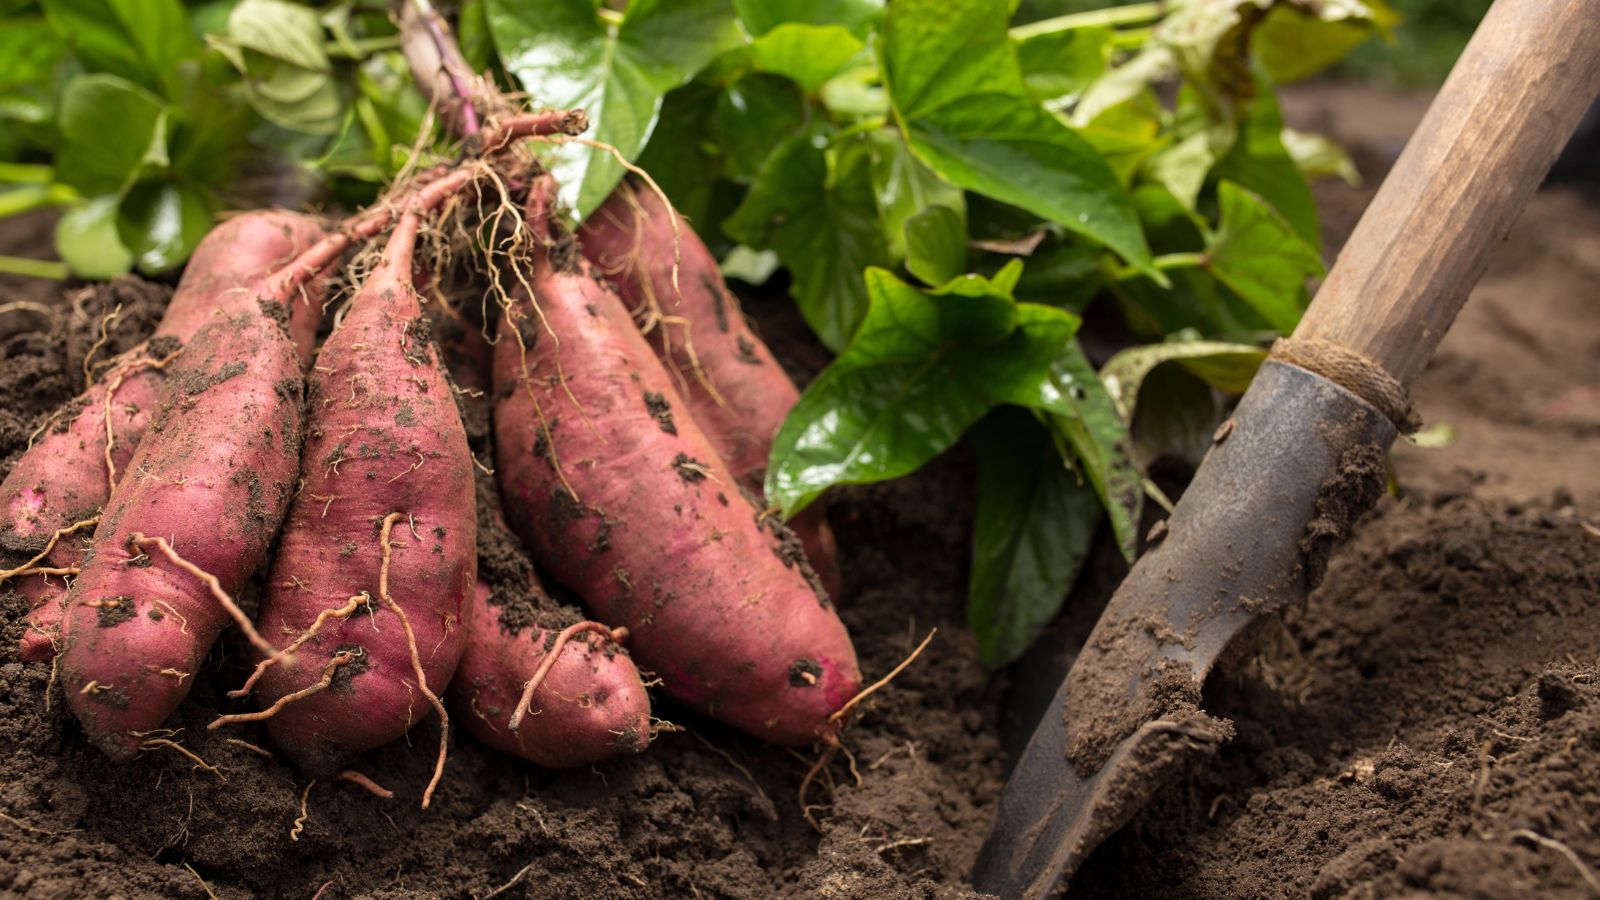
Image Credit: Depositphotos.com.
Sweet potatoes are a bit different from their regular potato cousins. They are tropical plants and are much more sensitive to cold. Storing them at temperatures below 55°F will cause injury and lead to hard, inedible centers when cooked.
First, cure them at a high temperature (80-85°F) with high humidity for 5 to 10 days. This healing period is critical for long-term storage. After curing, store them in a warmer, drier part of your root cellar, or even in a closet in your house. They need good ventilation, so a basket or ventilated box is ideal.
Quick Storage Guide:
- Harvest: Before the first frost.
- Prep: Cure in a very warm, humid spot for 5-10 days.
- Storage: Place in a well-ventilated box in the warmest part of your cellar.
- Conditions: Warmer and drier (55-60°F, 60-70% humidity).
- Expected Shelf Life: 4 to 6 months.
Get Started
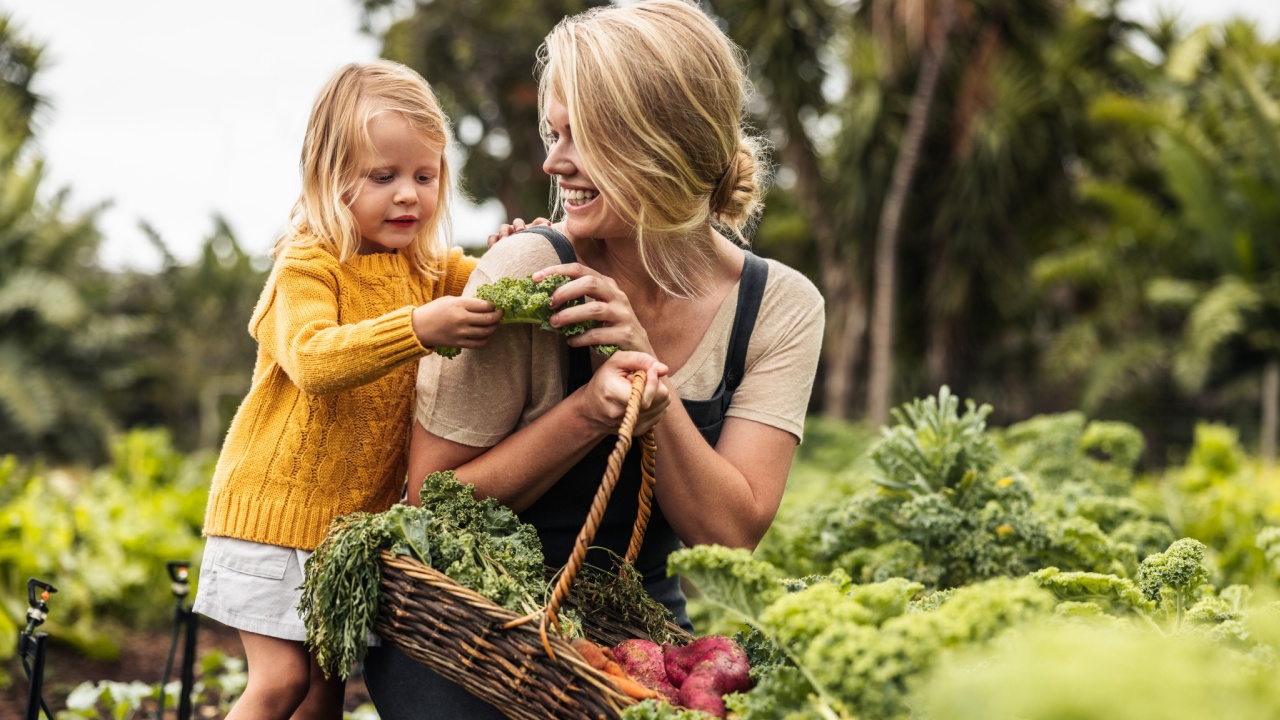
Image Credit: Shutterstock.
Feeling inspired to turn your basement into a vegetable vault? The first step is to identify a suitable space. Look for a spot that naturally stays cool and is relatively dark. You can monitor the temperature and humidity with a simple thermometer/hygrometer to see if it fits the bill. You might need to make small adjustments, like adding a vent for airflow or placing pans of water on the floor to increase humidity.
Next, get the right storage containers. Burlap sacks, wooden crates, and buckets filled with sand will become your best friends. As you fill your cellar, remember to inspect your produce regularly. One rotten apple really can spoil the whole bunch, so remove anything that shows signs of spoilage immediately. Enjoy the satisfaction of shopping from your own cellar all winter long.