If you’ve ever felt overwhelmed by the sheer volume of advice out there about cultivating indoor plants, you’re not alone. From well-meaning friends to internet forums, everyone seems to have a “foolproof” trick for keeping houseplants happy.
But what if some of the most common tips are actually doing more harm than good? Separating fact from fiction is a crucial step in becoming a confident and successful plant parent.
This guide is here to clear the air. We’ll explore 14 common houseplant myths you might see floating around, and we’ve debunked them with the help of gardening experts.
By understanding why these tales are misleading, you can ditch the bad advice, stop stressing over unnecessary tasks, and focus on what truly helps your green friends thrive.
1. Misting Your Plants Improves Humidity
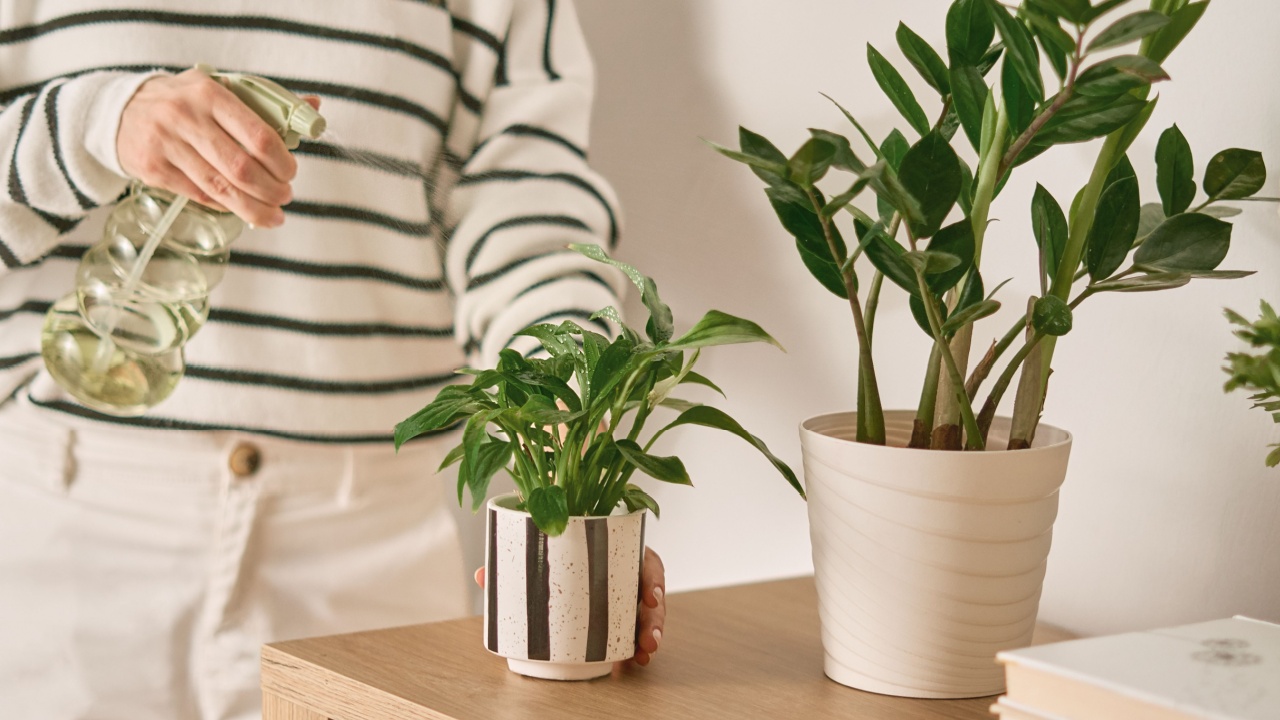
Image Credit: Shutterstock.
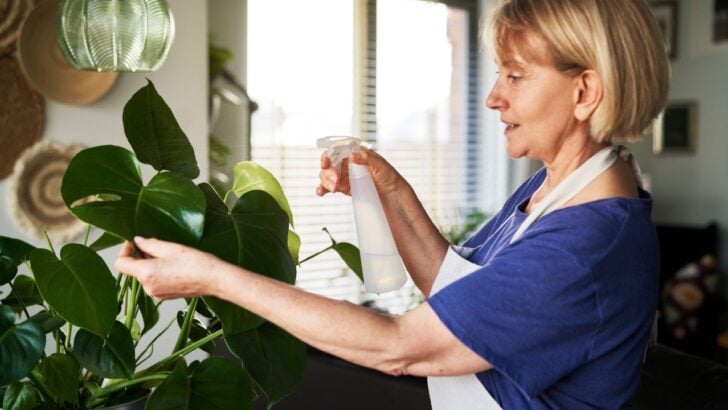
Misting is often presented as the ultimate solution for humidity-loving tropical plants. The image of gently spritzing leaves with a fine spray feels nurturing, and decorative mister bottles have become a staple in plant care kits. This myth comes from a good place: recognizing that many popular houseplants originate from rainforests where humidity levels are consistently high.
The truth is, while misting does introduce moisture into the air, the effect is incredibly temporary. The tiny water droplets dissipate within minutes, offering no lasting benefit to your plant. Daily misting is not only ineffective for raising ambient humidity but can also create problems. Water sitting on leaves can encourage the growth of fungal diseases like powdery mildew, and constant fluctuations can stress the plant.
What to Do Instead
If you need to boost humidity for plants like Calatheas or ferns, there are far more effective methods.
- Invest in a Humidifier: This is the most reliable way to maintain consistent humidity levels in a room.
- Use Pebble Trays: Place your pot on a tray filled with pebbles and water. As the water evaporates, it creates a humid microclimate directly around the plant. Just ensure the bottom of the pot isn’t sitting in the water.
- Group Plants Together: Plants naturally release moisture through transpiration. Grouping them together allows them to share this humidity.
2. Low-Light Plants Can Survive Anywhere

Image Credit: Shutterstock.
The quest for a plant that can live in a dark, windowless corner is a common one. Plants labeled “low-light tolerant,” like the Snake Plant or ZZ Plant, are often marketed as being able to survive anywhere. This leads many to believe they can add a touch of green to a gloomy hallway or a bathroom with no natural light.
This is a classic case of “low light does not mean no light.” All plants require sunlight to perform photosynthesis, the process that creates their food. While some plants are more tolerant of lower light conditions than others, none can survive indefinitely in darkness. A plant in a no-light situation is slowly starving. Resilient species might hang on for weeks or even months, but they won’t grow and will eventually decline.
What to Do Instead
Understand what “low light” really means in a home. It’s typically a spot in a room that receives bright, indirect light, but is far from the window.
- Assess Your Light: A room with a small, north-facing window is considered low light. A room with no windows is a no-go for real plants.
- Rotate Your Plants: If you must place a plant in a darker spot for decorative purposes, give it “vacation days.” Move it to a brighter location for a week every now and then to allow it to recharge.
- Consider a Grow Light: For truly dark corners where you want greenery, a grow light is the only sustainable solution.
3. Plants Need Repotting Every Year
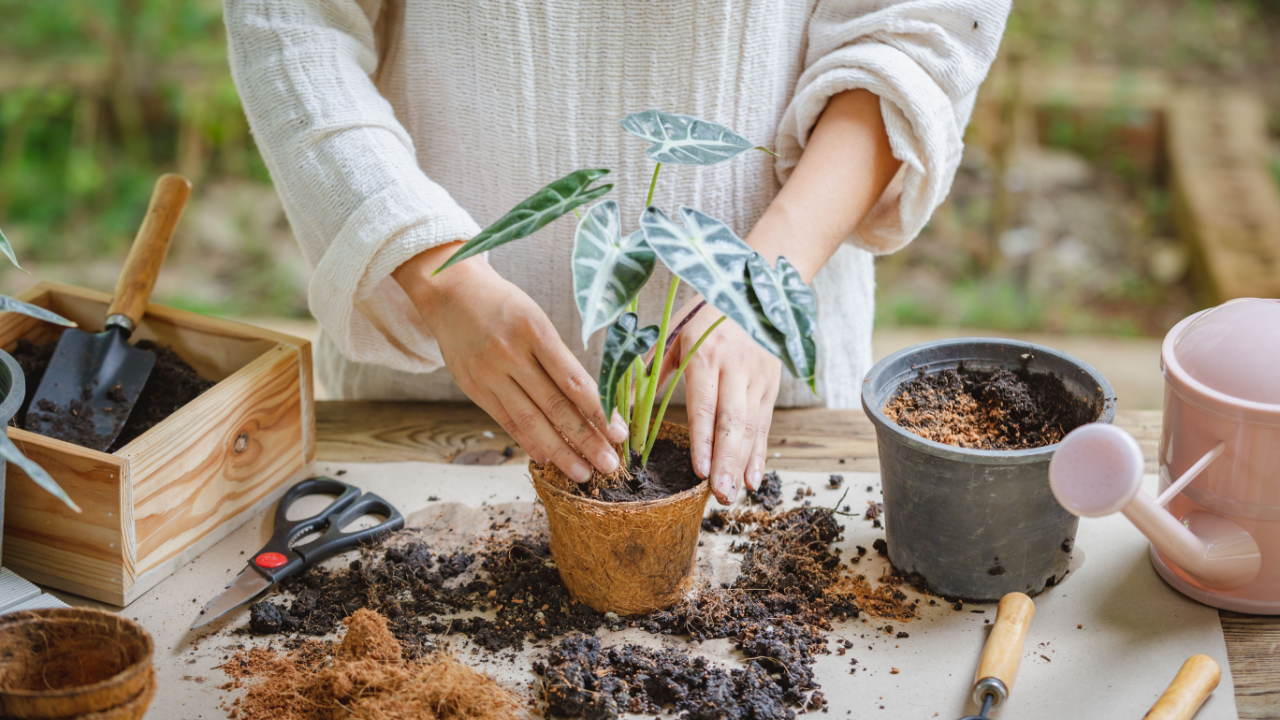
Image Credit: Shutterstock.
Repotting feels like a fundamental part of a plant’s lifecycle. We know that roots need room to grow and that old soil loses its nutrients. This has led to the common advice that you should repot your houseplants on a fixed annual schedule, usually in the spring.
While repotting is necessary, doing it too frequently can be harmful. The process is stressful for a plant; its roots are disturbed and exposed to air, and it has to adjust to a new environment. Repotting before it’s needed can shock the plant, leading to stunted growth or leaf drop. Many plants, especially slow growers, prefer to be slightly root-bound and can happily stay in the same pot for two, three, or even more years.
What to Do Instead
Let your plant tell you when it’s time for a new home.
- Check the Roots: The most reliable sign is roots growing out of the drainage holes or wrapping densely around the bottom of the soil mass.
- Look for Stunted Growth: If a healthy, fast-growing plant suddenly stops producing new leaves during its growing season, it might be root-bound.
- Monitor Water Needs: If you find yourself having to water far more frequently because the soil dries out almost instantly, the pot is likely filled with roots and has little soil left to hold moisture.
4. A Bigger Pot Means a Bigger Plant
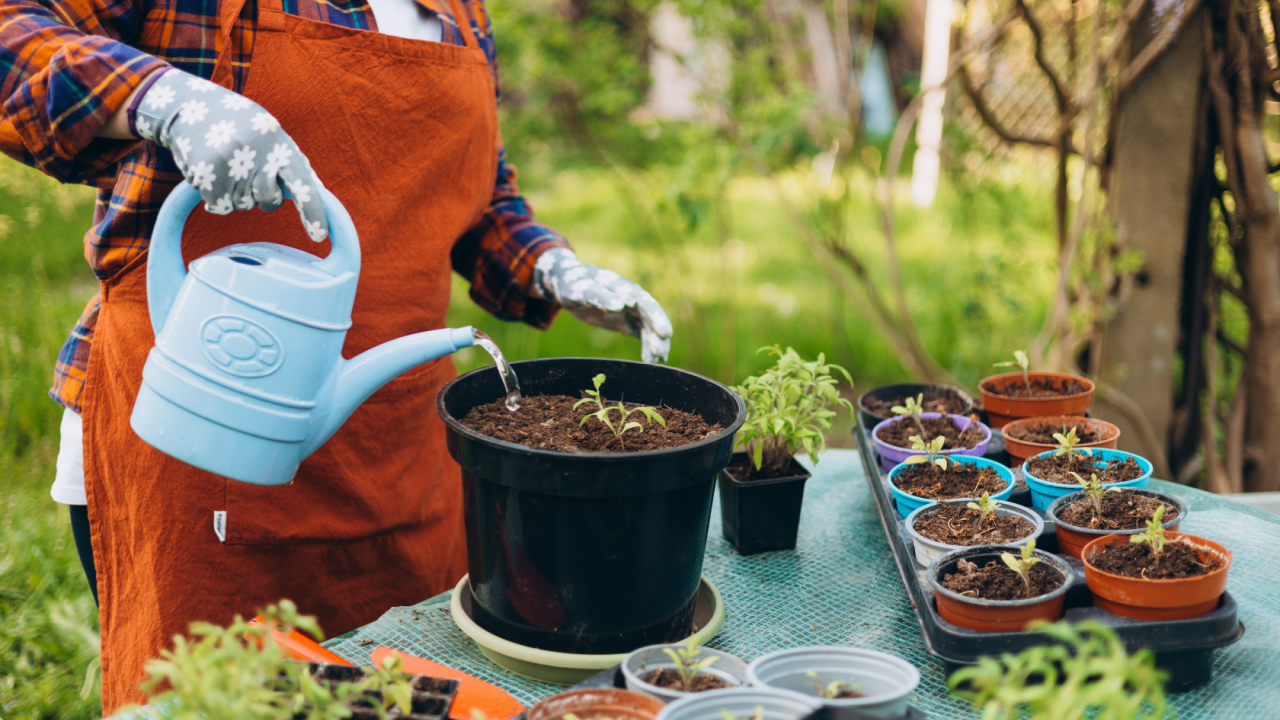
Image Credit: Shutterstock.
When it is time to repot, it seems logical to choose a much larger container. The thinking is that more space for roots will translate directly into bigger, faster growth above the soil. Why not give your plant all the room it could ever want?
This is one of the most damaging repotting mistakes. A pot that is too large holds a massive volume of soil that the plant’s current root system can’t absorb water from. This excess, unused soil stays wet for far too long, creating the perfect environment for root rot. Furthermore, the plant will expend all its energy trying to fill the new space with roots, leading to a complete halt in leaf and stem growth.
What to Do Instead
Follow the golden rule of repotting.
- Go Up One Size: Choose a new pot that is only 1-2 inches wider in diameter than the current one. This provides enough fresh soil and space for growth without overwhelming the plant.
- Focus on Other Factors: Vigorous growth is a result of optimal light, water, and humidity. An oversized pot is not a shortcut to a larger plant.
5. You Must Fertilize to Fix Stunted Growth
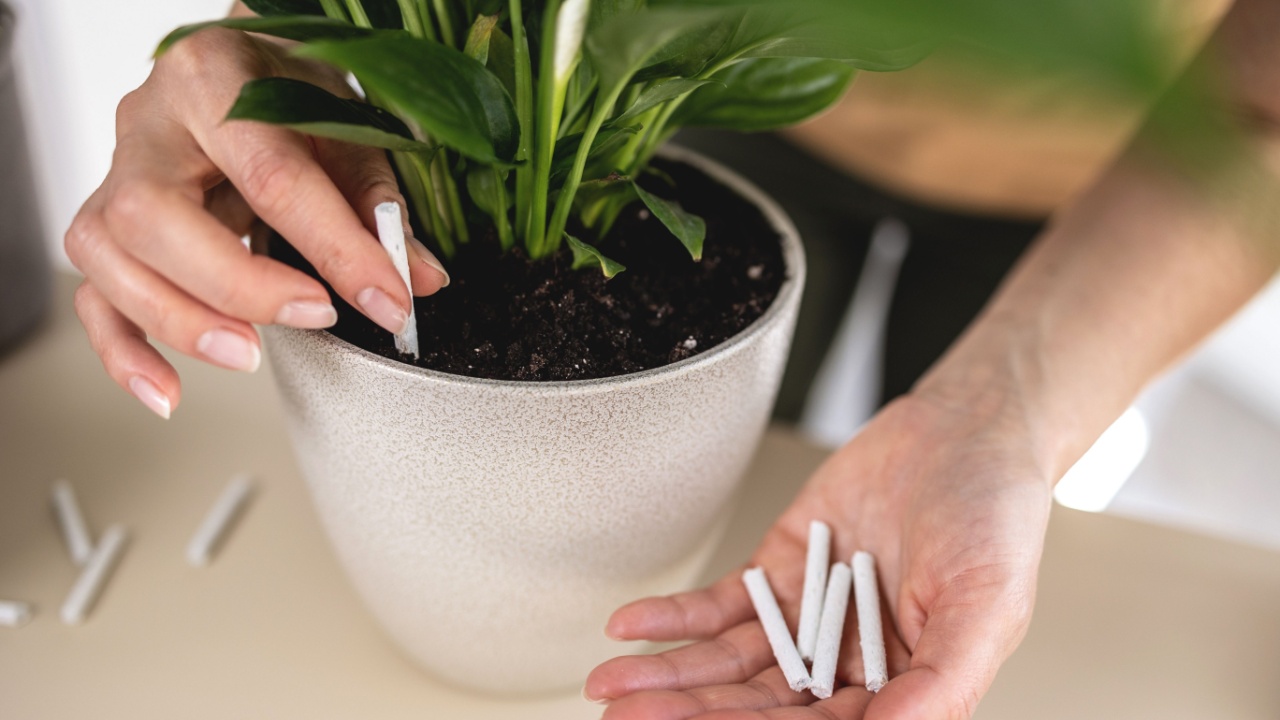
Image Credit: Shutterstock.
Your plant was growing beautifully, and then suddenly…nothing. It’s been weeks, and there are no new leaves. A common reaction is to reach for the fertilizer, assuming a lack of nutrients is the problem. Fertilizer is plant food, after all, and a starving plant needs food.
While nutrient deficiency can cause issues, it’s rarely the primary reason for a sudden stop in growth. More often, the culprit is an environmental issue like insufficient light, inconsistent watering, temperature stress, or a pest infestation. Applying fertilizer to a plant that is already stressed by another problem is like force-feeding someone who is sick; it only makes things worse. The excess mineral salts in the fertilizer can burn the roots of a plant that isn’t actively growing and using those nutrients.
What to Do Instead
Play detective before you fertilize.
- Check the Environment: Is the plant getting enough light? Has it been near a cold draft or a heating vent? Have you been watering correctly?
- Inspect for Pests: Look closely at the undersides of leaves and at new growth for any signs of pests like spider mites or mealybugs.
- Fertilize Strategically: Only fertilize healthy, actively growing plants during their growing season (spring and summer). If you’ve ruled out all other issues, then a dose of diluted fertilizer may be appropriate.
6. Houseplants Purify the Air

Image Credit: Shutterstock.
This is perhaps the most popular and persistent myth. It’s based on a famous 1989 NASA study that found certain houseplants could remove volatile organic compounds (VOCs) from the air. This led to countless articles and lists of the “best air-purifying plants,” suggesting a few pots of greenery could replace an air purifier (oh yes, we have one too).
The NASA study was conducted in a small, sealed chamber, an environment that doesn’t resemble the average home with its large volume of air, drafts, and open windows. Subsequent research has confirmed that while plants do absorb toxins, the effect is negligible in a typical home setting. You would need an impossibly dense jungle of hundreds of plants in a single room to have a measurable impact on air quality.
What to Do Instead
Buy houseplants for their proven benefits, not their mythical ones.
- Enjoy the Real Benefits: Plants are proven to reduce stress, boost mood, and increase feelings of well-being. They add beauty and life to a space.
- Improve Air Quality Effectively: If clean air is your primary goal, focus on proper ventilation (opening windows) and investing in a high-quality air purifier with a HEPA filter.
7. Indoor Plants Can’t Be Grown Outdoors
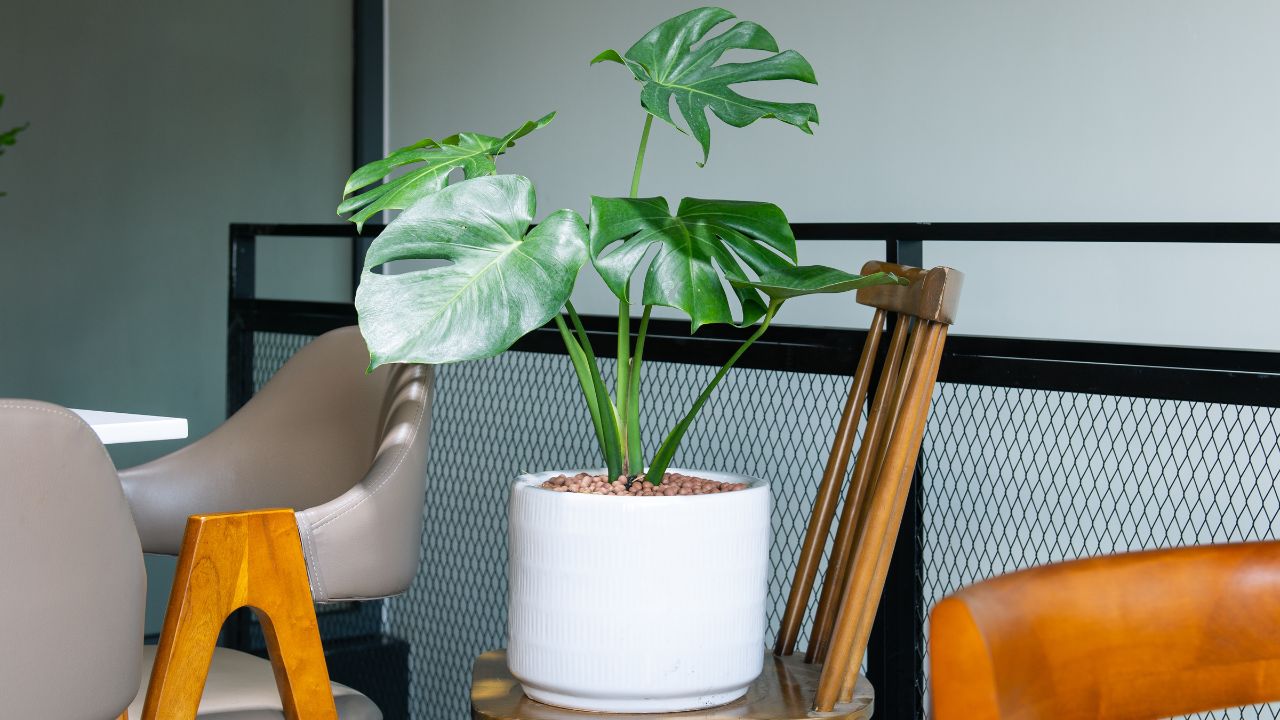
Image Credit: Shutterstock.
Plants are often sold in distinct sections at the nursery: houseplants” and “outdoor plants. This labeling implies that houseplants are delicate creatures exclusively bred for indoor living and would perish if exposed to the great outdoors.
This label is more about what a plant can tolerate than where it must live. “Houseplants” are typically tropical or subtropical species that thrive in the same temperature range as humans and can handle the lower light levels found indoors. However, these plants originate from outdoor habitats. Given the right conditions, almost any houseplant will grow bigger, faster, and healthier outdoors.
What to Do Instead
Give your plants a summer vacation.
- Acclimate Slowly: When moving a plant outdoors in the spring, start it in a shady, protected spot for a few days before gradually introducing it to more light. This prevents sunburn.
- Match the Conditions: Place sun-loving succulents in a sunny spot and shade-loving ferns under a covered patio.
- Bring Them In: Before the first frost in the fall, bring your plants back inside, checking them thoroughly for pests before they rejoin your indoor collection.
8. Houseplants Go Dormant in Winter

Image Credit: Shutterstock.
A common piece of advice is to drastically reduce water and stop fertilizing in the fall and winter because your plants are “dormant.” This idea is borrowed from temperate-climate gardening, where outdoor perennials die back to the ground and trees lose their leaves to survive the cold.
Most common houseplants are native to tropical regions where the seasons are defined by wet and dry periods, not significant temperature drops. They don’t have a true, genetically programmed dormancy. They simply slow their growth in response to less favorable conditions, namely, the shorter days and weaker light of winter. If you provide them with consistent warmth and supplemental light, they will continue to grow year-round.
What to Do Instead
Adjust your care routine based on observation, not the calendar.
- Water Based on Need: In winter, lower light and cooler temperatures mean the soil dries out more slowly. You will naturally water less, but it’s because the plant needs less, not because it’s “asleep.” Always check the soil moisture before watering.
- Hold the Fertilizer: Since growth has slowed, the plant isn’t using many nutrients. Stop fertilizing until you see signs of active new growth in the spring.
9. Pebbles in a Pot Without Holes Can Replace Drainage
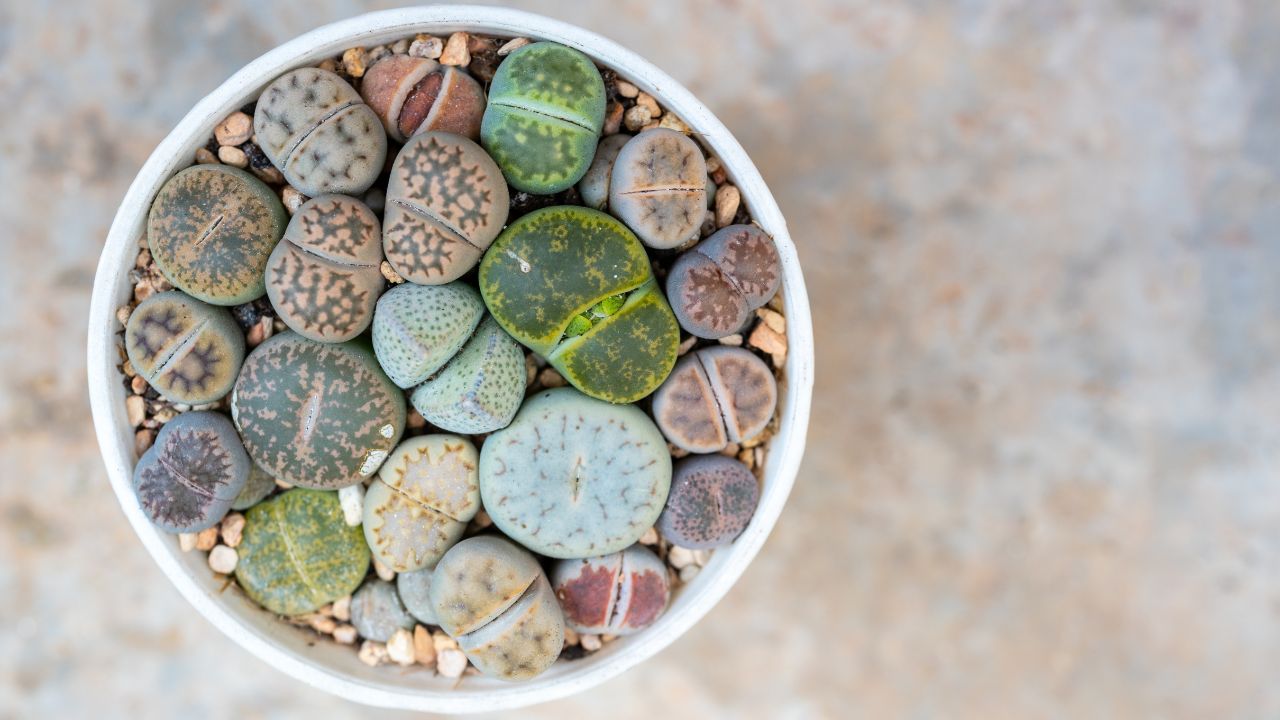
Image Credit: Shutterstock.
You’ve found the perfect decorative pot, but it doesn’t have a drainage hole. You may have heard that adding a layer of gravel or pebbles to the bottom will create a space for excess water to collect, thereby protecting the roots from rot.
This is a dangerous myth that has led to the demise of many a houseplant. This “drainage layer” doesn’t drain anywhere; it simply raises the water table inside the pot. Water will fill the pebble layer and then begin to saturate the soil above it. The stagnant, oxygen-deprived water at the bottom becomes a breeding ground for bacteria, and the roots will eventually grow down into this swampy mess and rot.
What to Do Instead
Drainage is non-negotiable.
- Drill a Hole: If you’re handy, use a masonry or tile drill bit to add a drainage hole to your favorite ceramic or terracotta pot.
- Use it as a Cachepot: This is the best solution. Keep your plant in its plastic nursery pot (which has holes) and simply place it inside the decorative pot. You can remove it from water, let it drain completely, and then pop it back in.
10. Wilting Always Means the Plant is Thirsty
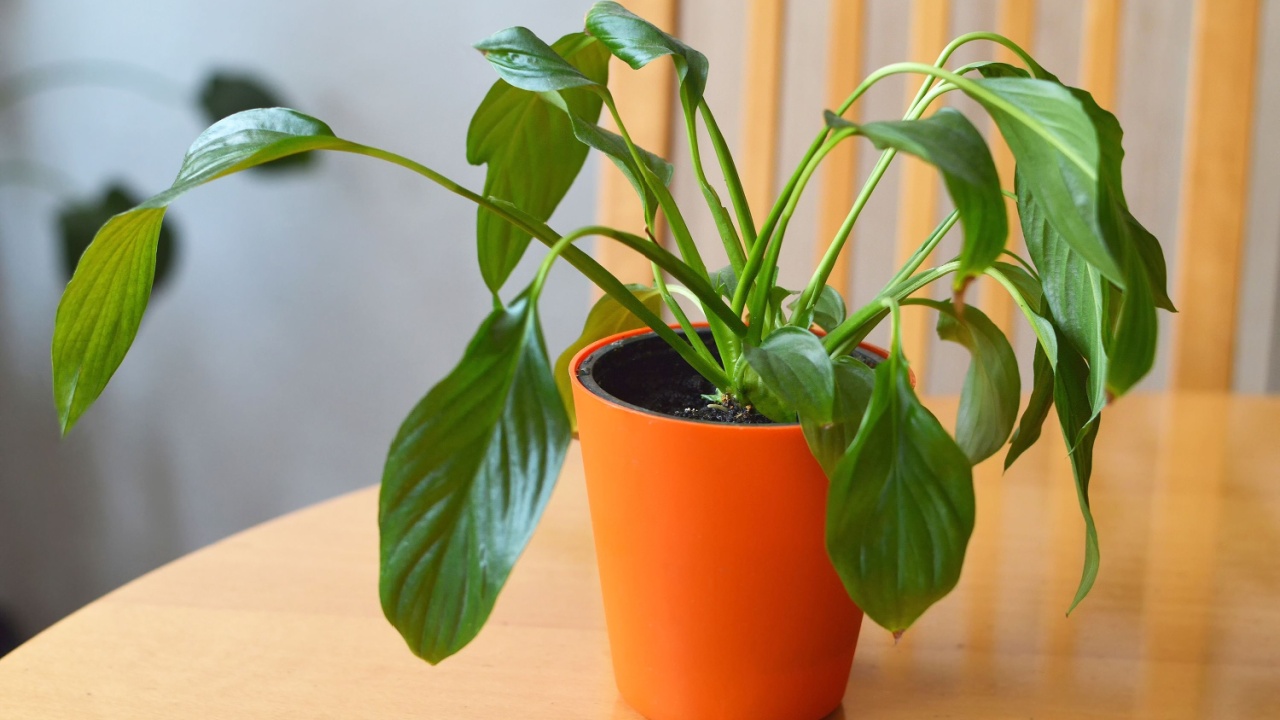
Image Credit: Shutterstock.
A drooping, wilting plant is a universal sign of distress. Since underwatering causes cells to lose turgor pressure and flop over, our immediate instinct is to grab the watering can. This is often the correct response.
However, wilting is a general symptom that can have opposite causes. The most common alternative is overwatering. When soil is waterlogged, roots can’t get oxygen and begin to rot. Rotted roots are unable to absorb and transport water to the leaves, leading to the same drooping symptoms as a thirsty plant. Watering a plant that is wilting from root rot is the final nail in its coffin. Other causes can include heat stress, transplant shock, or disease.
What to Do Instead
Investigate before you water.
- Feel the Soil: Is it bone dry? Then by all means, give your plant a thorough drink.
- Check for Wetness: Is the soil damp or soggy? If so, overwatering is the likely culprit. Let the soil dry out completely and check the roots for any brown, mushy signs of rot.
11. All Succulents Are Easy, Low-Light Indoor Plants
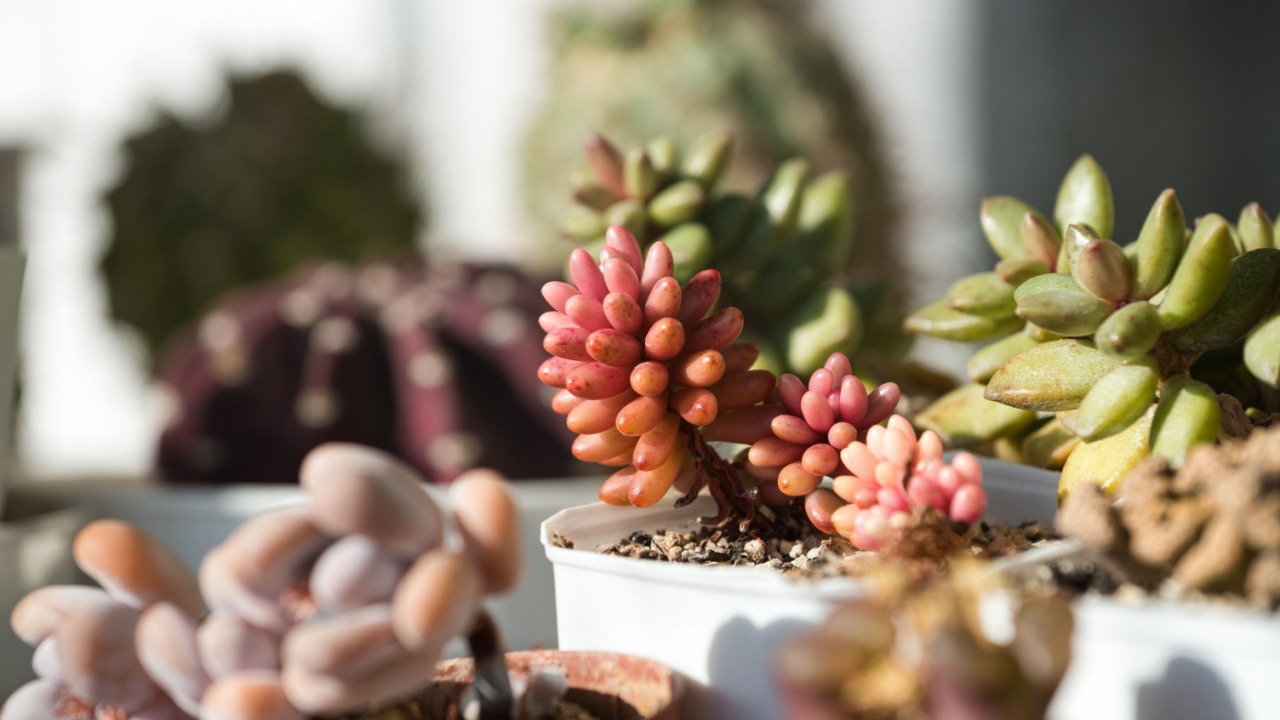
Image Credit: Shutterstock.
Succulents are often recommended as the perfect beginner plant due to their tolerance for neglect, particularly infrequent watering. This has led to the assumption that they are universally easy to care for indoors and can be placed anywhere.
While they are drought-tolerant, most succulents have one non-negotiable demand: a huge amount of light. Many popular species, like Echeverias, hail from desert regions where they receive 8+ hours of direct, intense sun per day. Placed in a typical indoor spot, they will quickly etiolate, stretching desperately towards the light, becoming pale, weak, and misshapen.
What to Do Instead
Choose the right succulent for the right spot.
- Provide Maximum Sun: The best place for most succulents is directly in your sunniest south- or west-facing window.
- Choose Lower-Light Varieties: If you don’t have intense sun, opt for succulents that are more tolerant of indoor conditions, such as Haworthia, Gasteria, and the Snake Plant (Dracaena trifasciata).
- Embrace Grow Lights: A simple grow light can allow you to successfully grow high-light succulents anywhere in your home.
12. You Should Shine Leaves with Mayonnaise or Milk
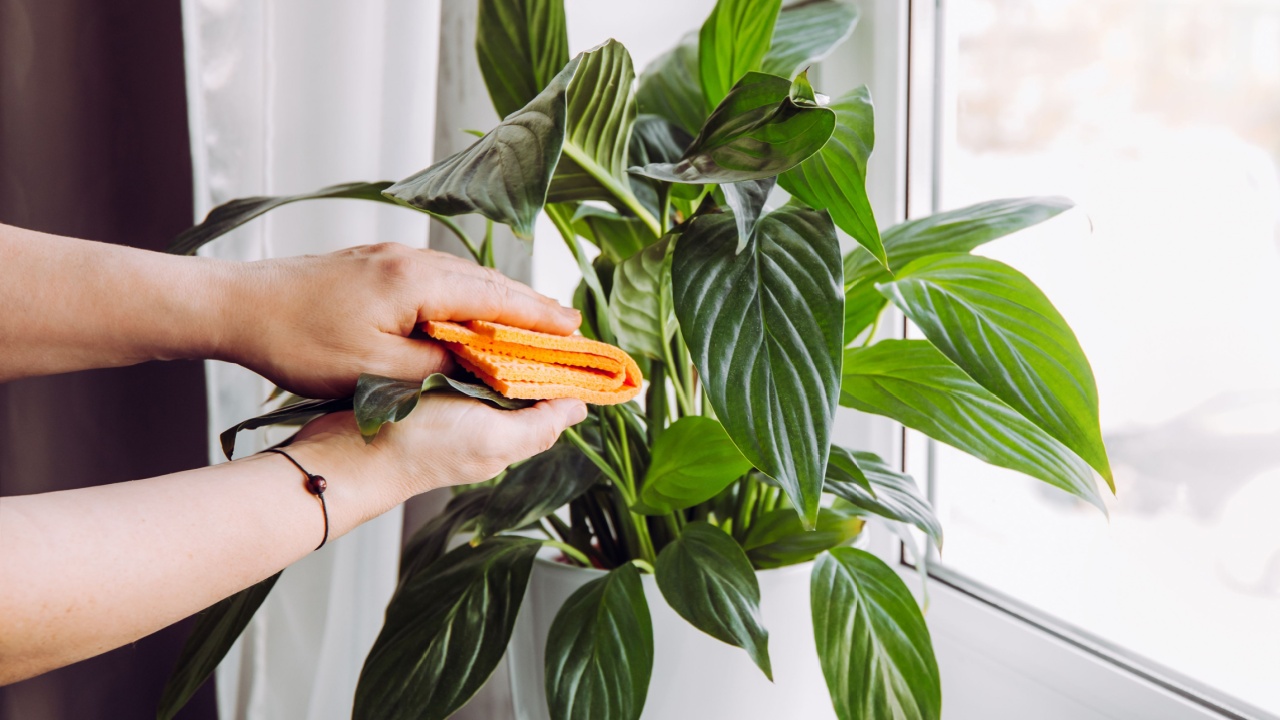
Image Credit: Shutterstock.
We all want our houseplants to have lush, glossy leaves. Dust can accumulate on leaf surfaces, dulling their shine and even slightly hindering photosynthesis. This has given rise to the idea of using household products like mayonnaise, milk, or commercial “leaf shine” sprays to get that polished look.
While these products can create a temporary shine, they do so by leaving an oily or waxy residue on the leaf. This coating clogs the stomata, the tiny pores on the leaf surface that the plant uses for gas exchange (breathing). A clogged leaf cannot function properly, which can negatively impact the plant’s long-term health.
What to Do Instead
Keep it simple and natural.
- Just Use Water: The best way to clean and shine your leaves is to simply wipe them with a soft, damp cloth. For heavily soiled plants, you can add a tiny drop of insecticidal soap to the water.
- A Healthy Plant Shines from Within: A truly glossy leaf is a sign of a healthy, well-hydrated plant. Focus on providing good overall care, and the natural shine will follow.
13. All Plants in the Same Room Need the Same Care

Image Credit: Shutterstock.
When you arrange several plants together in a room, it’s tempting to treat them all the same way. You might water them all on “Watering Wednesday” or assume they are all happy in the same general area. It simplifies the care routine.
The problem is that every plant is an individual, even when they share a space. A fern in one corner might need to stay consistently moist, while a pothos a few feet away prefers to dry out between waterings. Light also varies dramatically within a single room; a spot right next to a window receives exponentially more light than a shelf ten feet away. Treating them all identically ensures that some of them are getting improper care.
What to Do Instead
Tailor your care to each specific plant.
- Learn Individual Needs: Get to know the specific light and water preferences of each plant you own.
- Group by Need: If possible, group plants with similar needs together. Place all your highlight succulents in the sunniest window and your shade-tolerant ferns in a dimmer corner.
- Check, Don’t Schedule: Instead of watering everyone at once, use that time to check each plant individually. Stick your finger in the soil of each pot to determine if it’s actually time for a drink.
14. Yellow Leaves Always Mean You’ve Done Something Wrong

Image Credit: Shutterstock.
Seeing a yellow leaf can spark panic in any plant owner. We immediately start troubleshooting: Is it too much water? Not enough? A nutrient deficiency? Pests? While yellow leaves can be a sign of a problem, they are also a completely normal part of a plant’s life cycle.
Plants, like all living things, age. As a plant grows, it directs its energy towards new, more efficient leaves. In doing so, it will often shed its oldest, lowest leaves. The plant reabsorbs the valuable nutrients (like chlorophyll, which is green) from the old leaf, causing it to turn yellow and eventually fall off. As long as it’s just an occasional lower leaf and the rest of the plant looks healthy and is putting out new growth, there is no cause for alarm.
What to Do Instead
Learn to read the signs and put them in context.
- Observe the Pattern: Is it just one or two of the oldest, bottom leaves turning yellow? This is likely normal aging. Are many leaves all over the plant turning yellow at once? That indicates a potential problem with watering or light.
- Look for Other Symptoms: Is the yellowing accompanied by brown spots, mushy stems, or webbing? These clues can help you diagnose a specific issue.
- Prune and Move On: Simply snip off the yellowing leaves to keep the plant looking tidy. Continue to provide good care and don’t panic over the natural process of aging.
Build Confidence Plant Care
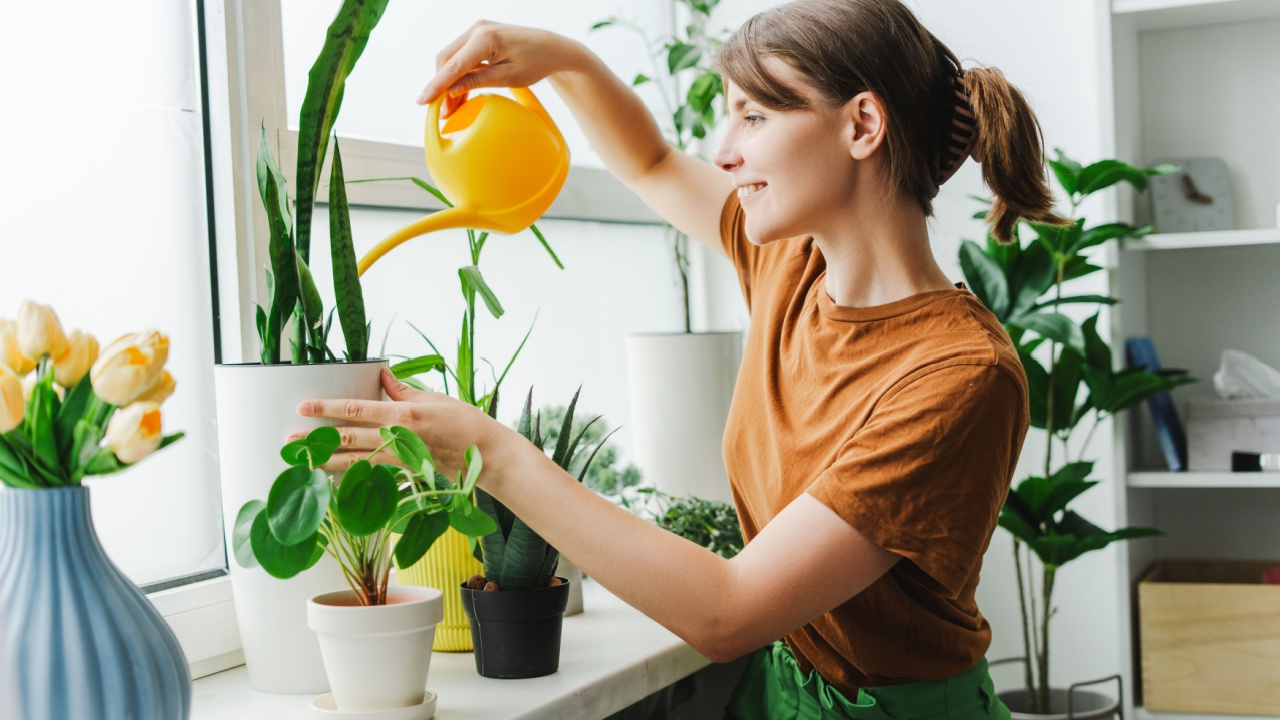
Image Credit: Shutterstock.
Now that you’re armed with the truth behind these common myths, you can approach your indoor garden with a new sense of clarity and confidence. The best thing you can do for your plants is to become a keen observer. Pay attention to the light in your home, learn what the weight of a pot feels like when it’s wet versus dry, and watch how your plants respond to the care you provide.
Your journey into houseplant care is a personal one, unique to your home and your plants. Don’t be afraid to trust your instincts, learn from your experiences, and most importantly, enjoy the process of bringing more green into your life. Happy gardening.
Read more
5 “Set It and Forget It” Houseplants That Keep Your Home Feeling Fresh
It’s Almost April — Here’s Exactly When (and When Not) to Fertilize Your Houseplants This Year
