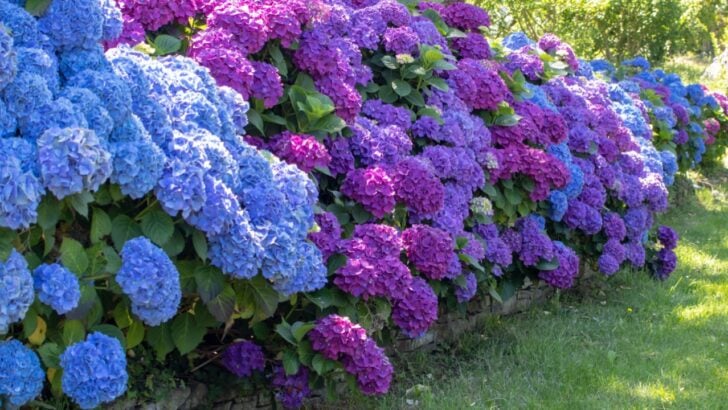
Hydrangeas are the showstoppers of many gardens, with their lush foliage and large, vibrant blooms. These beautiful shrubs can transform a simple backyard into a stunning floral retreat. While they have a reputation for being relatively easy to care for, a few common missteps can prevent them from reaching their full potential.
If you’ve ever wondered why your hydrangeas are drooping, failing to bloom, or simply not looking their best, you’re not alone. The good news is that most of these issues are easily fixable.
Understanding the specific needs of your hydrangeas is the key to unlocking bigger blooms and healthier plants. From where you plant them to how you prune them, every choice makes a difference.
This guide will walk you through eight common mistakes gardeners make and provide clear, actionable steps to help you correct them.
1. Choosing the Wrong Location and Light
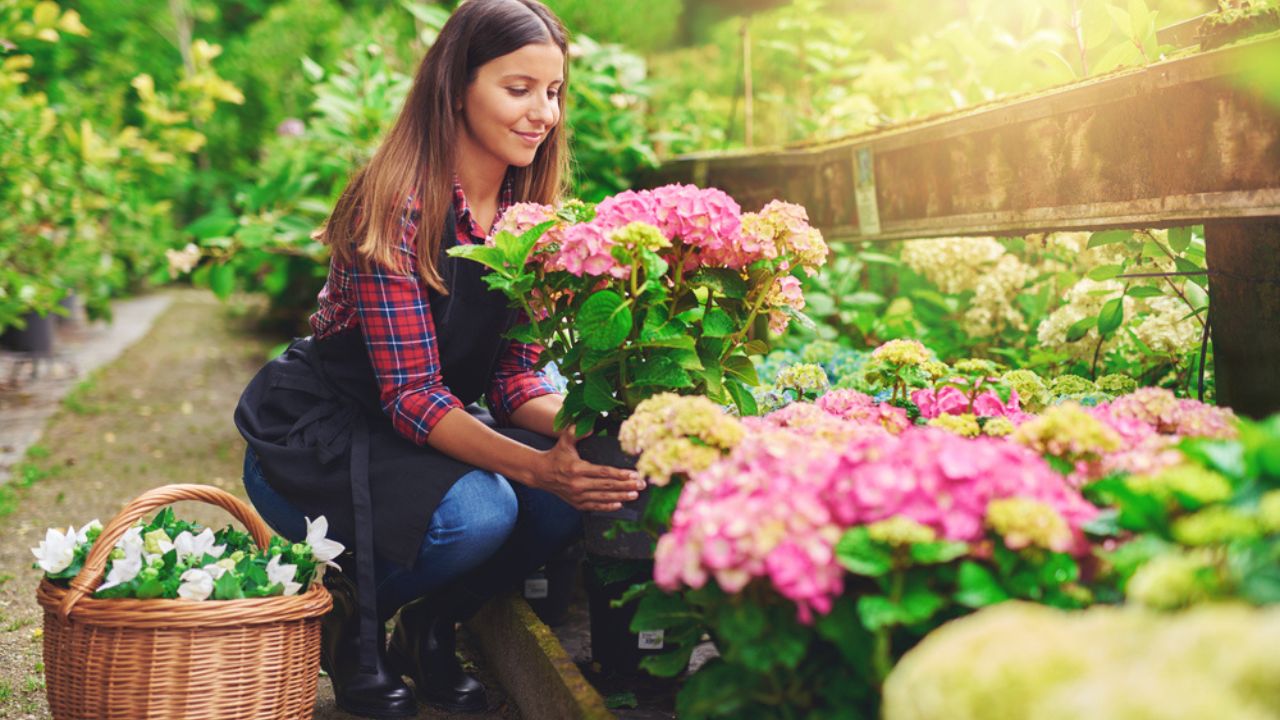
Image Credit: Shutterstock.
One of the most frequent errors in hydrangea care happens before the plant even goes into the ground: choosing the wrong spot. Hydrangeas have specific light requirements that are crucial for their health and ability to flower. Most varieties thrive in a location that receives morning sun and afternoon shade. The gentle morning light gives them the energy they need for photosynthesis, while protection from the harsh afternoon sun prevents their delicate leaves and flowers from scorching and wilting.
Planting a hydrangea in a spot with full, intense sun all day, especially in a west-facing location, is a recipe for stress. The plant will constantly struggle, leading to burnt leaves, drooping, and a reluctance to produce blooms. On the other end of the spectrum, deep shade can also be problematic. While some types, like the panicle hydrangea, can tolerate more shade, most will produce fewer, smaller flowers and develop weak, leggy stems if they don’t get enough light.
Actionable Tips:
- Observe Your Yard: Before planting, watch how the sun moves across your garden. Find a spot that gets about four to six hours of direct morning sun.
- Provide Afternoon Protection: An ideal location might be on the east side of your house or under the canopy of a tall, deciduous tree that filters the intense afternoon rays.
- Relocate if Necessary: If you suspect your current hydrangea is in the wrong spot, don’t be afraid to move it during its dormant season (late fall or early spring) to a more suitable home.
2. Pruning at the Wrong Time
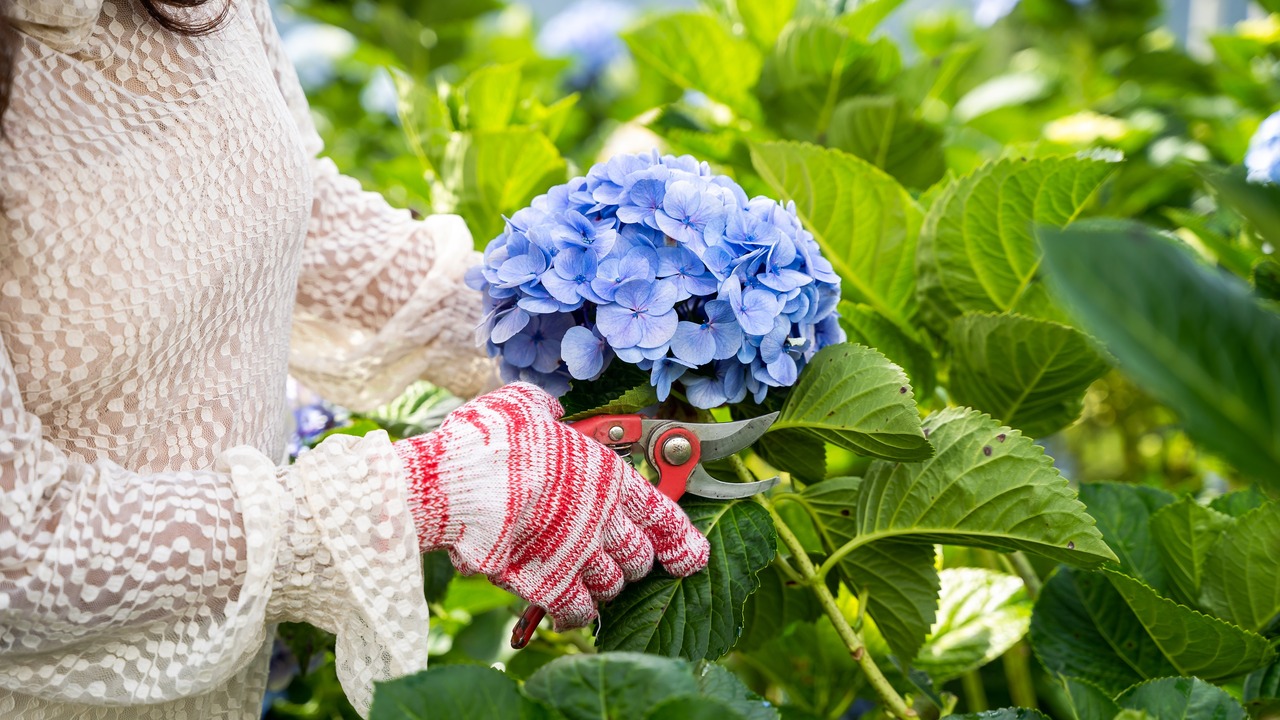
Image Credit: Shutterstock.
The fear of pruning incorrectly is a major source of anxiety for many hydrangea owners, and for good reason. Pruning at the wrong time of year is a primary cause of a flowerless hydrangea bush. The key is to understand whether your hydrangea blooms on “old wood” or “new wood.”
Old wood bloomers, like Bigleaf (Hydrangea macrophylla) and Oakleaf (Hydrangea quercifolia) varieties, form their flower buds for the following year during the late summer and fall. If you prune these types in the late fall, winter, or spring, you are cutting off all of the potential blooms for the upcoming season. New wood bloomers, such as Panicle (Hydrangea paniculata) and Smooth (Hydrangea arborescens) varieties, form their flower buds on the current season’s growth. These are more forgiving and can be pruned in late winter or early spring before new growth appears.
Actionable Tips:
- Identify Your Hydrangea: Find out what type of hydrangea you have. This information is critical for proper pruning. If you don’t know, take a picture to a local nursery for identification.
- Prune Old Wood Bloomers Carefully: Only prune these types right after they finish flowering in the summer. This gives them plenty of time to set buds for next year. Limit pruning to removing dead branches or shaping the plant lightly.
- Prune New Wood Bloomers with Confidence: For panicle and smooth hydrangeas, prune them back in late winter or early spring. This can encourage stronger stems and more vigorous growth.
3. Improper Watering Habits
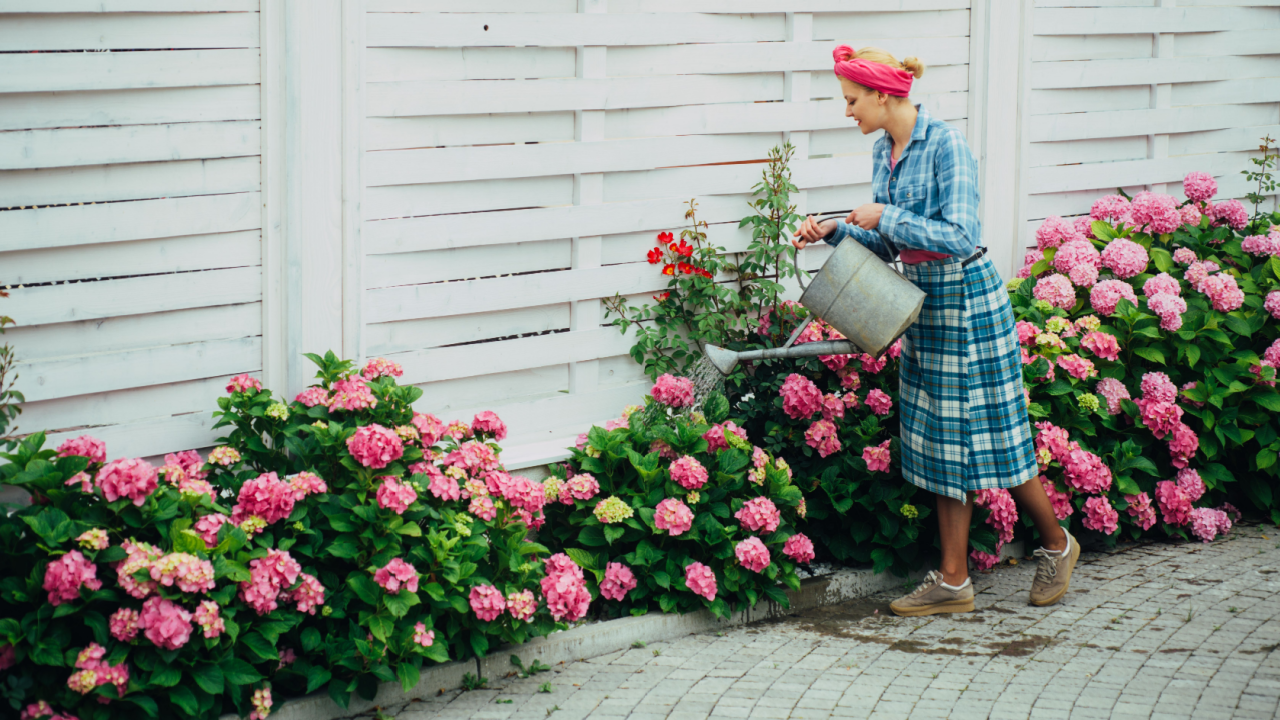
Image Credit: Shutterstock.
The name “hydrangea” comes from the Greek words for water (“hydro”) and vessel (“angeion”), which hints at their thirst. However, providing the right amount of water, not too much and not too little, is essential. Overwatering is just as dangerous as underwatering. When soil becomes waterlogged, it suffocates the roots, cutting off their oxygen supply and leading to root rot, a fungal disease that can quickly kill the plant.
Conversely, insufficient water, especially during hot and dry periods, will cause the plant to wilt dramatically. While hydrangeas are known for their “afternoon faint,” where they droop in the heat and perk back up in the evening, consistent underwatering will lead to brown, crispy leaf edges and stressed plants that won’t bloom well. The goal is to maintain consistently moist, but not soggy, soil.
Actionable Tips:
- Check the Soil: Before watering, stick your finger about two inches into the soil near the base of the plant. If it feels dry, it’s time to water.
- Water Deeply: Provide a deep, thorough soaking once or twice a week rather than a light sprinkle every day. This encourages deep root growth. Aim for about one inch of water per week, including rainfall.
- Use Mulch: Apply a 2-3 inch layer of organic mulch around the base of your plant to help retain soil moisture and keep the roots cool.
4. Overcrowding Your Plants
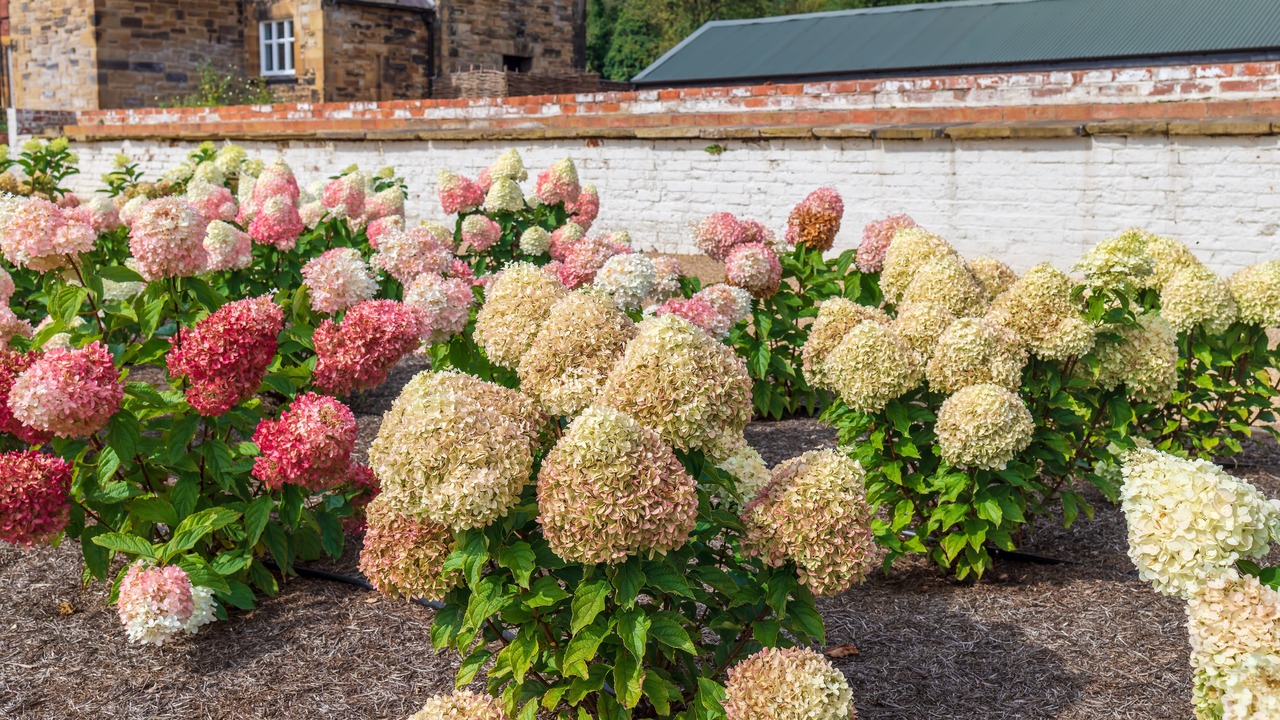
Image Credit: Shutterstock.
When you bring home a small hydrangea from the nursery, it can be tempting to plant it close to other shrubs to fill a space quickly. This is a mistake that can cause significant problems down the road. Hydrangeas need ample air circulation and space for their roots to expand.
Planting them too close to each other or to other large plants creates competition for water, nutrients, and sunlight. This can result in stunted growth and fewer blooms. Furthermore, poor air circulation in an overcrowded garden bed creates a humid environment that is a breeding ground for fungal diseases like powdery mildew. Giving your hydrangea the space it needs to mature is an investment in its long-term health.
Actionable Tips:
- Read the Plant Tag: Check the mature size of your specific hydrangea variety and plan accordingly. Some can grow over 8 feet tall and wide!
- Space Generously: When planting, leave enough room for the hydrangea to reach its full size without touching its neighbors.
- Use Annuals as Fillers: If you dislike the empty space while your hydrangea is growing, fill the gaps with annual flowers. They provide temporary color and won’t compete with the hydrangea’s root system.
5. Not Amending the Soil Correctly

Image Credit: Shutterstock.
Hydrangeas perform their best in rich, loamy, well-draining soil. Simply digging a hole in dense clay or poor, sandy soil and dropping the plant in will limit its potential. A common error is to amend only the soil used to backfill the planting hole. While this gives the plant a nice start, it can create what’s known as the “pot-in-pot” effect.
When the amended soil in the hole is much richer than the surrounding native soil, the hydrangea’s roots may be reluctant to venture out into the harder, less nutritious ground. They will circle within the comfortable confines of the original hole, effectively becoming root-bound and limiting the plant’s ability to anchor itself and find moisture and nutrients.
Actionable Tips:
- Amend a Larger Area: When preparing to plant, amend the soil in an area at least twice as wide as the plant’s root ball. Mix compost or other organic matter into the native soil.
- Focus on Drainage: If you have heavy clay soil, incorporating compost and pine bark fines can improve its structure and drainage, preventing water from pooling around the roots.
- Top-Dress Annually: Each spring, apply a layer of compost around the base of the plant to continue enriching the soil over time.
6. Planting Near Unfriendly Neighbors
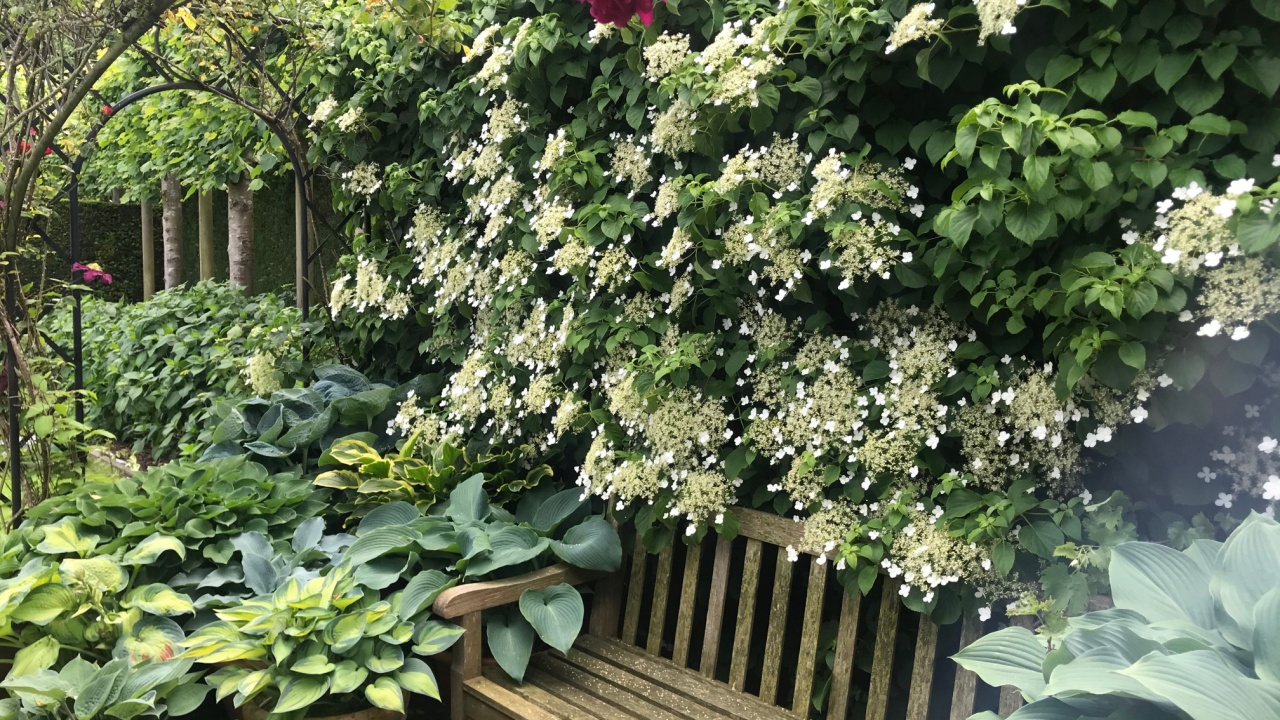
Image Credit: Shutterstock.
Not all plants make good neighbors. Some plants, a phenomenon known as allelopathy, release biochemicals from their roots or decaying leaves that can inhibit the growth of nearby plants. Planting your hydrangeas too close to these allelopathic species can lead to stunted growth, poor health, and a lack of vigor, no matter how well you care for them.
One of the most well-known culprits is the Black Walnut tree, which releases a chemical called juglone that is toxic to many plants, including hydrangeas. Other plants that can have a negative impact include sunflowers, goldenrod, and forsythia. These plants will outcompete your hydrangea for resources or actively suppress its growth.
Actionable Tips:
- Research Companion Plants: Before designing a garden bed, research which plants grow well together. Good companions for hydrangeas include perennials like hostas, ferns, and astilbe, which enjoy similar conditions.
- Avoid Known Allelopaths: Be particularly mindful of planting near Black Walnut trees. Keep a safe distance from their drip line (the edge of their canopy).
- Observe Plant Interactions: If a hydrangea is failing to thrive and is planted near a vigorous, spreading plant, consider that competition may be the issue.
7. Failing to Protect Them in Winter

Image Credit: Shutterstock.
For gardeners in colder climates (generally Zone 5 or below), winter protection can be the difference between a thriving hydrangea and a pile of dead sticks in the spring. Cold temperatures and harsh winds can damage or kill the flower buds, especially on old wood blooming varieties. Container-grown hydrangeas are even more vulnerable, as their roots have less soil to insulate them from freezing temperatures.
Even if the plant itself survives the winter, the loss of its flower buds means you won’t see any blooms. Protecting your plants before the first hard freeze is a simple step that pays off handsomely when summer arrives.
Actionable Tips:
- Water Deeply Before Frost: Give your hydrangeas a good, deep watering before the ground freezes to ensure they are well-hydrated for the winter.
- Mulch Heavily: After the ground has frozen, apply a thick layer (6-8 inches) of mulch, shredded leaves, or straw around the base of the plant to insulate the root zone and crown.
- Wrap or Cover: For particularly tender varieties or in very cold zones, you can create a cage of chicken wire around the plant and fill it loosely with leaves for extra insulation.
- Bring Containers Indoors: Move potted hydrangeas into an unheated garage, shed, or basement for the winter to protect their roots from freezing solid.
8. Ignoring Pest Control

Image Credit: Shutterstock.
While hydrangeas are fairly hardy, they are not immune to pests. An infestation can quickly turn a beautiful plant into a sad, damaged one. Common pests include aphids, spider mites, Japanese beetles, and scale insects. Aphids and spider mites suck the sap from tender new growth, causing leaves to curl and yellow. Japanese beetles can skeletonize leaves in a matter of days, leaving behind a lace-like mess.
Ignoring a small pest problem allows it to escalate into a major infestation that weakens the plant, makes it more susceptible to disease, and ruins its appearance. Regular inspection is key to catching these problems early before they get out of control.
Actionable Tips:
- Inspect Regularly: At least once a week, check the undersides of leaves and the stems for any signs of pests. Look for insects, fine webbing (a sign of spider mites), or sticky residue (honeydew from aphids).
- Use a Strong Spray of Water: For small infestations of aphids or spider mites, a strong blast of water from a hose can often be enough to dislodge them.
- Try Insecticidal Soap: For more persistent problems, insecticidal soap or horticultural oil is effective and less harmful to beneficial insects than broad-spectrum pesticides. Follow the package directions carefully.
- Hand-Pick Beetles: The best control for Japanese beetles on a small scale is to hand-pick them in the morning when they are sluggish and drop them into a bucket of soapy water.
Supporting a Beautiful Garden and Blooms
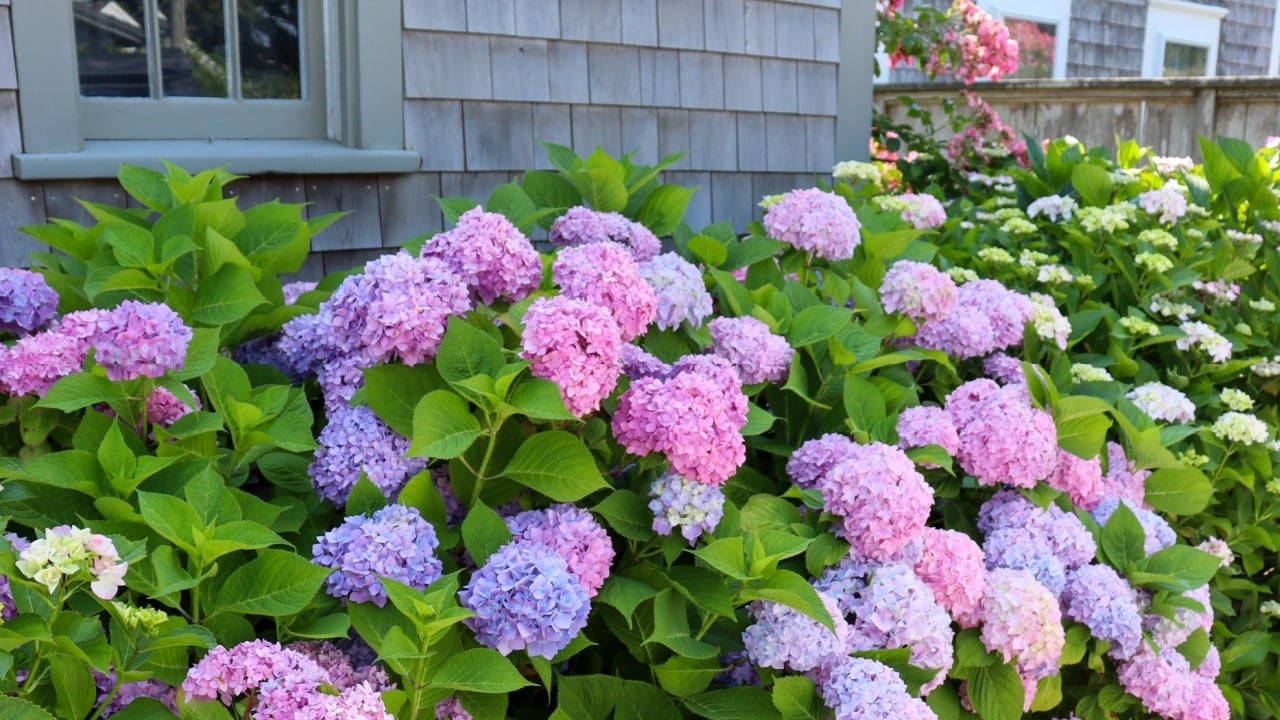
Image Credit: Shutterstock.
Growing gorgeous hydrangeas is an achievable goal for any gardener. By avoiding these common mistakes, you can provide your plants with the foundation they need to thrive. Start by assessing your current hydrangeas. Are they in the right spot? Have you been pruning them correctly? Take one tip from this list and apply it this week. Perhaps it’s adding a fresh layer of mulch to conserve water or simply taking a closer look for pests.
Each small adjustment you make contributes to the overall health and beauty of your plants. With a little attention to detail, you’ll be rewarded with stronger, healthier hydrangeas and a breathtaking display of blooms that will be the envy of the neighborhood.
Read more
17 Noteworthy Landscaping Options for Making Hydrangeas Pop
Best Companion Plants for Hydrangeas to Bloom Their Best
