Now that summer is a distant memory and fall has settled in, it’s easy to think your garden work is done until spring. But the quiet months of autumn offer a golden opportunity to lay the groundwork for next year’s success.
Fall is the perfect time to get to know your soil on a deeper level. Testing your soil and giving some thought to your garden now gives you a clear picture of its health, revealing what nutrients it needs and what imbalances you can correct long before you plant your first seed next season. This simple step can transform your gardening efforts, leading to healthier plants, bigger harvests, and a more resilient garden. Let’s look on how to prepare for next spring’s bounty.
1. Plan Your Future Garden

Image Credit: Shutterstock.
Before you even touch a trowel, take a moment to dream about next year’s garden. What do you envision growing? Will your tomato patch become a bed for leafy greens? Are you thinking of planting heavy feeders like corn and squash, or nitrogen-fixing legumes like peas and beans? Different plants have unique nutritional needs, and your soil testing strategy should reflect that. Knowing your future crops helps you ask the right questions and test for the specific nutrients your garden will require.
For example, tomatoes, peppers, and corn are hungry for nitrogen and potassium. Root vegetables like carrots and beets need plenty of phosphorus for healthy development. By planning ahead, you can tailor your soil amendments precisely, ensuring your future plants get the best possible start.
Summary:
- Decide what you’ll plant next spring.
- Understand the specific nutrient needs of those plants.
- This helps you focus your soil testing and amendment efforts.
2. Gather the Right Tools
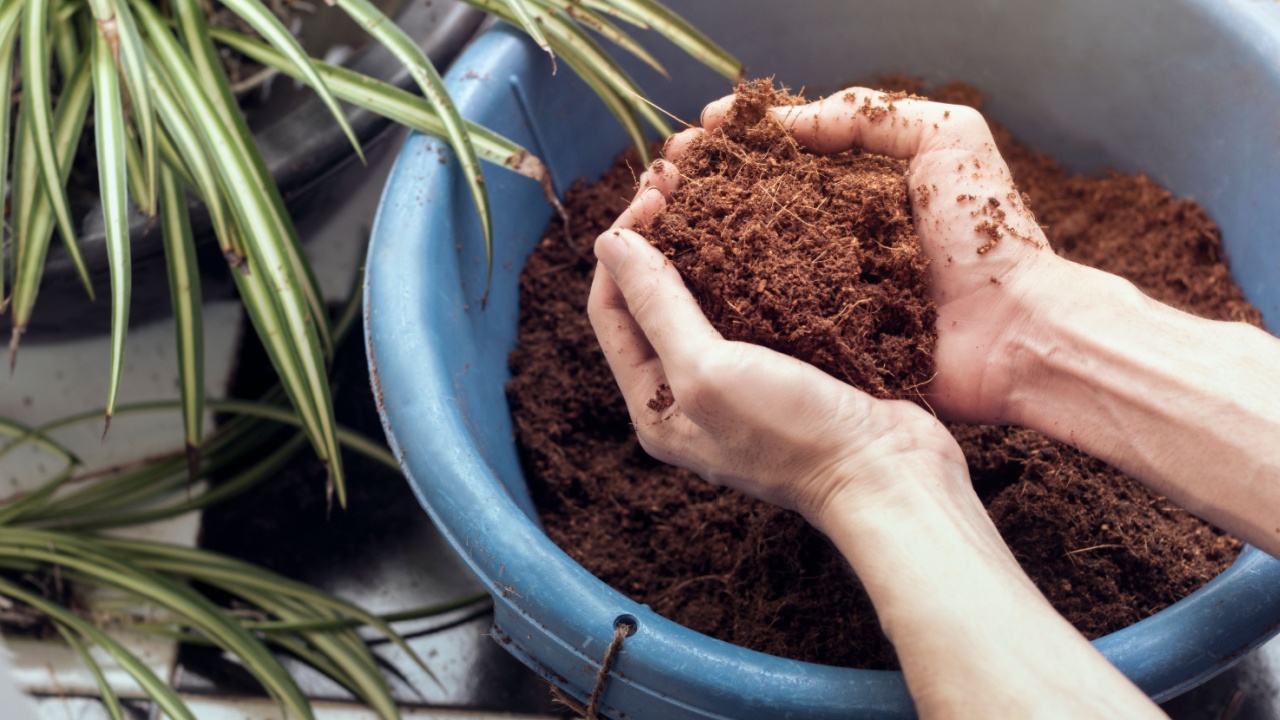
Image Credit: Shutterstock.
To get an accurate sample, you need a few basic tools. The goal is to collect soil from several spots in your garden bed and mix them together for a representative sample. You don’t need fancy equipment; a clean plastic bucket, a trowel or spade, and a soil probe (if you have one) will do the trick. Avoid using brass, bronze, or galvanized metal tools, as they can contaminate your sample with trace minerals like copper and zinc, skewing your test results. A simple, clean plastic or stainless steel tool is your best bet.
Summary:
- You’ll need a clean plastic bucket.
- Use a stainless steel or plastic trowel, spade, or soil probe.
- Avoid tools made of brass, bronze, or galvanized metal to prevent contamination.
3. Choose the Right Tests for Your Needs
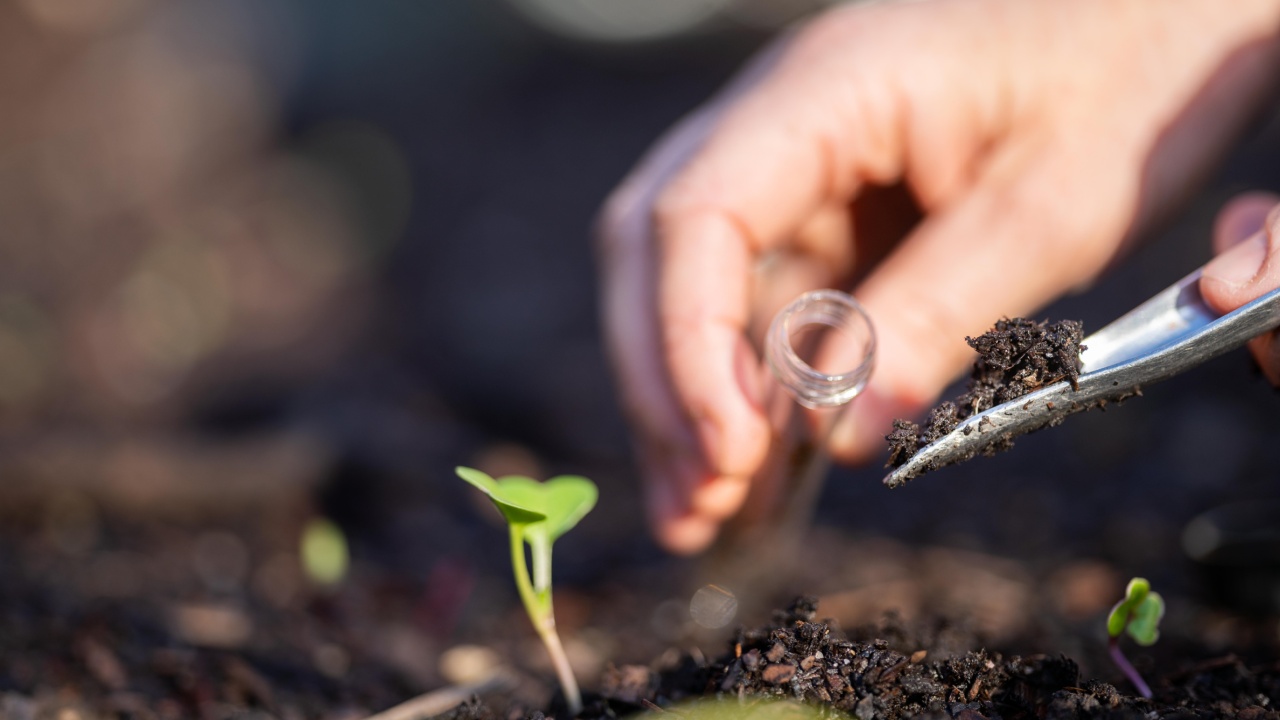
Image Credit: Shutterstock.
A standard soil test from your local extension office or a private lab will usually check for pH, nitrogen (N), phosphorus (P), and potassium (K). This is an excellent starting point for any gardener. However, you might consider more detailed tests depending on your garden’s history and goals. If your plants have struggled with yellowing leaves or stunted growth, a micronutrient test for elements like iron, manganese, and zinc could reveal hidden deficiencies. An organic matter test is also incredibly valuable, as it measures the foundation of your soil’s health and its ability to retain water and nutrients.
Summary:
- Start with a standard test for pH, Nitrogen (N), Phosphorus (P), and Potassium (K).
- Consider a micronutrient test if you’ve had plant health issues.
- An organic matter test provides insight into overall soil health.
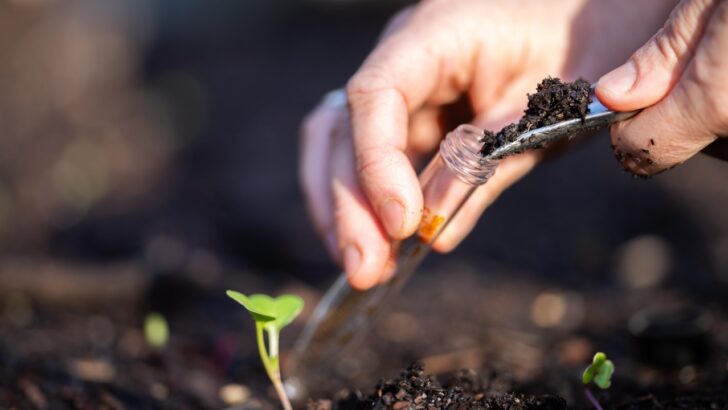
4. Take a Proper Sample

Image Credit: Shutterstock.
Getting a good sample is the most critical step. You want a composite sample that represents the entire growing area. To do this, collect soil from 5-10 different spots within a single garden bed or lawn area. For vegetable and flower beds, dig down about 6-8 inches, which is the primary root zone for most plants. For lawns, a depth of 4-6 inches is sufficient. Scrape away any surface debris like mulch or grass before you dig. Place all your sub-samples into your clean bucket and mix them together thoroughly. This mixture is what you’ll send to the lab. If you have different areas with distinct soil types or uses (like a vegetable garden and a flower bed), you should test them separately.
Summary:
- Collect soil from 5-10 spots within one garden area.
- Dig 6-8 inches deep for garden beds.
- Mix the collected soil in a clean bucket to create a composite sample.
- Test different garden areas (e.g., veggie patch, lawn) separately.
5. Time Your Sampling Correctly
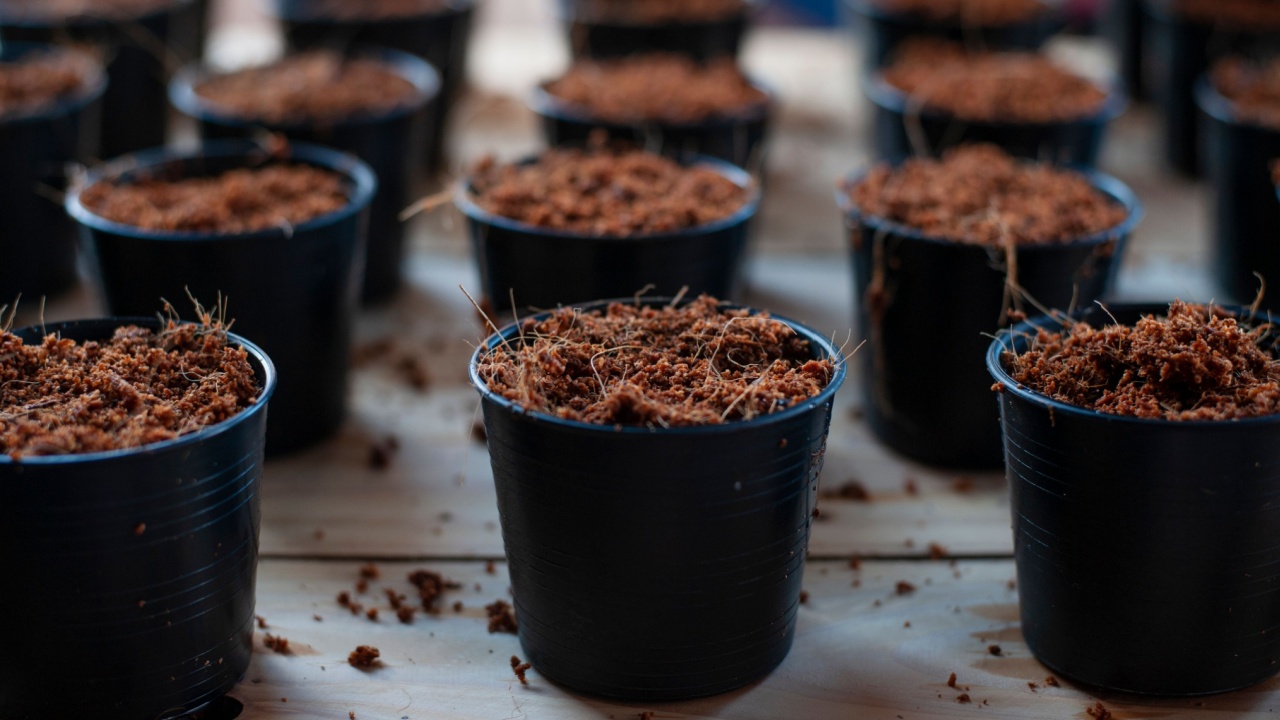
Image Credit: Shutterstock.
Timing is key to getting results that truly reflect your soil’s condition. Avoid taking samples right after applying fertilizer or compost, as this will give you artificially high nutrient readings. It’s best to wait at least 4-6 weeks after any application. Also, try not to sample when the soil is overly wet, like after a heavy rainstorm. Saturated soil can be difficult to work with and may affect the accuracy of some tests. A cool, clear autumn day when the soil is moist but not soggy is the perfect time to head out with your bucket and trowel.
Summary:
- Wait at least 4-6 weeks after applying fertilizer or amendments.
- Avoid sampling when the soil is very wet.
- Aim for a day when the soil is moist but not saturated.
6. Interpret Your Test Results

Image Credit: Shutterstock.
When your results arrive, they might look like a confusing jumble of numbers and charts. Don’t worry! Most lab reports come with recommendations tailored to the crops you specified. The key things to look for are your soil’s pH level and the levels of the major nutrients (N, P, and K). The pH scale runs from 0 to 14, with 7 being neutral. Most vegetables and flowers thrive in slightly acidic to neutral soil (a pH between 6.0 and 7.0). If your pH is too low (acidic), you may need to add lime. If it’s too high (alkaline), adding sulfur or organic matter can help lower it. The report will also show if your macronutrients are low, sufficient, or high, guiding your fertilizer choices for the spring.
Summary:
- Focus on the pH level and macronutrient (N, P, K) levels.
- Most plants prefer a pH between 6.0 and 7.0.
- Use the lab’s recommendations to decide which amendments are needed.
7. Plan Your Fall Amendments
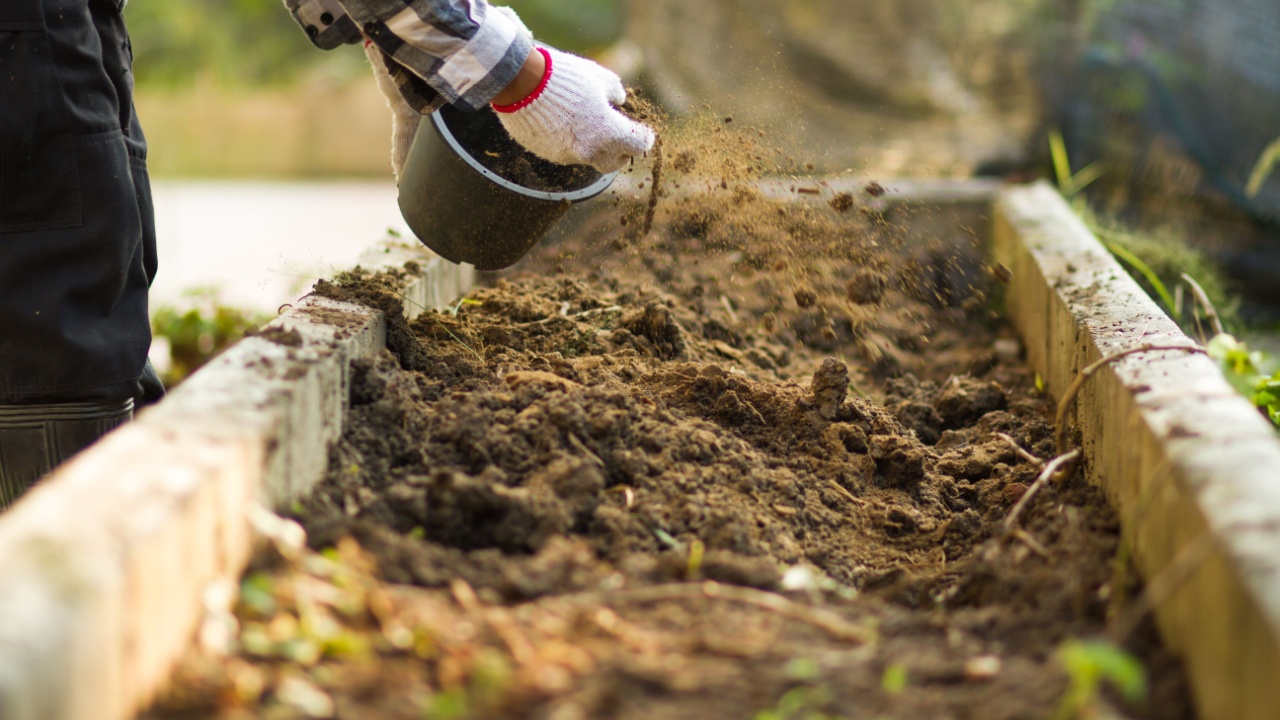
Image Credit: Shutterstock.
With your test results in hand, you can now take action. Fall is the ideal time to apply amendments that take a while to break down and integrate into the soil. For example, lime and sulfur, used to adjust pH, work slowly and benefit from the winter freeze-thaw cycles to incorporate fully. It’s also a great time to add phosphorus and potassium, as they are less mobile in the soil and will be ready for plant uptake in the spring. Finally, this is the perfect season to layer on organic matter like compost, shredded leaves, or well-rotted manure. These materials will decompose over the winter, enriching your soil with nutrients and improving its structure.
Summary:
- Apply slow-acting amendments like lime or sulfur in the fall to adjust pH.
- Add phosphorus and potassium now so they’re available in spring.
- Top your beds with compost, leaves, or other organic matter.
8. Plant a Cover Crop
Image Credit: Shutterstock.
One of the best things you can do for your soil after testing is to plant a cover crop. Often called “green manure,” these are plants grown to protect and enrich the soil rather than for harvest. Cover crops like winter rye, hairy vetch, or crimson clover prevent erosion from winter winds and rain. Their roots hold the soil in place and create channels that improve aeration and drainage. As they grow, they scavenge for any leftover nutrients, holding them in their tissues until spring. When you turn them into the soil before spring planting, they decompose and release those nutrients back for your vegetables, while also adding valuable organic matter.
Summary:
- Plant cover crops to prevent winter erosion.
- They improve soil structure and prevent nutrient loss.
- In spring, they can be tilled into the soil to add nutrients and organic matter.
Fall Prep Equals a Thriving Future Garden

Image Credit: Shutterstock.
You now have a clear roadmap to understanding and improving your soil this fall. The work you do now is an investment that will pay off beautifully next year with healthier plants and a more abundant harvest. Your next move is to take action. Choose a lab, gather your tools, and get that soil sample. Once you have your results, embrace the cool autumn air and spend an afternoon applying your chosen amendments or planting a cover crop. By listening to what your soil needs, you’re not just gardening you’re building a lasting partnership with the earth beneath your feet, setting the stage for seasons of success.
