Peace lilies, with their elegant white blooms and lush, dark green leaves, are more than just houseplants; they are living sculptures that bring a sense of calm and natural beauty into our homes. Known for their air-purifying qualities, these stunning plants work quietly to make your living space healthier. Keeping them vibrant and thriving throughout the year, however, can sometimes feel like a puzzle. From drooping leaves to brown tips, a few common issues can frustrate even the most dedicated plant parent.
But don’t worry, achieving a flourishing peace lily is easier than you think. You don’t need a magical green thumb, just the right knowledge. We’ve compiled 22 essential hacks that cover everything from watering schedules to pest control, sourced from plant experts.
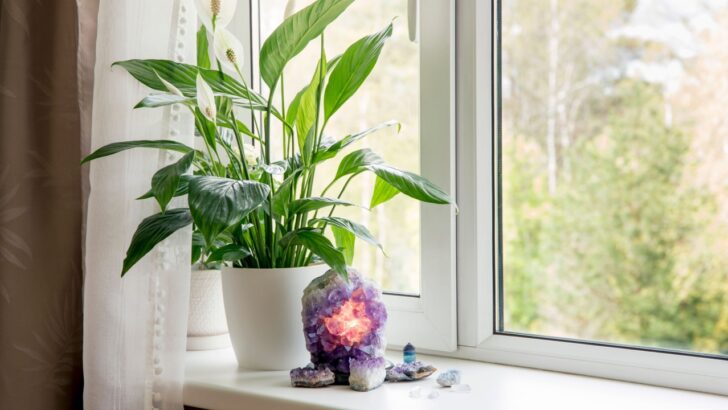
1. Get the Light Right
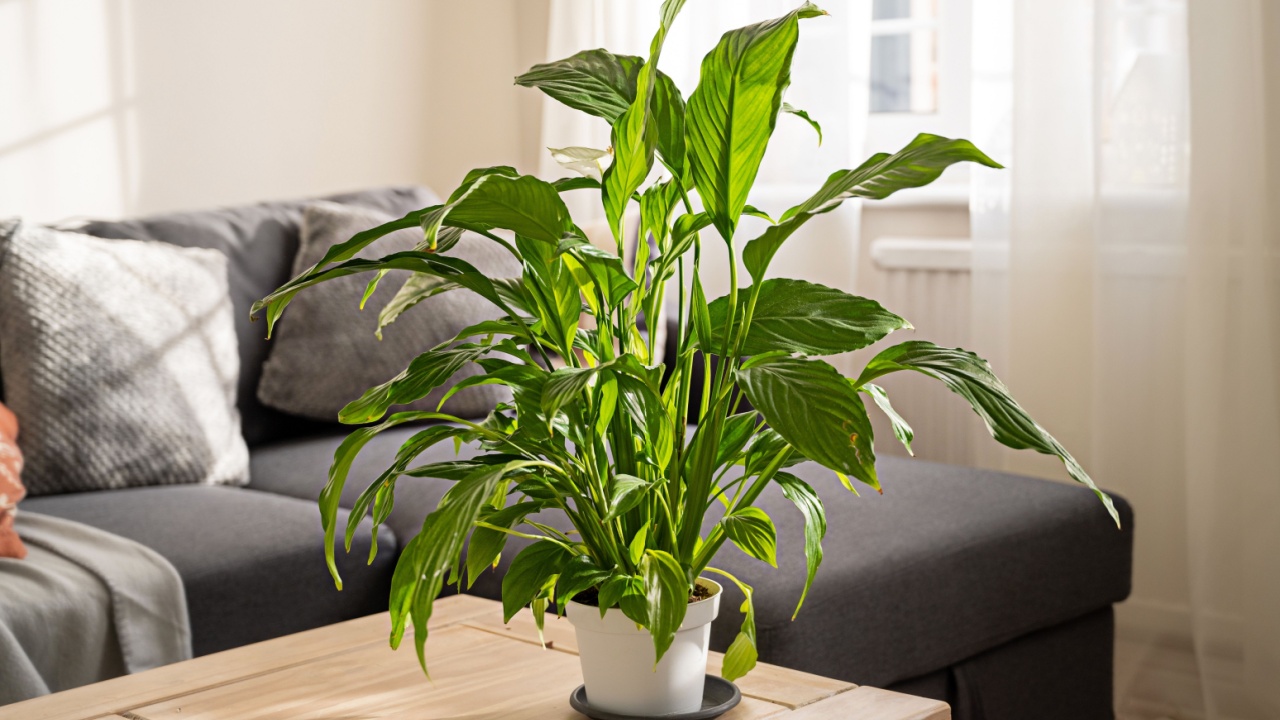
Image Credit: Shutterstock.
Your peace lily’s health starts with its placement. These plants thrive in bright, indirect sunlight. Think of the light filtering through a sheer curtain in a north- or east-facing window. Too much direct sun can scorch their delicate leaves, causing them to turn yellow and develop burnt spots. On the other hand, too little light will prevent your plant from producing its signature white flowers and can lead to stunted growth. Finding that perfect balance is the first step toward a happy plant.
- Quick Tip: If your plant’s leaves are turning yellow, it might be getting too much light. If it’s not blooming, it may need a slightly brighter spot.
- Next Step: Observe your plant over a week. If the leaves look pale or scorched, move it a few feet away from the window.
2. Water Wisely
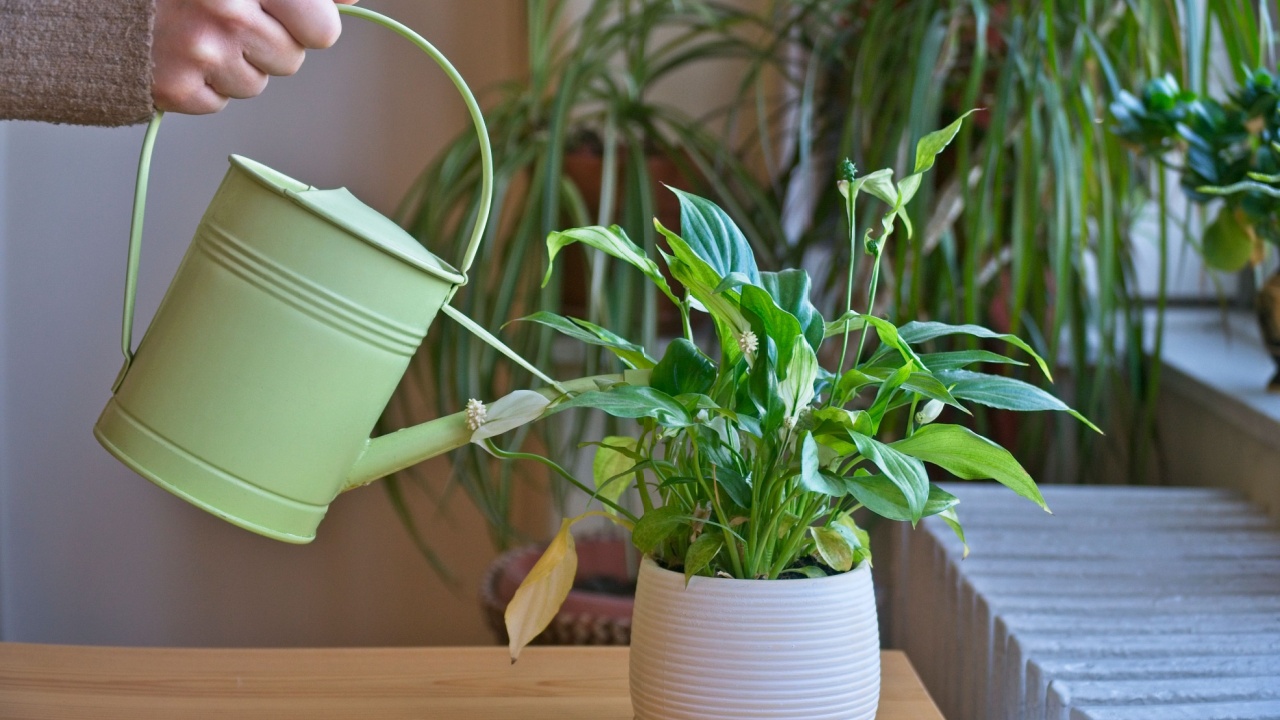
Image Credit: Shutterstock.
Overwatering is one of the most common mistakes in peace lily care. These plants prefer consistently moist soil, but they are highly susceptible to root rot if they sit in water. A good rule of thumb is to water when the top inch of the soil feels dry to the touch. Another tell-tale sign your peace lily needs a drink is when its leaves start to droop dramatically. They will usually perk back up within a few hours of watering.
- Quick Tip: Use your finger to check the soil moisture before watering. Don’t rely on a strict schedule.
- Next Step: When you water, do so thoroughly until water drains from the bottom of the pot, then discard the excess water from the saucer.
3. Boost the Humidity

Image Credit: Shutterstock.
Peace lilies are native to tropical rainforests, where the air is naturally humid. Your home, especially with heating or air conditioning, is likely much drier. To replicate their preferred environment, you can increase the humidity around your plant. Misting the leaves a few times a week, placing the pot on a tray of pebbles filled with water, or using a small humidifier nearby can make a world of difference. This helps prevent the leaf tips from turning brown and keeps the foliage looking lush.
- Quick Tip: Grouping your peace lily with other houseplants can create a more humid micro-environment.
- Next Step: Place a small humidifier near your plant or start misting it every other day to see how it responds.
4. Feed Your Plant, But Not Too Much
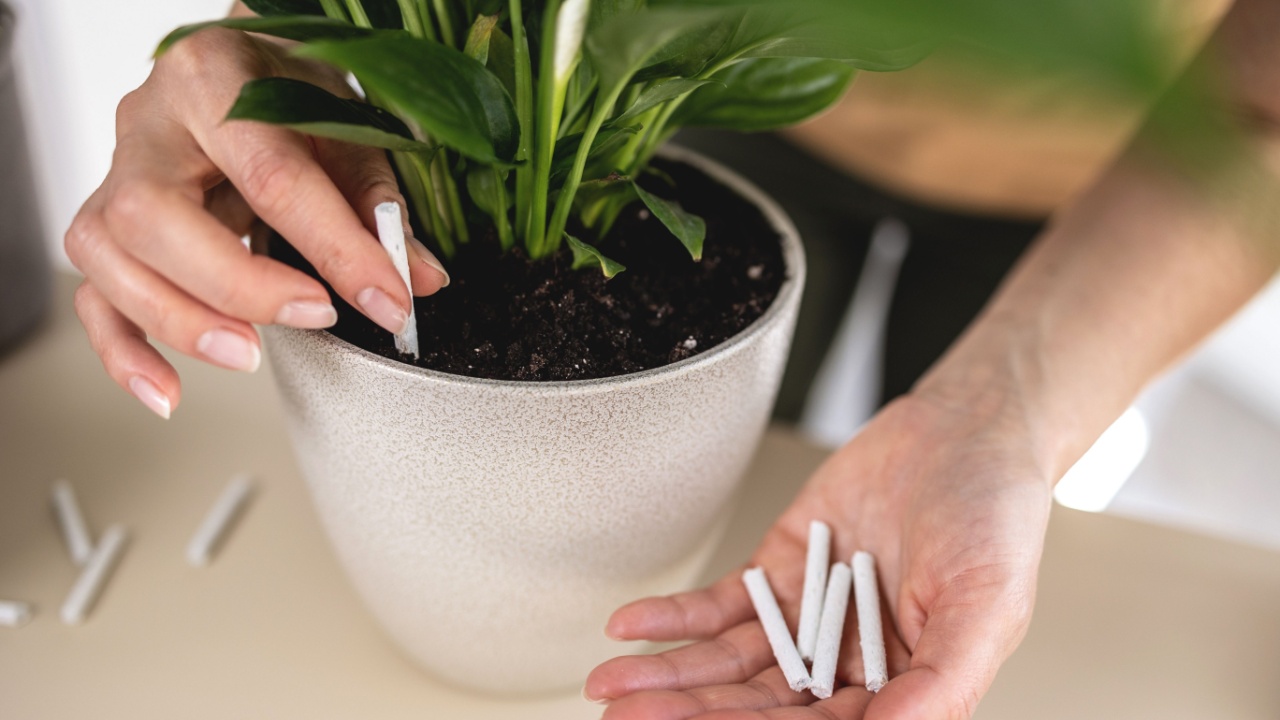
Image Credit: Shutterstock.
During the spring and summer growing season, your peace lily will appreciate a little extra nutrition. Use a balanced, all-purpose liquid houseplant fertilizer diluted to half-strength every 6-8 weeks. Fertilizing encourages stronger growth and helps promote blooming. However, it’s crucial not to overdo it. Too much fertilizer can burn the roots and lead to brown leaf tips. In the fall and winter, you can stop feeding your plant altogether as its growth naturally slows down.
- Quick Tip: If you notice brown, crispy leaf tips shortly after fertilizing, you may have used too much. Flush the soil with water to remove excess salts.
- Next Step: Mark your calendar to fertilize your peace lily every two months during spring and summer.
5. Know When to Repot
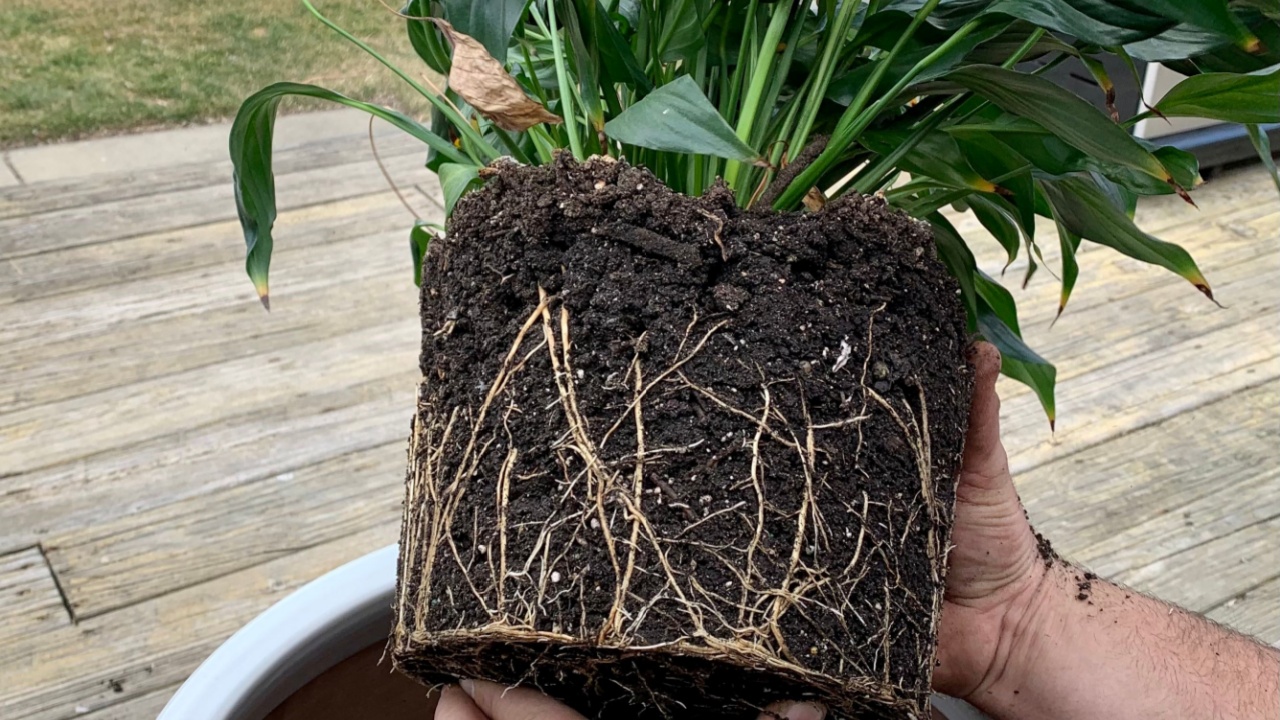
Image Credit: Shutterstock.
Peace lilies don’t mind being slightly root-bound, but they will eventually need a new home to continue growing. If you see roots coming out of the drainage holes, water runs straight through the pot without being absorbed, or the plant is constantly drooping despite regular watering, it’s time to repot. Choose a new pot that is only 1-2 inches larger in diameter. This prevents the soil from staying wet for too long, which could lead to root rot.
- Quick Tip: The best time to repot is in the spring, at the start of the growing season.
- Next Step: When repotting, use a fresh, well-draining potting mix and gently loosen the root ball before placing it in the new pot.
6. Embrace the Power of Pruning
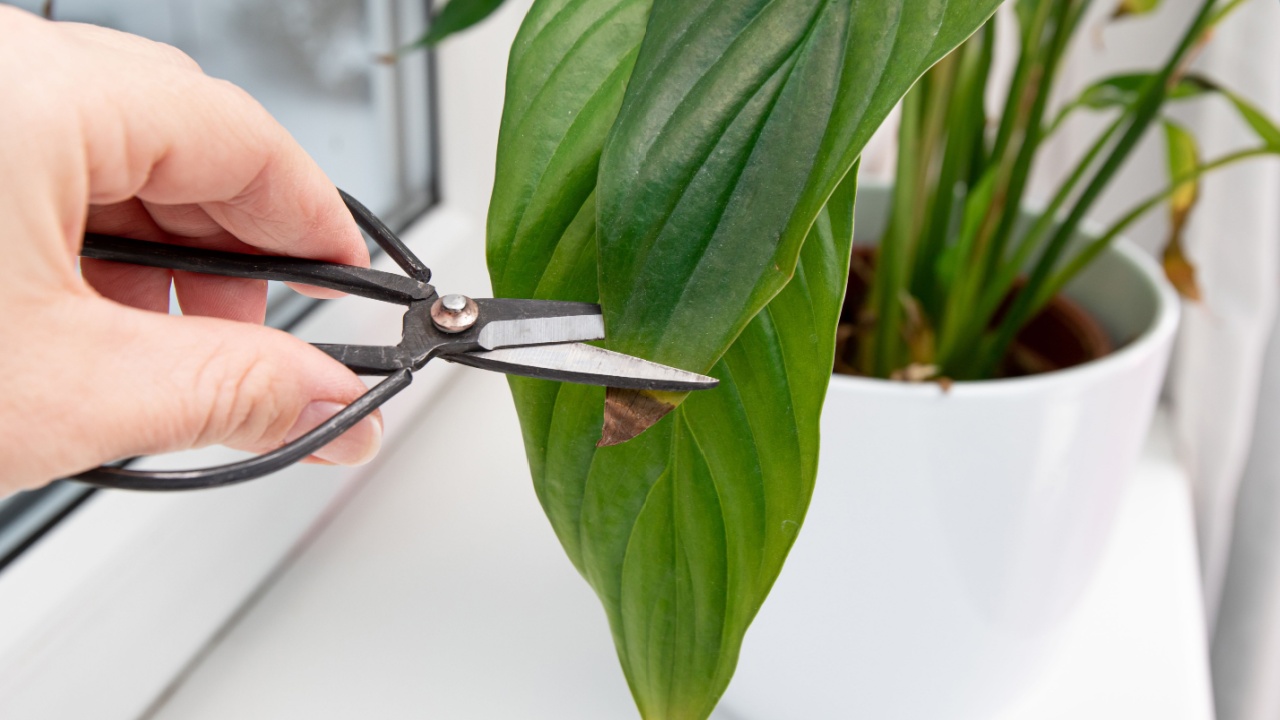
Image Credit: Shutterstock.
Regular pruning keeps your peace lily looking tidy and directs its energy toward new, healthy growth. Use clean, sharp scissors or pruning shears to remove any yellowing or dead leaves at their base. You should also trim the flower stalks down to the base of the plant once the blooms have faded and turned brown. This not only improves the plant’s appearance but also prevents it from wasting energy on dying foliage.
- Quick Tip: Don’t be afraid to remove any unhealthy-looking leaves. It’s good for the plant in the long run.
- Next Step: Once a month, give your plant a quick check-up and snip away any foliage that is past its prime.
7. Keep It Away From the Cold

Image Credit: Shutterstock.
These tropical plants are sensitive to cold. They prefer consistent temperatures between 65-80°F (18-27°C) and dislike sudden temperature drops. Keep your peace lily away from drafty windows, doors, and air conditioning vents. Exposure to cold air can shock the plant, causing its leaves to wilt and turn black. In the winter, make sure it’s in a warm spot, but not too close to a radiator or heat source, which can dry it out.
- Quick Tip: If you can’t keep your hand comfortably in a spot for a minute, it’s likely too cold or drafty for your peace lily.
- Next Step: Check for drafts around your plant’s current location, especially as the seasons change, and relocate it if necessary.
8. Wipe Away the Dust
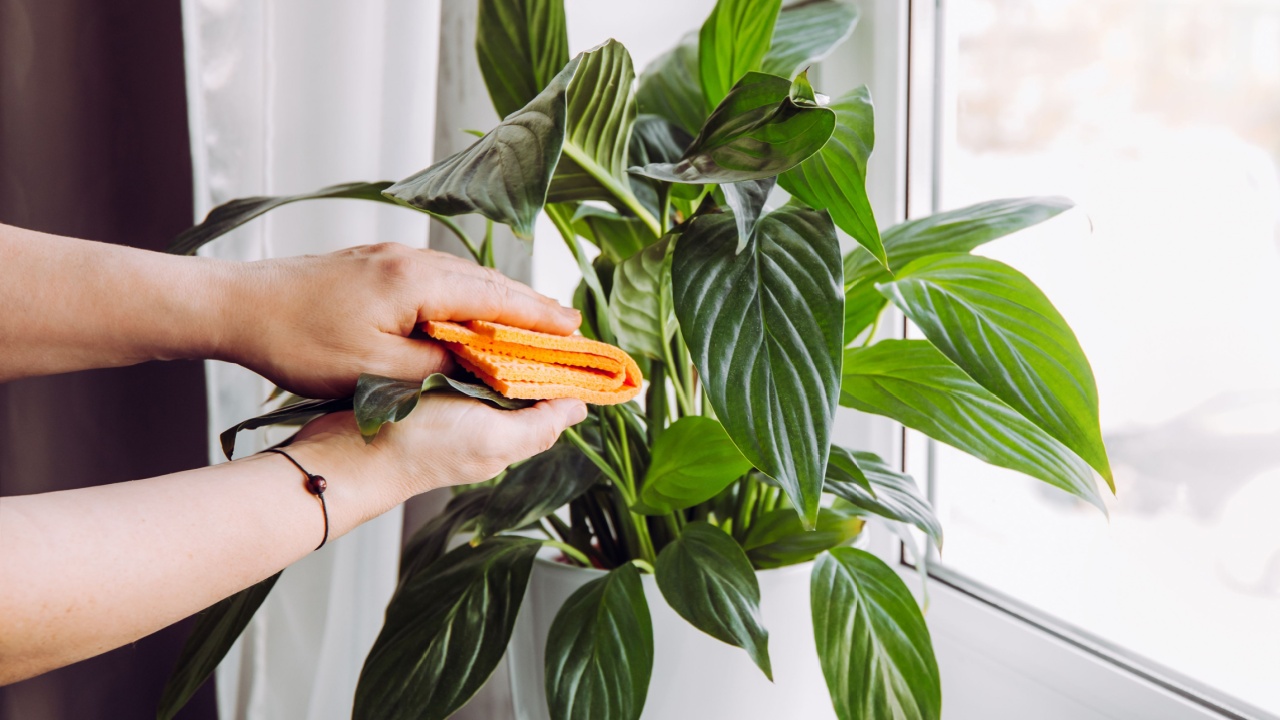
Image Credit: Shutterstock.
Over time, a layer of dust can accumulate on your peace lily’s broad leaves. This doesn’t just look untidy; it can also block sunlight and hinder the plant’s ability to photosynthesize effectively. About once a month, gently wipe down each leaf with a soft, damp cloth. This simple task keeps your plant looking glossy and ensures it can absorb all the light it needs to thrive.
- Quick Tip: You can also give your plant a lukewarm shower in the sink or bathtub to wash off the dust.
- Next Step: Add “dust plant leaves” to your monthly cleaning routine.
9. Watch for Pests

Image Credit: Shutterstock.
While peace lilies are generally resilient, they can sometimes attract common houseplant pests like spider mites, mealybugs, and aphids. Inspect your plant regularly, paying close attention to the undersides of leaves and the points where leaves meet the stem. If you spot any tiny webs, white cottony masses, or small insects, act quickly to prevent an infestation.
- Quick Tip: Catching pests early is key. A small problem is much easier to manage than a large one.
- Next Step: Isolate the affected plant and treat it with a natural solution like neem oil or insecticidal soap.
10. Maintain Temperature Stability
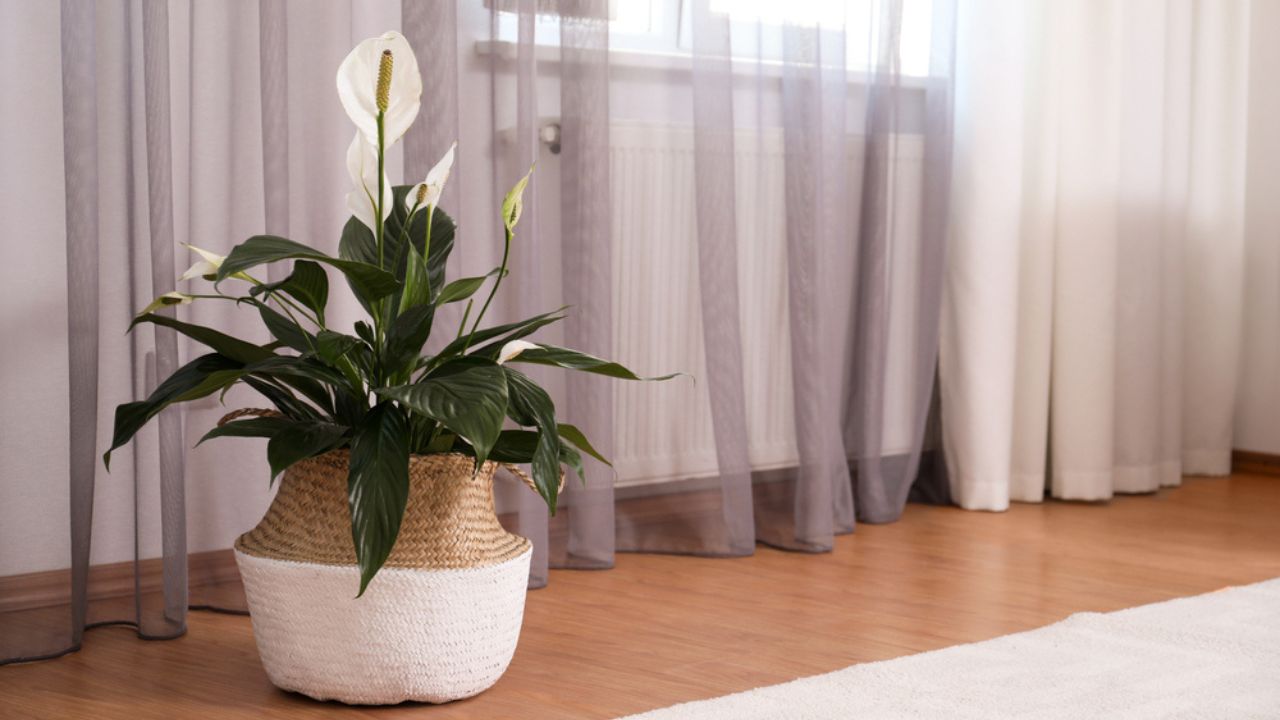
Image Credit: Shutterstock.
Peace lilies value consistency. They don’t react well to drastic shifts in their environment. Finding a spot in your home with a stable temperature will help your plant feel secure and reduce stress. Avoid placing it in areas like entryways or near radiators where temperatures can fluctuate dramatically throughout the day. A stable environment promotes steady growth and overall well-being.
- Quick Tip: A living room or bedroom is often a more stable environment than a kitchen or hallway.
- Next Step: Use a room thermometer to check for temperature swings in your plant’s location if you suspect it’s being stressed.
11. Rotate Your Plant Regularly
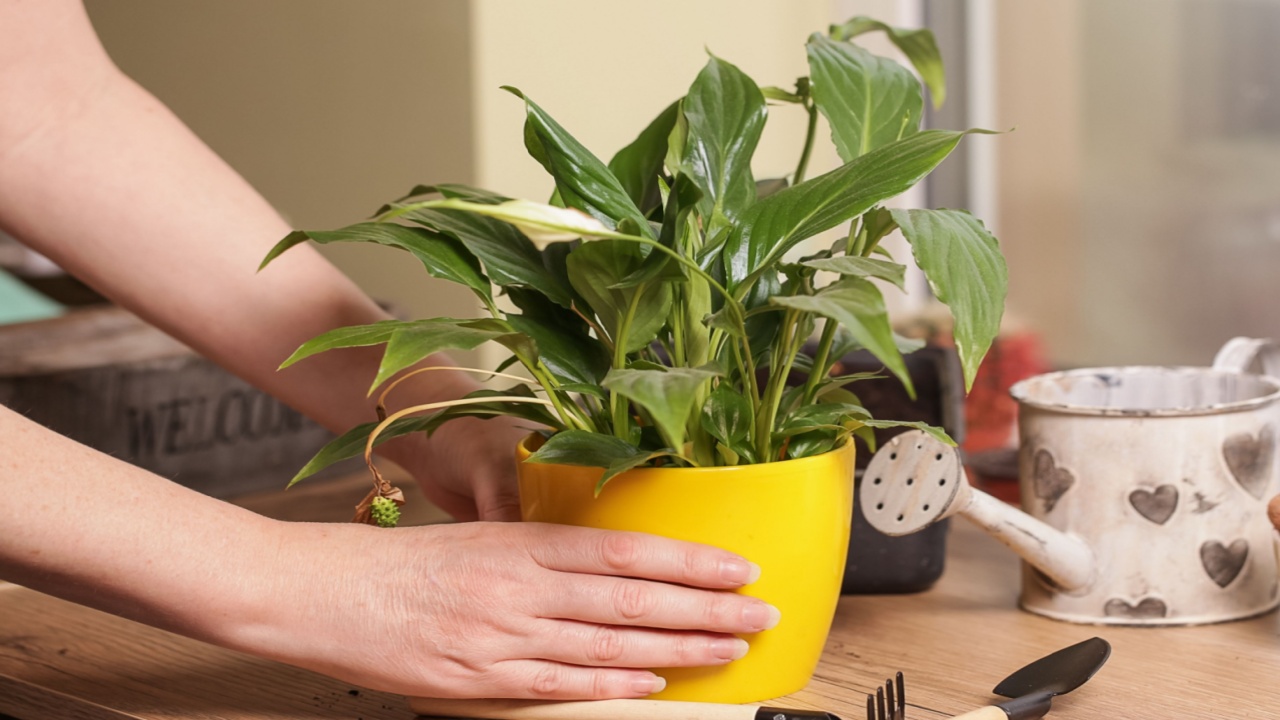
Image Credit: Shutterstock.
Plants naturally grow toward their light source. To ensure your peace lily grows evenly and doesn’t end up leaning to one side, give it a quarter turn every time you water it. This simple habit encourages a full, symmetrical shape and ensures that all parts of the plant get their share of light for photosynthesis.
- Quick Tip: Make rotating your plant a part of your watering routine so you don’t forget.
- Next Step: Start rotating your plant this week to promote balanced, upright growth.
12. Use Filtered or Distilled Water
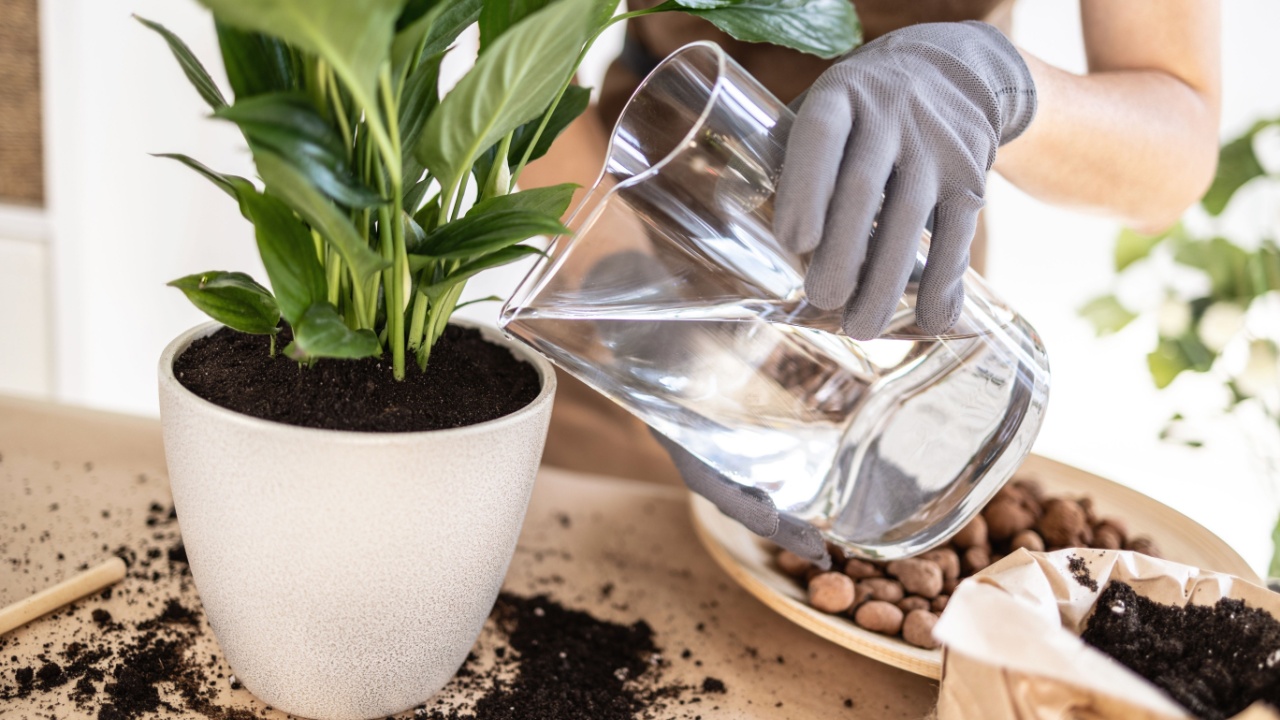
Image Credit: Shutterstock.
Peace lilies can be sensitive to chlorine, fluoride, and other chemicals often found in tap water. Over time, these minerals can build up in the soil and cause brown, crispy leaf tips. To avoid this, try using filtered, distilled, or rainwater for your plant. If you must use tap water, let it sit out overnight to allow some of the chlorine to evaporate before you use it.
- Quick Tip: Collecting rainwater is a free and excellent way to provide pure hydration for your houseplants.
- Next Step: Next time you water, try using leftover water from your kettle (once cooled) or a bottle of distilled water
13. Check Your Soil Quality
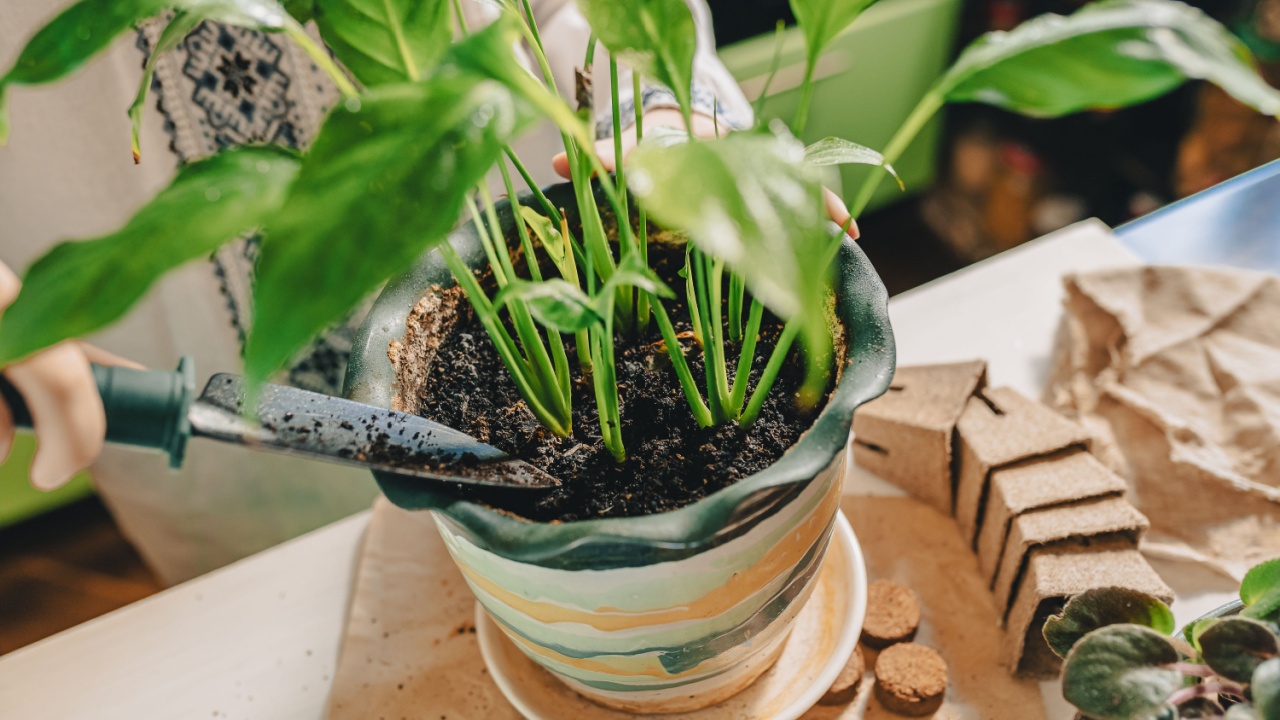
Image Credit: Shutterstock.
The foundation of a healthy plant is healthy soil. Peace lilies thrive in a well-draining, all-purpose potting mix that holds some moisture but doesn’t become waterlogged. A good mix often contains peat moss, perlite, and pine bark. Over time, soil can become compacted or depleted of nutrients. When you repot your plant every year or two, you give it a fresh start with nutrient-rich soil.
- Quick Tip: Avoid using soil directly from your garden, as it is too dense and can contain pests or diseases.
- Next Step: When it’s time to repot, purchase a high-quality indoor potting mix designed for houseplants.
14. Practice Mindful Placement
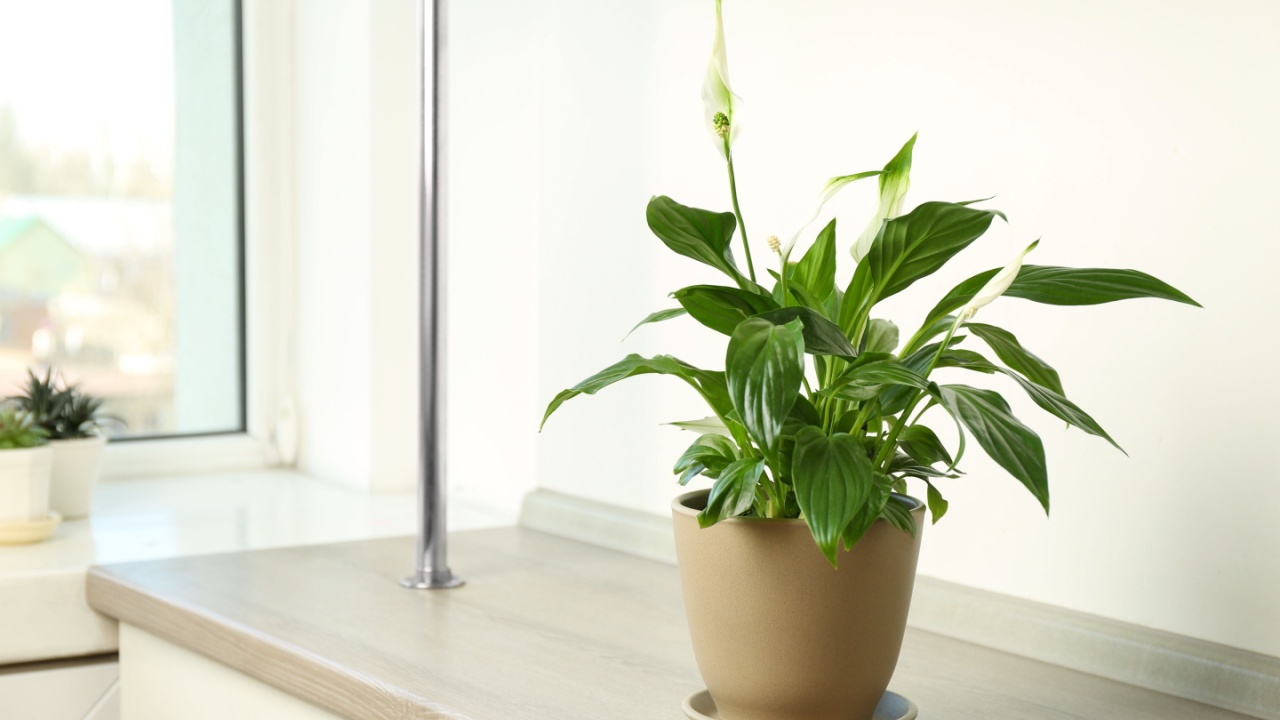
Image Credit: Shutterstock.
Where you place your peace lily matters. Keep it out of high-traffic areas where it could be accidentally bumped, brushed against, or knocked over. Constant physical contact can damage the leaves and stress the plant. A quiet corner where it can be admired from a distance is an ideal location for this serene plant.
- Quick Tip: Think of your peace lily as a piece of living art and position it where it has room to be appreciated without being disturbed.
- Next Step: Assess your plant’s current spot. Is it in the path of kids, pets, or busy foot traffic? If so, find it a more peaceful home.
15. Make Seasonal Adjustments
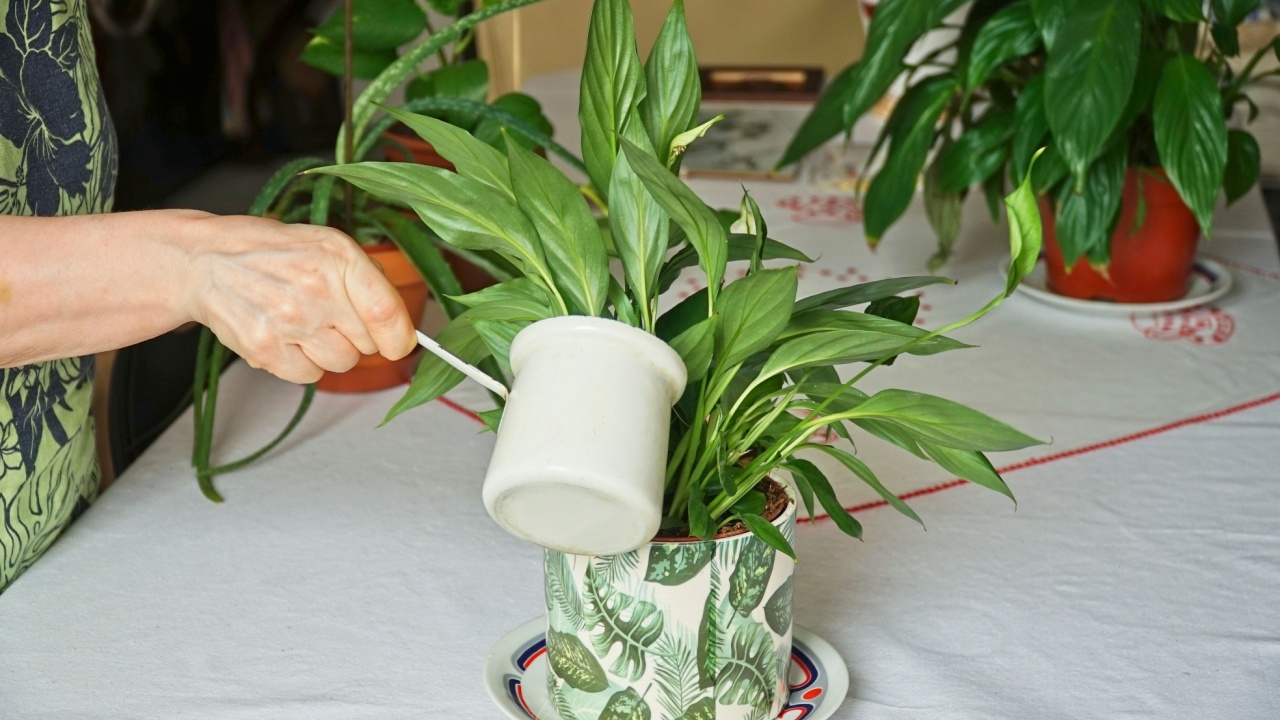
Image Credit: Shutterstock.
A peace lily’s needs change with the seasons. In spring and summer, during its active growing period, it will require more water and regular fertilizer. In the fall and winter, as light levels decrease and growth slows, you should reduce watering and stop fertilizing. Paying attention to these seasonal rhythms helps you provide the right care at the right time.
- Quick Tip: As a general rule, you might water your plant weekly in the summer but only every two weeks in the winter. Always check the soil first.
- Next Step: Adjust your care routine now based on the current season.
16. Use the Right Pot
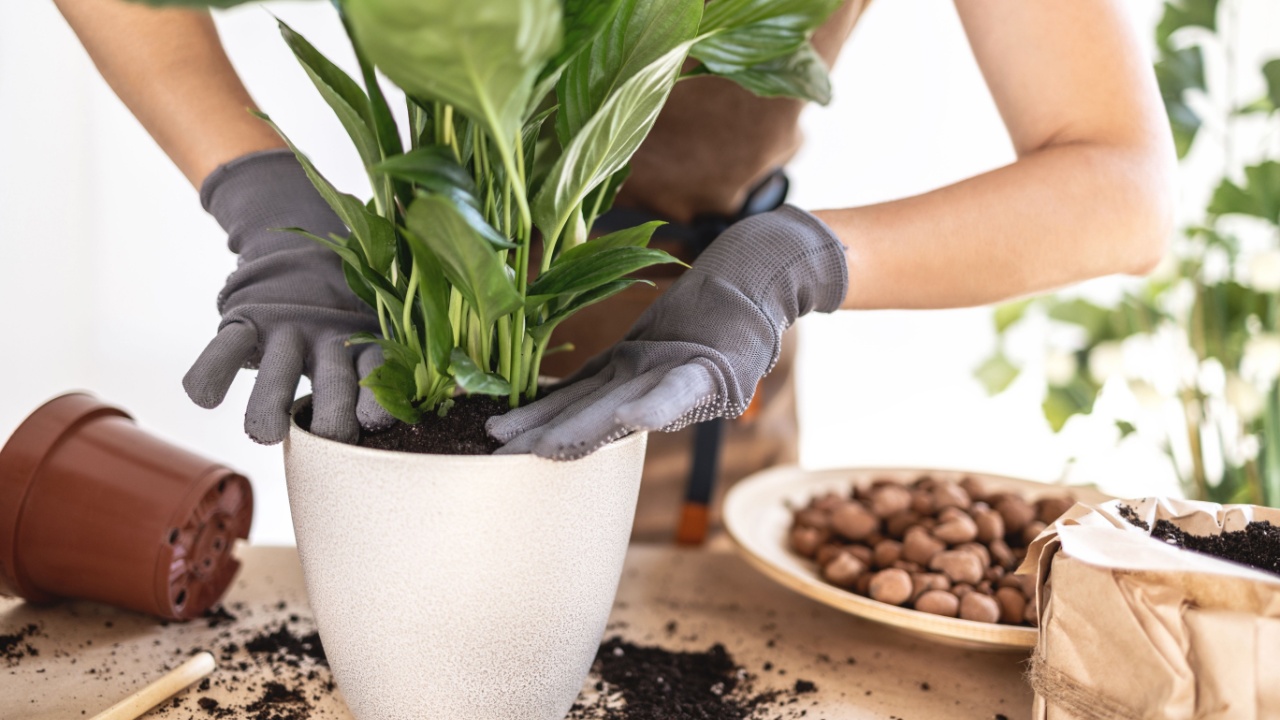
Image Credit: Shutterstock.
The pot you choose is more than just a decorative element; it’s a crucial part of your plant’s health system. Always use a pot with drainage holes. Without them, excess water has nowhere to go, leading to soggy soil and the dreaded root rot. The material also matters—terracotta pots are porous and help the soil dry out faster, which can be good for those who tend to overwater.
- Quick Tip: If you fall in love with a decorative pot that has no drainage holes, use it as a “cachepot.” Keep your plant in its plastic nursery pot and place it inside the decorative one.
- Next Step: Check your plant’s pot today. If it doesn’t have drainage holes, plan to repot it soon.
17. Respect Its Growth Cycles
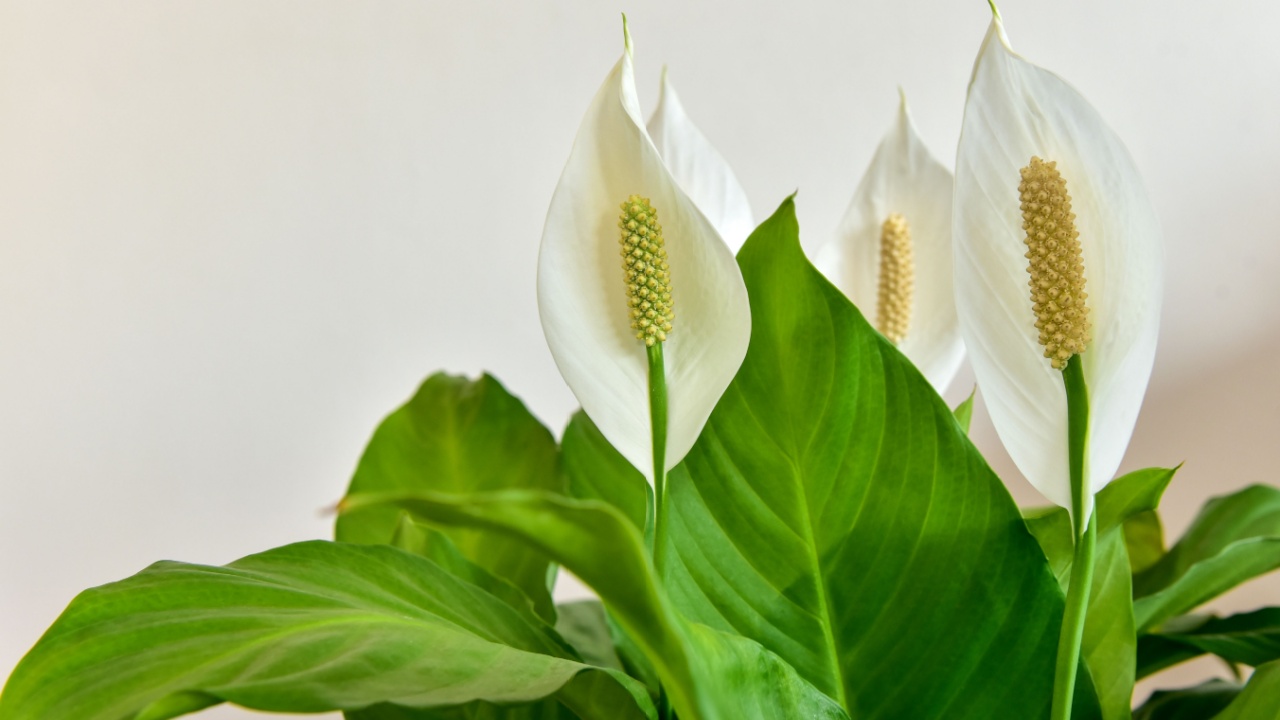
Image Credit: Shutterstock.
Like all living things, peace lilies have natural cycles of growth and rest. They typically enter a dormant period in the winter when growth slows significantly. During this time, it’s normal for the plant to look a little less vibrant. Don’t try to force new growth with extra fertilizer or water. Understanding and respecting this dormancy period is essential for its long-term health.
- Quick Tip: Reduced growth in winter is normal. The plant is simply conserving energy for its spring growth spurt.
- Next Step: During winter, ease up on care and let your plant rest.
18. Avoid Overcrowding
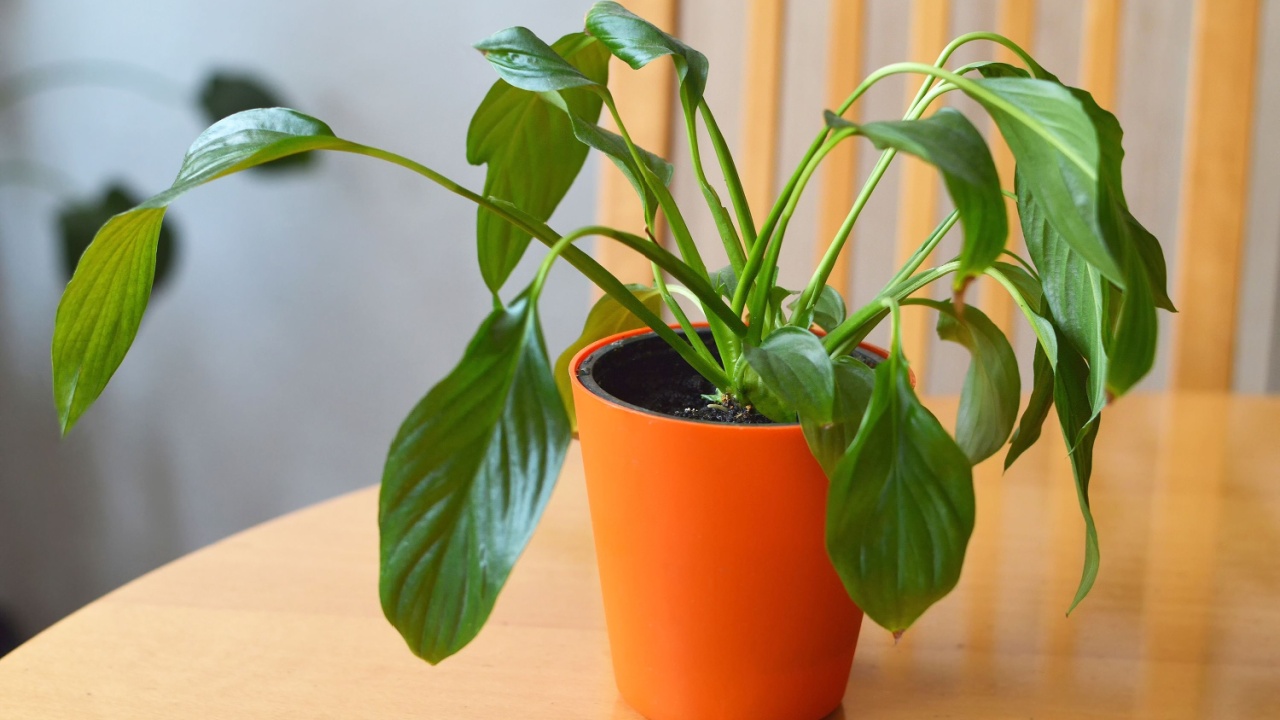
Image Credit: Shutterstock.
Good air circulation is important for preventing fungal diseases and pest problems. Giving your peace lily some personal space allows air to flow freely around its leaves. Avoid cramming it tightly among other plants. This also ensures it isn’t competing with its neighbors for light.
- Quick Tip: A good rule is to leave a few inches of space between the leaves of your peace lily and any adjacent plants.
- Next Step: Look at your plant collection. If it’s a dense jungle, consider spreading your plants out a bit more.
19. Opt for Natural Pest Control
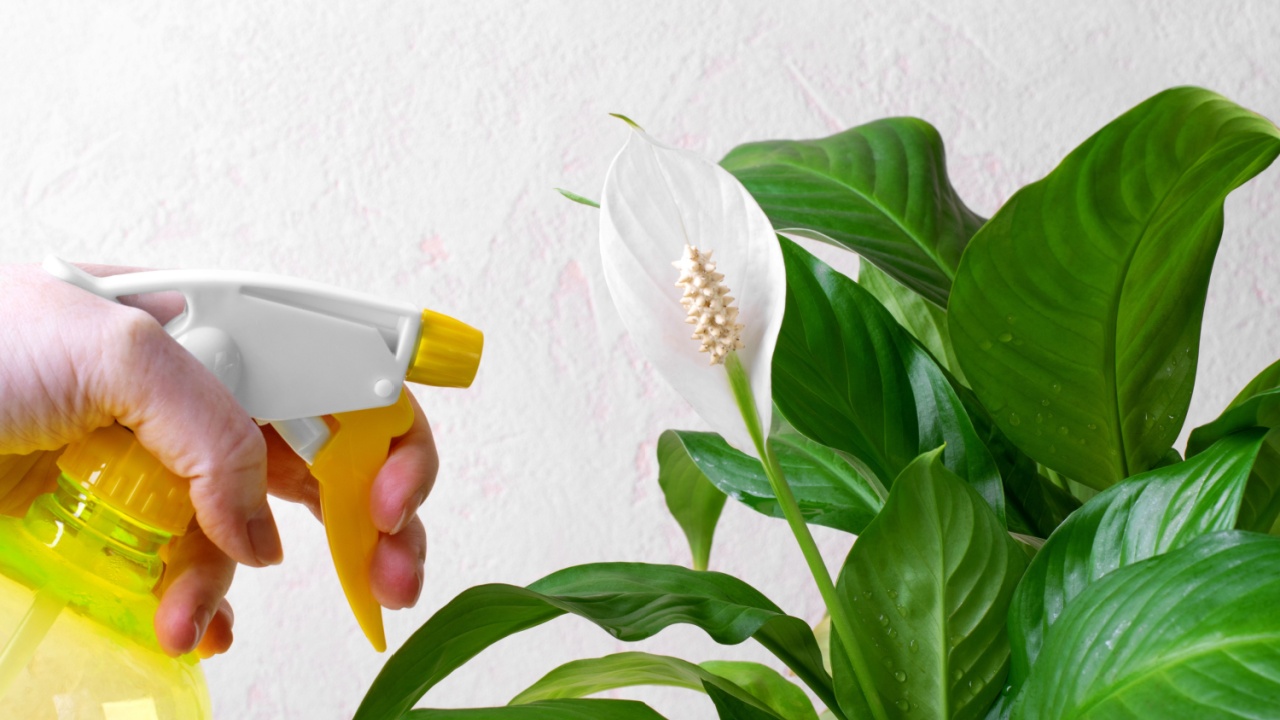
Image Credit: Shutterstock.
If you do encounter pests, consider using natural, gentle methods before reaching for harsh chemical pesticides. A strong spray of water can dislodge many pests. For more stubborn ones, a solution of water and a few drops of dish soap or a pre-made insecticidal soap can be effective. Neem oil is another excellent natural option that works as both a pesticide and a fungicide.
- Quick Tip: Always test any treatment on a small, inconspicuous part of the plant first to ensure it doesn’t cause damage.
- Next Step: Keep a small spray bottle and some neem oil on hand as part of your plant care toolkit.
20. Monitor the Health of the Leaves
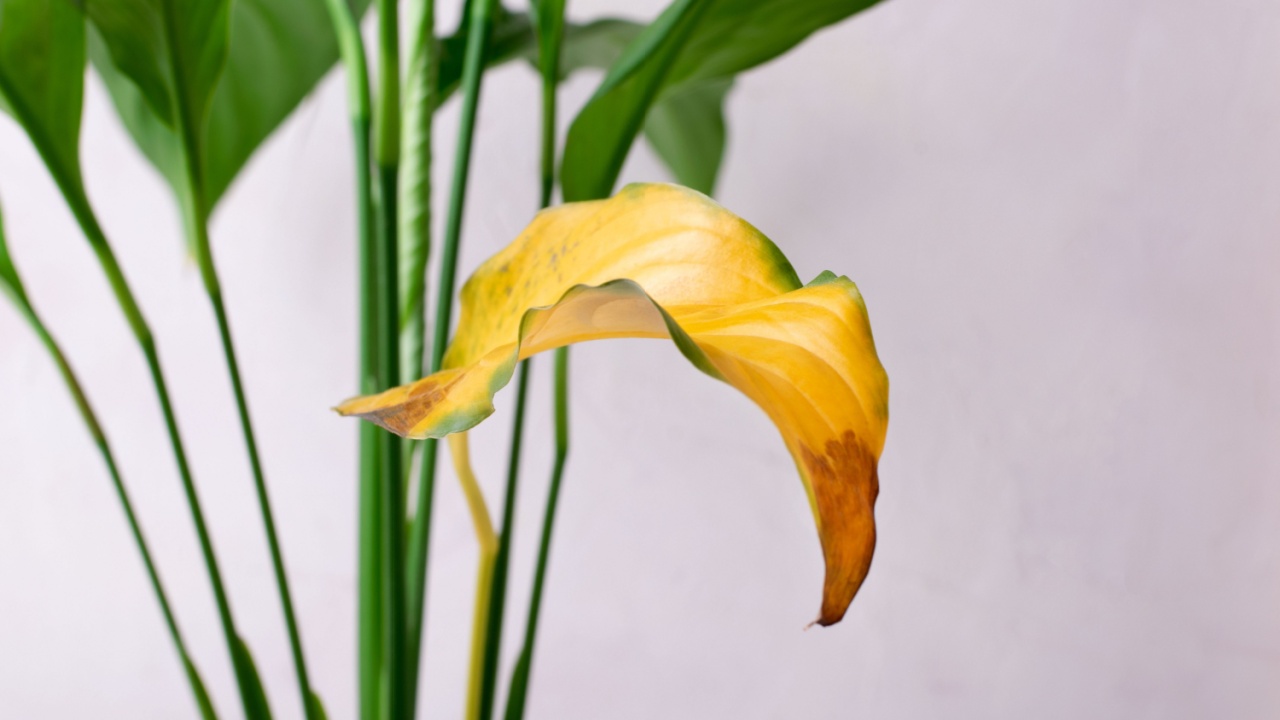
Image Credit: Shutterstock.
Your peace lily’s leaves are excellent indicators of its overall health. Pay attention to their color, shape, and texture. Yellow leaves can signal overwatering or too much sun. Brown tips might mean low humidity or chemicals in your water. Drooping leaves almost always mean the plant is thirsty. Regularly observing the leaves allows you to catch and address problems early.
- Quick Tip: Take a moment to really look at your plant every few days. You’ll start to recognize what’s normal and what’s not.
- Next Step: Create a mental checklist: Are the leaves green and glossy? Are they upright? Are the tips healthy?
21. Create a Consistent Care Routine
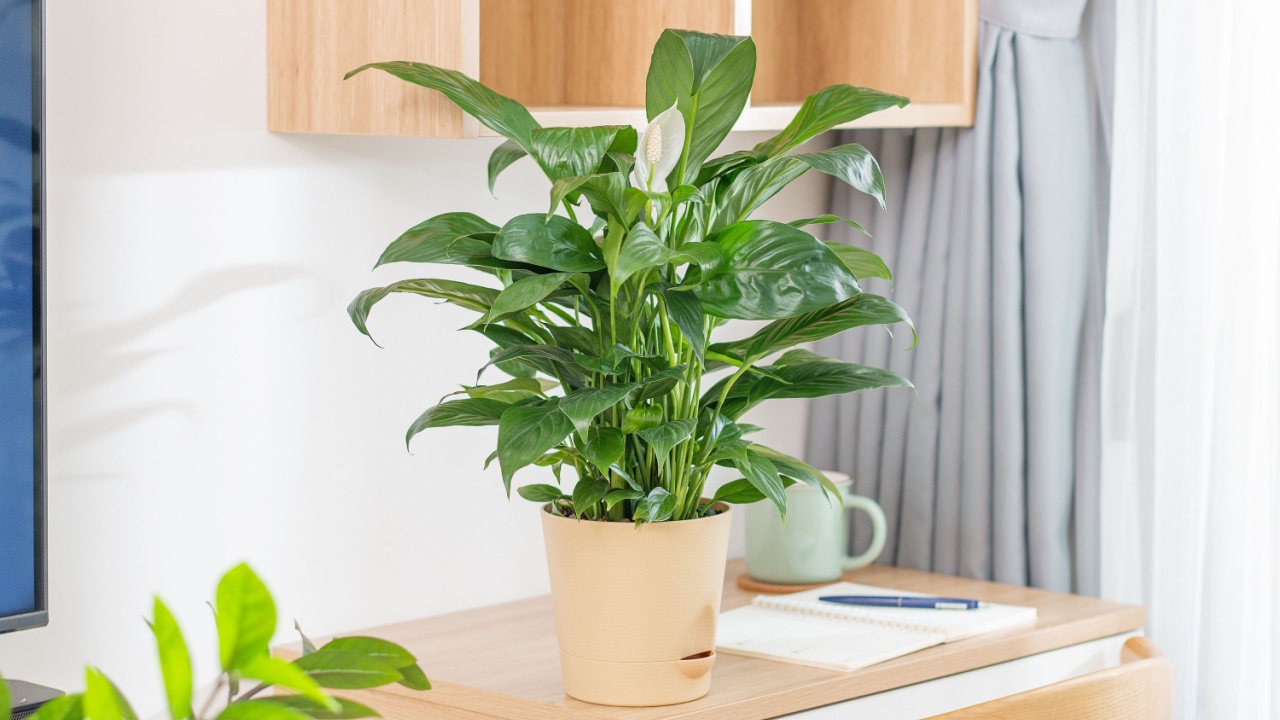
Image Credit: Shutterstock.
Plants, much like people, thrive on routine. Establishing a consistent care schedule helps you stay on top of your peace lily’s needs and prevents neglect. This doesn’t mean watering on the same day every week, but rather checking on your plant regularly. For example, you might decide that every Saturday morning you will check the soil, rotate the plant, and inspect for pests.
- Quick Tip: Pair your plant care tasks with an existing habit, like having your morning coffee, to make it easier to remember.
- Next Step: Decide on a simple, weekly check-in routine for your peace lily and stick to it.
22. Relocate Wisely When Needed
Image Credit: Shutterstock.
Sometimes, despite your best efforts, a peace lily just isn’t happy in its spot. If your plant is consistently struggling—whether it’s looking sluggish, failing to thrive, or repeatedly getting pests—a change of scenery might be the answer. Try moving it to a different room with different light or humidity conditions. This simple act of relocation can often solve a surprising number of problems.
- Quick Tip: Don’t be afraid to experiment with different locations in your home to find your plant’s “happy place.”
- Next Step: If your plant seems chronically unhappy, identify a new spot with different conditions and see if it improves over the next few weeks.
Keep Your Peace Lily Thriving
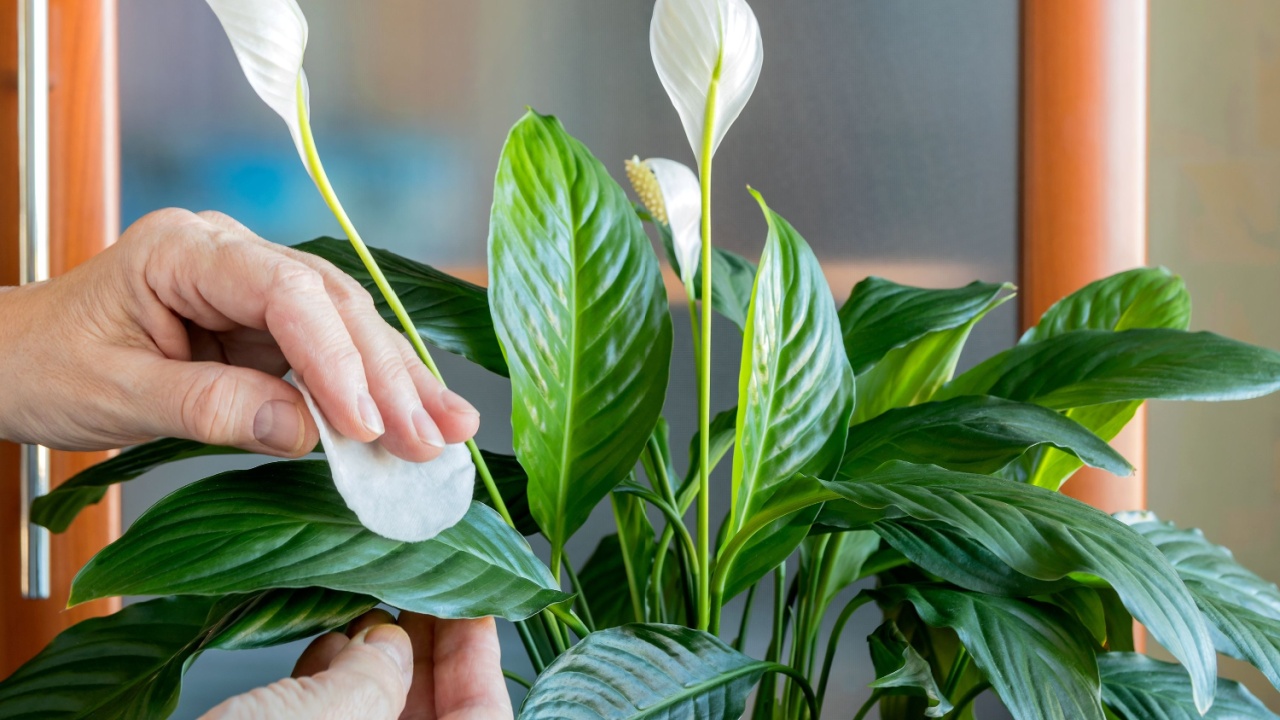
Image Credit: Shutterstock.
Now that you’re armed with these 22 hacks, you have everything you need to keep your peace lily healthy and beautiful all year round. Start by picking one or two tips that seem most relevant to your plant right now. Maybe it’s time to boost the humidity or check the drainage in its pot.
Small, consistent actions are the key to long-term success. As you build your confidence, don’t stop here. Your home and garden are ecosystems full of potential.
