If peas were to take a personality test, the result would be: serious climbers. Give them something vertical, and they’ll take off like Jack’s beanstalk. Sometimes, though, there’s no space to run twine across garden beds or build a fence just for them.
That’s why when TikToker Jacob Cochcrane of @freshly_jaked found a busted mattress spring in the woods, everyone had the same idea: pea trellis please.
You may not have a mattress spring lying around, but chances are you’ve got something rusting or leaning somewhere that peas would love to scale. If it’s tall, weird, and forgotten in a corner, it’s probably one step away from becoming a garden upgrade.
Here’s how to turn that random junk into a trellis without spending a single dollar.
1. Use Trash with Structure
Old mattress springs work surprisingly well, but so do metal shelves, baby gates, and bent wire fencing. As long as it’s tall and has some kind of grid or open pattern, it can become a trellis. Anything a pea tendril can hook onto will do the job.
Most backyards, garages, and tool sheds are halfway to a trellis without realizing it. That old dog crate? A dream come true for sugar snap peas. If it’s still in one piece and won’t fall over in a breeze, it’s worth trying.
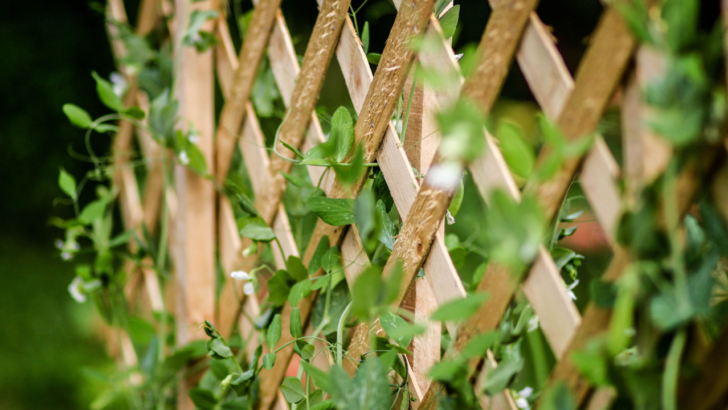
2. Frame It Out with Wood
Once you’ve picked your climbing material, give it a frame. That doesn’t mean fresh-cut lumber and a measuring tape—whatever wood you’ve got lying around will be ideal. Broken furniture legs. Pallet scraps. Random fence boards from 2012. If it’s roughly straight and not full of termites, it’ll do the job.
Jacob used some logs and leftover wood from his yard. He didn’t match corners or stain anything; you don’t have to break a sweat over it either. Screw or nail the frame together so it supports the climbing surface. Peas are not designers; they don’t care much for aesthetics.
3. Create a Bed
To support your trellis, you need a solid base. If you have an old raised garden bed, you can repurpose it by adding legs. Jacob used logs to create legs for his raised bed, lifting it off the ground. Flatten the tops of the logs so the garden bed sits evenly on them, then screw the logs into the sides of the bed to secure it.
If you don’t have a raised bed, no problem—stack materials like cinder blocks, wooden pallets, or large containers to create your own elevated base. Just make sure whatever you choose is stable enough to hold the weight of the soil and your peas. Once the frame is set up, fill it with soil, and you’re ready to plant.
4. Fill Your Bed with Dirt
Add compost if you’ve got it. Add random garden soil if you don’t. Peas love good, loamy soil that drains well; fill the bed or base with something your peas can root into. Drop the seeds, water occasionally, and give them time.
Peas are low-maintenance climbers with high expectations—they’ll do the growing if you do the stacking. And if you planted peas last year and forgot about them, odds are good they’re already back and looking for something to climb that isn’t your tomato cage.
Prioritize Recycling and Yield Over Beauty
The final result might be weird. It might lean slightly to the left. It might feature parts of three different projects you never finished. If the peas are happy, you’ve won. And you did it without spending money, without buying a single thing, and without sending anything else to the landfill.
Read More:
17 Vegetables You Should Try Fermenting at Home (They Taste So Good)
15 Plants That Look Great in the Store But Struggle at Home
