
The flowers falling off your orchid are not the problem. In fact, that is completely normal.
The real damage has likely been happening for weeks at the roots, invisible and silent, long before a single leaf looked wrong. Once you understand that, everything else about orchid revival gets easier.
Most orchid deaths are preventable. They follow the same predictable patterns, the same misread signals, the same well-meaning care that quietly goes wrong.
Here is what is actually happening inside that pot, and exactly how to fix it.
Mistake #1 — You Panicked When the Flowers Fell Off
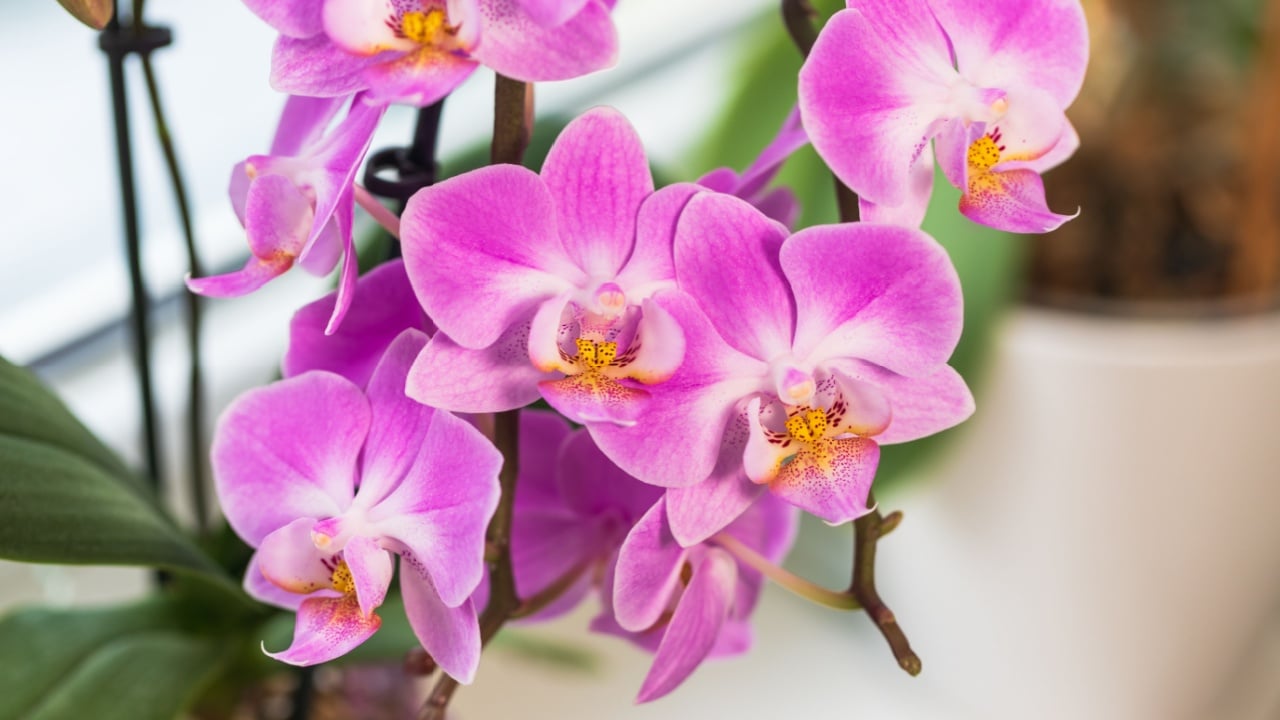
Image Credit: Shutterstock.
This is how most orchid grief stories begin. The blooms drop, you assume you did something fatal, and you either overcompensate or quietly give up on the plant. But orchid dormancy is a normal part of the growth cycle, not an emergency.
The way to tell a dormant orchid from a dead one is simple: look at the roots. According to The Spruce, a dormant orchid will have green or greenish-white roots, while a dead orchid’s roots will be black, and its crown will be soft, brown, and mushy. Healthy-looking leaves and intact roots after bloom drop almost always mean the plant is resting, not dying. Give it time before reaching for the trash bin.
Mistake #2 — You’re Watering on a Schedule Instead of Reading the Plant

Image Credit: Shutterstock.
Watering on a fixed calendar is the fastest route to a dead orchid. Orchids are epiphytes; in the wild, their roots are designed to absorb moisture from rainfall and air, then dry out completely between cycles. A perpetually moist root system suffocates.
Overwatering kills more orchids than all other causes combined, according to horticulturist Justin Hancock of Costa Farms, as cited in Real Simple. Yellow, limp leaves are the signature symptom.
But the overcorrection is equally dangerous: fear of overwatering leads many gardeners to chronically underwater, which shows up as wrinkled, shriveled leaves and silver-gray roots. The most reliable watering method is not a schedule at all. Lift the pot – a dry pot feels noticeably light. A pot that still holds moisture will feel heavier. Water only when the pot is light, and the top inch of media feels dry to the touch, then water thoroughly, drain completely, and let it dry again.
Mistake #3 — You Let Root Rot Take Hold Before Acting
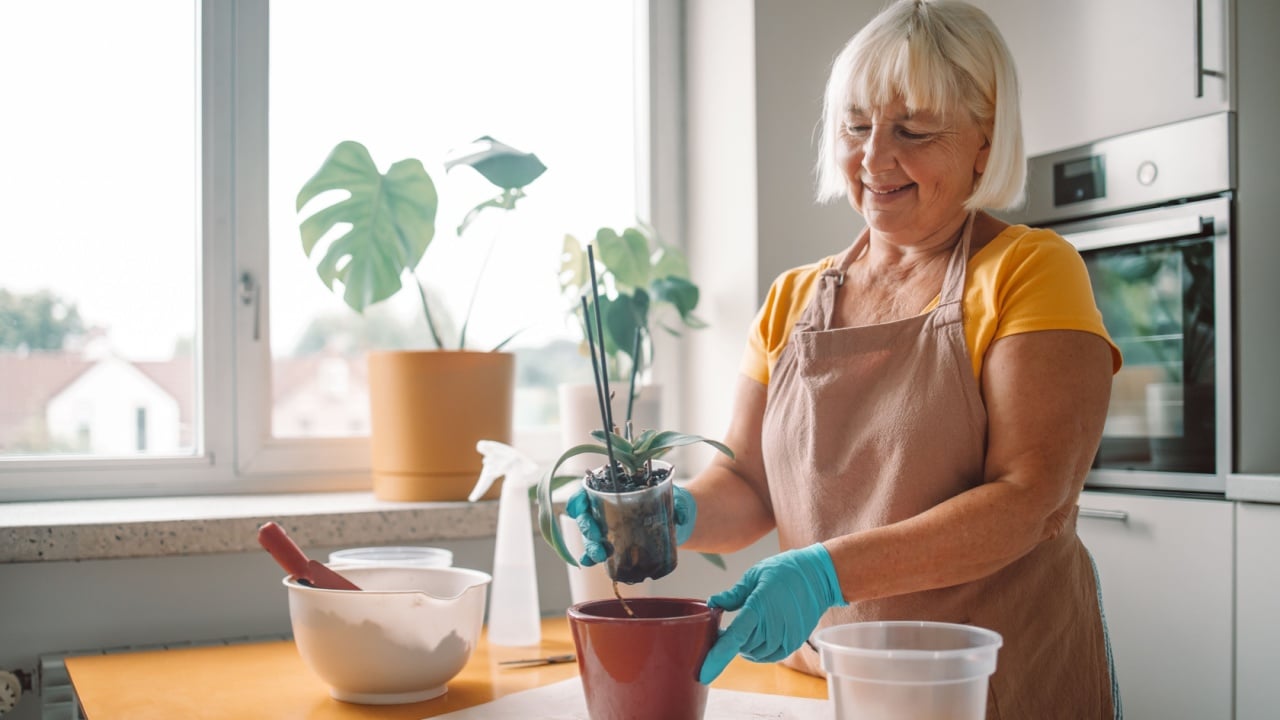
Image Credit: Shutterstock.
Root rot is a fungal condition, and its window for intervention is short. By the time you see wilting leaves and smell something off in the potting mix, the roots are already compromised. Speed, not perfection, is what saves the plant at this stage.
Linda Langelo, horticulture specialist at Colorado State University, writing in Martha Stewart, notes that smelly potting mix is one of the clearest signals of a bacterial or fungal problem requiring immediate action. Remove the orchid from its pot, rinse the roots under lukewarm water, and examine them clearly.
Healthy roots are green and firm. Dead roots are brown, mushy, or hollow. Using sterilized scissors, cut away every damaged root. Dust cut ends with cinnamon powder, which acts as a natural antifungal, or apply a diluted hydrogen peroxide solution to the remaining healthy roots before repotting in fresh orchid media. Leaving even a small section of rotten root behind invites the rot to spread again.
Mistake #4 — You Repotted at the Wrong Time (or Never)
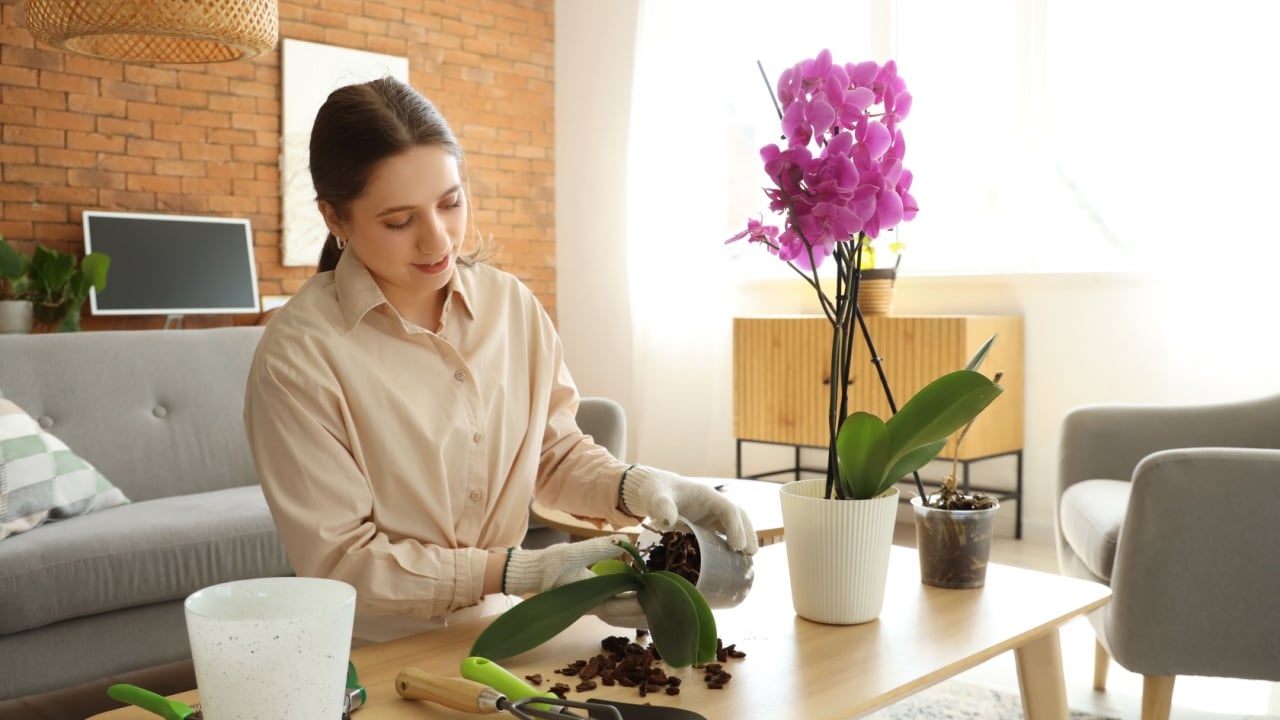
Image Credit: Shutterstock.
Two timing rules govern orchid repotting, and breaking either one sets the plant back considerably. First: never repot while the orchid is blooming. Second: repot on time, because orchid potting media depletes after one to two years, losing its nutrient capacity and becoming too dense to allow oxygen to reach the roots.
As Justin Hancock explains via Martha Stewart, orchids are epiphytes, and their roots naturally push up and out of the pot, which is not a sign of distress but of a plant behaving naturally. What does require action is media that has started to break down. When it becomes dense and compacted, the roots suffocate, and the plant declines. Use only orchid-specific potting mix; standard garden soil holds too much moisture and will kill the roots. Repot into a slightly larger container, just one size up, never dramatically bigger.
Mistake #5 — You Put It in the Wrong Light

Image Credit: Shutterstock.
Orchid leaves are an honest readout of lighting conditions, if you know what to look for. Dark green leaves signal the plant is not getting enough light; it is surviving but not thriving. Reddish or yellow leaves, on the other hand, point to too much direct sun. Bright olive green is the target color.
According to Backyard Boss, orchids need five to six hours of bright, indirect light daily. An east-facing window is the gold standard because it provides gentle morning sun without the intensity of afternoon exposure. A north-facing window is typically too dim. A west-facing window can work with a sheer curtain to diffuse the harshest afternoon light. Poor lighting, especially during winter, also compounds watering problems: an orchid receiving less light uses less water, which means a normal watering routine quietly becomes overwatering.
Mistake #6 — You Ignored Temperature and Humidity
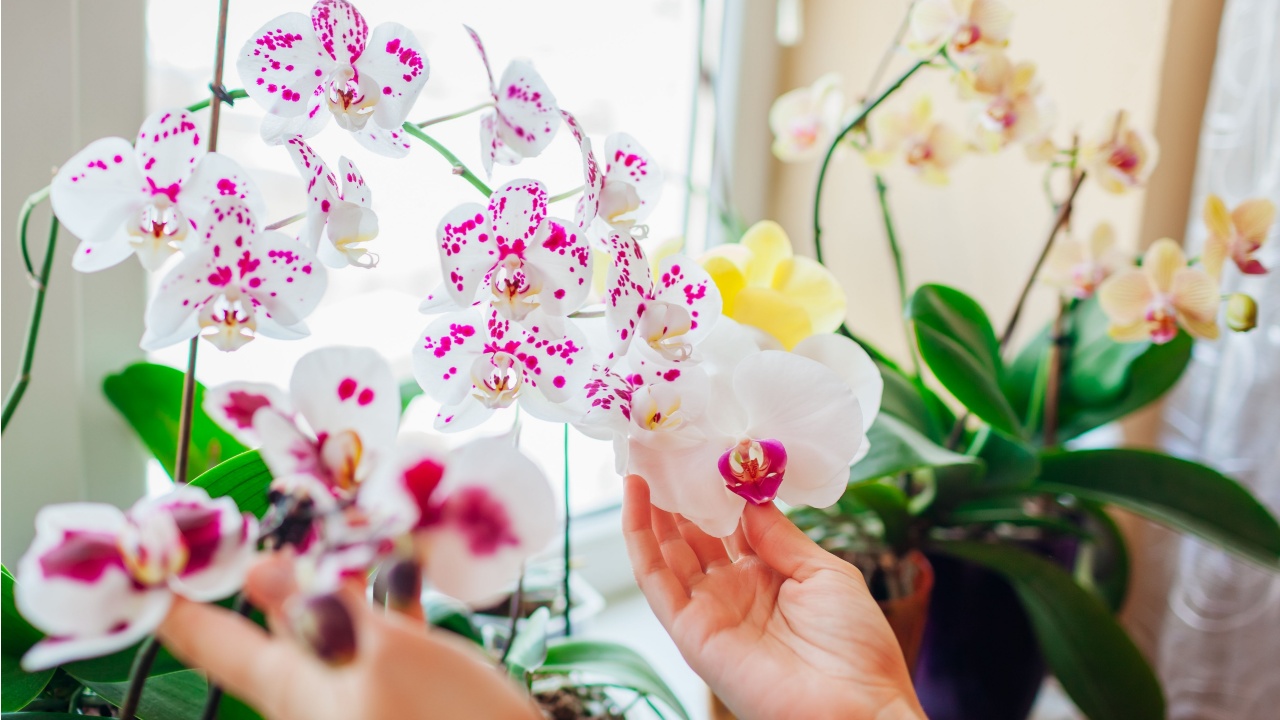
Image Credit: Shutterstock.
An orchid sitting in a comfortable, stable 72 degrees F room year-round may simply never rebloom, no matter how well you water it. The cooler nighttime temperature drop that triggers new flower spikes is not a luxury; it is a biological requirement.
The Spruce notes that most orchids are classified as warm, intermediate, or cool growers, each with distinct preferred temperature ranges, and that all orchids benefit from a temperature reduction at night. One practical fix: move the orchid to a spot near a window in fall and winter, where ambient nighttime temperatures naturally drop. Avoid placing orchids near heating or cooling vents, which create temperature instability and strip humidity from the air. For humidity, a shallow pebble tray filled with water placed under the pot raises the ambient moisture level around the plant’s roots without saturating the media.
Mistake #7 — You Fertilized (or Didn’t Fertilize) at the Wrong Time
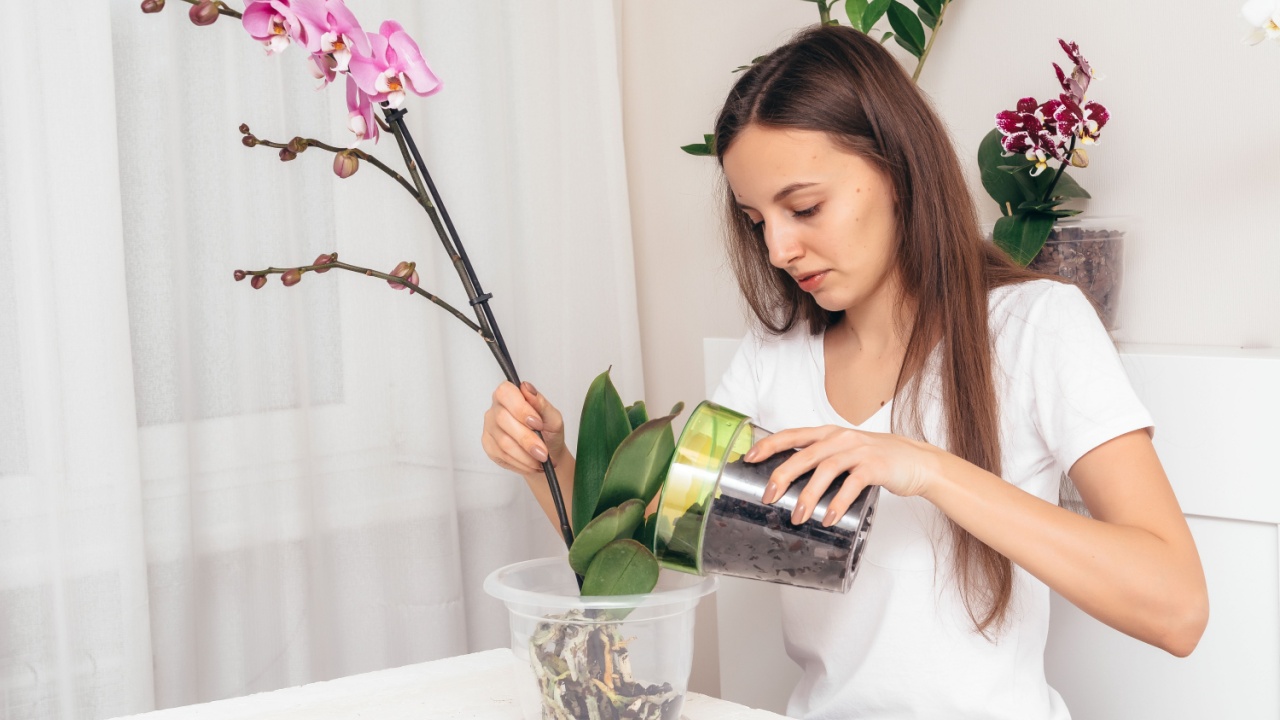
Image Credit: Shutterstock.
Orchids are heavy feeders, but their potting media is intentionally nutrient-poor. That combination means regular fertilization is not optional; it is a requirement for a plant that will ever bloom again. The mistake most growers make is either stopping fertilizer too early or pushing it on a plant that is already stressed.
Gardening Know How advises feeding with a water-soluble, orchid-specific fertilizer at the recommended rate during active growth, and stopping entirely during dormancy. If you are working to revive a sick orchid, hold off on fertilizer until you see new root or leaf growth: adding fertilizer to a stressed plant amplifies production stress rather than supporting recovery. When you do resume, start at quarter strength and build gradually.
Mistake #8 — You Gave Up Too Soon

Image Credit: Shutterstock.
A dehydrated orchid can look genuinely dead and still come back. An orchid with almost no roots can produce new ones. Recovery is slow, often frustratingly so, but orchids are more resilient than their reputation suggests.
Southern Living reports that orchids can take months or even years to fully recover from severe stress, and that the patience required is real. One technique for severely dehydrated plants is the soak method: set the cleaned roots in a container of room-temperature distilled or filtered water for cycles of soaking during the day and drying overnight, refreshing the water daily. Carmela de Castro, owner of Orchid Republic Floral Boutique, as cited in Homes and Gardens, notes that typical dormancy lasts six to nine months, but that anything beyond ten months without any root activity warrants closer inspection.
An orchid that rebounds is not a fluke. It is a plant that received the right correction at the right time. The most durable orchids in cultivation are decades old. Yours may just need you to stop second-guessing it and start reading the roots.
The Takeaway

Image Credit: Shutterstock.
If you have been doing everything wrong, the good news is that orchids are forgiving. Most of these mistakes are reversible, and most struggling plants still have enough root life to work with. Start with the roots. Adjust the water. Move it closer to a window. Then leave it alone. The orchids that rebloom are rarely the ones that received the most attention; they are the ones that finally received the right conditions and were allowed to rest.
Read More
Do these 12 raised garden bed tasks before March ends, or lose your head start
12 vegetables to direct sow in the garden right now in March