
The threat of frost is behind most of us, and I don’t know about you, but I’m ready for some gorgeous spring weather because you know what that means: time to prep your soil for planting!
I want to emphasize the importance of your soil when it comes to gardening. Consider it one of the most powerful weapons in your growing arsenal. You want it to be well-draining, aerated and contain the proper amount of nutrients in order for your plants to thrive. Otherwise, you’re gambling every time you plant, and that’s not a risk I’m willing to take.
How We Came Up With These Steps

Image Credit: Shutterstock.
Our methodology involves speaking with lawn and gardening experts, as well as consulting reputable sites in the industry such as The Old Farmer’s Almanac.
To help create this list, we spoke with:
- Ryan Farley, CEO of LawnStarter, a lawn care services company
- Tammy Sons, plant expert and CEO of TN Nursery
Why Prepare Soil Before Planting?
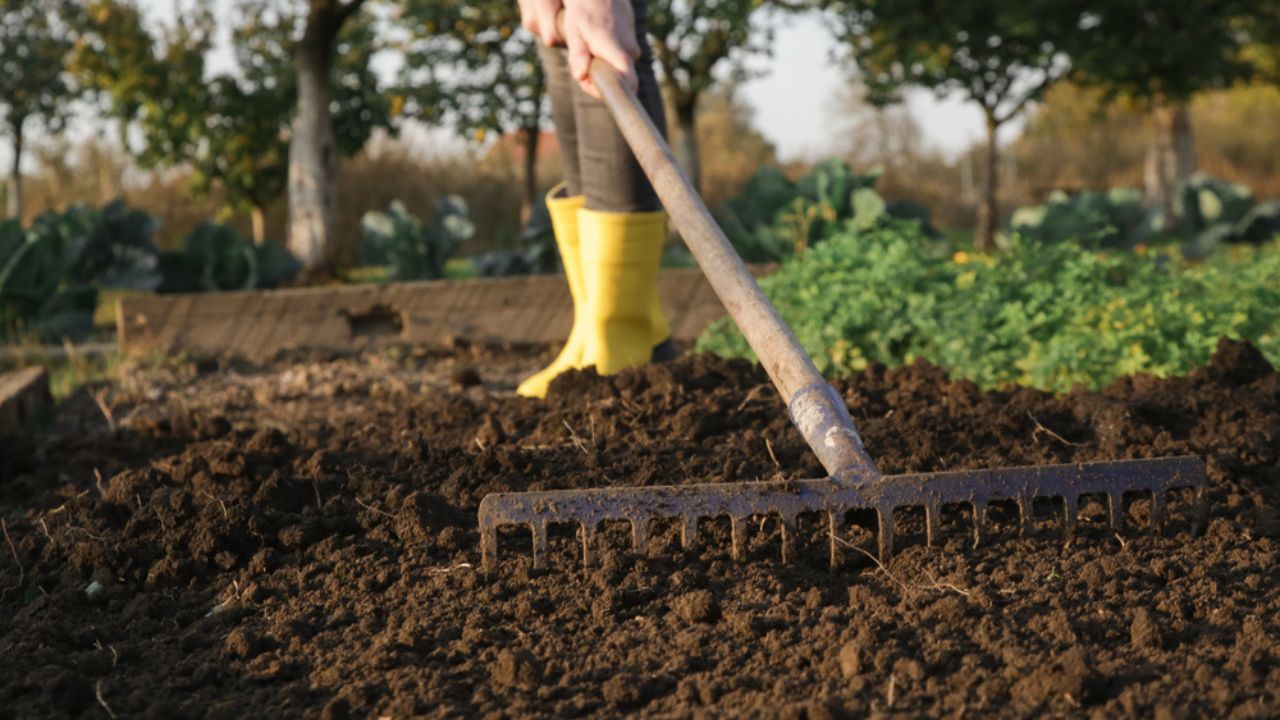
Image Credit: Deposit Photos.
Chances are your soil may be just fine, especially if you’re a regular gardener and have prepared it in years past. However, you can never be too prepared, and honestly, why take the chance?
Ensuring your soil is healthy takes just a few simple steps. The payoff is huge, though, because you create an optimal environment for your plants to not just grow but thrive.
Determine Your Soil Type

Image Credit: Shutterstock.
According to the The Old Farmer’s Almanac, there are three soil types: sandy, clay, and silt. Depending on where you live, you may have one or more of these. The ideal goal is to have loamy soil—an equal blend of all three types—and to achieve that, you might need to add amendments.
To determine your soil, you might need to visit a cooperative extensive service at your local university. You can also do a DIY mason jar test, but if you’re not sure how to tell one type from another, leaving it to the pros is best.
Test the pH

Image Credit: Shutterstock.
In addition to testing the soil type, you also want to test the pH. You don’t want your soil to be too alkaline or acidic. According to the US Department of Agriculture (USDA), a pH between 6 and 7.5 is optimal.
Higher or lower pHs will lead to the soil lacking in nutrients and microbial activity that helps foster crop yield and health. You can pick up a pH test at your local gardening or home goods store.
What to Look For in Soil Nutrition

Image Credit: Shutterstock.
More in-depth soil tests will also provide you with a nutrient panel. They measure the amounts of nitrogen, phosphorus, and potassium in your sample. Each of these is critical to fostering plant growth.
Nitrogen helps with stem and leaf growth, whereas phosphorus is necessary for root development and establishing a plant in its early stages. Potassium helps enhance flavor, foster strong roots, and aid in disease resistance. Tammy Sons, plant expert and CEO of TN Nursery, says she uses this information to guide her “choice of lime or compost and other necessary amendments.”
Clear Weeds and Debris
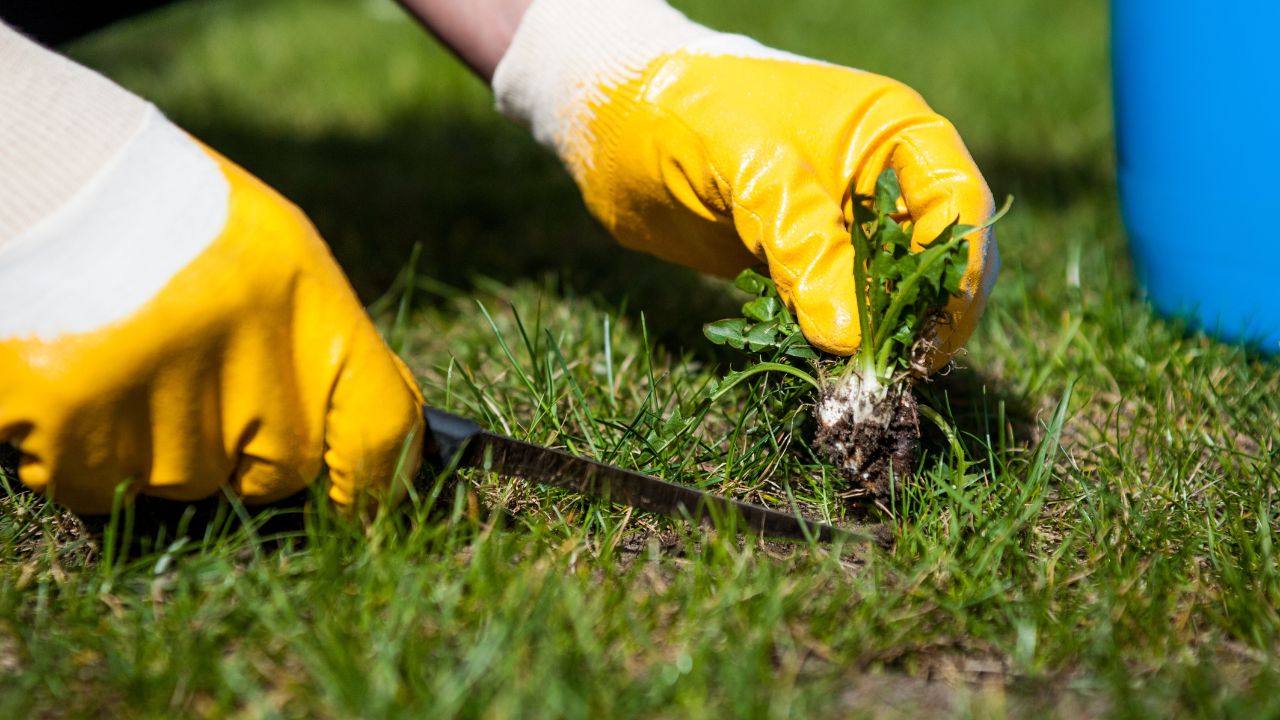
Image Credit: Shutterstock.
When first starting, Sons says she focuses on “clearing weeds and any debris from the area.” Removing debris eliminates obstacles to soil texture while clearing away the weeds means the plants will get more of the nutrients weeds would normally sap from them.
You can easily clear away debris with a garden rake and remove weeds by hand, pulling them out as you come upon them.
Loosen the Soil
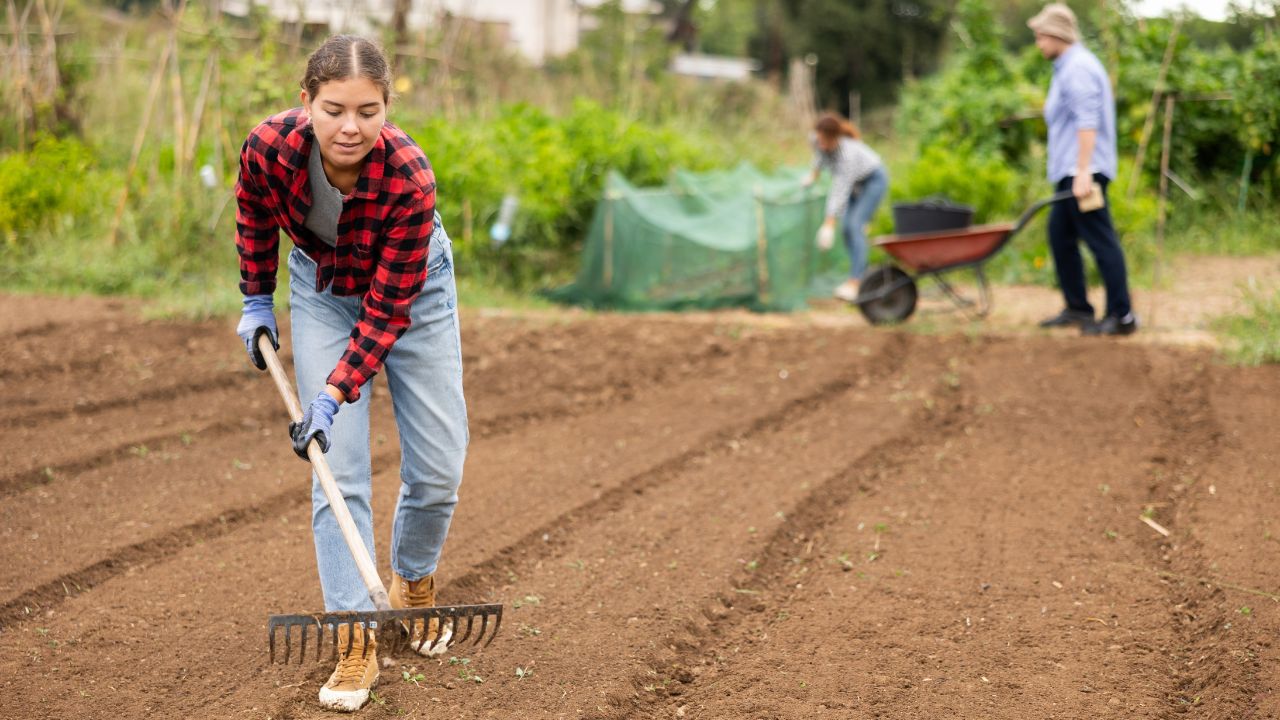
Image Credit: Shutterstock.
If you’ve never gardened in a specific area of your lawn before, you’ll need to loosen up the soil, preferably by tilling it. You can do this with a power tiller or by hand; the latter will take longer but is doable if you have a small area you’re working with.
Sons recommends “tilling [the soil] 6-8 inches deep, which helps enhance its texture and drainage properties.” It also gives the roots a place to take hold.
Mix in Fertilizer or Compost
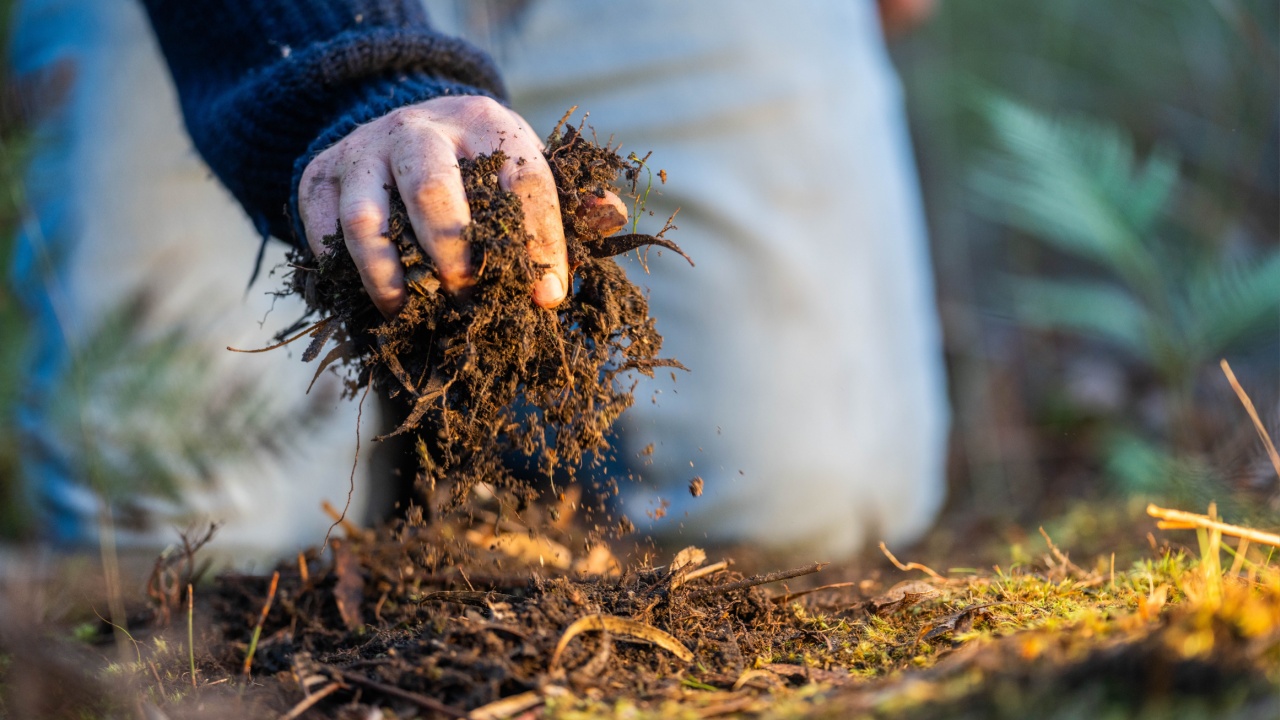
Image Credit: Shutterstock.
If your soil is not the proper type or its pH is off, this is the time to mix in amendments to both enhance its texture as well as its nutritional properties. Sons will also mix in fine bark or sand if she’s working with heavy clay soils to make it more pliable. She also never works with wet soil because it can cause compaction, which can increase soil density and make it difficult for air and water to reach the roots.
Not all soil will need amendments. Yours might be the optimal pH and have the ideal nutritional breakdown for plant growth.
Wait for it to Settle
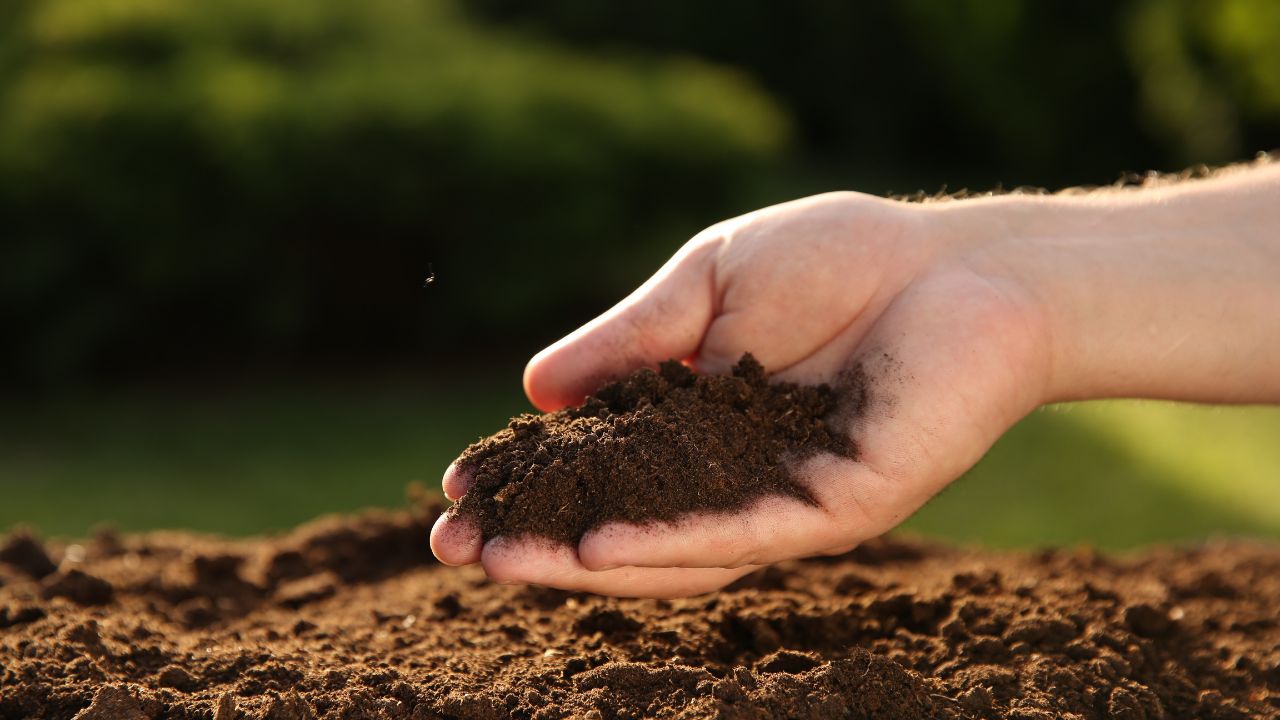
Image Credit: Shutterstock.
After you’ve tilled your soil and otherwise prepped it with the necessary amendments, where applicable, now it’s time to be patient. I know… I’m just as excited to get plants in the ground, but it’s best to let the soil settle to create an environment where roots can easily take hold.
Sons recommends waiting a week before planting.
When Is the Soil Workable?
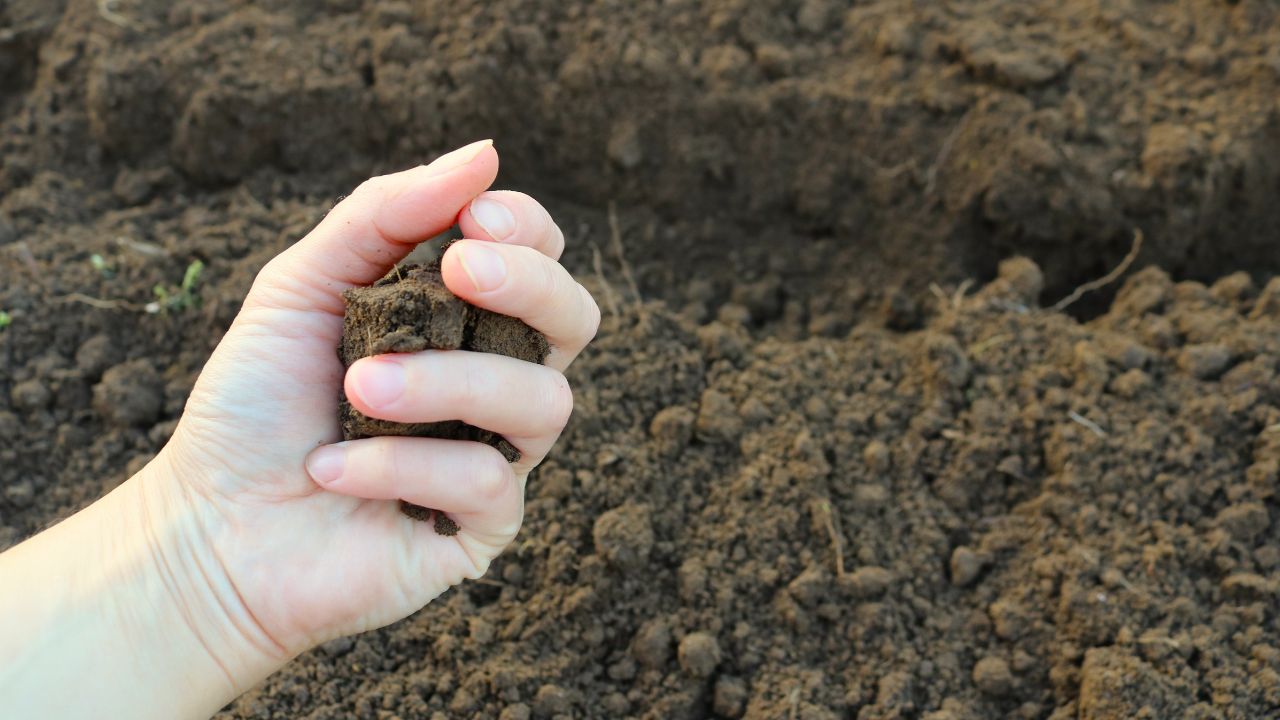
Image Credit: Shutterstock.
To tell if your soil is workable, The Old Farmer’s Almanac recommends you simply pick up a handful and squeeze it. It should be loose and crumbly, or at the very least easily break apart. If you squeeze it into a ball and it stays packed tightly, it’s not ready.
Be patient, it’ll be worth it in the end.
Ready to Dig In?
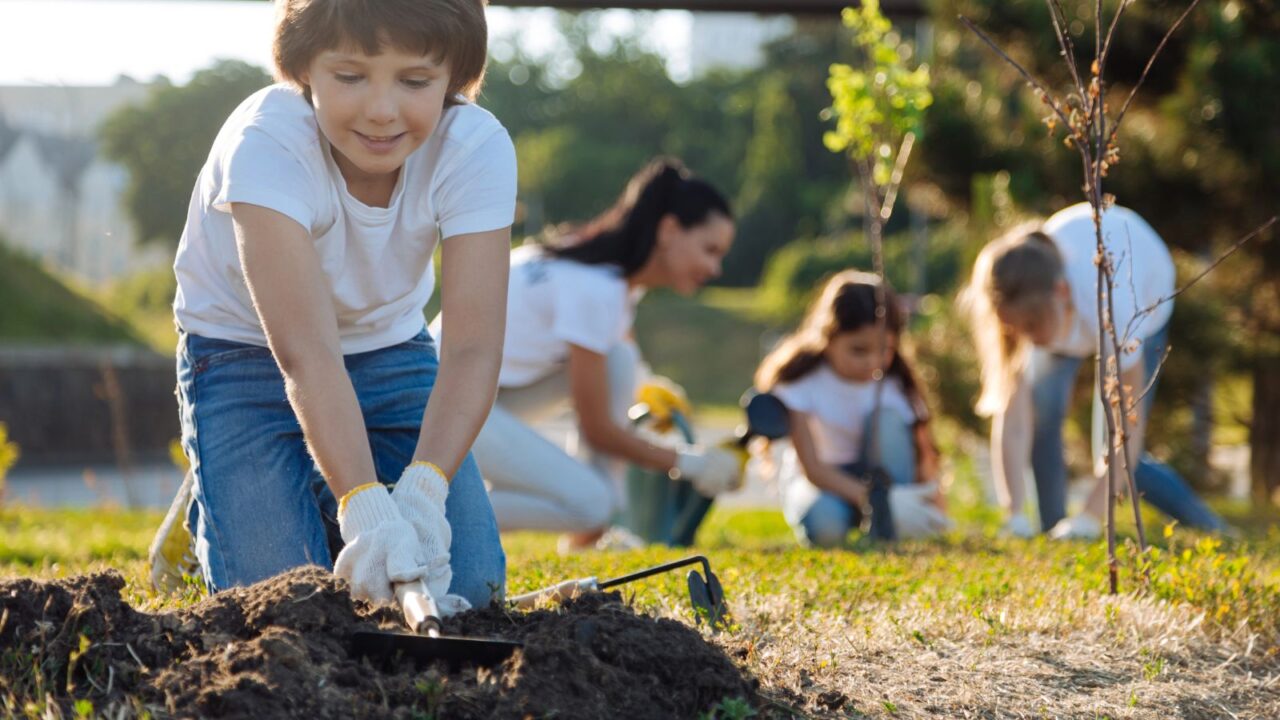
Image credit: Depositphotos.
See? That doesn’t sound so difficult does it? Make sure not to skip any of these steps to create a good growing environment. Most of them can be completed in a day, with the exception of waiting for it to settle, but when it does, it’s go time.
Now that you’ve got your soil prepped, it’s time to get to the real work, bringing your garden to life.
