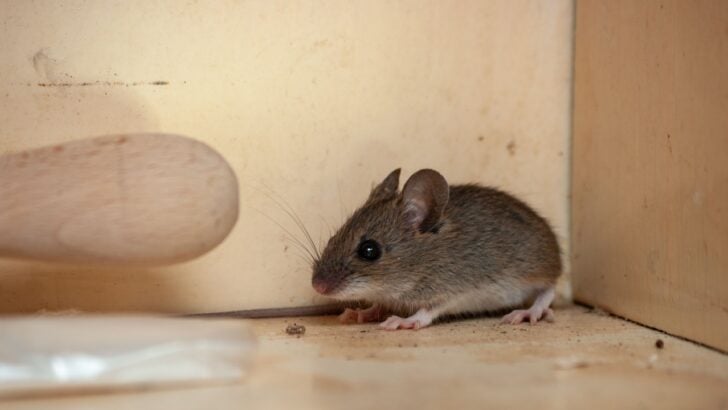
Finding mouse droppings or hearing scratching behind the walls can turn a peaceful home into a stressful place quickly. Most people focus on the visible mess first, but the real concern often comes from what cannot be seen. Rodents leave behind bacteria, urine particles, and contaminated nesting materials that can affect indoor air quality and create health risks if handled carelessly.
Many homeowners make the mistake of sweeping or vacuuming droppings right away. Unfortunately, that can send contaminated dust into the air where it is easier to breathe in. Health experts recommend a much more careful process that focuses on disinfecting first and removing waste slowly to reduce exposure.
Luckily, a safe cleanup does not require complicated equipment or professional training in every situation. With the right protective gear, proper disinfectants, and a step-by-step method, most affected areas can be cleaned thoroughly and safely. The key is taking enough time to do each stage correctly instead of rushing through the process.
Here are fourteen practical ways to sanitize spaces affected by mice. From handling droppings and nests to cleaning fabrics, insulation, and food preparation areas, each section breaks the process down into simple steps that help restore a cleaner and healthier home.
1. Ventilation of the Impacted Area
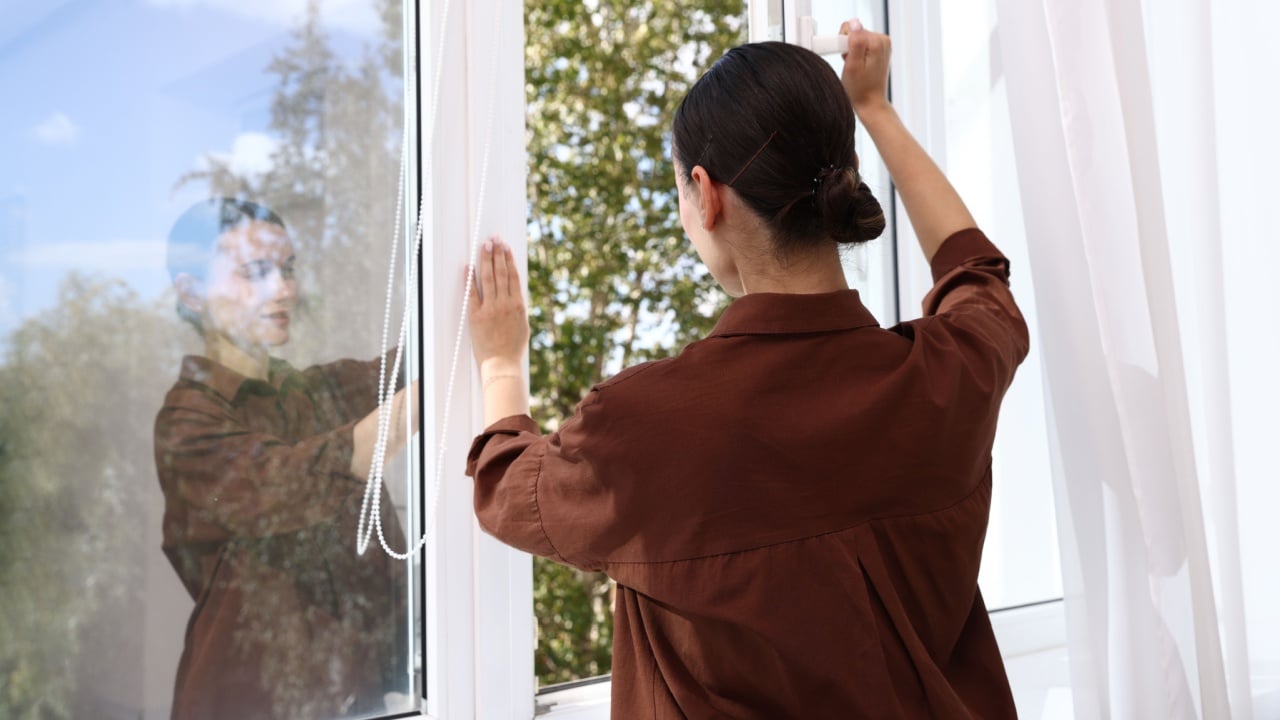
Image Credit: Shutterstock.
Before you touch a single surface, you need to flush the air. Open all windows and doors for at least 30 minutes to let fresh air circulate and clear out any stagnant, airborne particles. It’s best to leave the room while this happens so you aren’t breathing in any dust stirred up by the initial breeze.
If you can, create a cross-breeze by opening windows on opposite sides of the room to push the old air out effectively. If you’re working in a windowless space, use a HEPA air purifier in the doorway rather than a standard fan, which would just blow the contaminants deeper into your home.
Keep the area strictly off-limits to pets and children during this airing-out phase. Once the air has cycled thoroughly, the concentration of potential pathogens is significantly lowered. This simple waiting period makes the actual physical cleaning much safer for your lungs.
2. Proper Personal Protective Equipment
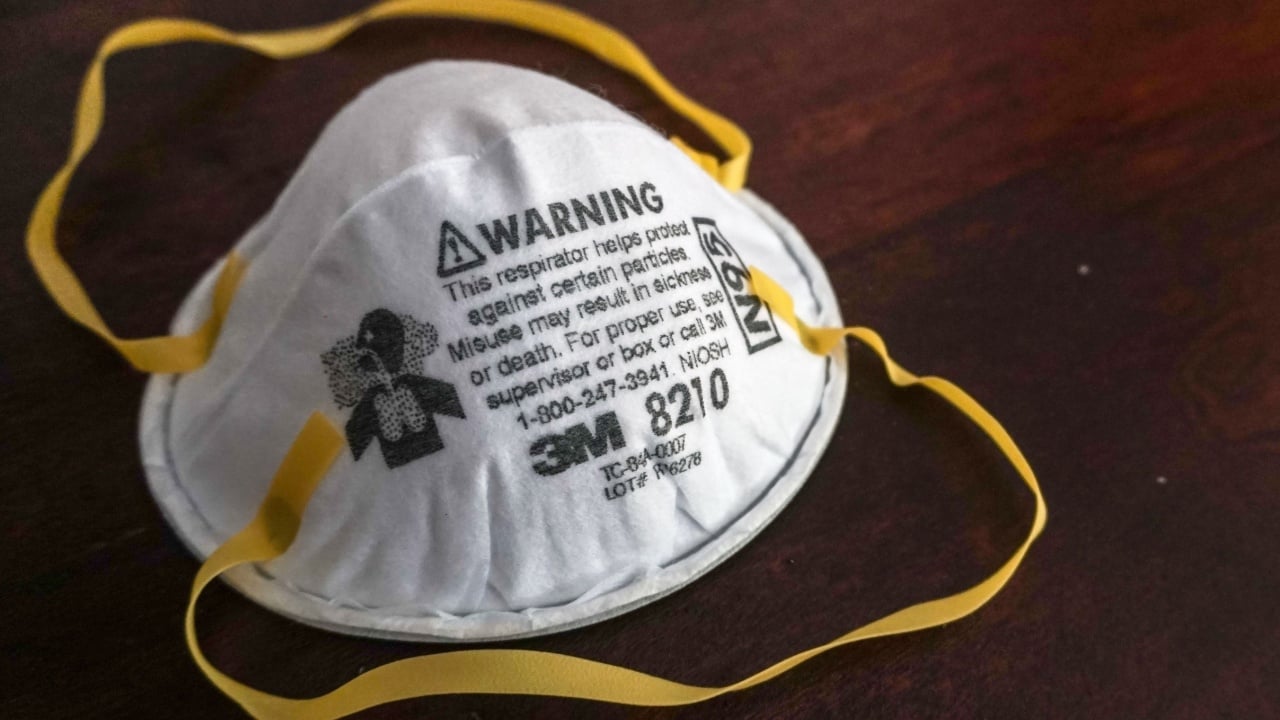
Image Credit: Pande Putu Hadi Wiguna at Shutterstock.
Standard kitchen gloves won’t cut it for this job; you need heavy-duty rubber or latex gloves that provide a real barrier against bacteria. Because the biggest risk comes from breathing in contaminated dust, a tight-fitting N95 or P100 respirator is non-negotiable.
Your outfit matters just as much as your mask, so wear long sleeves and pants to keep your skin covered and protected from splashes. Don’t forget protective eyewear, as mucous membranes in the eyes are an easy entry point for germs during the scrubbing process.
Make sure all your gear fits perfectly before you step into the “hot zone” to avoid the need for mid-clean adjustments. Gaps in a mask or loose glove cuffs are vulnerabilities you can’t afford. When you’re done, these clothes should go straight into a hot laundry cycle, and the gloves should be disinfected or tossed.
3. Preparation of Bleach Solution

Image Credit: Shutterstock.
The gold standard for neutralizing rodent-borne viruses is a fresh mixture of one part bleach to nine parts water. This specific ratio is strong enough to destroy the protein shells of viruses without being so toxic that it ruins your home’s surfaces.
Always mix a new batch right before you start, as bleach loses its disinfecting power surprisingly quickly when exposed to light and air. Use a dedicated, labeled spray bottle so there’s no confusion later about what’s inside the container.
Before you start spraying everything in sight, do a quick “spot test” on a hidden area of your flooring or furniture to check for fading. Once cleared, you’ll use this solution to thoroughly saturate any contaminated materials, effectively “pinning” the dust down so it can’t be inhaled.
4. Wet Method for Droppings
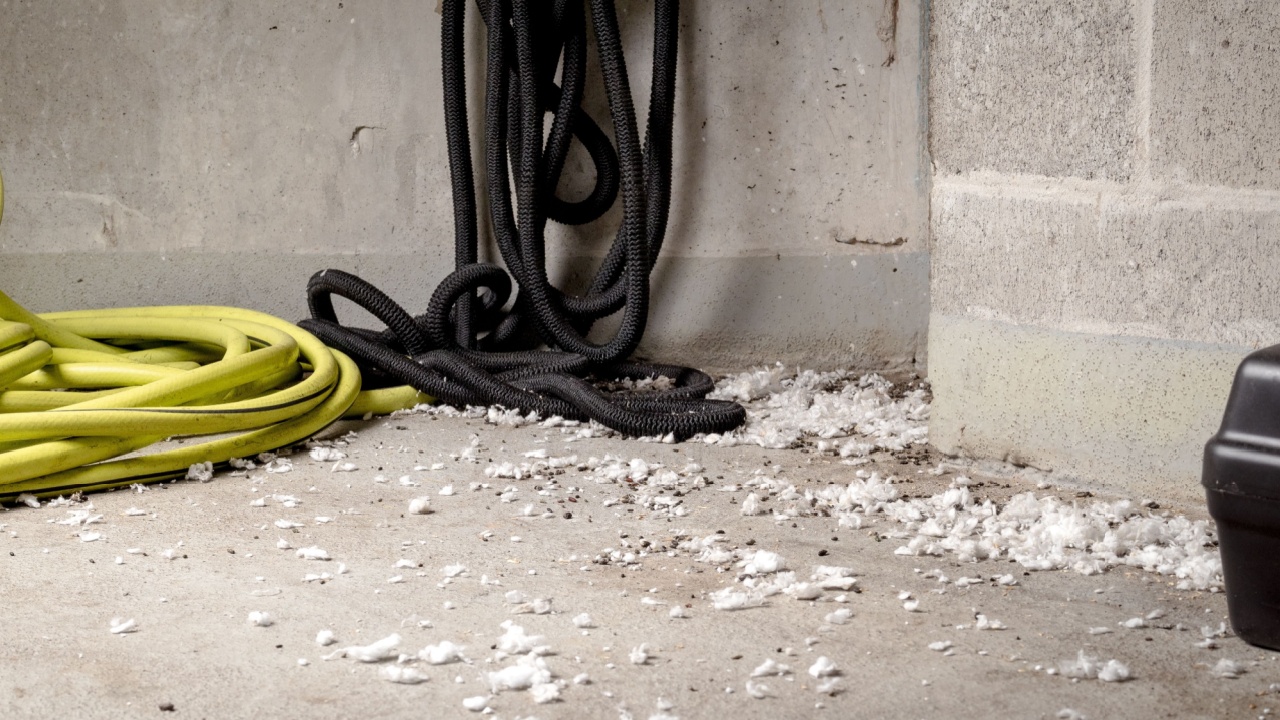
Image Credit: Shutterstock.
The golden rule of rodent cleanup is to never, ever use a vacuum or a broom on dry droppings. Doing so acts like a biological catapult, launching pathogens into the air where they can linger for hours. Instead, you must soak the waste with your bleach solution until it is completely wet.
After letting the solution sit for about five minutes, use a paper towel to pick up the dampened waste and place it directly into a plastic bag. This “wet method” ensures that every particle stays heavy and grounded, preventing anything from reaching your breathing zone.
Once the visible droppings are gone, go back over the entire area with a fresh, bleach-soaked paper towel to catch microscopic residue. Double-bag all the waste and take it directly to an outdoor trash bin immediately to keep the contamination out of your indoor air.
5. Cleaning Nesting Materials

Image Credit: Shutterstock.
Mouse nests are usually tucked away in dark corners and are often saturated with high concentrations of urine and dander. Because these materials, like shredded paper or insulation, are so porous, you must soak them until they are dripping wet before moving them.
Carefully lift the sodden nest using gloved hands or a disposable scoop and drop it straight into a heavy-duty trash bag. Be sure to check the surrounding “runways” (those dark grease marks along baseboards) as these are high-traffic areas that need the same deep-soaking treatment.
Removing the nest does more than just clean the space; it removes the pheromones that tell other mice the area is safe to inhabit. By thoroughly disinfecting these nesting sites, you’re effectively erasing the “welcome mat” for future intruders while clearing the air of allergens.
6. Disinfecting Hard Surfaces
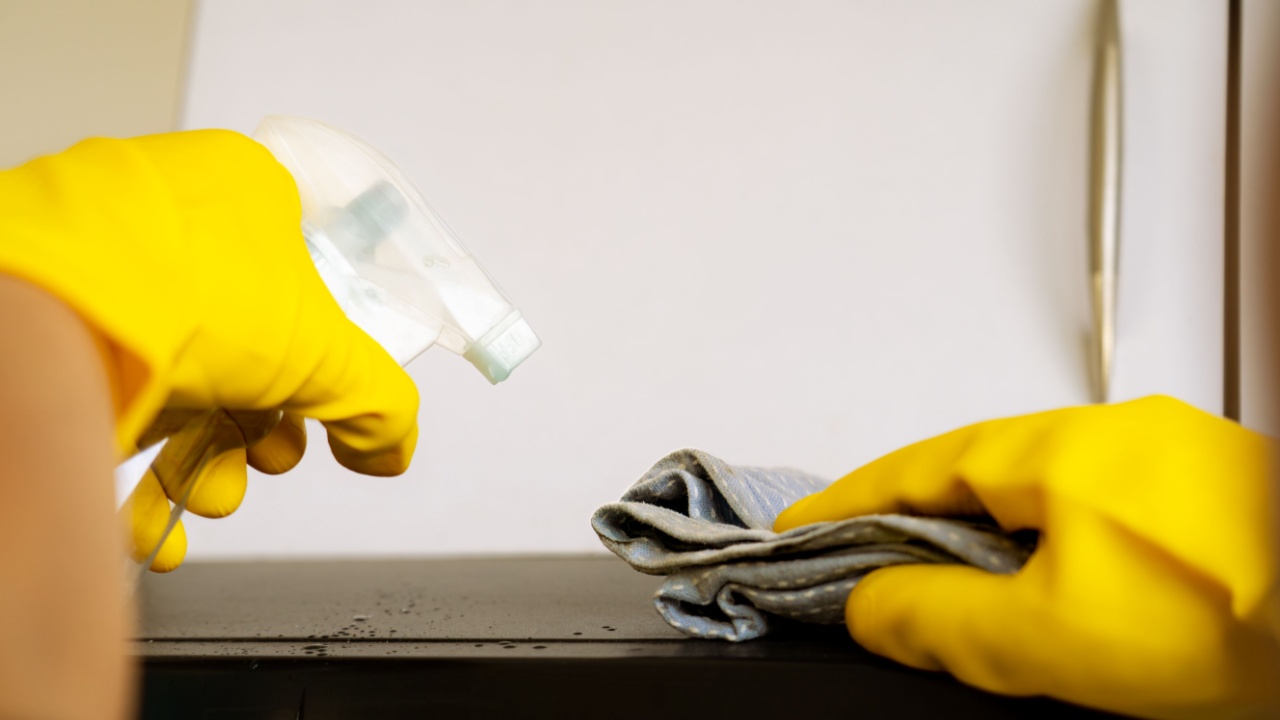
Image Credit: Shutterstock.
Even if you don’t see droppings on your counters or inside your cabinets, you should assume the surfaces are contaminated. Mice are creatures of habit and tend to run along edges, leaving invisible trails of urine as they go. Every hard surface in the affected room needs a full wipe-down with your bleach solution.
Pay extra attention to the “hidden” zones: the undersides of cabinets, the gaps behind the fridge, and the dark corners of the pantry. Use a flashlight to hunt for dull spots or stains that might indicate a frequent mouse highway that needs extra scrubbing.
After the disinfectant has had time to work its magic, rinse the surfaces with clean water to remove any chemical residue. This final step ensures your kitchen or living area is safe for daily use again. Remember to discard or heavily bleach any sponges or mops used during this stage.
7. Laundering Contaminated Fabrics
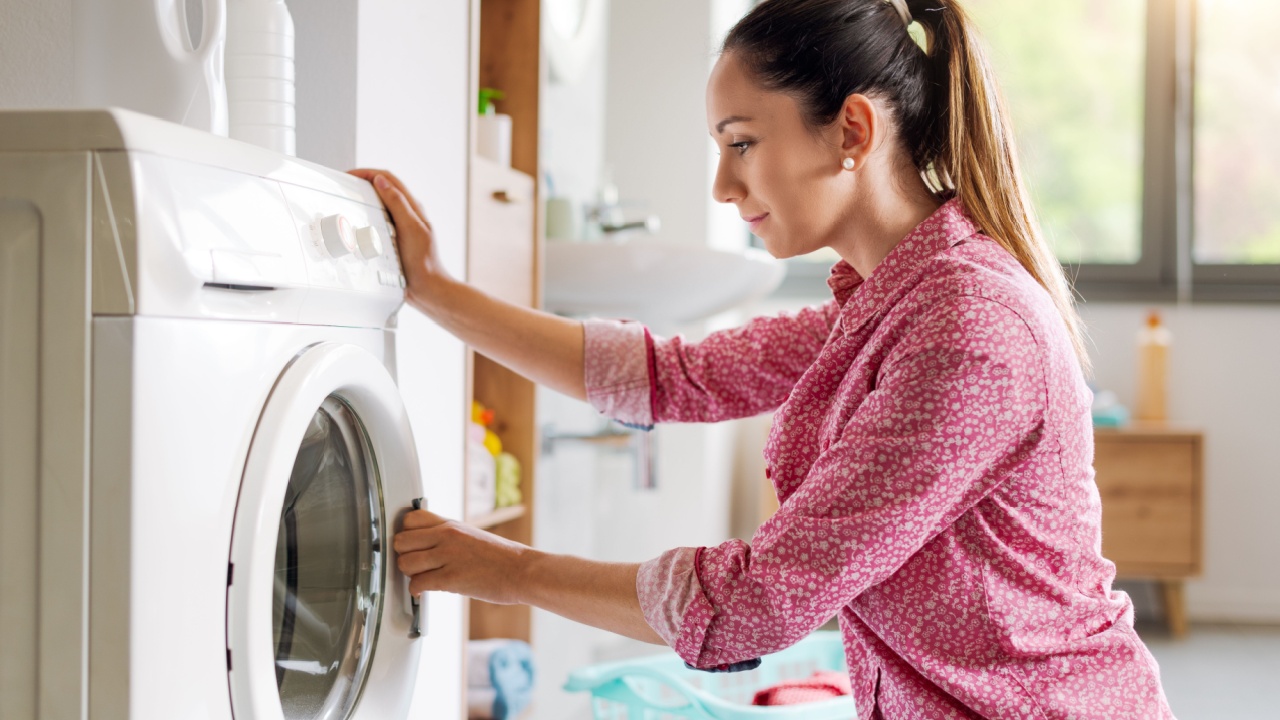
Image Credit: Shutterstock.
If mice have been nesting in your bedding, clothing, or towels, a regular wash cycle won’t be enough. You need to use the highest temperature setting your fabric can handle, combined with a laundry sanitizer or color-safe bleach. Heat is your best friend when it comes to killing trapped pathogens in fibers.
When moving the dirty laundry to the machine, wear gloves and hold the items away from your face to avoid breathing in any dander. Avoid the temptation to “shake out” the blankets before washing, as this just releases dust into your laundry room.
Once the wash is done, move the items to the dryer on a high-heat setting for at least 30 minutes. The combination of intense heat and agitation provides a second layer of sterilization. For delicate items that can’t take the heat, professional dry cleaning is the safest way to go.
8. Steam Cleaning Upholstery
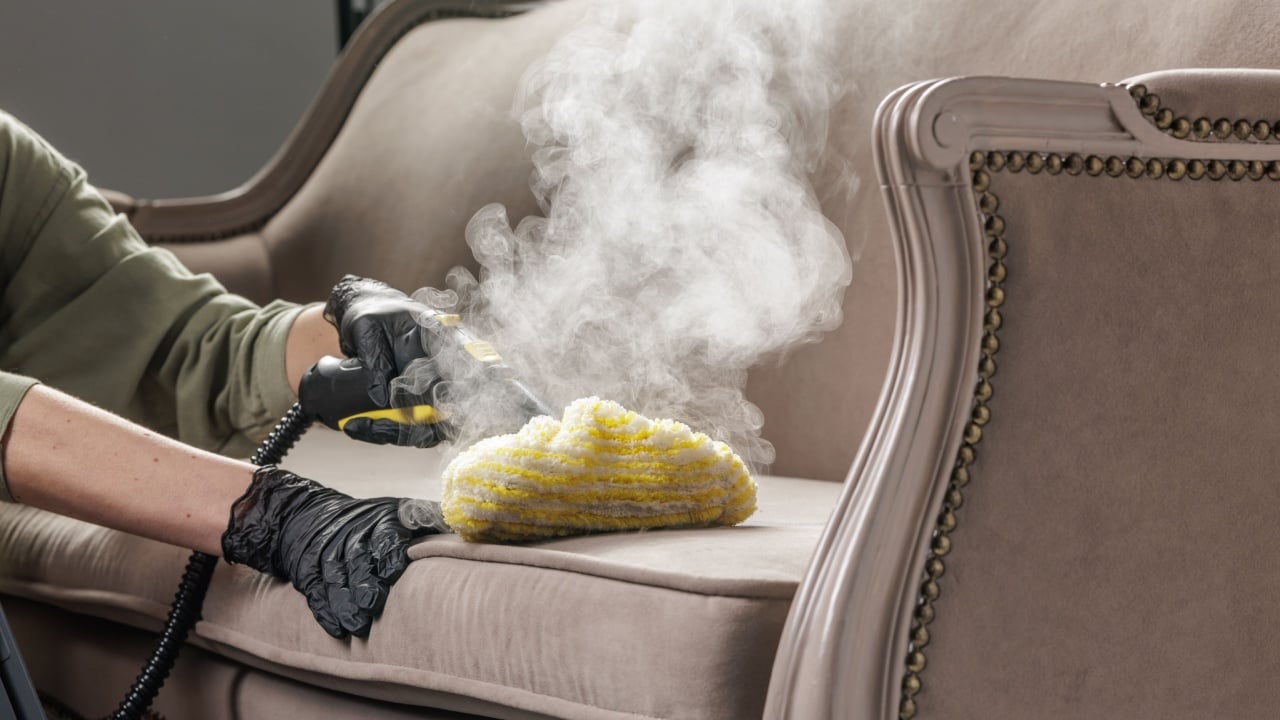
Image Credit: Shutterstock.
Carpets and couches are tricky because you can’t exactly douse them in bleach without ruining the fabric. For these soft surfaces, professional steam cleaning is the most effective solution because the high-temperature steam penetrates deep into the padding to kill germs.
If there are specific urine stains, pre-treat them with an enzymatic cleaner, which “eats” the proteins in the waste to remove odors and stains at the source. This ensures that your furniture doesn’t just look clean, but is actually biologically safe.
Make sure the furniture has plenty of airflow to dry completely after the steam treatment to prevent mold from setting in. This deep-heat method is the best way to reclaim your favorite lounge chair without using harsh chemicals that could irritate your skin later.
9. Sanitizing Food Preparation Areas

Image Credit: Shutterstock.
If mice have been in your pantry, it’s time for a ruthless audit of your food supply. Toss any items in cardboard boxes or thin plastic bags that show even a hint of gnawing or staining. It’s better to lose a box of cereal than to risk a foodborne illness from contaminated packaging.
Every dish, pot, and piece of silverware stored in those cabinets should be run through the dishwasher on a high-heat “sanitize” cycle. If you don’t have a dishwasher, a hot, soapy hand-wash followed by a quick dip in a very diluted bleach solution will do the trick.
Before you put your food back, wipe down every shelf and corner with your disinfectant. This is also the perfect time to move your grains and snacks into airtight glass or metal containers. Not only does this keep food fresh, but it also makes it impossible for a stray mouse to get a free meal.
10. Disinfecting Exterior Entry Points
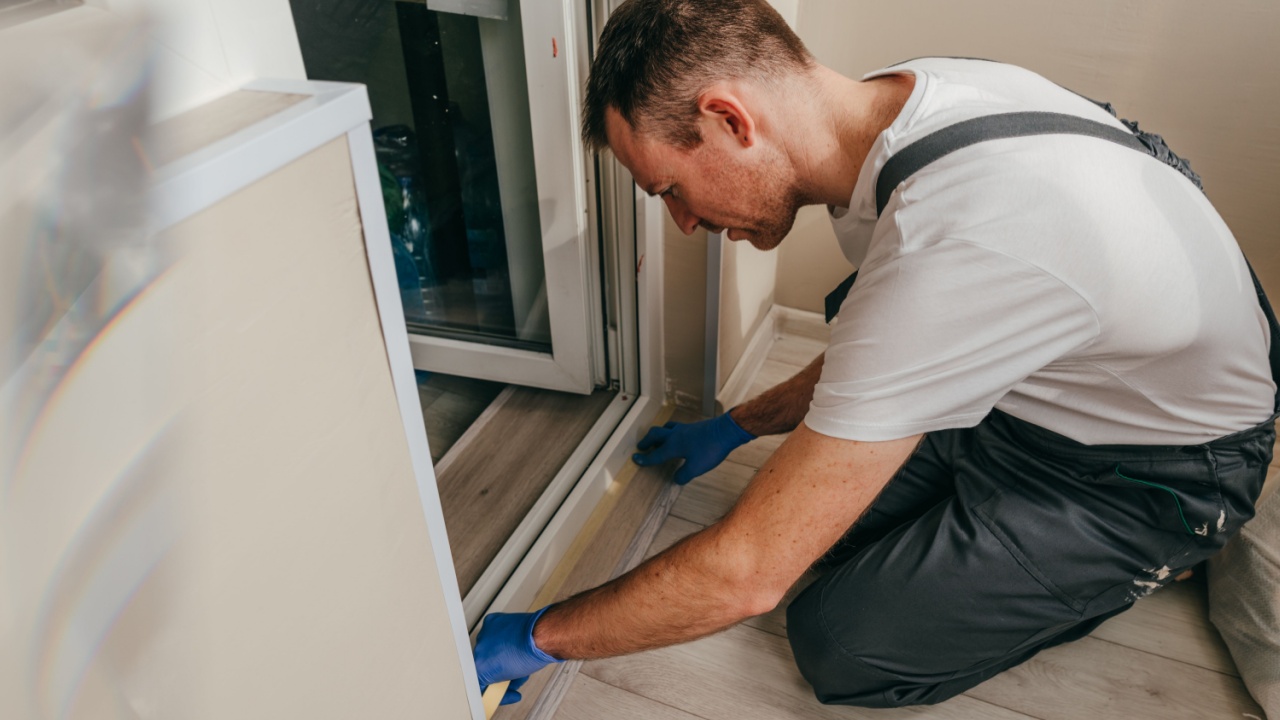
Image Credit: Shutterstock.
Cleaning the inside of your house is only half the battle; you also have to scrub the “doorways” the mice used to get in. Use a strong disinfectant on exterior vents, door frames, and foundation gaps to erase the scent trails that lead other mice to your home.
Once the areas are clean, inspect every inch for holes, keeping in mind that a mouse can squeeze through a gap the size of a pencil. Fill these openings with steel wool or hardware cloth, as mice can’t chew through metal.
Finish the job by sealing those gaps with caulk or expanding foam to make the patch permanent. Securing the perimeter is the only way to ensure all your hard work cleaning the inside isn’t undone by a new family of rodents moving in next week.
11. Handling Dead Rodents
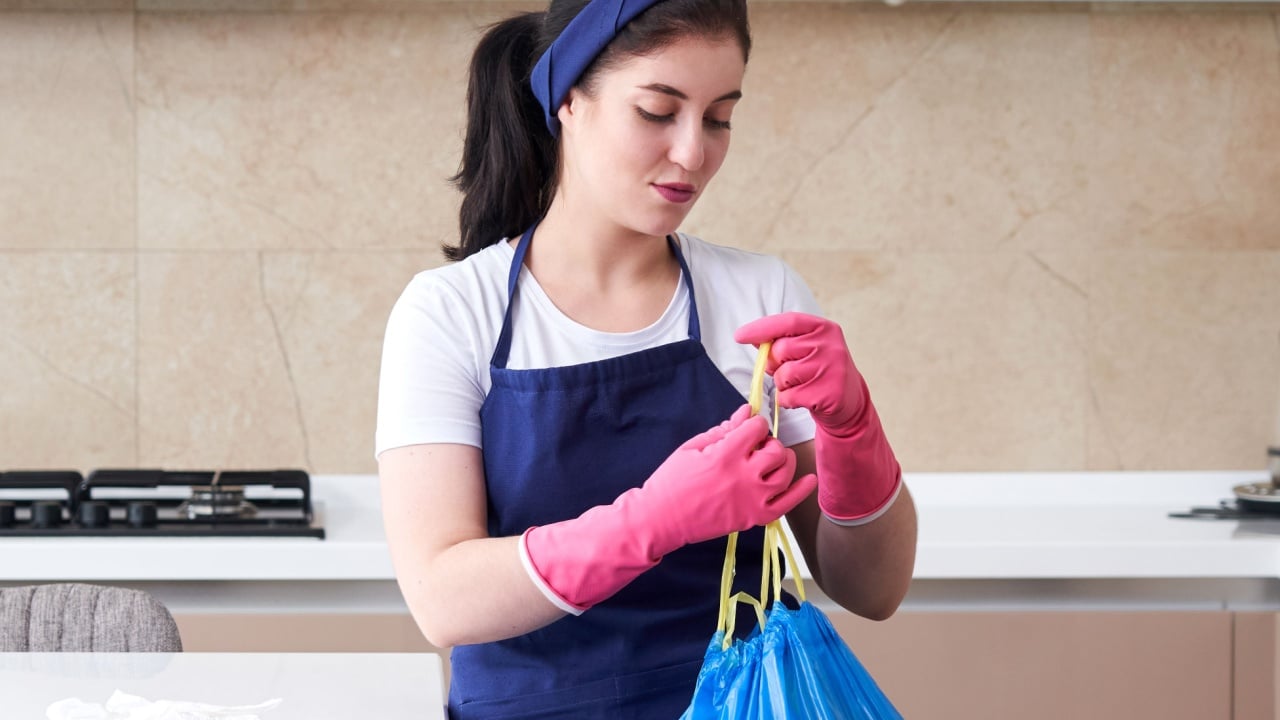
Image Credit: Shutterstock.
Finding a dead mouse in a trap requires a specific safety protocol to avoid “hitchhikers” like fleas or mites. Before you touch the trap, spray the entire carcass and the surrounding area with your bleach solution. This kills any parasites that might try to jump from the mouse to you.
Using gloved hands, place the mouse and the trap (if it’s disposable) into a plastic bag and seal it tightly. It’s a good idea to double-bag it before putting it in your outdoor trash to keep odors down and prevent local wildlife from digging it up.
If you plan on reusing the trap, give it a ten-minute soak in a bleach-water bath before setting it again. Finally, wash your gloved hands with soap before taking them off, then wash your bare hands again. This “double-wash” technique is a simple way to stay 100% germ-free.
12. Cleaning Outdoor Structures
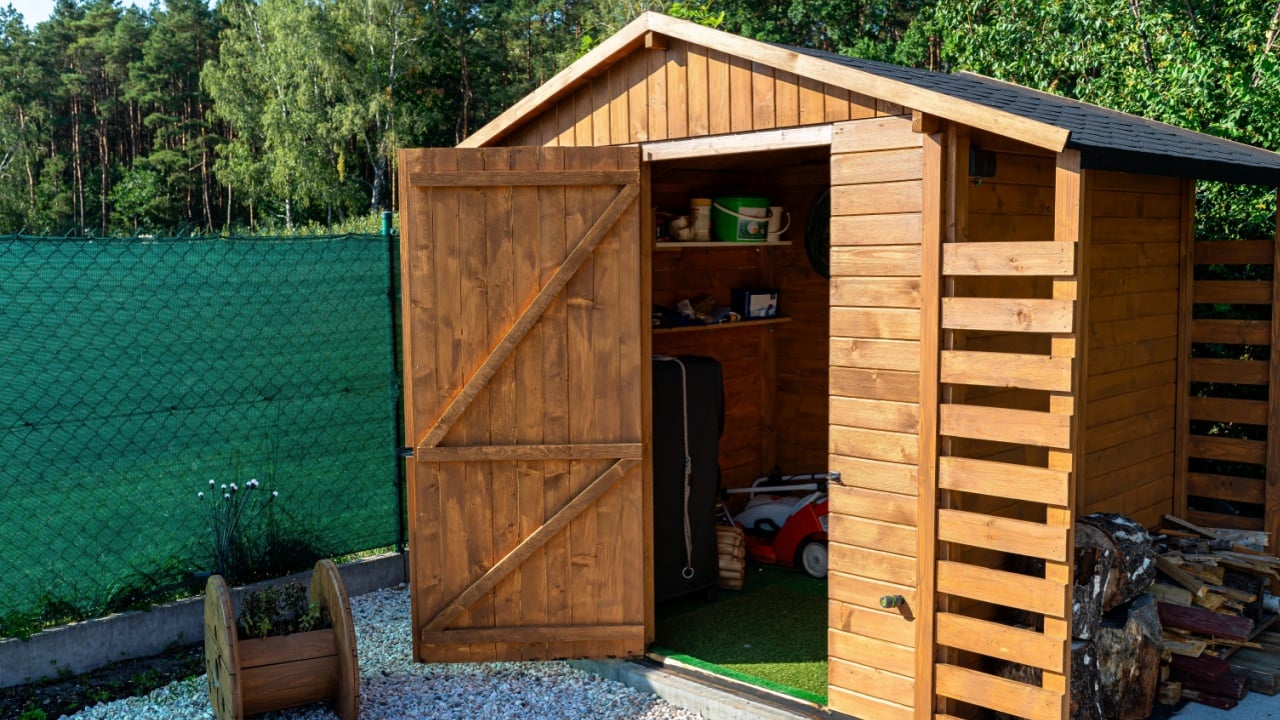
Image Credit: Shutterstock.
Don’t forget about the shed or the detached garage, as these are often the primary “hubs” for rodent activity. Because these spaces are usually less ventilated and more cluttered, the risk of inhaling contaminated dust is actually higher. Always wear your respirator, even if the garage door is wide open.
Take this opportunity to clear out piles of old newspapers, cardboard, or wood scraps that serve as perfect high-rise apartments for mice. These materials soak up urine and are nearly impossible to clean, so getting rid of the clutter is usually the safest and most effective option.
Once the junk is gone, use a hose and your disinfectant solution to wash down the floors and lower walls. Keeping these outdoor areas tidy acts as a buffer zone, making it much less likely that mice will eventually find their way into your main living space.
13. Managing Attic and Crawlspace Insulation

Image Credit: Shutterstock.
When mice move into your attic insulation, the material essentially becomes a giant sponge for biological waste. Because fiberglass and cellulose can’t be washed, any insulation that has been nested in must be carefully removed and replaced. This stops foul odors from seeping down through your ceilings.
This is a heavy-duty job, so wear a full protective suit along with your high-grade respirator to protect yourself from both rodent waste and itchy insulation fibers. Seal the contaminated material in thick bags immediately so you aren’t dragging dust through your house on the way out.
While the insulation is out, take a moment to inspect your wiring and wooden beams for any signs of gnawing. Replacing the soiled material not only fixes the hygiene issue but also gives you a chance to improve your home’s energy efficiency and air quality in one go.
14. Hand Hygiene Post-Cleanup
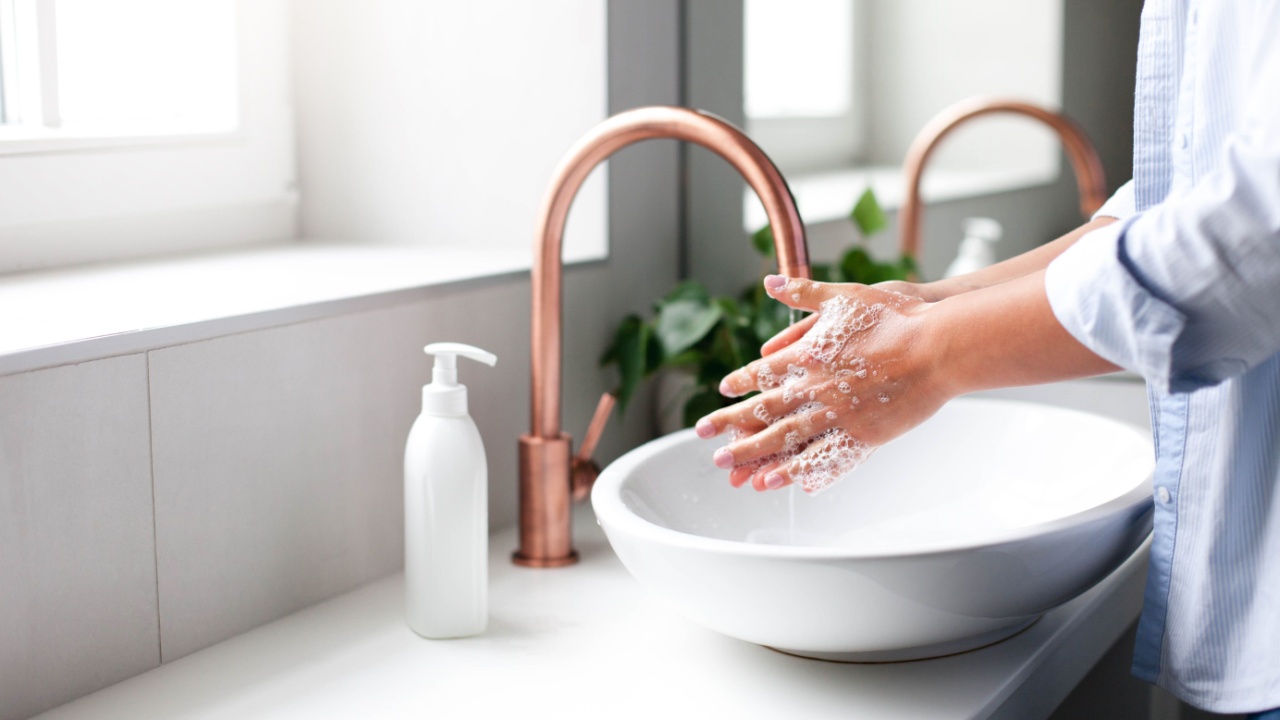
Image Credit: Shutterstock.
The final step in your sanitation journey is a personal “decontamination” to ensure you didn’t bring any germs home with you. Before you even take your gloves off, wash them with soap and water as if they were your skin. Then, peel them off carefully to ensure the outside of the glove never touches your bare hand.
Once the gloves are off, scrub your hands and forearms with antibacterial soap and warm water for at least twenty seconds. Pay special attention to your fingernails and the spaces between your fingers where tiny particles might be hiding.
Finally, hop in the shower and wash your hair and body thoroughly to remove any dust that might have settled on you during the process. Clean the outside of your spray bottles and any reusable gear before putting them away.
Keeping Mice from Making a Comeback
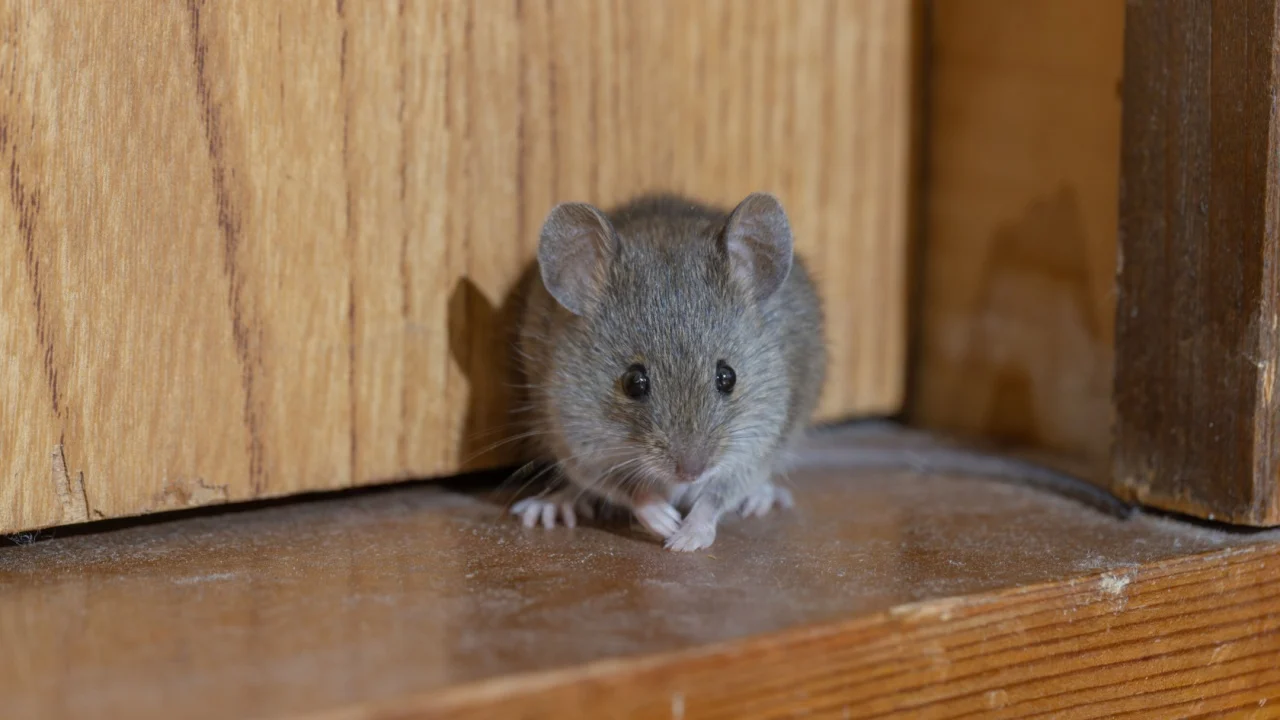
Image Credit: Shutterstock.
Cleaning up properly is the biggest step toward making your home safe again after a mouse problem. Once the droppings, nests, and contaminated areas are taken care of, the focus should shift toward stopping rodents from returning in the first place. Small habits like keeping food sealed, reducing clutter, and cleaning hidden corners regularly can make a huge difference.
It also helps to check your home often for fresh droppings, gnaw marks, or tiny gaps near doors, pipes, and walls. Mice are experts at slipping through small openings, so sealing entry points early can prevent another infestation before it starts. Staying consistent with inspections and basic upkeep keeps your living space cleaner, safer, and far less inviting to unwanted pests.