There’s nothing more frustrating than staring at a tray of soil, waiting for the green sprouts that never seem to appear. You’ve done all the hard work of preparing the space and carefully planting your seeds, so an empty pot can feel like a real letdown. Figuring out what’s gone wrong is the first step to saving your growing season.
When it comes to germination, the environment is everything. According to gardening experts, most failures aren’t due to bad seeds but to simple imbalances in their surroundings. Things like moisture, soil temperature, and even how deep you plant your seeds can make all the difference.
Don’t give up just yet! Here are 12 common reasons why your seeds might not be sprouting, and provide practical fixes you can use right away.
1. The Waiting Period Is Still Ongoing
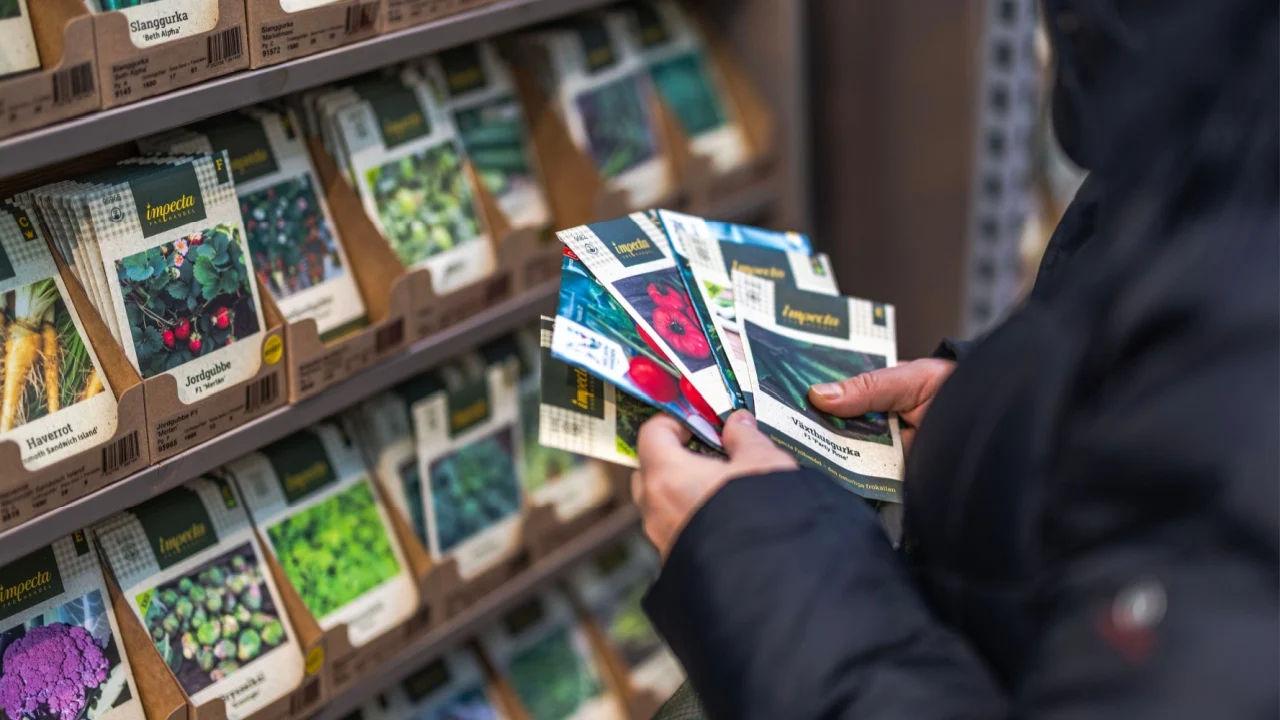
Image Credit: Mulevich at Shutterstock.
Patience is a gardener’s most important virtue. While fast-growing seeds like radishes and beans can sprout in as little as three to five days, others operate on a much slower timeline.
For instance, popular herbs and vegetables like parsley, carrots, and peppers can take up to three weeks to show any signs of life. Flowers such as lavender and hibiscus are also notoriously slow to germinate.
Quick Fix:
- Check the “days to germination” on the seed packet.
- Remember that this timeline is an estimate.
- Avoid replanting before this period has passed.
- Keep the soil consistently moist.
- Be patient and give the seeds more time.
2. The Seeds Went Too Deep
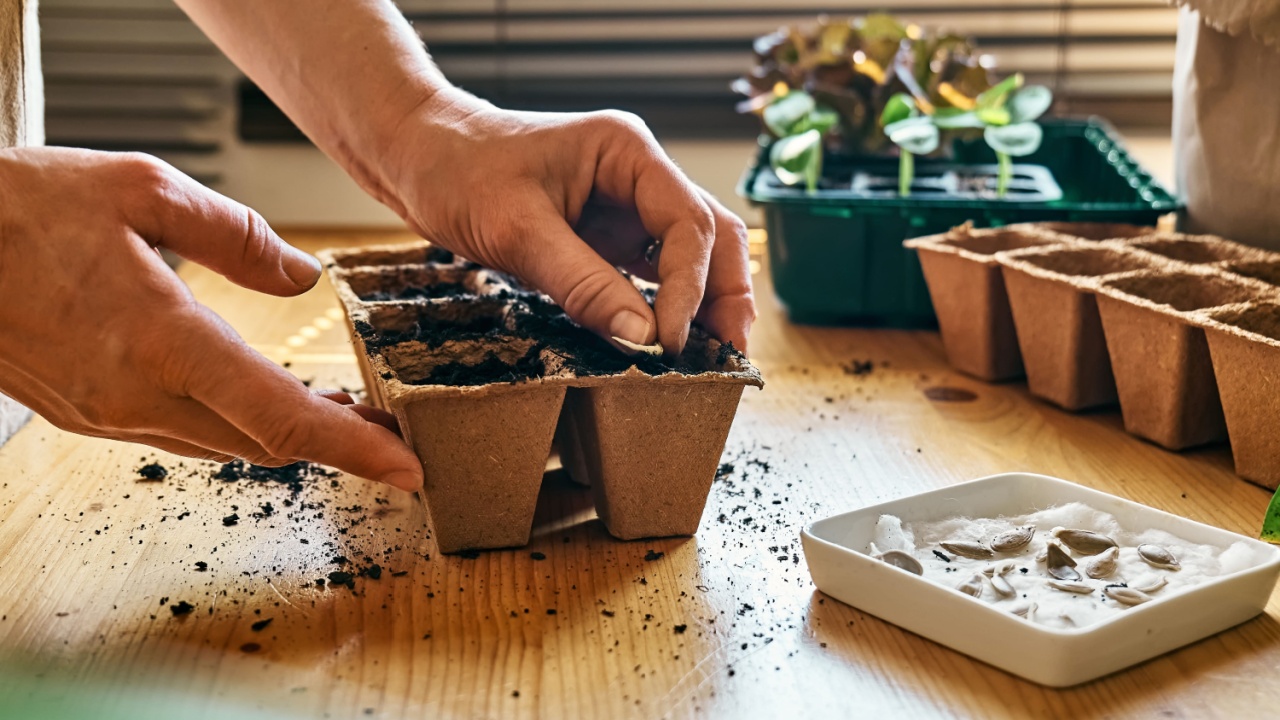
Image Credit: Shutterstock.
A common mistake for new and experienced gardeners alike is planting seeds too deep. Every sprout possesses a finite amount of stored energy (from the cotyledon) to push through the soil and reach the sunlight.
Burying them under inches of heavy dirt exhausts this energy reserve before they can break the surface, trapping them underground forever. The seed packet is your best friend here, as it will specify the correct planting depth for each variety.
How to get it right:
- The seed packet will tell you the ideal planting depth.
- Plant seeds at a depth of roughly twice their diameter.
- Veggies like carrots and lettuce need only about ¼ inch of soil.
- Tiny seeds like petunias should just be pressed onto the soil surface.
3. The Moisture Levels Are Unbalanced
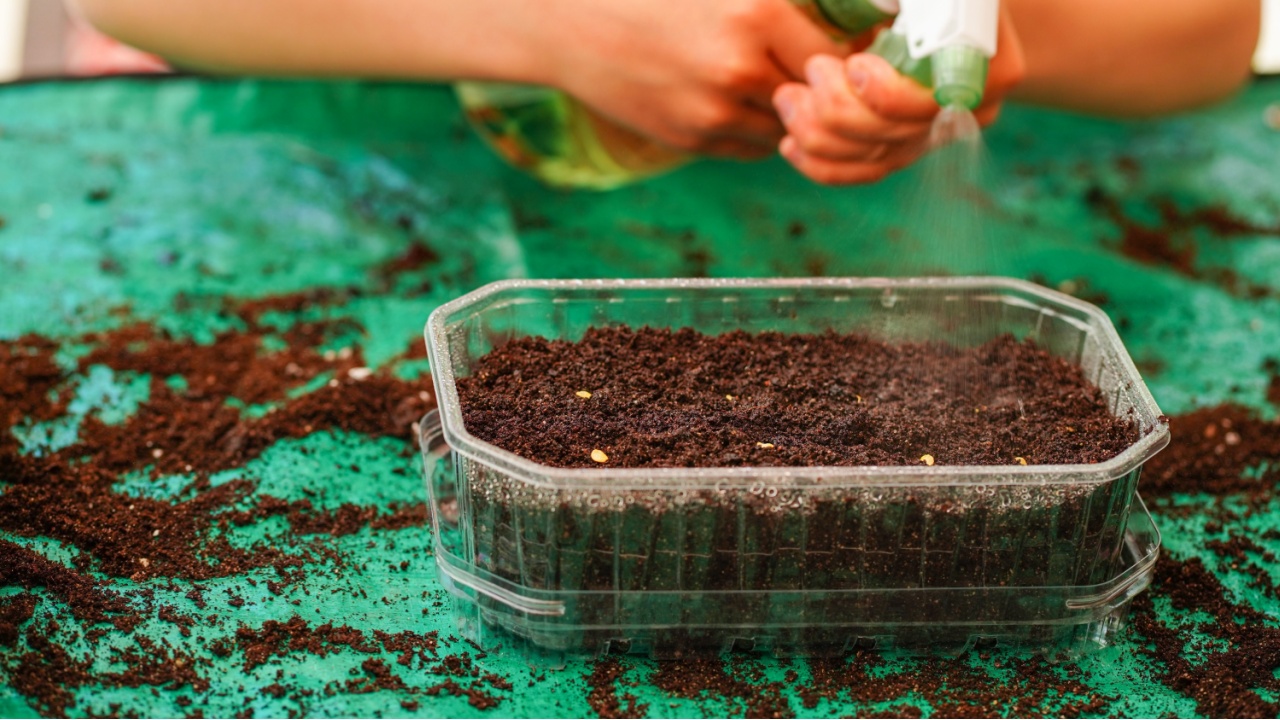
Image Credit: Shutterstock.
Seeds need a precise, consistent level of moisture to trigger germination. Think “damp,” not “soggy.” Too much water suffocates the seeds by filling in all the air pockets in the soil, depriving them of the oxygen needed for metabolic processes.
Overwatering also creates a breeding ground for fungal diseases like “damping off,” which causes young seedlings to rot at the soil line. Conversely, if the soil dries out completely, even for a short time, it can halt the germination process entirely or kill a newly emerged sprout.
To achieve a perfect balance, try one of these two methods:
- Bottom watering: Place your starter trays or pots in a shallow dish of water for 30-60 minutes. This allows the soil to draw up the precise amount of moisture it needs through capillary action, preventing overwatering.
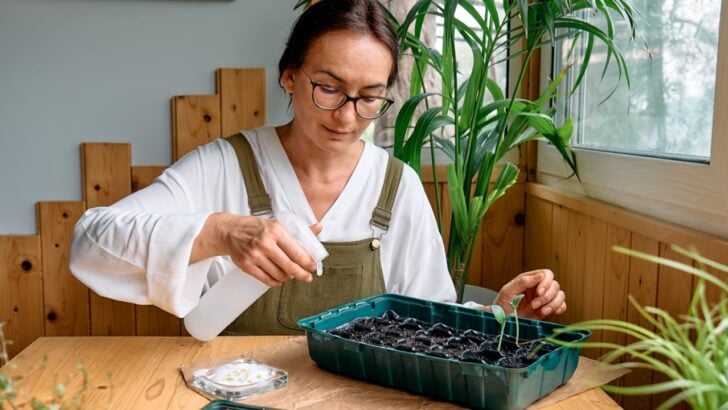
- Misting: Use a fine-mist spray bottle to gently moisten the soil surface daily. This technique provides a light, consistent layer of moisture without dislodging the seeds.
4. The Environment Lacks Sufficient Warmth
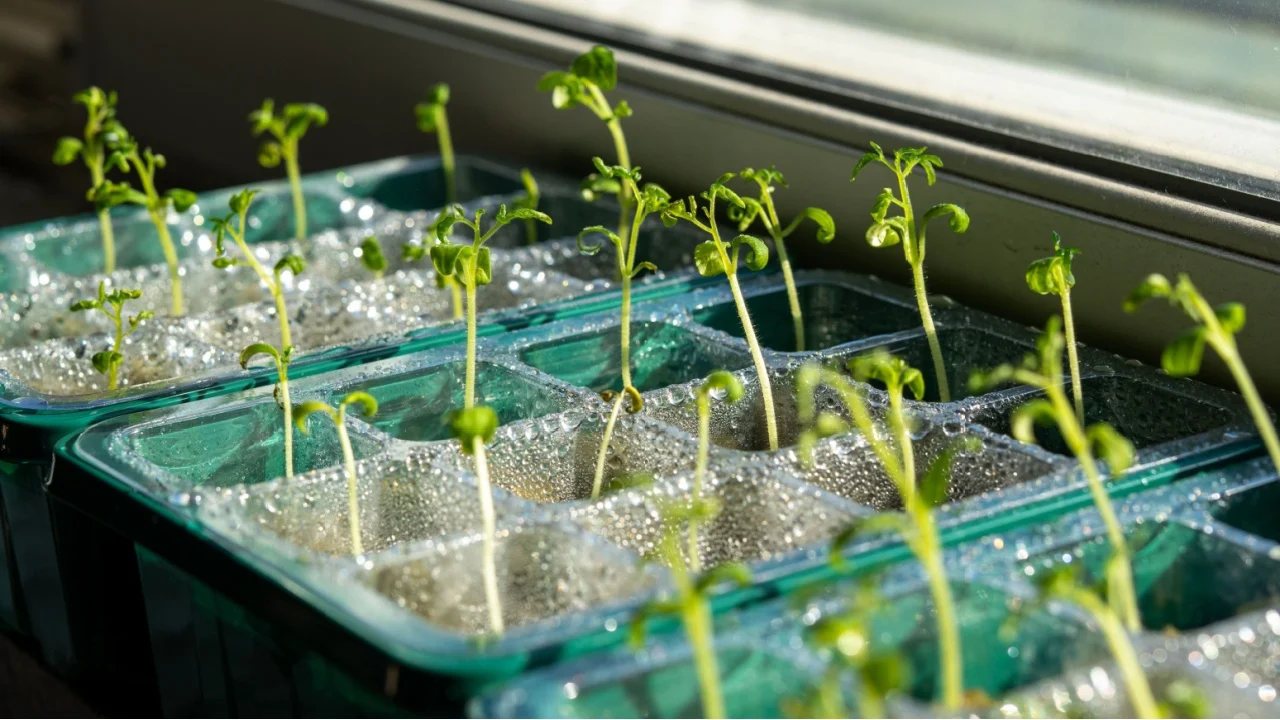
Image Credit: Shutterstock.
While light and water are critical, soil temperature is the final piece of the germination puzzle. Each seed variety has an optimal temperature range for sprouting. Cold dirt signals to the seeds that it’s still winter, telling them to stay dormant and delaying the sprouting process indefinitely.
Most summer vegetables, such as tomatoes, peppers, and cucumbers, germinate best in soil temperatures between 70-85°F (21-29°C). Cooler-season crops like spinach and lettuce can sprout in soil as cool as 50°F (10°C), but even they will germinate faster with a bit of warmth.
Quick tips:
- Use a warming mat: For indoor seed starting, place a specialized warming mat underneath your starter trays. These mats raise the soil temperature by about 10-20°F, creating the perfect conditions for germination.
- Remove the heat source: As soon as the first green shoots appear, remove the heat mat. This prevents the seedlings from growing too tall and thin (“leggy”).
5. The Potting Mix Isn’t Ideal
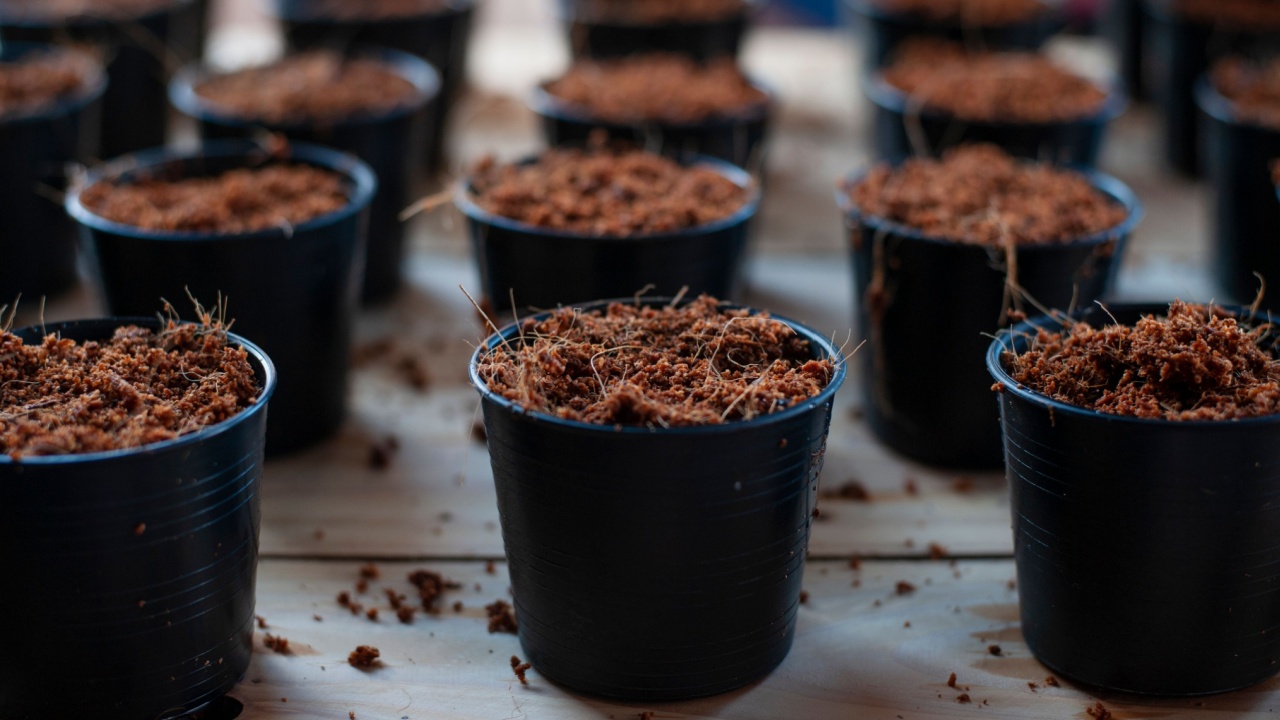
Image Credit: Shutterstock.
Not all soil is created equal. Using heavy, dense material like garden dirt or standard potting soil for starting seeds can be disastrous. These mixes compact easily, especially when wet, which can crush delicate new roots before they have a chance to establish.
Dense soil also suffers from poor drainage, leading to waterlogged conditions that promote root rot and other diseases that attack vulnerable plants.
How to fix it:
- Purchase a lightweight, sterile seed-starting mix. These are specifically formulated for new seedlings.
- Look for blends with ingredients like sphagnum peat moss, perlite, and vermiculite.
- These mixes provide a fine, airy texture that allows tiny roots to penetrate easily, retains moisture without becoming waterlogged, and drains excess water effectively.
6. The Seed Packets Expired
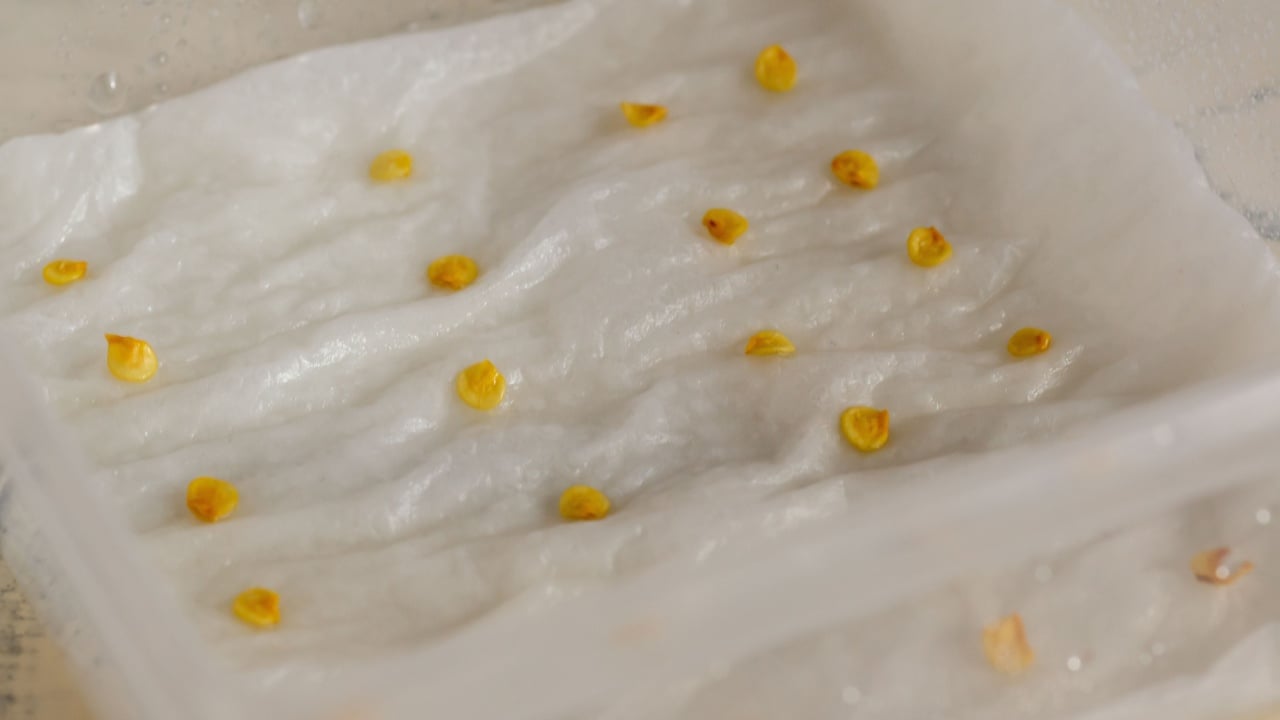
Image Credit: Shutterstock.
Like any living thing, seeds have a shelf life. The plant embryo inside each seed loses viability the longer it sits in storage. While some seeds can last for several years under ideal conditions, older batches will always suffer from drastically reduced germination rates.
A packet of onion seeds might have a 90% germination rate in its first year, but that could drop to less than 50% by year two.
Test old seeds before planting:
- Place ten seeds on a damp paper towel and fold it over.
- Seal the towel in a plastic bag and leave it in a warm spot for a week.
- If fewer than five seeds have sprouted, the packet’s viability is too low.
- It’s best to buy a fresh batch to ensure a successful garden.
7. The Light Exposure Is Wrong

Image Credit: Shutterstock.
Germination requirements can be surprisingly specific. While many seeds aren’t picky, certain plants need either complete darkness or direct light to trigger the sprouting process. This is a survival mechanism. Light-dependent seeds, often very small ones like lettuce, dill, and snapdragons, need a signal that they are close to the surface and won’t waste energy trying to grow through too much soil. Planting them even a quarter-inch deep can guarantee failure.
Conversely, some seeds contain hormones that are broken down by light, which inhibits germination. Always research the specific light requirements for your chosen plants. You can usually find this information on the seed packet or with a quick online search.
Quick tips:
- For seeds that need light to germinate, press them gently onto the soil’s surface.
- For seeds that need darkness, make sure they are buried at the recommended depth.
8. The Seed Coats Are Too Hard
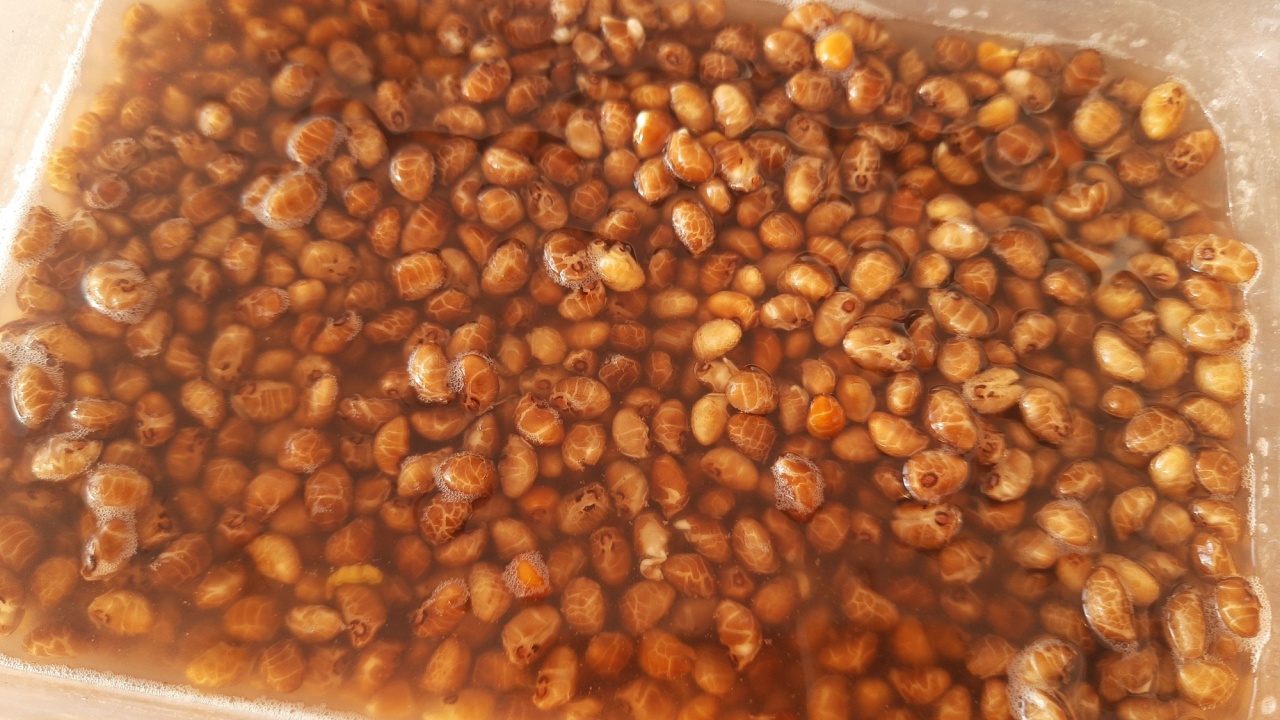
Image Credit: Shutterstock.
Nature has equipped some seeds, like those of nasturtiums, morning glories, spinach, and beets, with a tough, impermeable outer shell. This natural armor protects the embryo from harsh environmental conditions, allowing it to survive until the perfect growing conditions arise.
However, this same protective layer can prevent water from penetrating the seed, which halts the germination process. To help these seeds germinate, you’ll need to scarify them. This just means weakening the tough outer shell.
Here’s how:
- Gently rub the seed coat with a piece of sandpaper.
- Use a nail file to carefully create a small nick in the outer layer.
- Place the seeds in warm water and let them soak overnight before planting.
- These methods soften the shell, allowing water to penetrate and trigger germination.
9. The Containers Trap Water
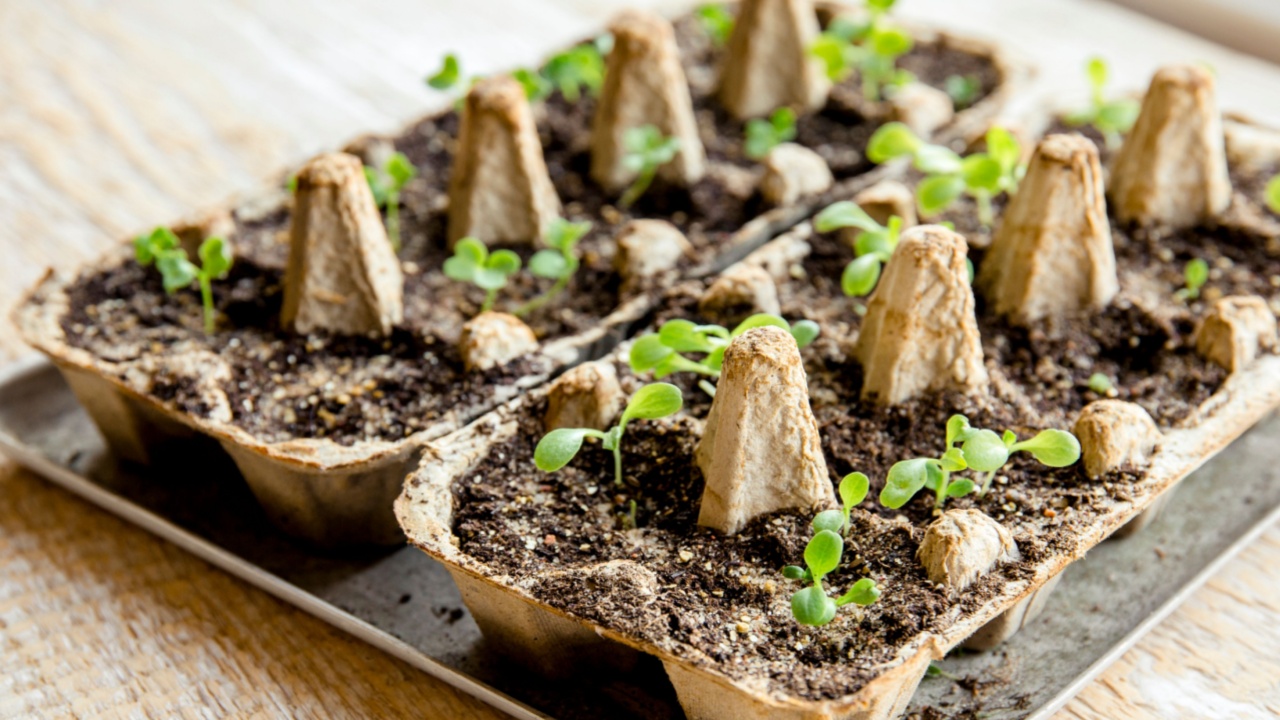
Image Credit: Shutterstock.
Proper drainage is non-negotiable for healthy seed starting. Using containers without drainage holes, such as yogurt cups or unpoked egg cartons, is a recipe for disaster. These pots quickly turn into muddy swamps, and stagnant water at the bottom deprives the soil of oxygen.
Without oxygen, seeds can’t perform the cellular respiration necessary for growth, and they will eventually rot.
The Fix:
- Make sure your pots have proper drainage.
- If you’re upcycling plastic containers like yogurt cups, poke several holes in the bottom before planting.
- Opt for nursery trays or biodegradable peat pots, which are designed with optimal drainage in mind.
- Good drainage ensures the soil stays moist but not waterlogged, creating the perfect environment for your seeds.
10. The Fertilizer Burned the Embryos

Image Credit: Shutterstock.
It’s tempting to want to give your seeds a nutritional boost, but adding fertilizer to starter trays does far more harm than good. Seeds are perfectly self-contained units; they carry their own built-in food supply (the endosperm) to fuel the initial germination and sprouting process.
The salts and chemicals in fertilizers are far too potent for their sensitive, newly-formed tissues and can easily cause “fertilizer burn,” which damages or kills the embryo.
The Fix:
- Wait to fertilize: Don’t add any fertilizer until your seedlings have their second set of “true leaves.”
- Water only: Use only plain, clean water during the germination phase to protect the delicate new roots from chemical burn.
11. Pests Ate the Goods

Image Credit: Shutterstock.
If you’re starting seeds outdoors, you’ve essentially set out a buffet for local wildlife. Outdoor starter trays attract birds, mice, squirrels, and insects that see your carefully planted seeds as an easy and delicious snack.
These critters can dig up freshly planted beds overnight, leaving you with nothing but empty patches of dirt and a lot of frustration. Slugs and snails are also notorious for mowing down newly emerged sprouts.
The Fix:
- Cover outdoor trays with fine-gauge netting, a plastic dome, or a cold frame.
- Start seeds indoors in a controlled environment.
- Move sprouts outside once they’re more established and less appealing to pests.
12. The Storage Methods Caused Damage
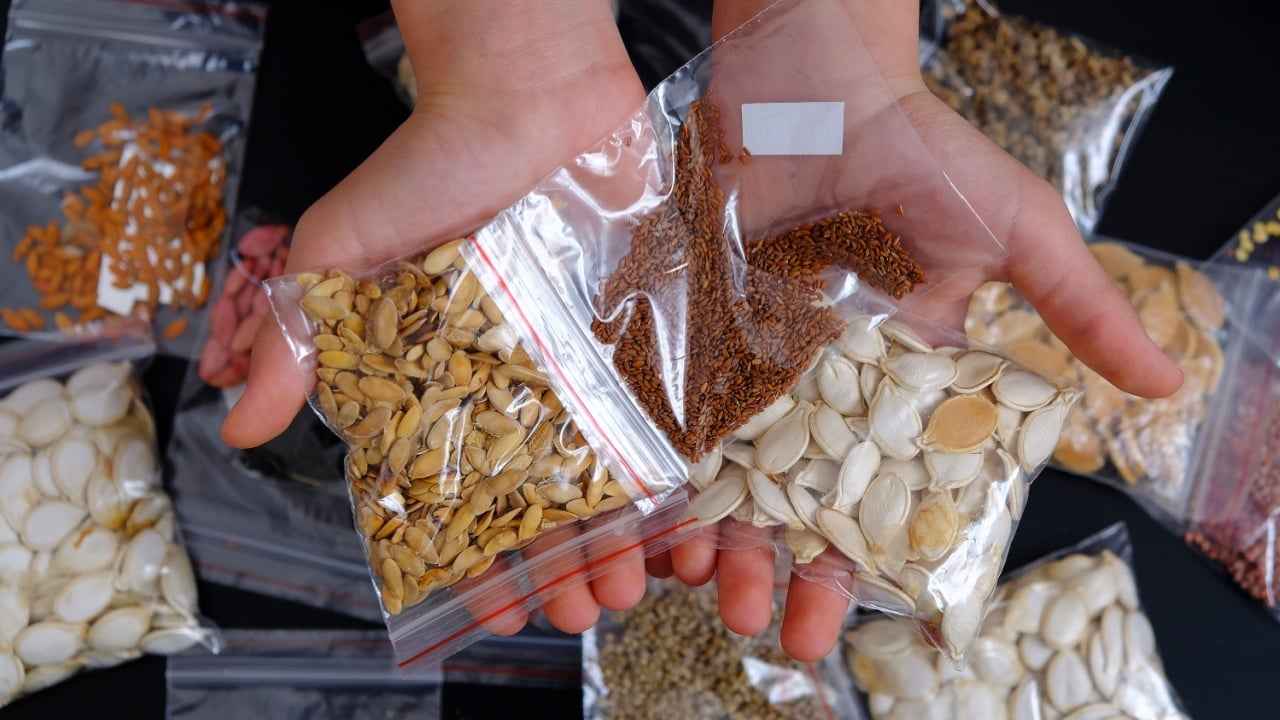
Image Credit: Shutterstock.
How you store your seeds between seasons is just as important as how you plant them. Leaving unused seed packets in a hot shed, a humid garage, or a sunny windowsill can destroy their viability.
Extreme temperature fluctuations, high humidity, and direct sunlight can either cook the delicate embryos or invite mold, rendering them entirely useless for the next growing season.
The Fix:
- Store unused seed packets in an airtight container (like a glass jar or sealed plastic bag).
- Keep the container in a cool, dark, and dry place, such as a refrigerator or a basement closet.
- Proper storage can preserve seed vitality for several years, saving you money on replacements.
From Seedling Struggles to Garden Success
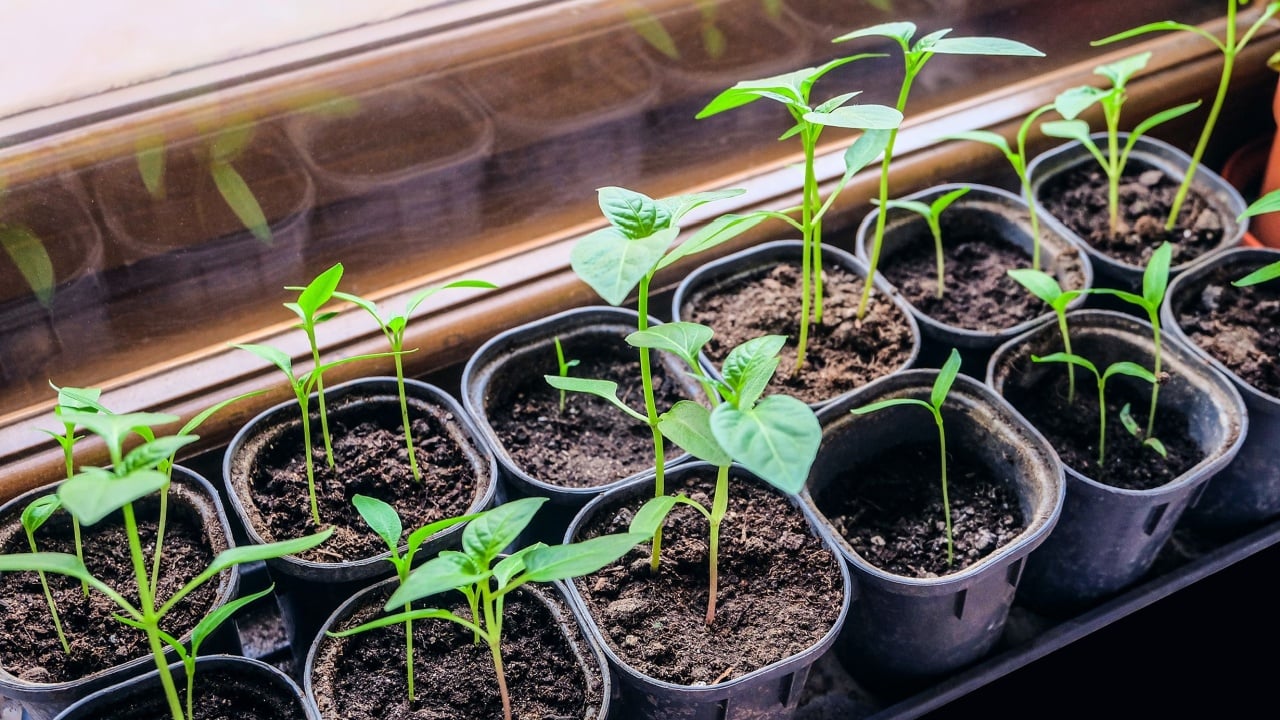
Image Credit: Shutterstock.
Navigating the early stages of gardening requires attention to environmental details, but identifying the problem early can save the harvest. Making quick adjustments to moisture, temperature, and soil conditions brings life to dormant trays and sets the stage for a bountiful garden.
Read More: