There’s nothing worse than wrapping yourself in a blanket, turning the heater on, and still feeling a cold breeze sneaking in through your window. But the good news is that you don’t always need expensive upgrades or brand-new windows to beat the draft. With a little DIY spirit (and maybe a cold-weather playlist), you can patch up most of those heat leaks using cheap, quick fixes.
Sealing your windows makes home life more comfortable; it also saves energy, reduces heating bills, and makes those winter months a bit more bearable. Here’s how you can seal a window that loses heat.
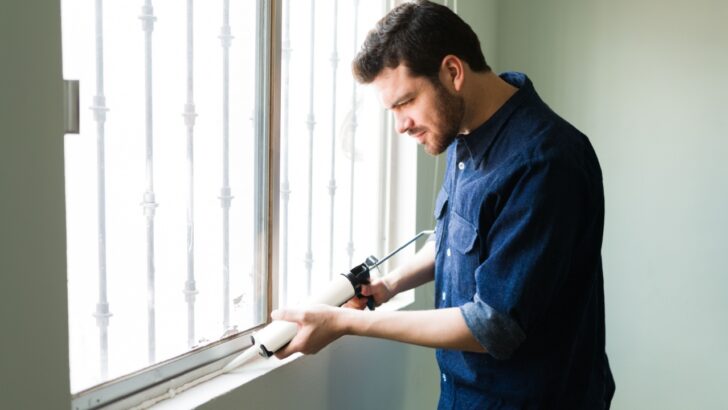
1. Caulking the Window Frame

Image Credit: Deposit Photos.
Caulk is one of the most basic yet powerful tools in your draft-proofing kit. Tiny cracks and gaps often pop up where the window frame meets the wall or sash. The original caulk can shrink, crack, or peel, creating little escape routes for warm air (and entry routes for cold air).
Caulking is inexpensive, fairly permanent (not seasonal), and works for small to medium gaps. It’s also low-effort, just squeeze, smooth it out (a finger or putty knife works), and let it dry.
2. Adding Weather-Stripping Around Sashes & Frames
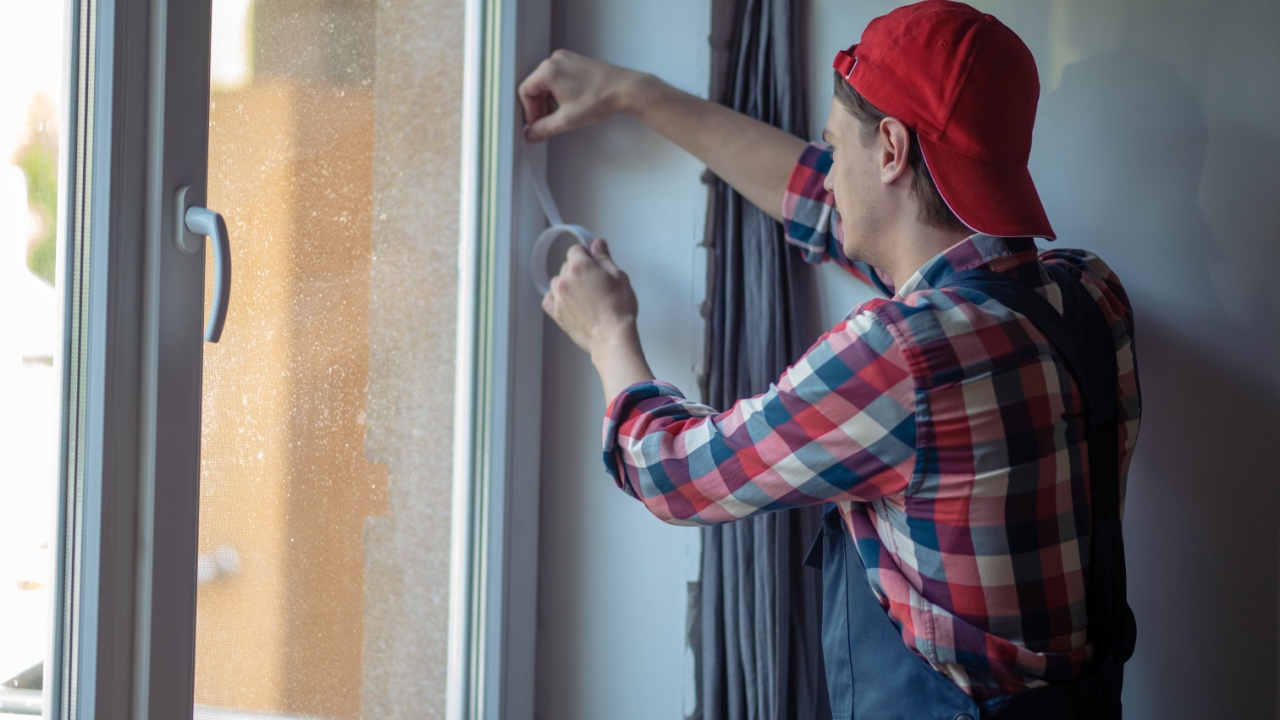
Image Credit: Shutterstock.
If your windows open (sliding, double-hung, casement, whatever), then weather-stripping is a go-to. Weather-stripping comes in various forms like foam tape, vinyl or rubber gaskets, felt strips, and V-shaped (tension) seals.
It’s DIY-friendly and very effective for older windows whose original seals have worn down. And unlike caulk, you can remove or replace weather-stripping if needed. It is handy if you want a temporary fix or expect to redo it every few years.
3. Using Plastic Window-Insulation Film

Image Credit: Shutterstock.
For an almost-invisible layer of insulation over your window glass, plastic insulation film is a clever and cheap option. Kits usually come with a clear film and double-sided tape. You stick the tape around the frame, press the film over it, then use a hair-dryer (on low heat) to shrink the film, making it taut and airtight.
It’s cheap, doesn’t require permanent installation, and works especially well if you have single-pane windows that let a lot of heat escape. Since the film is nearly transparent, you don’t lose too much natural light.
4. Bubble Wrap

Image Credit: Shutterstock.
If you’re after ultra-budget insulation, bubble wrap can be a surprisingly effective stopgap. Press bubble wrap against the window glass (bubble side facing interior) and use water or tape to stick.
The air pockets act as a buffer, reducing heat transmission through the glass that becomes sort of a very rough “double glazing.” It’s affordable, reusable, and especially good for windows you don’t need to see out of (like basement or storage-area windows). Also easy to remove when the weather warms up again.
5. Use Advanced Insulating Film or Polymer-Air Multilayer Retrofits
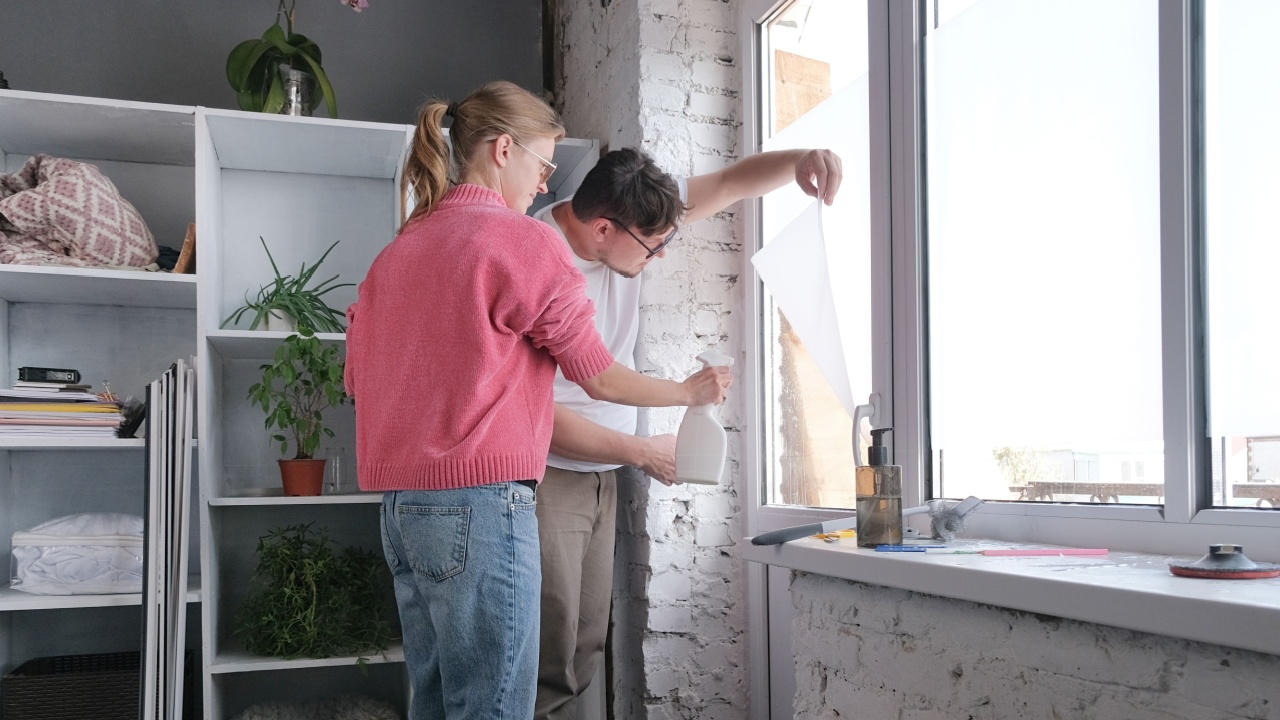
Image Credit: Shutterstock.
These films are designed to lower a window’s “U-factor” (a measure of heat loss) significantly, making even single-pane glass behave more like insulated modern windows. For a home where you want a long-term, energy-efficient improvement, such retrofits may be an excellent investment.
It’s cost-effective (much cheaper than full double-pane replacement), improves insulation dramatically, and can keep natural light while reducing heat loss. This is a relatively new solution, but the results are promising.
Warmth That Lasts

Image Credit: Shutterstock.
Sealing a window that’s losing heat doesn’t need to be expensive or permanent to make a big difference. With simple and affordable options like above, you can turn a drafty, chilly nook into a warm, inviting space without breaking the bank.
Pick a window (or two) that bothers you most, grab some basic tools (caulk, foam tape, film kit), and treat it like a small DIY project. It might take an afternoon, but once you see (and feel) that cold draft gone, you’ll know it was worth it. And your cozy home will thank you for it.