As the vibrant colors of summer fade, a different kind of treasure appears in our backyards: fallen leaves. Many gardeners see this annual leaf drop as a chore, a messy blanket to be raked up and bagged for the curb. But what if you saw it as a gift? Those leaves are the key ingredient for creating leaf mold, a rich, crumbly soil conditioner often called “gardener’s gold.”
This simple, natural process mimics the forest floor, turning waste into a powerful tool for building healthier, more resilient garden soil. We’ll walk you through everything you need to know, from gathering leaves to using the finished product to enrich your garden beds, container pots, and lawn.
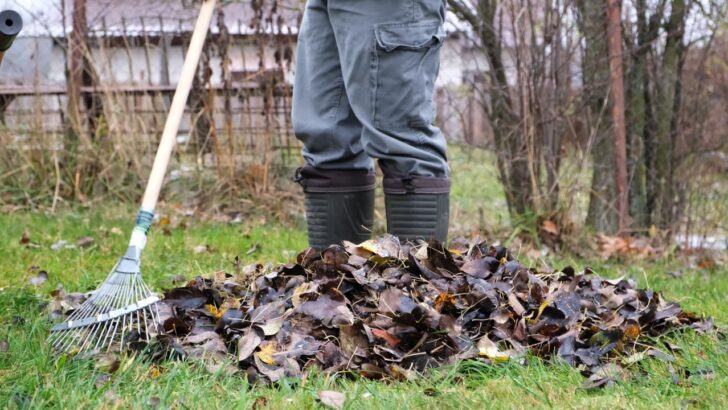
1. Collect Your Leaves
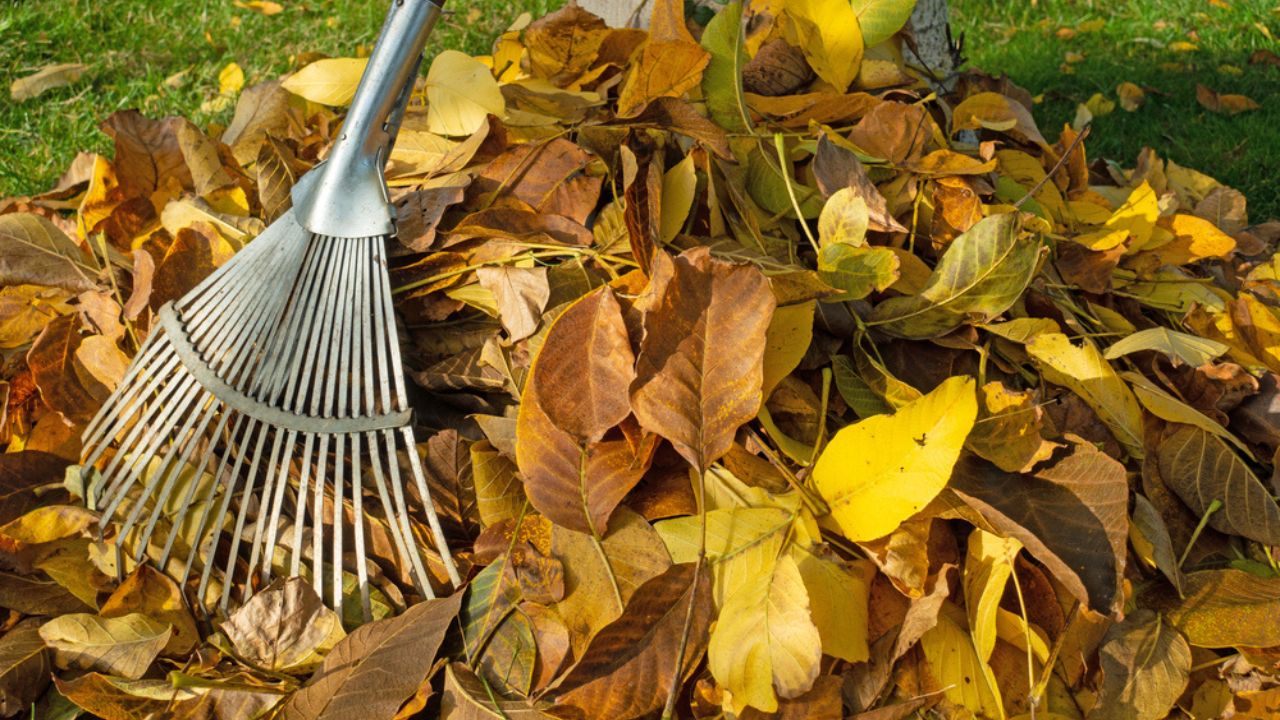
Image credit: Depositphotos.com.
The first step is gathering your raw materials. As deciduous trees shed their leaves in the fall, you have a ready supply of organic matter. If you don’t have many trees in your own yard, don’t be shy about asking neighbors if you can collect theirs. Many people are happy to have someone else do the raking! When collecting, consider a few factors that will influence how quickly your leaves break down.
- Leaf Size: Smaller, thinner leaves from trees like maple, birch, or dogwood decompose much faster than larger, tougher leaves like oak or sycamore.
- Leaf Type: A mix of different leaf types creates a more balanced and biologically diverse leaf mold. Be cautious with leaves from trees like black walnut, which contain a natural herbicide called juglone. While composting will break down juglone, it’s best to let these leaves decompose in a separate, dedicated pile for at least a few months before adding the resulting mold to your garden.
- Leaf Age: Freshly fallen leaves have more nitrogen, while older, brown leaves are higher in carbon. A good mix of both creates an ideal environment for the fungi and bacteria that will do the decomposition work for you.
To speed up the process, run your lawnmower over the leaf piles to shred them into smaller pieces. Shredded leaves have more surface area, allowing microorganisms to break them down much more quickly.
Quick Guide: Collecting Leaves
- What to Collect: A variety of leaves from different deciduous trees.
- What to Shred: All leaves, especially larger ones like oak, to speed up decomposition.
- What to Isolate: Leaves from black walnut or hickory trees should be composted separately for several months.
- Pro-Tip: Aim for a mix of freshly fallen (green/yellow) and older (brown) leaves for a balanced carbon-to-nitrogen ratio.
2. Choose Your Composting Method
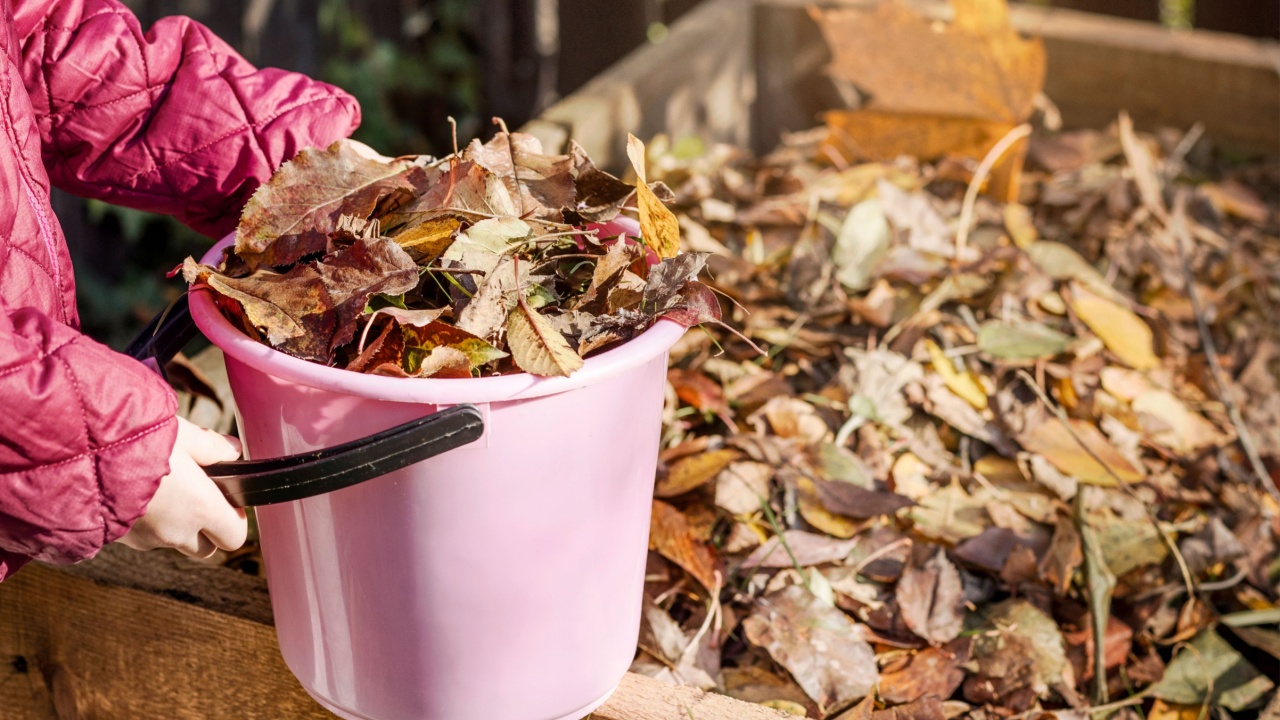
Image Credit: Shutterstock.com.
Once you have your leaves, you need to decide how you want to turn them into leaf mold. This can be as simple as making a pile or as structured as using a dedicated bin. The method you choose depends on the space you have and how quickly you want your finished product.
The Simple Pile Method (Slow)
This is the easiest and most hands-off approach. Simply pile your leaves in an out-of-the-way corner of your yard. For best results, the pile should be at least three feet wide and three feet tall to retain moisture and build a small amount of internal heat. This method relies on a slow, cool decomposition driven primarily by fungi. It requires little effort beyond occasionally turning the pile with a garden fork to introduce air and mixing layers if some parts are too dry or wet. This slow breakdown creates a fantastic habitat for beneficial insects and microorganisms.
The Bag Method (Fast)
If you’re short on space or want leaf mold more quickly, the bag method is an excellent choice. Pack shredded, damp leaves into large, sturdy trash bags. To keep the leaves moist, add a bit of water so they feel like a wrung-out sponge, but not so much that they are dripping wet. Poke several holes in the sides and bottom of the bags for aeration and drainage. Then, store the bags out of sight behind a shed or in a shady spot. The contained environment helps retain moisture and warmth, accelerating the decomposition process significantly.
The Bin Method (Contained & Tidy)
For a neater look, you can build or buy a dedicated bin. A simple enclosure made from wire fencing, wooden pallets, or concrete blocks works perfectly. The key is to ensure the bin is open to the soil below, which allows earthworms and beneficial soil microbes to migrate up into the pile and help with decomposition. A bin keeps your leaf pile contained and can make it easier to turn and manage. Like the simple pile, a larger volume (3×3 feet or more) will compost more efficiently.
Quick Guide: Choosing a Method
- Simple Pile: Best for large yards and those who aren’t in a hurry. Minimal effort required.
- Bag Method: Ideal for small spaces or for getting finished leaf mold in under a year.
- Bin Method: Great for keeping the yard tidy while still allowing natural processes to occur.
3. Keep Your Pile Moist
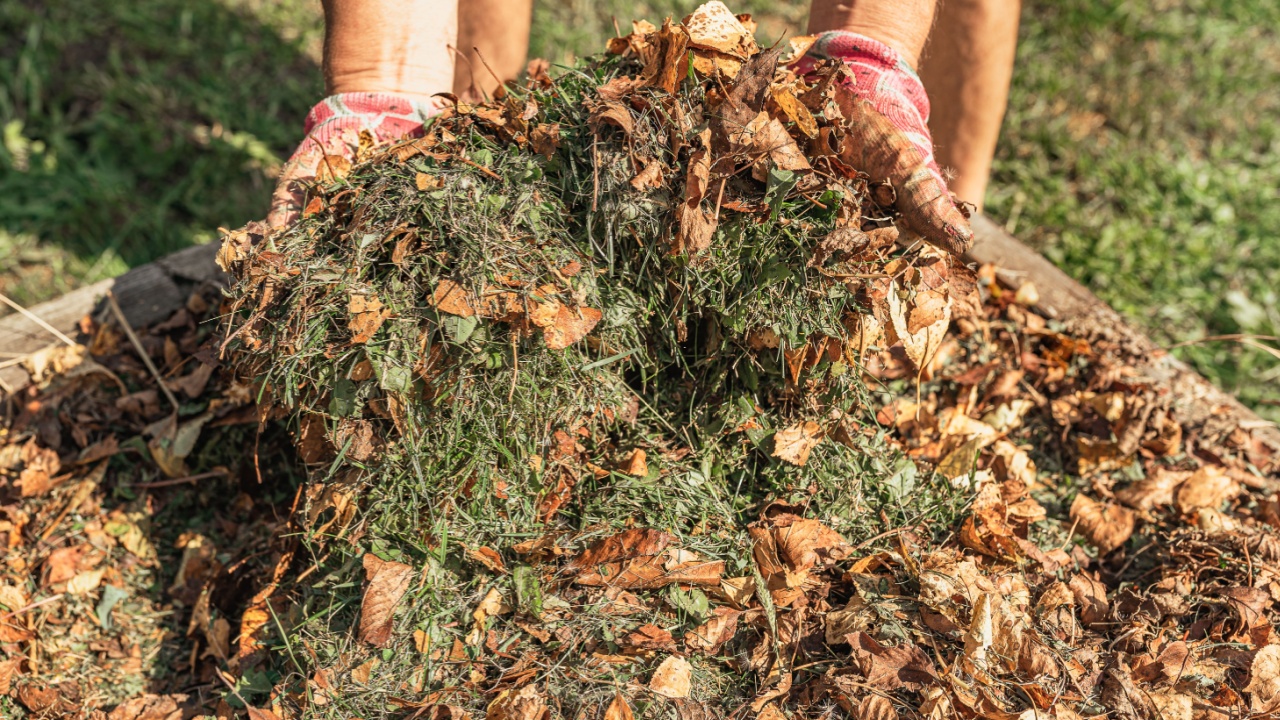
Image credit: Shutterstock.com.
Leaf mold is created through fungal decomposition, and fungi thrive in moist conditions. A dry leaf pile will sit unchanged for years. Your goal is to keep the leaves consistently damp, but not waterlogged.
If you are using the pile or bin method, check on it every few weeks, especially during dry weather. If the outer layers feel brittle, use a hose or watering can to give the pile a good soaking. Turning the pile before watering helps ensure the moisture is distributed evenly throughout. If you’ve had a lot of rain, you might need to turn the pile to aerate it and prevent it from becoming a slimy, anaerobic mess.
For leaves in bags, the moisture should be fairly self-sustaining. However, it’s a good idea to check on them every month or so. If they seem dry, open the bag and add a little water before tying it shut again.
Quick Guide: Moisture Management
- Goal: Keep leaves as damp as a wrung-out sponge.
- Piles/Bins: Water during dry spells. Turn the pile to distribute moisture.
- Bags: Check monthly and add water if the contents feel dry.
- Pro-Tip: Placing your leaf pile in a shady spot will help it retain moisture and prevent it from drying out too quickly.
4. Turn and Wait
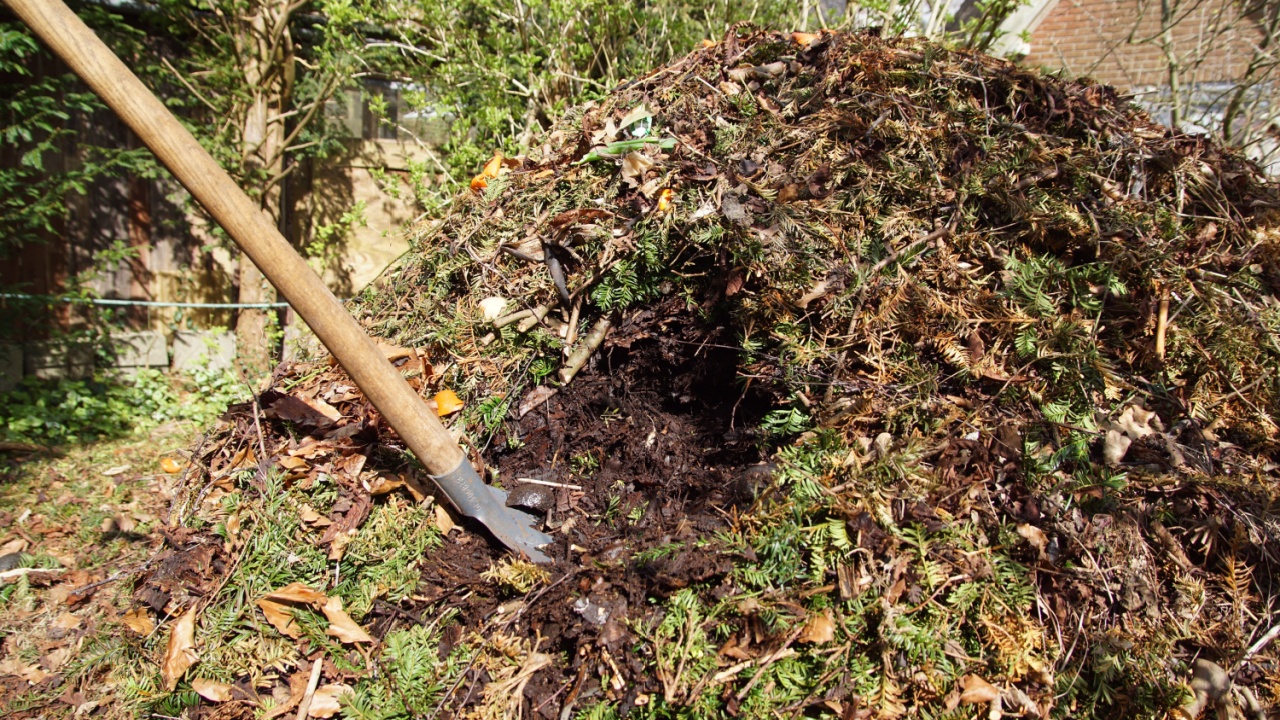
Image Credit: Shutterstock.com.
Patience is a key ingredient in making leaf mold. The decomposition process can take anywhere from six months to two years, depending on the type of leaves and the method you’re using. Shredded leaves in a managed bag or bin system may be ready in as little as six months. A large pile of unshredded oak leaves might take two years to fully break down.
Turning your pile every month or two will speed things up. This incorporates oxygen, which helps the microorganisms work more efficiently, and mixes the outer, drier layers into the moist center of the pile. Use a garden fork to move the material from the outside to the inside and from the top to the bottom.
You’ll know the leaf mold is ready when it is dark, soft, and crumbly with a pleasant, earthy smell. You shouldn’t be able to distinguish individual leaves, though you might find a few tougher stems or leaf parts that haven’t fully decomposed. These can be sifted out and thrown back into your new leaf pile.
Quick Guide: The Waiting Game
- Timeline: 6 months (shredded leaves in a bag) to 2 years (unshredded leaves in a pile).
- Action: Turn piles every 1-2 months to aerate and mix.
- Ready Signal: The material is dark brown or black, crumbly, and smells like a forest floor.
5. Use Leaf Mold as a Soil Conditioner
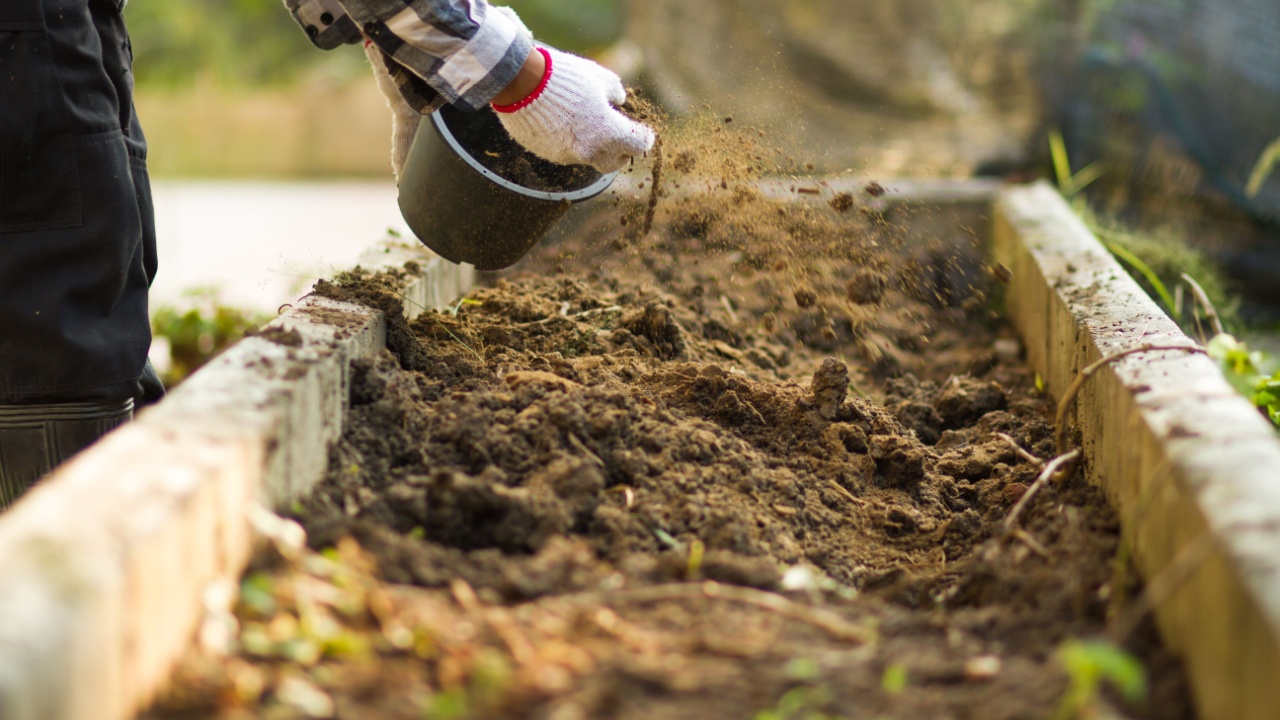
Image Credit: Shutterstock.
One of the best uses for finished leaf mold is as a soil conditioner. Its structure is phenomenal for improving both clay and sandy soils. Leaf mold can hold up to 500 percent of its own weight in water, so mixing it into your garden beds dramatically improves water retention, reducing your need to water. It also improves soil aeration and provides a welcoming home for earthworms and beneficial microbes.
To use it, spread a two- to three-inch layer of leaf mold over your garden beds in the spring or fall and gently work it into the top few inches of soil with a fork or tiller. It’s an excellent way to prepare new beds or refresh the soil in existing ones. You can also add a few handfuls to the planting hole when you’re transplanting vegetables, flowers, or shrubs to give them a great start.
Quick Guide: Conditioning Soil
- How: Spread a 2-3 inch layer on garden beds.
- When: In spring, before planting, or in fall after harvesting.
- Why: Improves water retention, aerates heavy soil, and adds life to sandy soil.
6. Apply Leaf Mold as a Mulch or Potting Mix Amendment

Image Credit: Shutterstock.
Beyond conditioning soil, leaf mold has several other fantastic uses in the garden. Its fine texture and moisture-retaining properties make it a superior mulch and an excellent addition to homemade potting mixes.
As Mulch
Apply a one- to two-inch layer of leaf mold around your plants, keeping it a couple of inches away from the stems to prevent rot. As a mulch, it helps suppress weeds, retain soil moisture, and keep the soil cool in the summer and insulated in the winter. As it continues to slowly break down, it will feed the soil and your plants with a steady supply of nutrients.
In Potting Mixes
Leaf mold is a sustainable, free alternative to peat moss in potting mixes. It provides the same moisture-retention and aeration benefits without the environmental concerns associated with harvesting peat. A great all-purpose potting mix can be made by combining one part leaf mold, one part garden compost, and one part coarse sand or perlite for drainage.
On Your Lawn
You don’t even need a pile to use the power of leaves. Instead of raking, simply mow over the leaves on your lawn. This shreds them into small pieces that will fall between the blades of grass and decompose in place, acting as a natural fertilizer that returns nutrients directly to the soil and feeds your turf.
Quick Guide: Other Uses
- Mulch: Apply a 1-2 inch layer around plants to retain moisture and suppress weeds.
- Potting Mix: Substitute for peat moss by mixing 1 part leaf mold, 1 part compost, and 1 part perlite/sand.
- Lawn Fertilizer: Mow over fallen leaves to shred them and feed your lawn naturally.
Tap Into This “Free” Gold in Your Garden
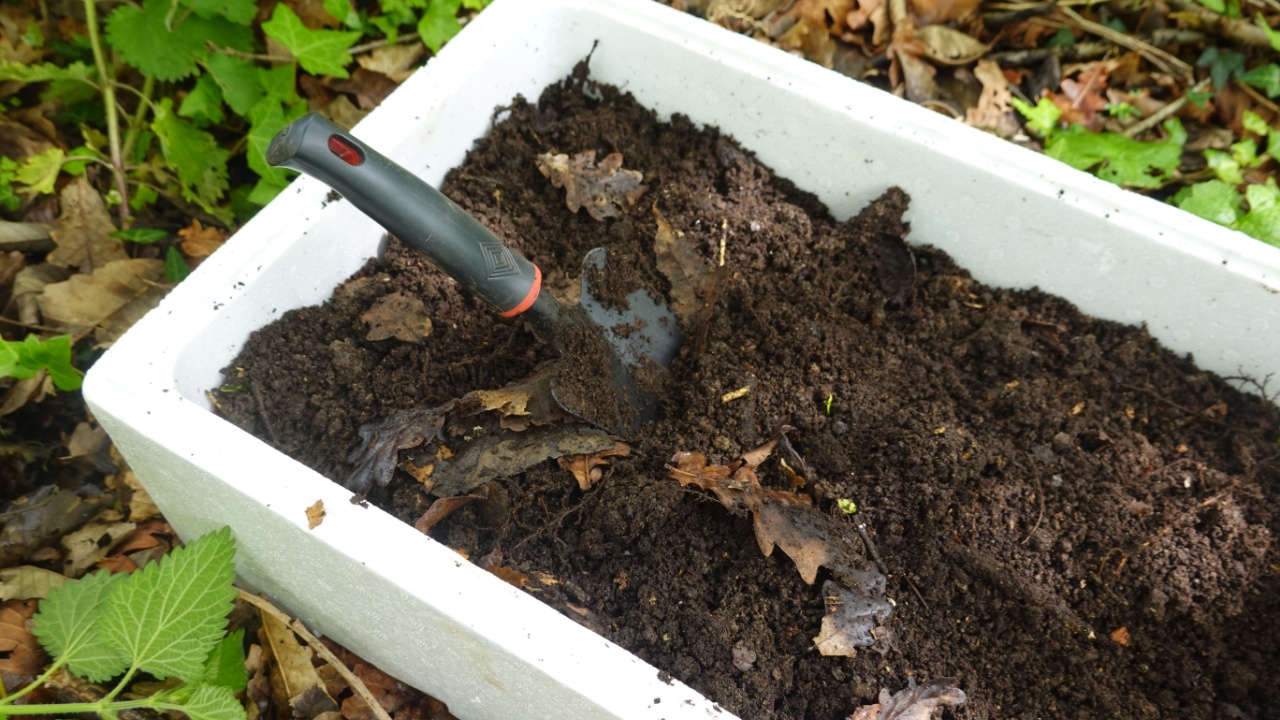
Image Credit: Shutterstock.com.
Now that you have a supply of rich, dark leaf mold, the possibilities are endless. Start by top-dressing your container plants with a fresh layer to help them retain water through the warmer months. Plan to incorporate a generous amount into your vegetable beds before you plant your spring or summer crops.
You can even brew a “leaf mold tea” by steeping a shovel-full in a bucket of water overnight, then using the liquid to give your seedlings a gentle nutrient boost. By embracing this simple, cyclical process, you’re not just getting rid of leaves; you’re actively building a more fertile and sustainable garden from the ground up.
