Have you ever looked at a pile of kitchen scraps and wondered if they could have a second life? Instead of tossing them into the compost or trash, you can transform many common food leftovers into thriving new plants.
Regrowing plants from scraps is a rewarding project that reduces waste, saves money on groceries and seeds, and brings a bit of green magic into your home. It’s a simple way to connect with your food and an amazing science experiment for gardeners of all ages. This guide will show you 15 easy ways to get started.
1. Regrow Green Onions for Endless Flavor

Image Credit: Shutterstock.
One of the easiest and most gratifying plants to regrow is the green onion. Within days, you can have fresh shoots ready to snip for your next meal. This method works because the white base of the onion contains the roots and the cells needed for new growth. All it needs is water and light to get started again. It’s a perfect project for beginners and anyone who loves having fresh garnishes on hand.
Start by cutting the green tops off your onions, leaving about an inch of the white bulb with the roots intact. Place these root-ends in a shallow glass or jar and add just enough water to cover the roots without submerging the entire cutting. Put the jar in a sunny spot, like a kitchen windowsill. You’ll see new green shoots emerge from the top in just a few days. Change the water every other day to keep it fresh and prevent mold. You can harvest the green tops as they grow or transfer the entire plant to a pot of soil for a more permanent, robust supply.
Quick Guide:
- What you need: Green onion bottoms with roots, a small jar, and water.
- Steps: Place roots in water in a sunny spot.
- Care: Change water every 2 days.
- Harvest: Snip green tops as needed, leaving the base to regrow.
2. Sprout an Avocado Pit into a Tree
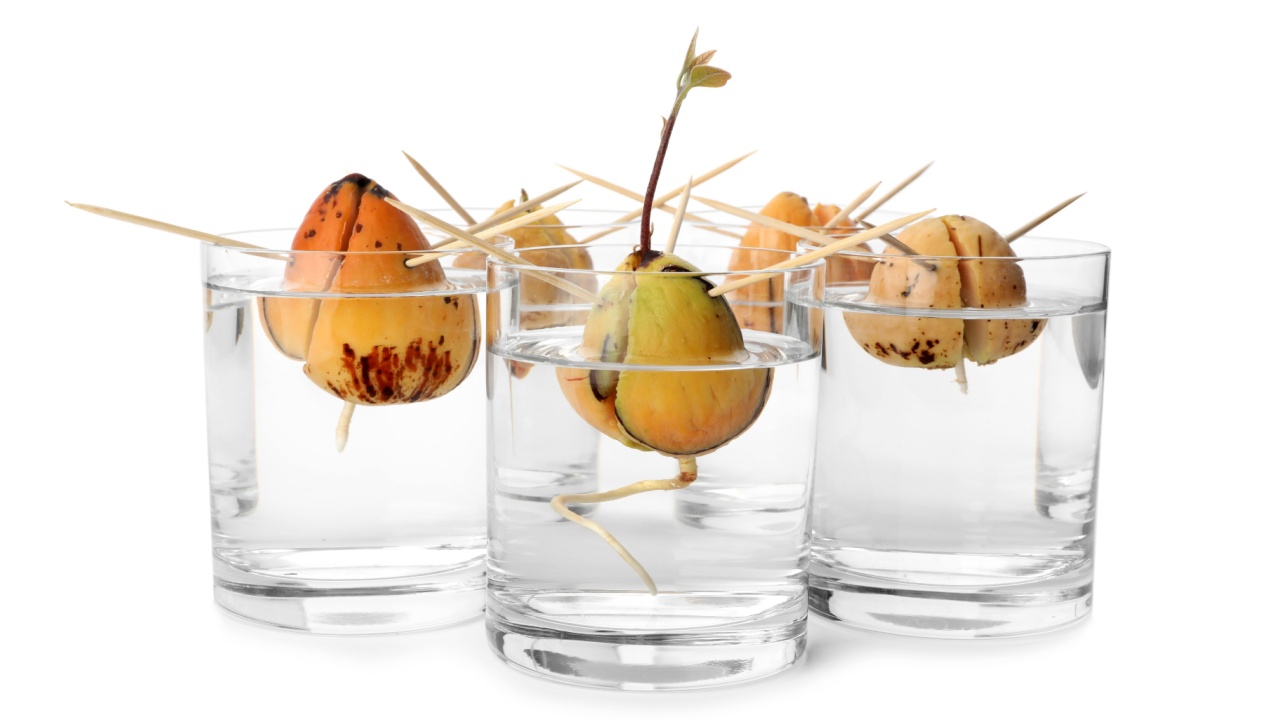
Image Credit: Shutterstock.
Growing an avocado tree from a pit is a classic kitchen gardening project. While it may take many years to produce fruit (if it ever does), the process yields a beautiful, leafy houseplant that serves as a proud reminder of your patience and care. This project is a fantastic long-term experiment that demonstrates the life cycle of a plant from a single seed. The large pit is easy to handle, making it a fun activity for kids and adults alike.
First, carefully remove and clean the pit from a ripe avocado, being sure not to cut it. Identify the top (slightly pointed end) and the bottom (flatter end). Suspend the pit over a glass of water by piercing it with three or four toothpicks around its middle. The bottom third of the pit should be submerged in water. Place the glass in a warm, sunny location and change the water weekly. In a few weeks to a couple of months, you’ll see a root emerge from the bottom and a sprout crack through the top. Once the stem is about six inches tall, you can plant it in a pot with well-draining soil.
Quick Guide:
- What you need: A pit, toothpicks, and a glass of water.
- Steps: Suspend the pit over water, bottom third submerged.
- Care: Keep in a warm, sunny spot and change water weekly.
- Next Steps: Plant in soil once the stem reaches 6 inches.
3. Create a Tropical Pineapple Plant

Image Credit: Shutterstock.
Don’t throw away the leafy top of your next pineapple! With a little effort, you can turn that crown into an exotic houseplant that might even produce a small pineapple in a few years. Growing a pineapple is a unique way to bring a tropical vibe to your home or garden. The spiky, architectural foliage makes it a stunning ornamental plant, and the possibility of growing your own fruit is an exciting bonus.
To start, twist the leafy crown off the top of a ripe pineapple. Remove a few of the lower leaves to expose about an inch of the stalk. Let the crown dry out for a couple of days to prevent rot. Then, place the base in a jar of water, ensuring only the stalk is submerged. Put it in a bright spot and change the water every few days. Roots should appear within a few weeks. Once a healthy root system has developed, plant the crown in a pot filled with a sandy, well-draining soil mix. Pineapples love sun and warmth, so give it the brightest spot you have.
Quick Guide:
- What you need: Pineapple crown, a jar of water.
- Steps: Twist off the crown, remove lower leaves, and place the base in water.
- Care: Let it root in a bright spot, changing water regularly.
- Next Steps: Plant in sandy soil once roots are established.
4. Revive a Celery Base
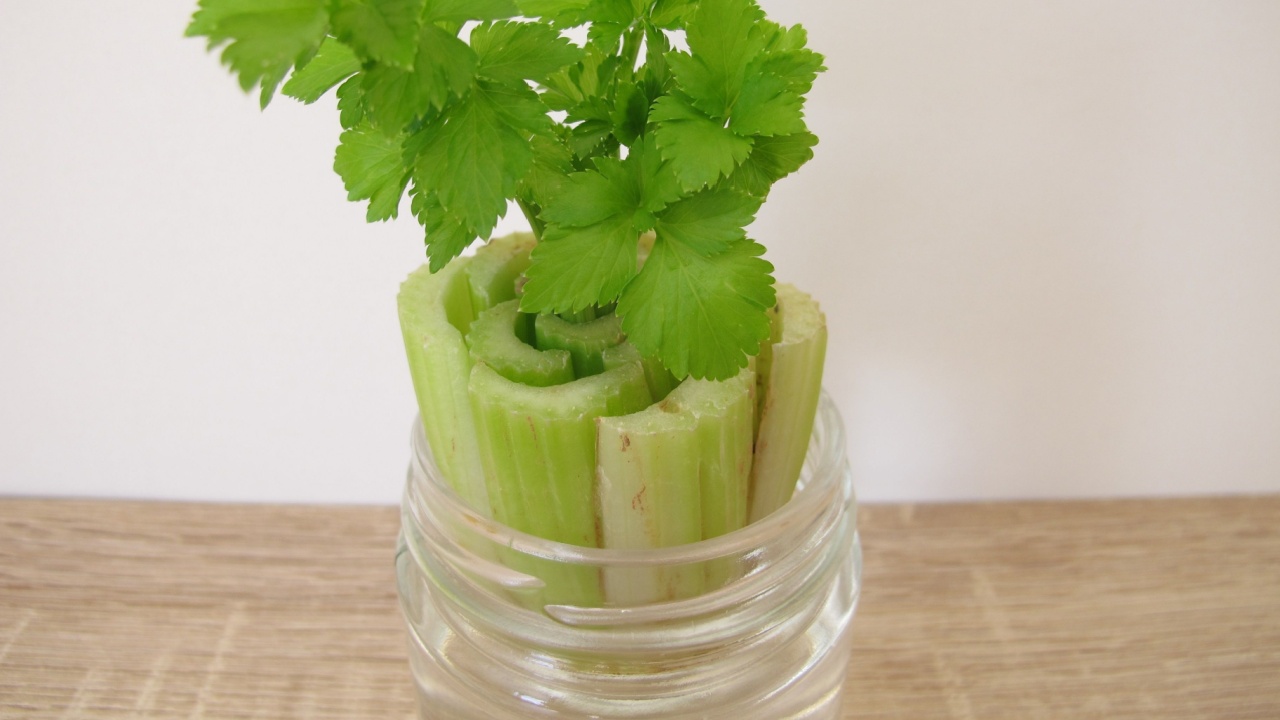
Image Credit: Shutterstock.
You can easily grow a new celery plant from the stump you would normally discard. This method yields fresh, leafy stalks from the center that are perfect for flavoring soups and stews.
This is an incredibly efficient way to reduce kitchen waste. While it won’t regrow a full grocery store-sized bunch, it provides a continuous supply of tender leaves and small stalks, which are packed with flavor. Cut off the base of a celery bunch, about two inches from the bottom. Place it cut-side-up in a shallow bowl or saucer with a little warm water, just enough to cover the bottom. Keep the bowl in a sunny spot and change the water every couple of days. You’ll notice new leaves and small stalks sprouting from the center in about a week. After it develops a good amount of new growth and small roots, you can transfer it to a pot with soil to continue growing into a larger plant.
Quick Guide:
- What you need: Celery base, shallow bowl, water.
- Steps: Place the base in a shallow dish of water.
- Care: Keep it in the sun and refresh the water every few days.
- Next Steps: Plant in soil once new growth is strong.
5. Grow Fresh Lettuce from a Stump
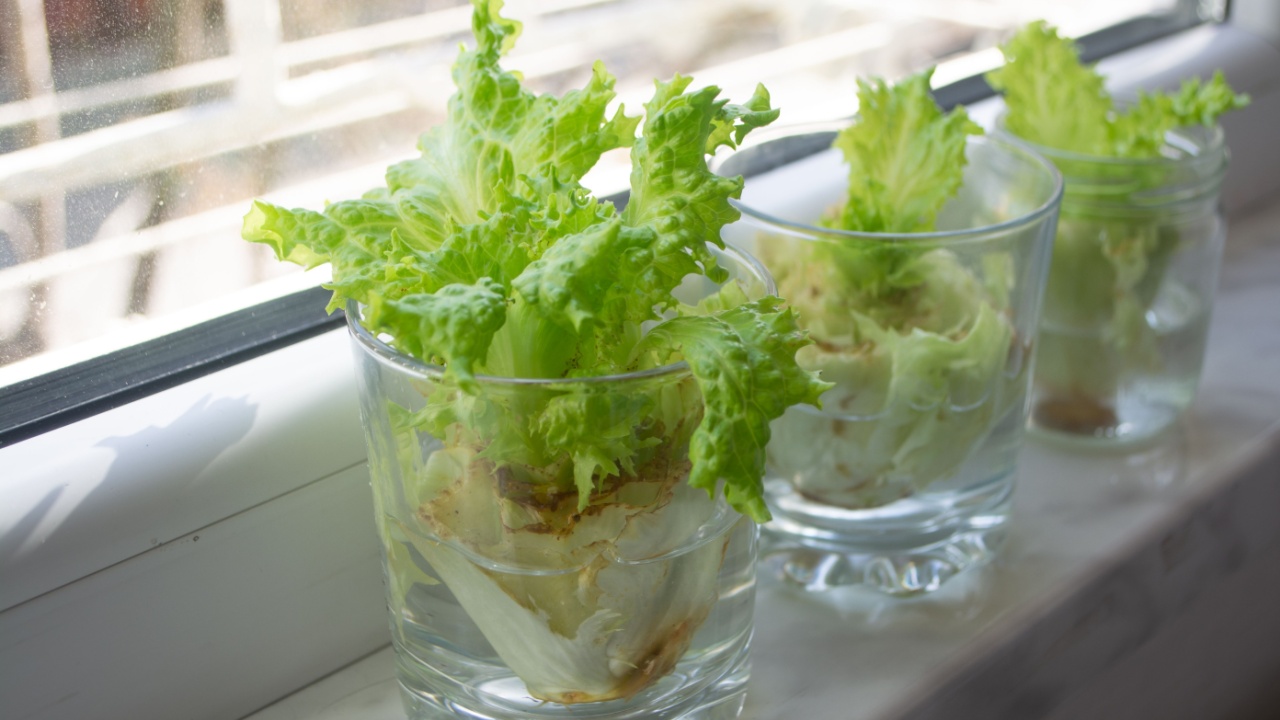
Image Credit: Shutterstock.
Similar to celery, you can regrow lettuce from its base. This works particularly well with romaine lettuce and other head-forming varieties, giving you a second harvest of fresh, crisp leaves.
This is a fast and rewarding way to get more value from your produce. In just a couple of weeks, you can have fresh leaves ready for a salad or sandwich, all from a part you would have thrown away. Cut the leaves off your head of lettuce, leaving about two inches of the base intact. Place this stump in a shallow dish with about a half-inch of water. Position it on a sunny windowsill. Replace the water every day or two to keep it fresh. New leaves will begin to sprout from the center within days. You can harvest these new leaves directly or plant the stump in soil for a slightly longer-lasting plant.
Quick Guide:
- What you need: Lettuce stump (romaine works best), shallow dish, water.
- Steps: Place the stump in a bit of water in a sunny location.
- Care: Change the water daily.
- Harvest: Snip new leaves as they reach a usable size.
6. Cultivate Edible Carrot Greens
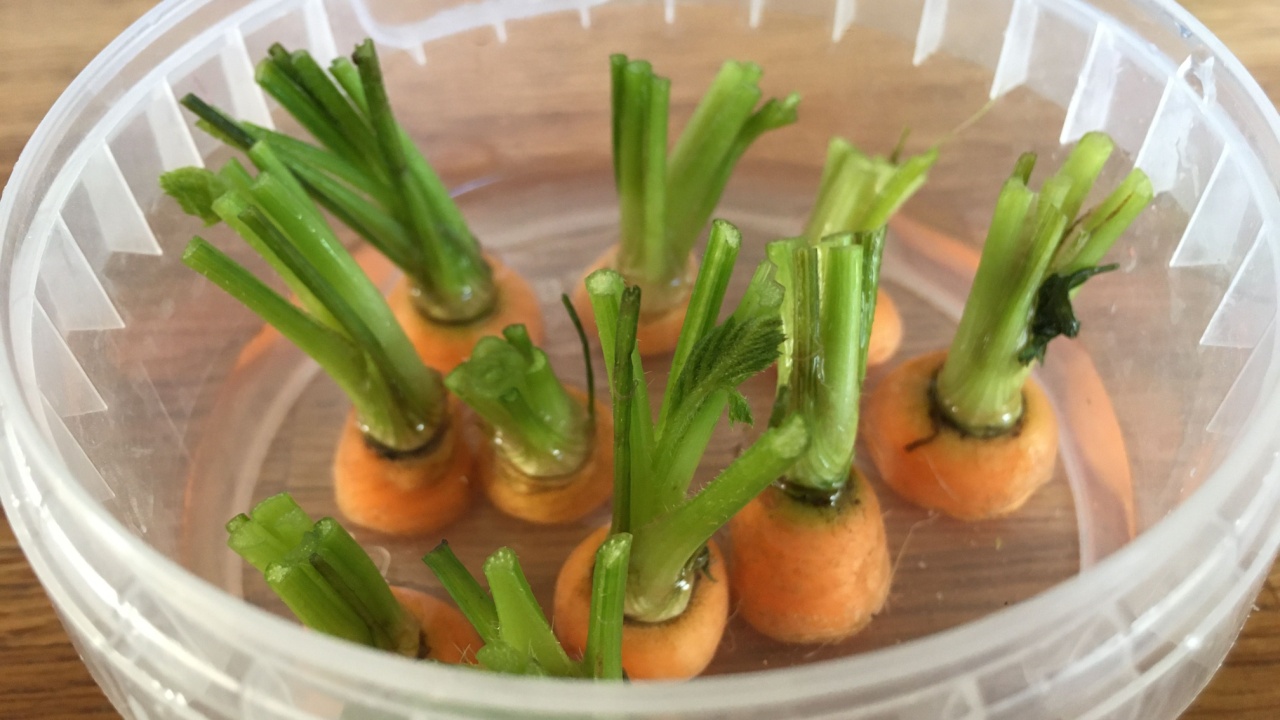
Image Credit: Shutterstock.
While you can’t regrow a new carrot root from a carrot top, you can grow the leafy greens. These feathery tops have a pleasant, earthy flavor and are a nutritious addition to salads, pestos, or garnishes.
This project is a great way to use the entire vegetable and discover a new ingredient. Carrot greens are often discarded, but they are perfectly edible and packed with vitamins. Cut the top inch off any carrot. Place it cut-side-down in a shallow dish of water. Find a bright spot for it and watch for new green shoots to appear from the top. Keep the water level consistent. The greens will grow quickly and can be snipped off as needed. This is a simple and decorative way to add some greenery to your kitchen.
Quick Guide:
- What you need: Carrot tops, a shallow dish, and water.
- Steps: Place carrot tops in water.
- Care: Keep in a bright spot and maintain the water level.
- Use: Harvest the leafy greens for salads or pesto.
7. Propagate Basil from a Stem

Image Credit: Collins Unlimited / Shutterstock.com.
Never run out of fresh basil again. You can easily create a new basil plant from a cutting taken from a bunch you bought at the store. This method, called propagation, is a fantastic way to multiply your herb garden for free. Basil roots easily in water, making it one of the most reliable herbs to regrow.
Take a four-inch cutting from a healthy basil stem, right below a leaf node (where leaves emerge). Remove the leaves from the bottom two inches of the stem. Place the cutting in a glass of water, making sure the remaining leaves are above the water line. Put the glass in a bright spot, but out of direct, intense sunlight. Change the water every few days. In about two weeks, you should see roots forming. Once the roots are an inch or two long, you can plant your new basil in a pot of soil.
Quick Guide:
- What you need: A 4-inch basil stem, a glass of water.
- Steps: Place the leafless bottom of the stem in water.
- Care: Keep in bright, indirect light and change the water regularly.
- Next Steps: Plant in soil once roots are 1-2 inches long.
8. Plant a Garlic Clove
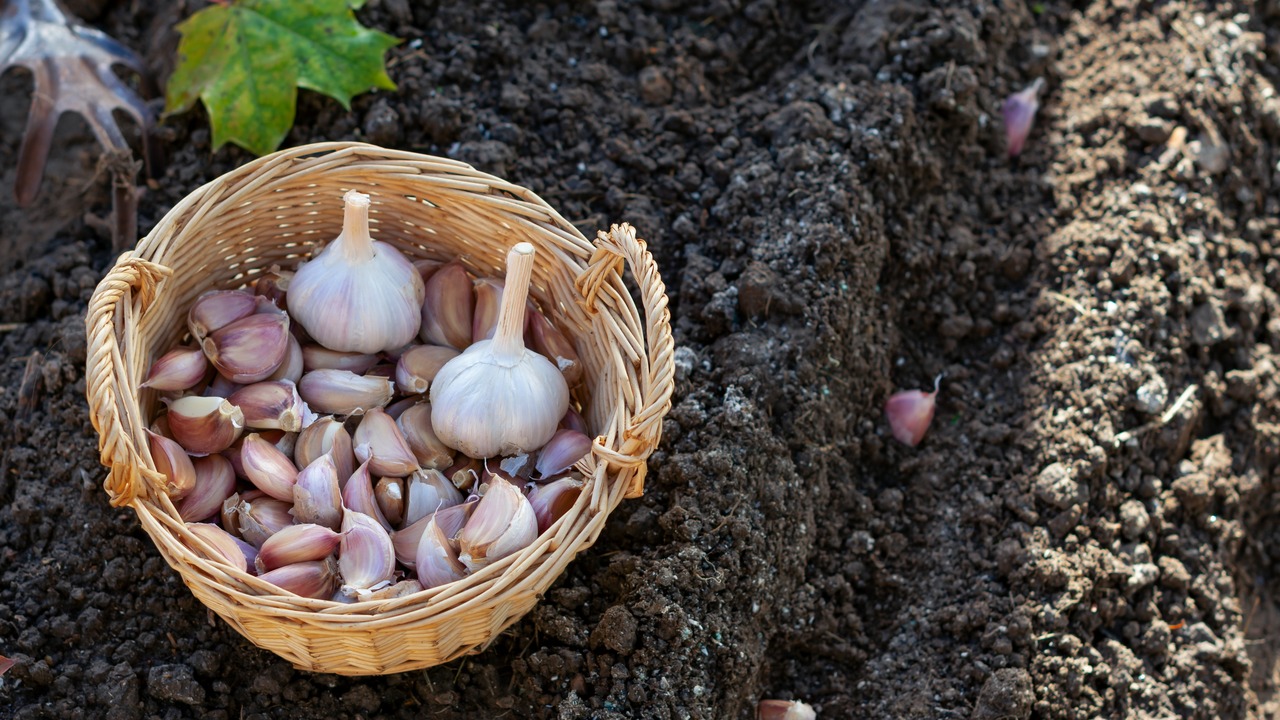
Image Credit: Shutterstock.
If you have a garlic clove that has started to sprout, don’t toss it. You can plant it to grow a whole new bulb of garlic, or you can harvest the green shoots, known as garlic scapes, which have a mild, delicious garlic flavor.
This is a simple way to grow your own garlic with minimal effort. It’s a great space-saver, as you can grow it in a small pot on your patio or windowsill. Take a single clove from a garlic head and plant it about two inches deep in a pot filled with well-draining soil. Make sure the pointy end is facing up. Water it well and place the pot in a sunny location. Green shoots will emerge in a few weeks. You can snip these shoots to use in cooking. To grow a full new bulb, leave the plant to grow for several months until the tops begin to yellow and fall over.
Quick Guide:
- What you need: A sprouting garlic clove, a pot, and soil.
- Steps: Plant the clove 2 inches deep, pointy-end up.
- Care: Water regularly and provide plenty of sun.
- Harvest: Snip green shoots or wait several months for a new bulb.
9. Grow a Sweet Potato Vine
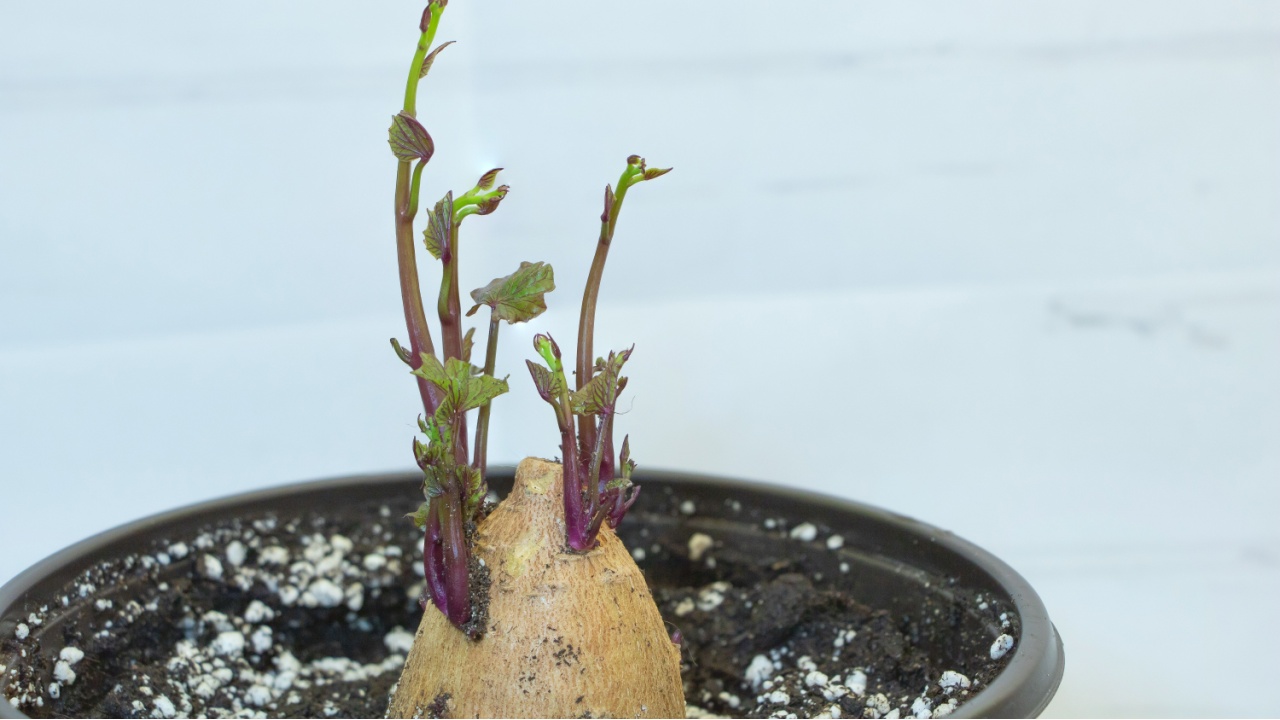
Image Credit: Shutterstock.
A sweet potato can be coaxed into producing a stunning, ornamental vine that can be grown as a houseplant or planted outdoors in the summer. This is a fun and decorative project that yields quick, beautiful results. The lush, heart-shaped leaves can trail from a hanging basket or climb up a small trellis, adding a touch of green to any space.
Take a healthy sweet potato and look for any small buds or “eyes.” You can either cut the potato in half or use it whole. Suspend it in a jar of water using toothpicks, just like with an avocado pit. The bottom half should be in water. Place it in a warm, sunny area. In a few weeks, roots will grow into the water, and leafy sprouts, called “slips,” will grow from the top. You can let the vine grow in the water or twist off the slips once they are a few inches long and plant them in soil.
Quick Guide:
- What you need: A sweet potato, toothpicks, jar of water.
- Steps: Suspend the potato so that the bottom half is in water.
- Care: Keep in a warm, sunny spot.
- Next Steps: Let it grow as a vine in water or plant the slips in soil.
10. Start Ginger from a Root
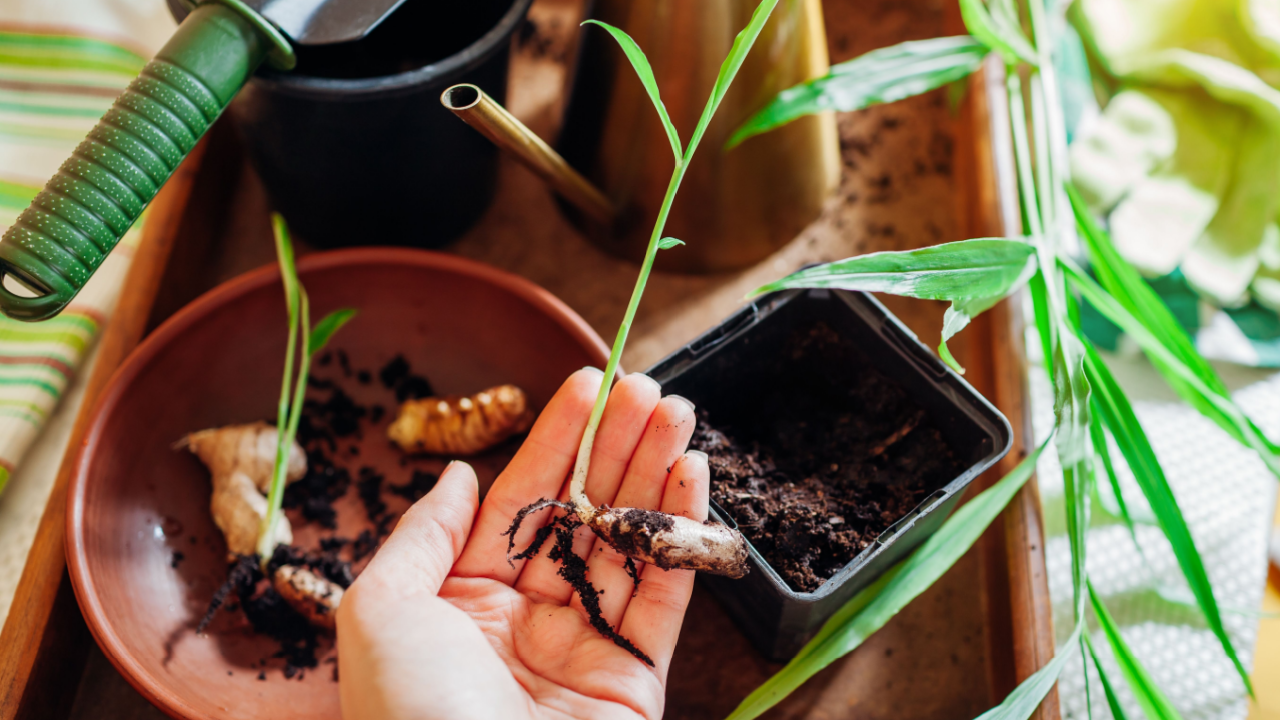
Image Credit: Shutterstock.
If you have a piece of ginger root that’s starting to look a little wrinkly, you can plant it to grow your own endless supply. Fresh ginger is a staple in many kitchens, and growing your own ensures you always have it on hand. The plant itself is also attractive, with a tropical look that resembles bamboo.
Choose a piece of ginger root that has a few small, pointed buds, or “eyes.” You can plant the whole piece or cut it into sections, ensuring each section has at least one bud. Let the cut pieces dry for a day. Plant the ginger piece about an inch deep in a wide, shallow pot with well-draining soil, with the buds facing up. Water it lightly and place it in a spot that gets indirect sunlight. Keep the soil moist but not waterlogged. Shoots will emerge in a few weeks. You can harvest small pieces of ginger after a few months by digging around the side of the plant.
Quick Guide:
- What you need: A piece of ginger root with buds, a pot, and soil.
- Steps: Plant the ginger 1 inch deep with buds facing up.
- Care: Keep soil moist in a spot with indirect sun.
- Harvest: Dig up small pieces as needed after 3-4 months.
11. Grow Potatoes from Potato Eyes
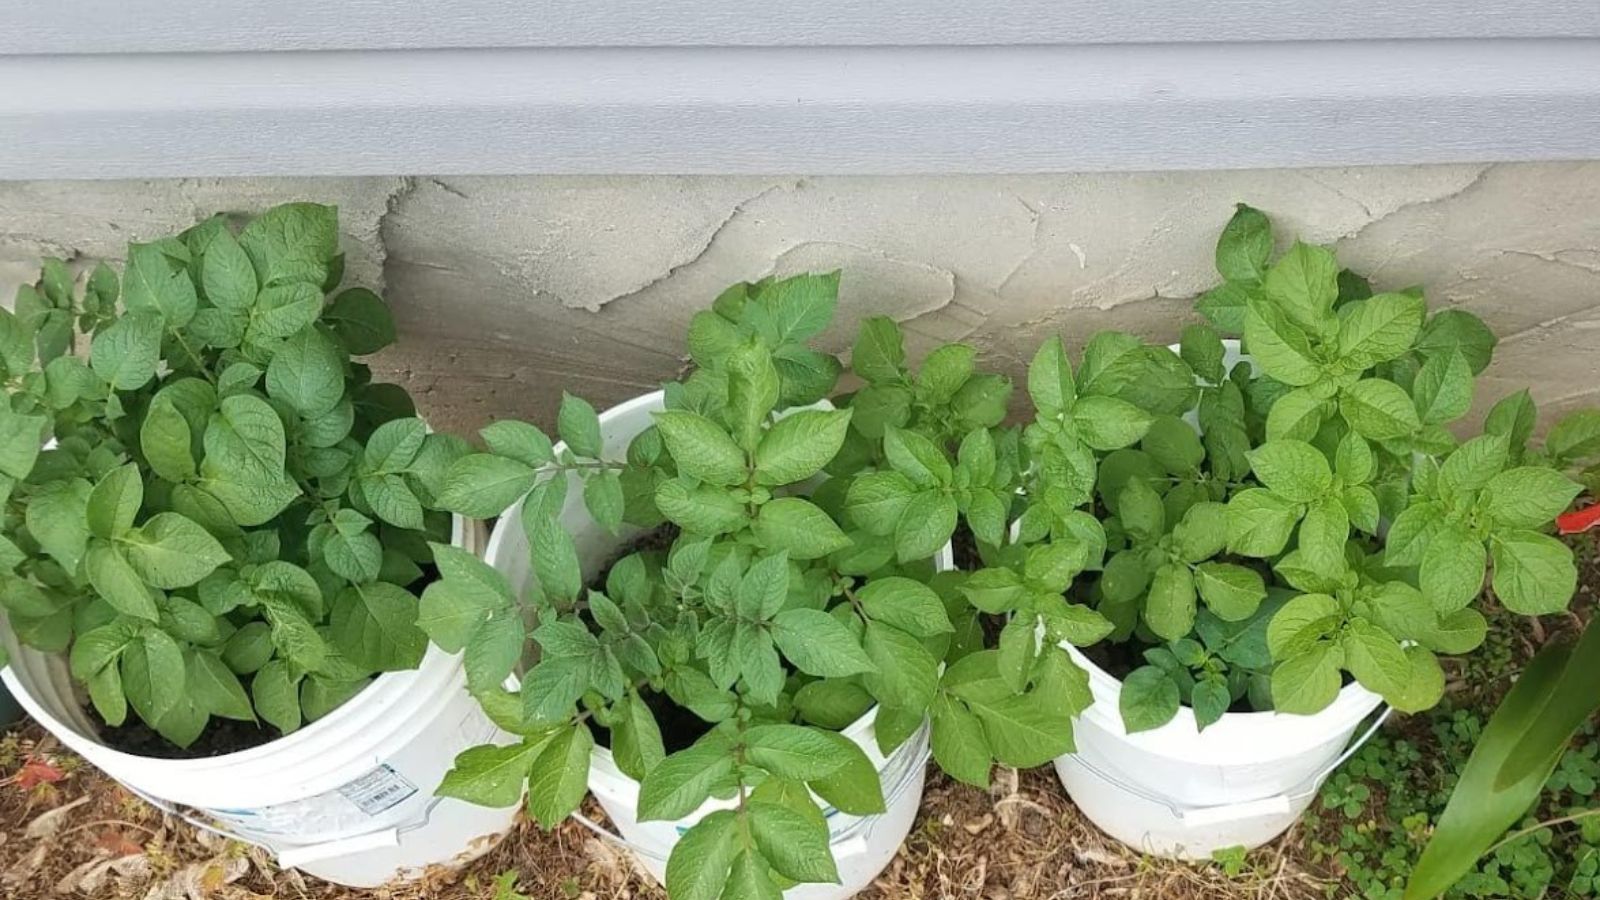
Image Credit: Backyard Garden Lover.
Those sprouts growing from old potatoes in your pantry are a sign that they’re ready to be planted. Each “eye” can grow into a new potato plant that will produce multiple new potatoes. This is a classic and highly productive way to grow your own food. It’s a fantastic project for backyard gardeners, as a few seed potatoes can yield a significant harvest.
Cut a potato that has sprouted into two-inch pieces, making sure each piece has at least one or two eyes. Let the pieces sit out for a day or two to form a protective callous over the cut surfaces. Plant these pieces about 4 inches deep in your garden or a large container, with the eyes pointing up. As the plant grows, mound soil up around the stem (this is called “hilling”). This encourages more potatoes to form.
Quick Guide:
- What you need: A potato with sprouted eyes.
- Steps: Cut the potato into pieces with eyes, let them dry, and plant them 4 inches deep.
- Care: Water regularly and “hill” the soil around the growing stems.
- Harvest: Dig up new potatoes when the plant’s foliage dies back.
12. Sprout Tomato Seedlings from Slices

Image Credit: Shutterstock.
You can start new tomato plants using the seeds from a tomato you already have. Planting a whole slice makes it even easier. This is a cost-effective way to get a head start on your tomato patch, especially if you have a favorite variety you want to grow more of.
Take a ripe tomato and cut it into quarter-inch thick slices. Place a slice or two in a small pot filled with potting soil and lightly cover it with more soil. Water the pot gently and keep it in a warm, sunny place. The seeds within the tomato slice will germinate, and you’ll see tiny seedlings emerge in a week or two. Once the seedlings have a few sets of true leaves, you can carefully separate them and transplant them into their own pots or into your garden.
Quick Guide:
- What you need: A ripe tomato, a pot, and soil.
- Steps: Bury a tomato slice under a thin layer of soil.
- Care: Keep moist and warm.
- Next Steps: Transplant seedlings once they are large enough to handle.
13. Revive Cilantro Stems

Image Credit: Shutterstock.
Like basil, cilantro can be regrown from stems. This is a great way to keep this fast-bolting herb on hand for your culinary needs. If you find yourself constantly buying cilantro only to use a little bit, this method is for you.
It ensures you have a fresh supply of leaves ready for tacos, salsa, or curries. Place the bottom of a bunch of cilantro stems in a glass of water. Put it on a windowsill where it will receive some sunlight. Change the water every couple of days. You’ll see tiny roots begin to sprout from the bottoms of the stems. Once the roots are established, you can plant the stems in a pot of soil to grow a more substantial plant.
Quick Guide:
- What you need: Cilantro stems, a glass of water.
- Steps: Place the base of the stems in water.
- Care: Keep in a sunny spot and change the water regularly.
- Next Steps: Plant in soil once roots develop.
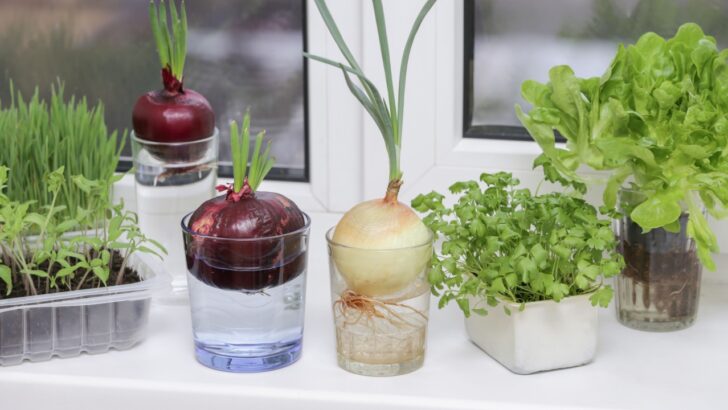
14. Replant a Sprouted Onion
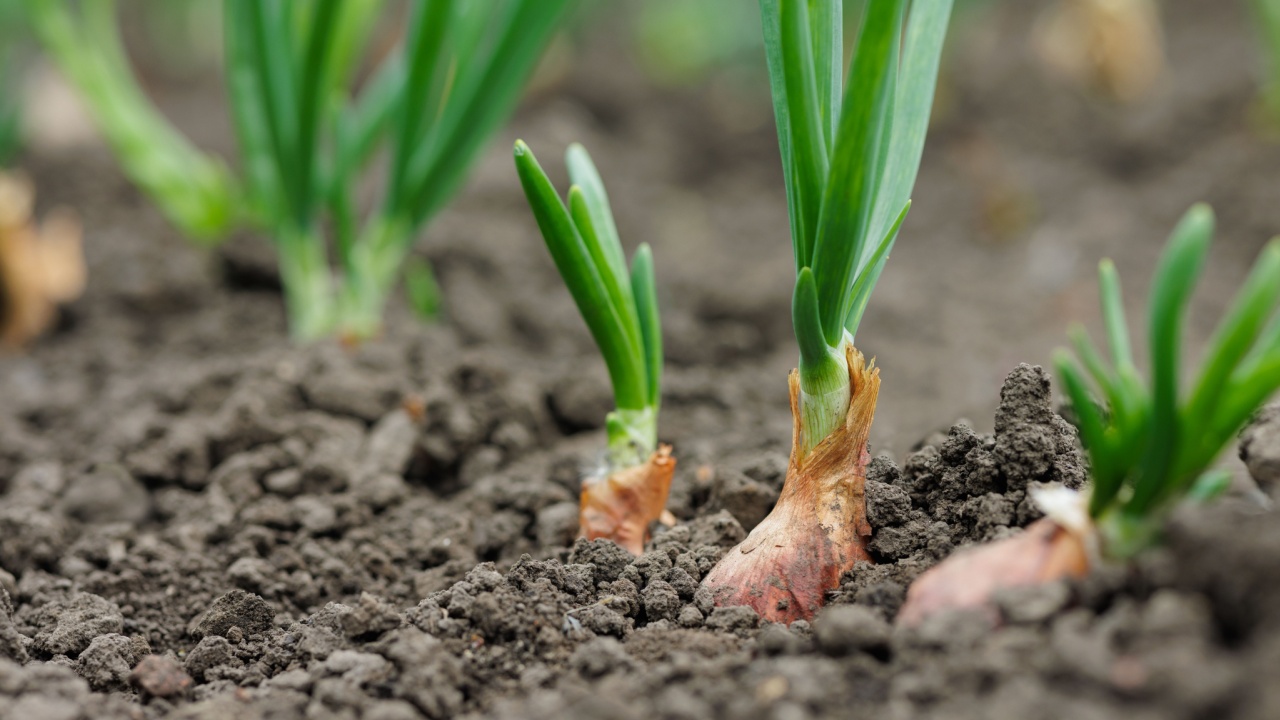
Image Credit: Shutterstock.
A regular kitchen onion that has started sprouting can be planted to grow more onions. This is an efficient way to use up an onion that might otherwise be too strong-flavored to eat raw.
Planting a sprouted onion is a straightforward way to multiply your onion supply. You can either harvest the green tops as they grow or wait for the plant to form new bulbs at its base. Take your sprouted onion and plant it in a pot or directly in your garden, leaving the green sprout sticking out of the top. Water it well and provide plenty of sunlight. The plant will continue to grow its green tops, which you can snip and use like green onions. If you leave it in the ground long enough, the original bulb will multiply and form a small cluster of new onions.
Quick Guide:
- What you need: A sprouted onion, soil.
- Steps: Plant the onion in soil with the sprout exposed.
- Care: Water regularly and provide full sun.
- Harvest: Use the green tops or wait for new bulbs to form.
15. Regenerate Leeks from the Base
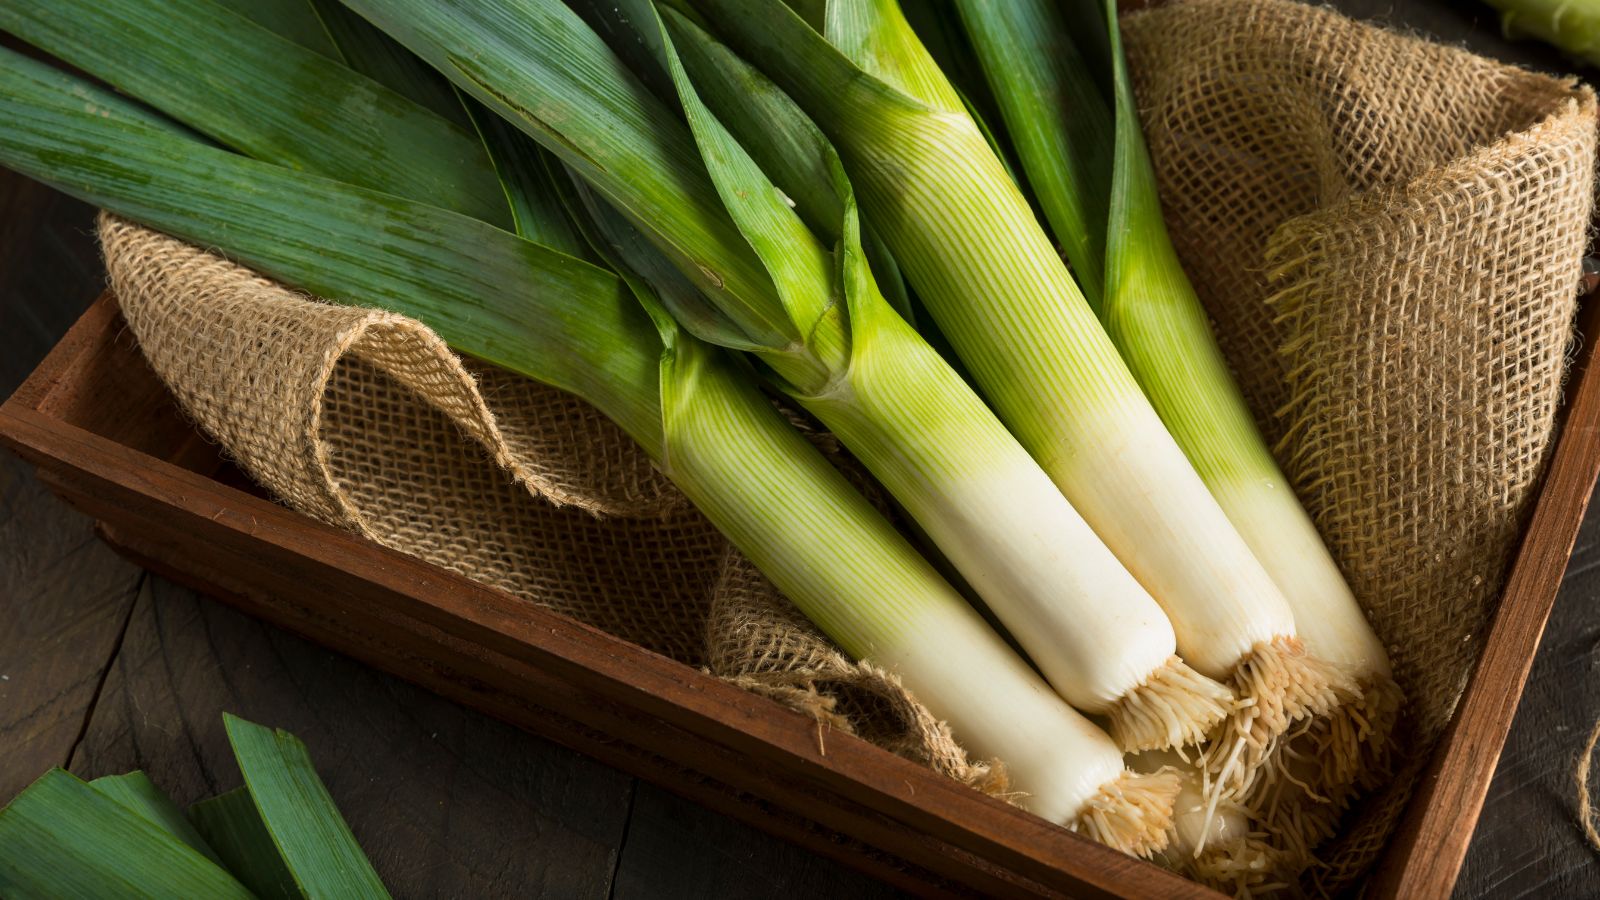
Image Credit: Depositphotos.com.
Leeks, which are part of the same family as onions and garlic, can be easily regrown from their root base. This is another simple water-based project that delivers quick results.
You can have fresh, mild-flavored leek greens growing on your windowsill in no time. Similar to green onions, cut the leek tops off, leaving about two inches of the white base with the roots attached. Place this base in a jar with enough water to cover the roots. Set it in a sunny spot. Change the water every few days, and watch as new green growth emerges from the center. You can continue to harvest these tender greens or plant the base in your garden to grow a full-sized leek.
Quick Guide:
- What you need: Leek base with roots, a jar, and water.
- Steps: Place the root end in water in a sunny location.
- Care: Refresh the water every few days.
- Harvest: Snip the new green growth as needed.
Your Next Steps
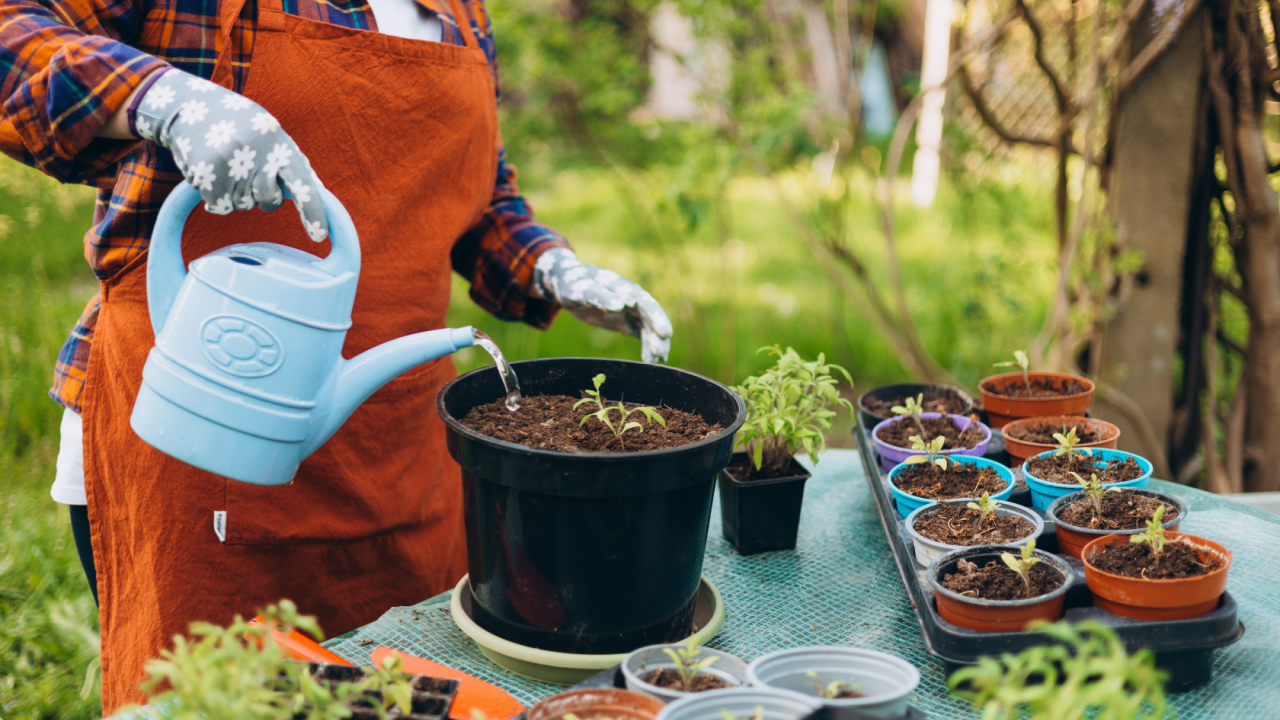
Image Credit: Shutterstock.
Now that you have 15 new ideas for turning kitchen scraps into plants, it’s time to start your own regrowing experiment. Look at what you have in your kitchen right now. Did you just make a salad with romaine lettuce? Save the stump. Are you about to use green onions? Set the root ends aside. Start small with an easy project like green onions or lettuce. All you need is a scrap, a small container, and a sunny windowsill.
As you see success, you can graduate to longer-term projects like avocado pits or pineapple tops. Involve your family, experiment, and don’t be afraid to fail. Every attempt is a learning experience that connects you more deeply to your food and garden.
