How to Plant Garlic This Fall So You Never Have to Buy It Again
The cheapest garlic you will ever eat goes into the ground this month, not into your shopping cart.
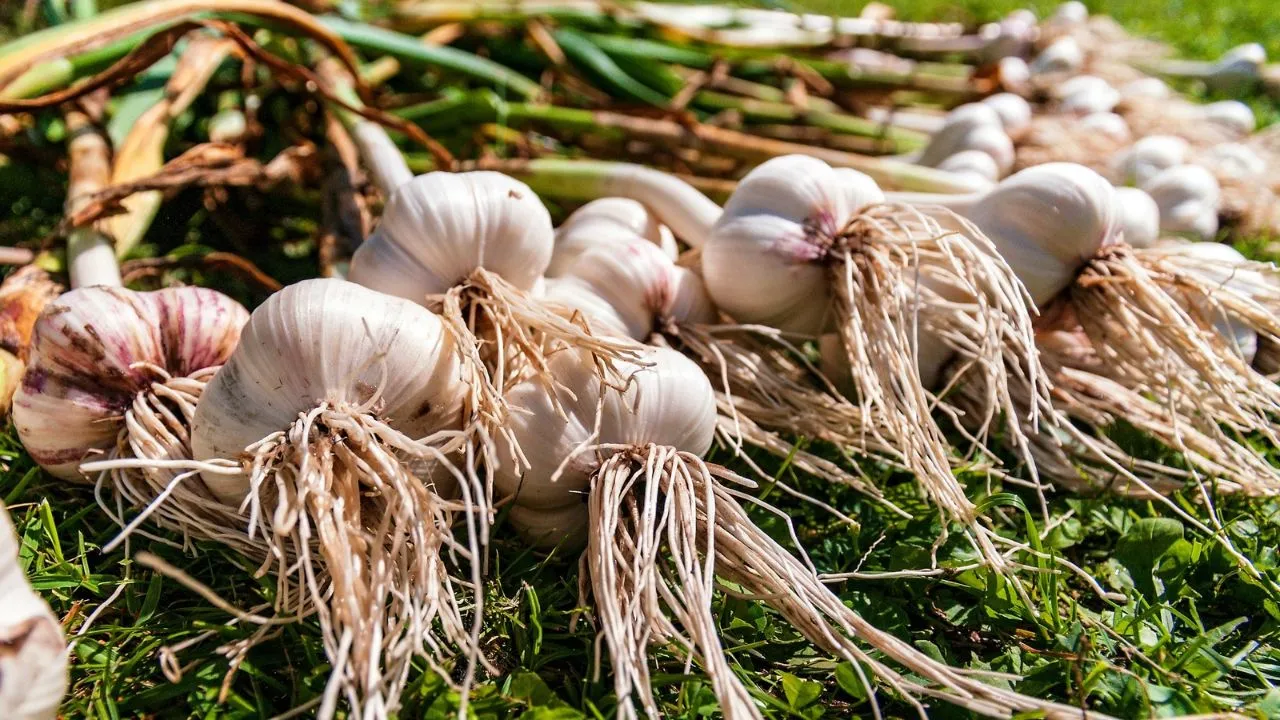
One pound of hardneck seed garlic holds roughly 35 to 50 cloves, and each one grows into a full head, according to Sow True Seed. At about $27 a pound from growers such as Hudson Valley Seed, that works out to well under a dollar a head. Save your biggest cloves at harvest, replant them next fall, and you may never pay for garlic again.
Better still, garlic is about as low effort as a crop gets. You plant it in one cool afternoon, tuck it under a blanket of leaves, and let winter do the work. For gardeners in their 50s and 60s who want a harvest without months of daily chores, it is hard to beat. The only real requirements are good timing, which makes November the month that counts, and starting with the right garlic. That second part matters more than most people realize: a fungus called white rot, which can hitch a ride on the wrong cloves, can survive in soil for up to 30 years, according to a University of Idaho Extension guide.
A recent Dengarden story syndicated on Yahoo followed one gardener’s November routine to an enormous harvest, using a method that matches what extension experts recommend. Below is how to plant garlic step by step, from choosing your cloves to tucking in the bed. It all starts with what you put in the ground.
1. Start With Certified Seed Garlic
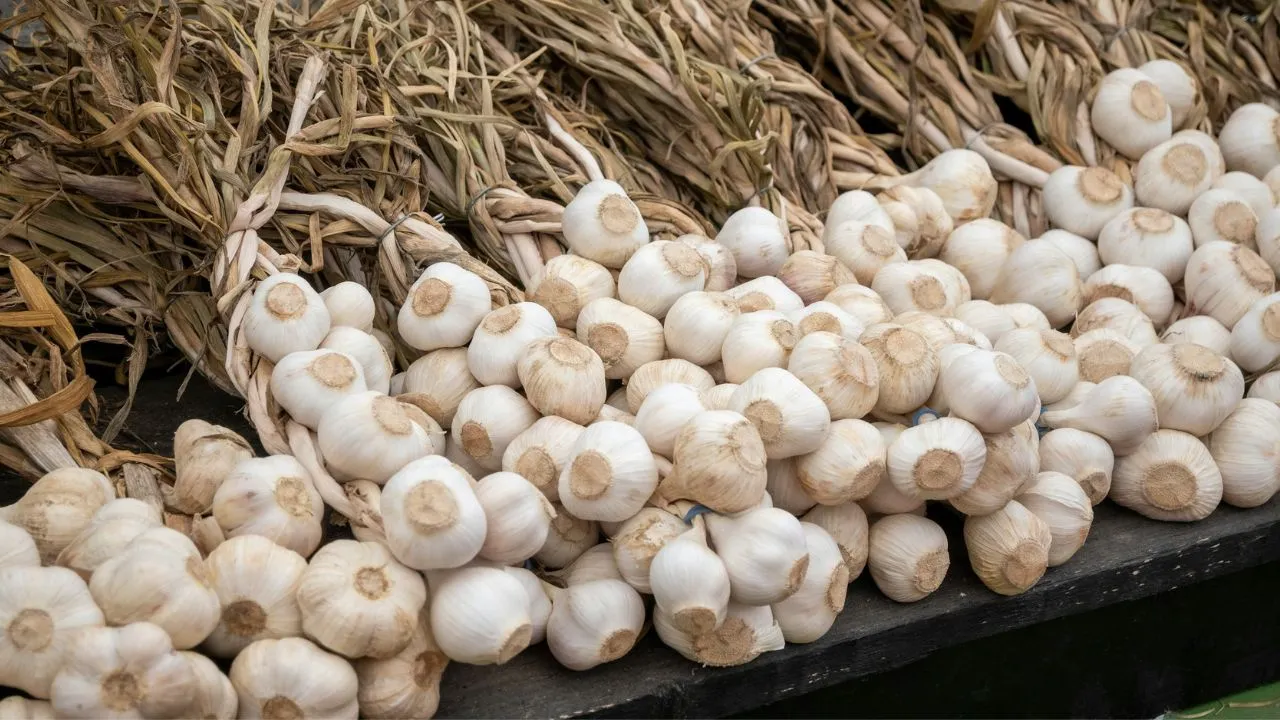
Seed garlic looks like ordinary garlic, but it is grown for planting: fresh, untreated, and suited to your climate. As Better Homes & Gardens explains, the garlic in your kitchen is a different story. Most conventional grocery garlic is treated to stop sprouting, it is usually a softneck type that struggles in cold winters, and it may carry viruses and nematodes into your soil.
In some places, certified stock is the law. Across 21 quarantined counties in southwestern Idaho and eastern Oregon, gardeners may plant only inspected garlic, and the University of Idaho guide notes that many gardeners reach for supermarket bulbs “without realizing Idaho law prohibits this practice!” Several states regulate garlic planting stock, so a quick call to your state department of agriculture is worthwhile. Garden centers, local farms, and dedicated growers all sell seed garlic in the fall.
2. Choose the Biggest Cloves for the Biggest Heads
Here is something experienced growers know that beginners rarely hear: the size of the clove you plant largely sets the size of the head you harvest. Petra Page-Mann, who has grown garlic in New York’s Finger Lakes for decades, wrote for Cornell Small Farms that when it comes to seed stock, “bigger truly is better.”
Break heads apart a day or two before planting, as University of Minnesota Extension advises, and leave the papery skin on each clove. Plant the plump outer cloves and save the skinny inner ones for dinner.
3. Plant Between Halloween and Thanksgiving
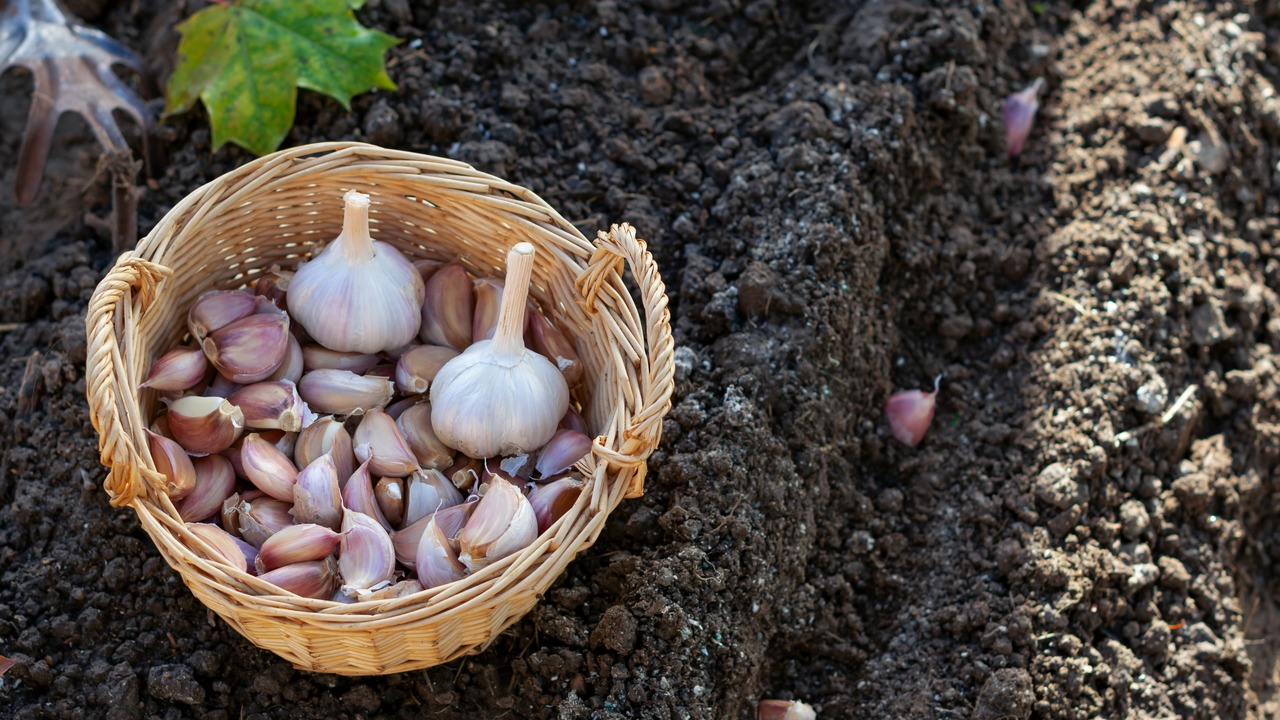
Garlic wants to grow roots in fall and leaves in spring. Page-Mann’s rule of thumb is to plant between Halloween and Thanksgiving, which makes right now in November ideal for much of the country. Cloves planted much earlier can send up shoots before winter, and those shoots can draw moisture out of the clove.
University of Minnesota Extension recommends planting about one to two weeks after your first killing frost. A Penn State Extension Master Gardener puts the target at “a good three weeks prior to the ground freezing,” which gives roots time to settle in quietly. If your soil is still workable, this is your week.
4. Give the Bed a Compost Welcome Mat
Garlic stays put from fall until midsummer, so a little prep pays off. The gardener in the Dengarden story clears out summer’s leftovers, loosens the soil, and works in compost and bone meal. “Think of it as laying out a welcome mat for the roots,” Dengarden writes.
University of Minnesota Extension notes that garlic grows best in well-drained soil with a pH between 6.0 and 7.0, and recommends well-rotted manure or compost rather than fresh manure. Keep nitrogen moderate. Cornell Small Farms explains that balanced fertility builds bulbs, while too much nitrogen builds leaves instead.
5. How to Plant Garlic Cloves: Point Up, a Few Inches Deep, Six Inches Apart

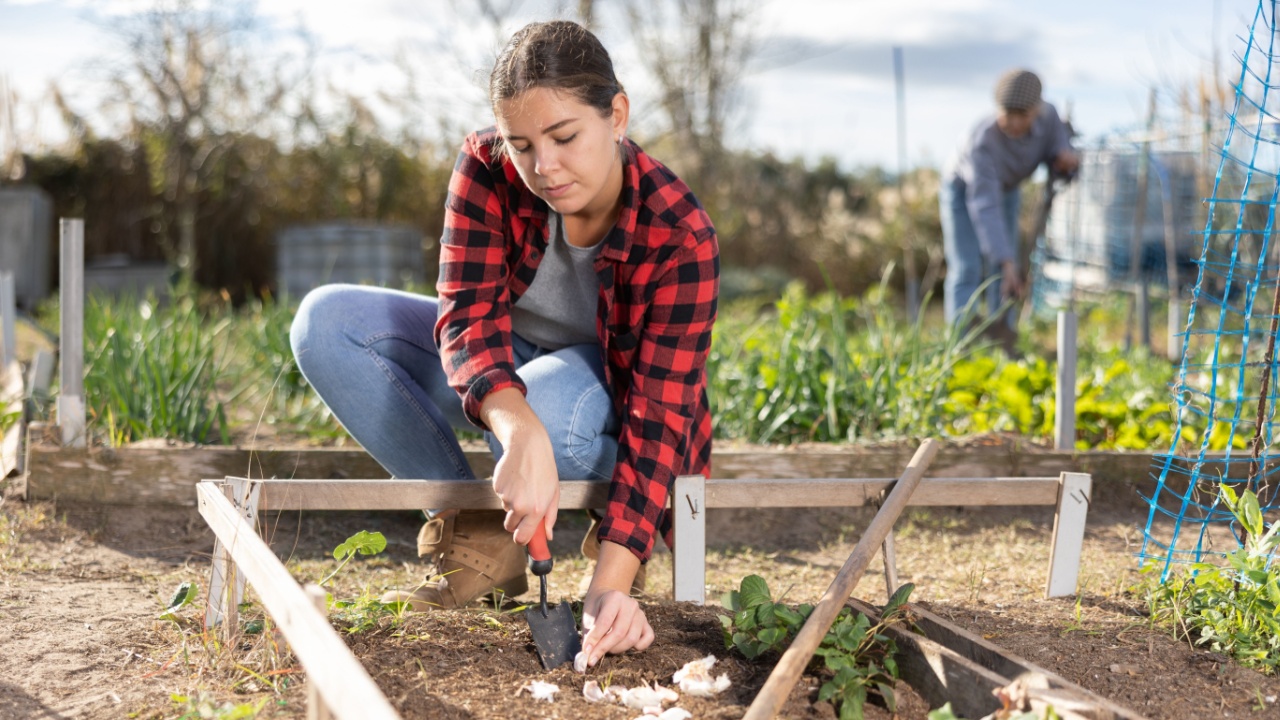
Planting takes minutes once you know three simple measurements. “Place each clove, pointed end up, a few inches deep,” Better Homes & Gardens advises. The flat root end goes down, so the shoot has a straight path to the surface.
For depth, University of Minnesota Extension recommends setting the base of each clove two to three inches below the surface. In cold regions, Cornell Small Farms suggests at least three inches with a thick mulch, or five inches without one, so freeze-thaw cycles can’t push cloves up.
For spacing, give each clove about six inches in every direction. That room lets every plant soak up water and light and size up into a full head. Water the bed well when you finish.
6. Tuck the Bed In With Free Leaf Mulch

A good layer of mulch is garlic’s winter coat. University of Minnesota Extension recommends three to four inches of leaf or straw mulch “to prevent fluctuating temperatures during the winter and early spring,” with the bonus of fewer weeds. Cornell Small Farms likes six inches or more, and The Old Farmer’s Almanac suggests five to eight inches of seedless straw.
The best mulch costs nothing. The Dengarden gardener simply rakes fallen leaves over her bed like a quilt, then adds straw in late spring to keep the soil cool and the weeds away.
7. Plant It Where Pets Won’t Dig
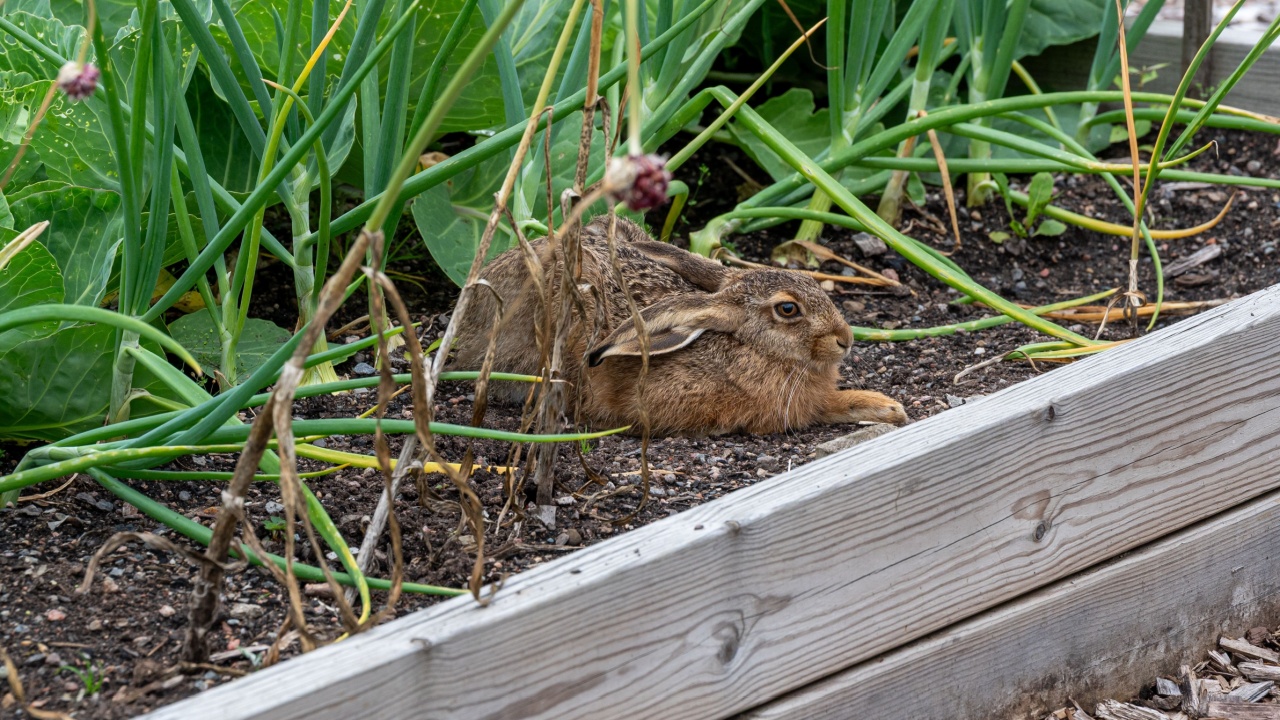
A smart spot keeps the whole household safe. The ASPCA lists garlic as “Toxic to Dogs, Toxic to Cats, Toxic to Horses,” with signs that include vomiting, weakness, rapid heart rate, panting, and the breakdown of red blood cells.
If you have a dog that loves fresh soil, choose a fenced bed or cover the planting with netting until spring. Pick up any loose cloves as you go, and cure your harvest well out of reach next summer. If you ever suspect your pet ate garlic, call your veterinarian or the ASPCA Animal Poison Control Center at (888) 426-4435; a consultation fee may apply.
Scapes, Harvest, and Free Garlic Forever
Once the bed is mulched, your work is mostly done until spring. Green shoots appear in late winter, and hardneck types send up curly flower stalks called scapes in early summer. Snap most of them off and cook with them; the Dengarden gardener leaves one standing as a signal flag for harvest time.
Dig when the lower leaves turn brown and roughly half of the upper leaves are still green, University of Minnesota Extension advises; then cure the heads in a warm, dry, airy spot for three to four weeks. The math is what makes garlic so satisfying: as Sow True Seed explains, “each clove grows into its own plant and bulb of garlic.” Keep your biggest heads for replanting, and next fall’s seed is already paid for.
The Easiest Crop You’ll Plant All Year
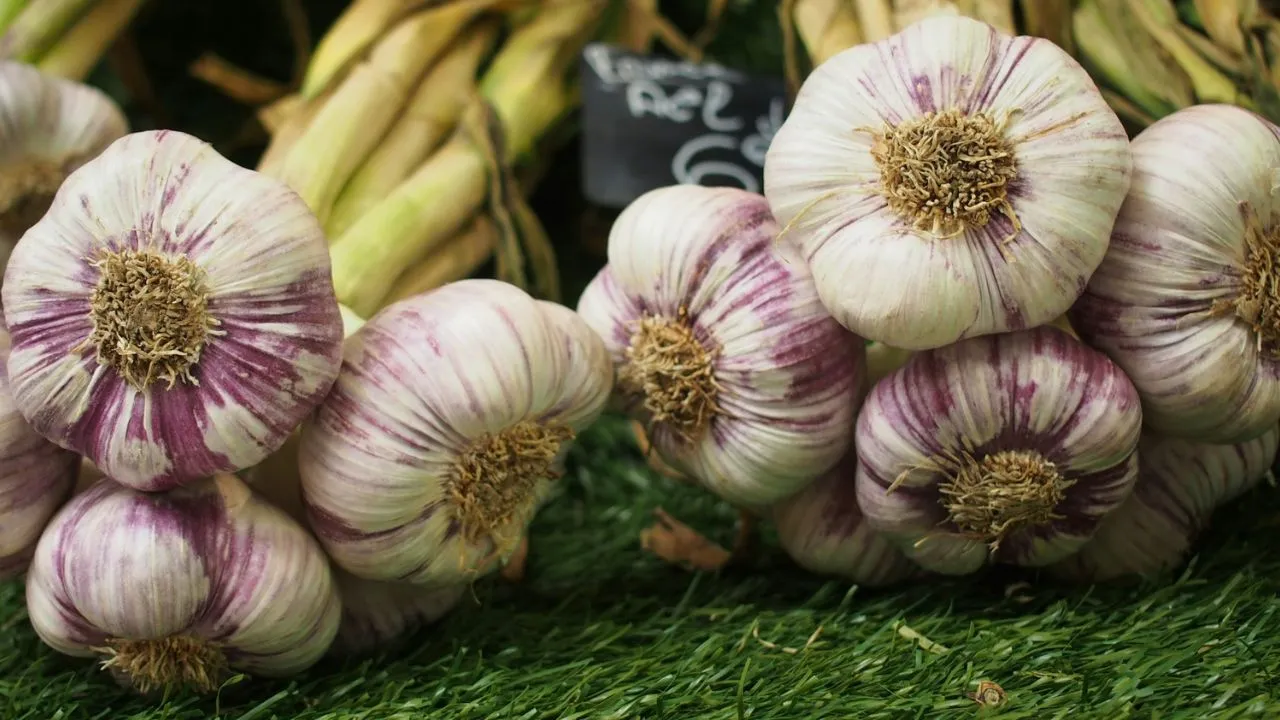
Garlic doesn’t reward the gardener who works hardest; it rewards the one who plants the biggest, cleanest clove at the right time and then leaves it alone.
Start with good seed garlic, plant before November slips away, tuck the bed under leaves, and let winter do the rest. Your grandmother may have saved her best heads for replanting every year, and she was onto something. Old-timers quoted by The Old Farmer’s Almanac say garlic “learns,” growing better adapted to your garden each season you replant it. Penn State Extension agrees on the practical part: save your largest, best-formed bulbs for next fall. A few cloves planted this month can keep your kitchen stocked for years.
Read More
Stop Making These 8 Watering Mistakes Before Your First Hard Frost
How to Transition Plants Indoors for Winter: 9 Mistakes to Stop Making This Fall