
Before the age of specialized cleaning sprays for every surface, people relied on simple, effective, and often surprising ingredients to keep their homes sparkling. These time-tested methods, passed down through generations, used common household items to tackle tough dirt and grime. Not only are these tips incredibly effective, but they also offer a more natural and budget-friendly way to maintain your home and garden spaces.
We’ve gathered 20 nearly forgotten cleaning secrets that deserve a comeback (or maybe they were never on your radar at all!). From using pantry staples to polish furniture to leveraging the power of nature for outdoor cleaning, these tips will change the way you approach your chores.
1. Wash Air Vents in the Dishwasher
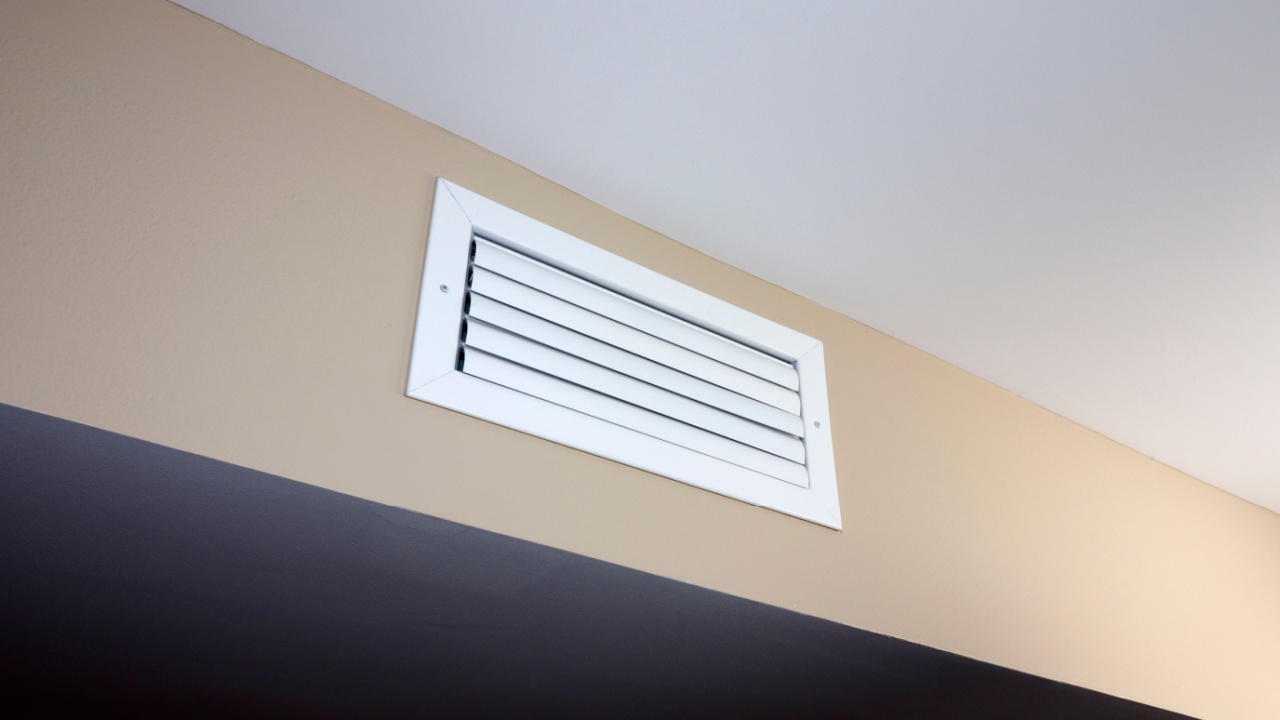
Image Credit: Shutterstock.
I remember my grandma sticking everything she could in the dishwasher and thinking she was going overboard. But why not? Even an air vent!
Dust and allergens love to collect on the metal vent covers of your heating and air conditioning systems. Instead of spending time wiping each slat by hand, you can let your dishwasher do the heavy lifting. This method saves a significant amount of time and provides a much deeper clean.
Why it Works: The hot water and strong jets inside a dishwasher are perfect for dislodging stubborn dust, grease, and grime that accumulate on vent covers. This ensures better air quality and a cleaner look.
Quick Guide:
- Best For: Metal air vent covers (avoid this for plastic or painted vents unless they are dishwasher-safe).
- How-To: Place the vent covers in the top or bottom rack of your empty dishwasher. Run a normal cycle.
- Care Tip: Allow vents to dry completely before reinstalling them to prevent any rust or moisture issues within your ductwork. Do this twice a year in the spring and fall to keep up with seasonal dust and pollen.
2. Use Fresh Mint for a Sweet-Smelling Garbage Can
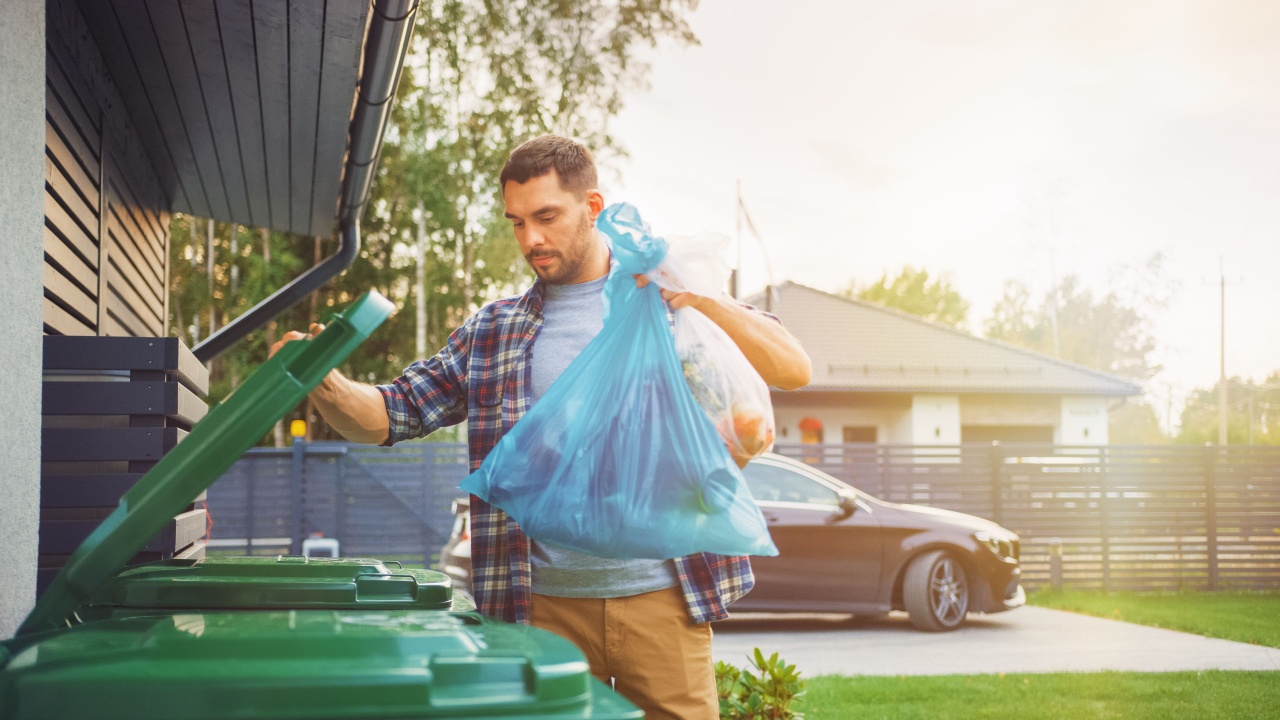
Image Credit: Shutterstock.
Garbage cans, especially in the warm summer months, can quickly become a source of unpleasant odors. Instead of relying on chemical-laden air fresheners, a sprig of fresh mint from your garden can solve the problem naturally.
Why it Works: Mint has a strong, pleasant scent that naturally overpowers and neutralizes foul odors. As the mint dries, it continues to release its fresh fragrance.
Quick Guide:
- Best For: Kitchen and outdoor trash bins.
- How-To: After emptying your can, simply toss a fresh sprig of mint at the bottom before putting in a new bag.
- Garden Tip: Mint is incredibly easy to grow and can be invasive, so keeping it in a pot is a great way to have a constant supply for your kitchen and cleaning needs.
3. Make Natural Moth Repellents
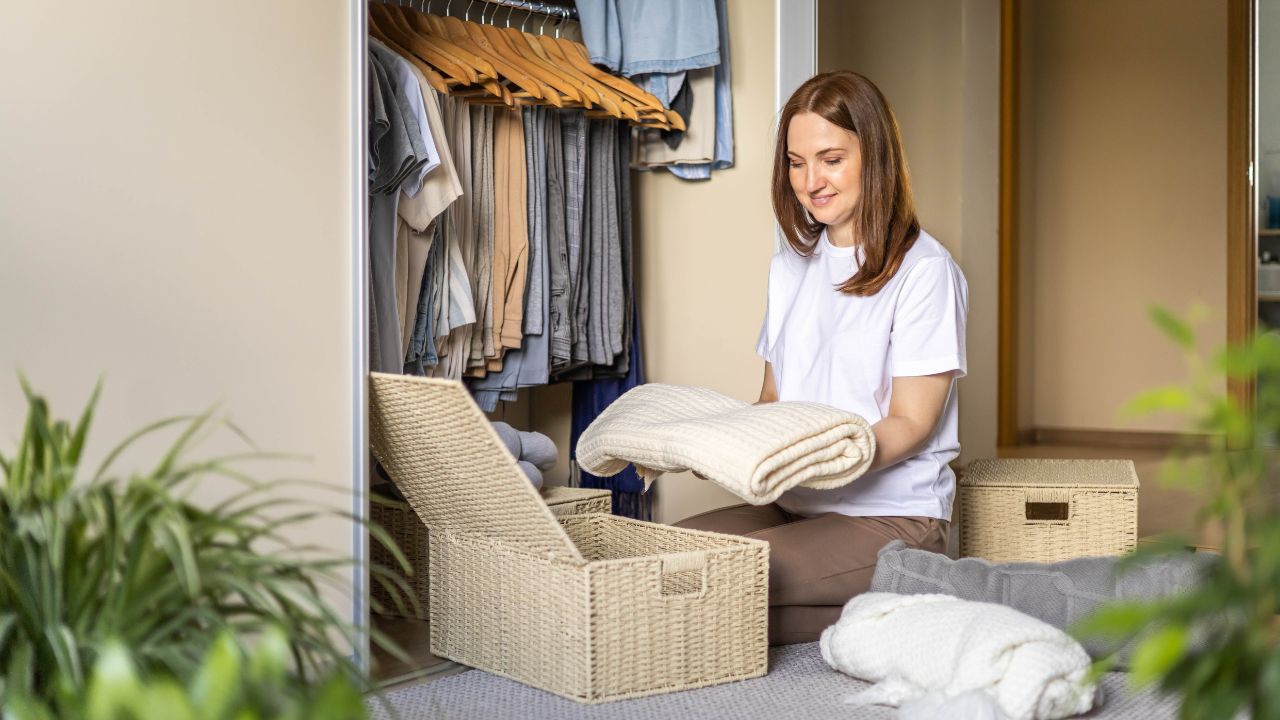
Image Credit: Shutterstock.
Protect your wool sweaters, blankets, and other natural fabrics from moths without the pungent smell of traditional mothballs. A homemade sachet using essential oils offers a fragrant and effective alternative.
Why it Works: Moths are repelled by strong scents like clove and cinnamon. The oils create an environment that moths find unpleasant, encouraging them to stay away from your stored clothing.
Quick Guide:
- Best For: Closets, drawers, and storage chests.
- How-To: Mix a few drops of oil of cloves and oil of cinnamon. Soak cotton balls in the mixture and place them inside small muslin or fabric bags. Hang them in your closets or tuck them into drawers.
- Care Tip: Refresh the cotton balls with new oil every few months to maintain their potency.
4. Create a Stovetop Humidifier
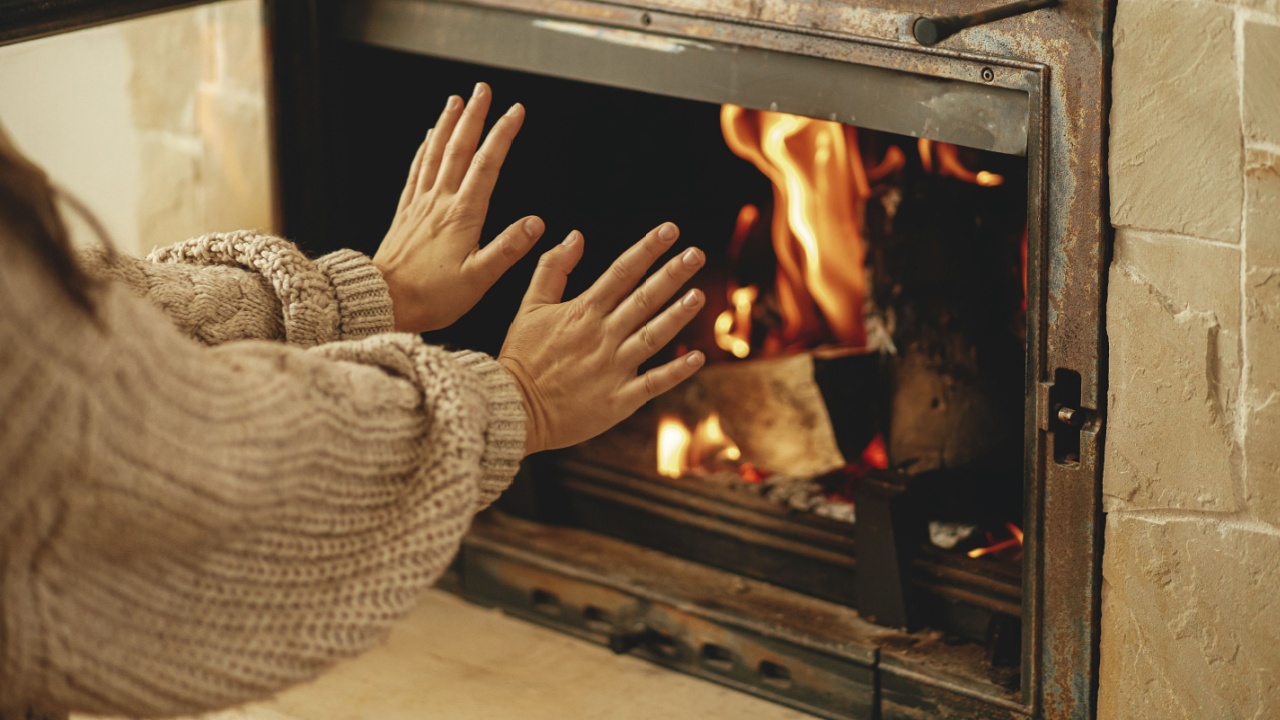
Image Credit: Shutterstock.
If you use a wood-burning stove, you know how dry the air can get indoors during winter. A simple, fragrant humidifier can be made using an old coffee can and a few kitchen staples. This helps with any lingering smells that you can’t seem to get out too (that stubborn garlic or curry smell for example).
Why it Works: As the water on the stove heats up, it evaporates, releasing moisture into the air. Adding spices like cinnamon and cloves infuses your home with a warm, inviting aroma.
Quick Guide:
- Best For: Homes with wood-burning stoves or pellet stoves.
- How-To: Fill a metal coffee can or a small cast-iron pot two-thirds full of water. Add cinnamon sticks, whole cloves, and orange peels. Place it on your stove and let it simmer.
- Safety Tip: Never let the water completely evaporate. Check the water level regularly and refill as needed.
5. Protect Cookbooks with a Plastic Bag

Image Credit: Shutterstock.
Cooking can be a messy business, and it’s easy to splash ingredients onto the pages of your favorite cookbook. A large, clear plastic bag is the perfect shield to keep your recipes clean and readable.
Why it Works: The plastic bag acts as a waterproof barrier against splatters and spills, while the clear material allows you to read the recipe without any issue.
Quick Guide:
- Best For: Protecting any book or tablet in the kitchen.
- How-To: Find the recipe you need, then slide the open book into a gallon-sized zip-top bag. Seal it if you wish, or simply stand it up on the counter.
- Next Steps: After you’re done cooking, wipe down the bag with a damp cloth before storing it away for your next culinary adventure.
6. Mix Your Own Glass Cleaner

Image Credit: Shutterstock.
Why buy a new bottle of glass cleaner when you can make a highly effective one yourself? This simple DIY formula cleans windows, mirrors, and other glass surfaces without leaving streaks.
Why it Works: Rubbing alcohol helps the solution evaporate quickly to prevent streaks, while ammonia is a powerful agent for cutting through grease and grime.
Quick Guide:
- Best For: Windows, mirrors, and glass tabletops.
- How-To: In a spray bottle, combine 2 ounces of rubbing alcohol, 2 ounces of ammonia, and 12 ounces of water. Add a single drop of blue food coloring to help you identify it.
- Care Tip: Label the bottle clearly and store it out of reach of children and pets. Use a microfiber cloth for a truly lint-free shine.
7. Remove Sticky Residue with WD-40
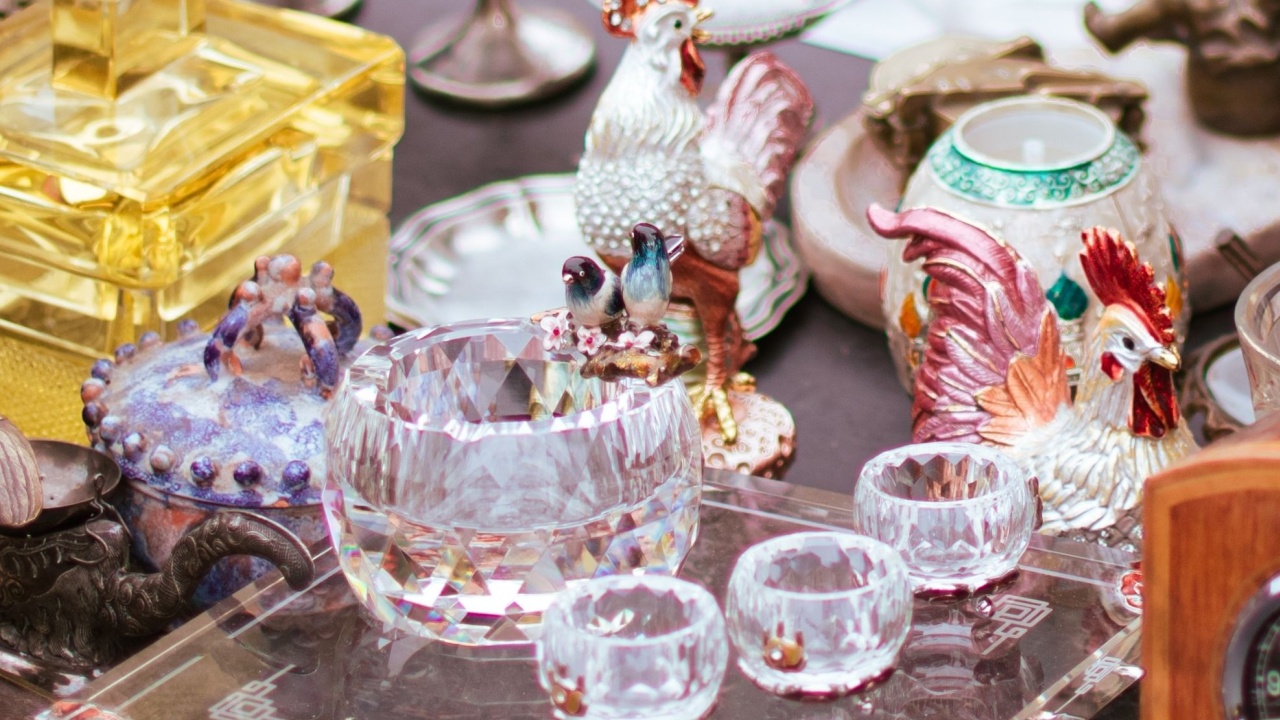
Image Credit: Shutterstock.
Price tags and stickers can leave behind a stubborn, sticky residue that is difficult to scrub off. A quick spray of WD-40 can dissolve the adhesive, making removal effortless.
Why it Works: WD-40 is a solvent that breaks down the chemical bonds in many adhesives, allowing you to wipe away the residue without hard scrubbing that could scratch surfaces.
Quick Guide:
- Best For: Removing sticker residue from glass, plastic, and other non-porous surfaces.
- How-To: Spray a small amount of WD-40 onto the sticky area. Let it sit for a minute, then wipe away the residue with a clean cloth.
- Care Tip: After removing the sticker residue, clean the surface with soap and water or a standard household cleaner to remove any oily film left by the WD-40.
8. Polish Silver with Baking Soda
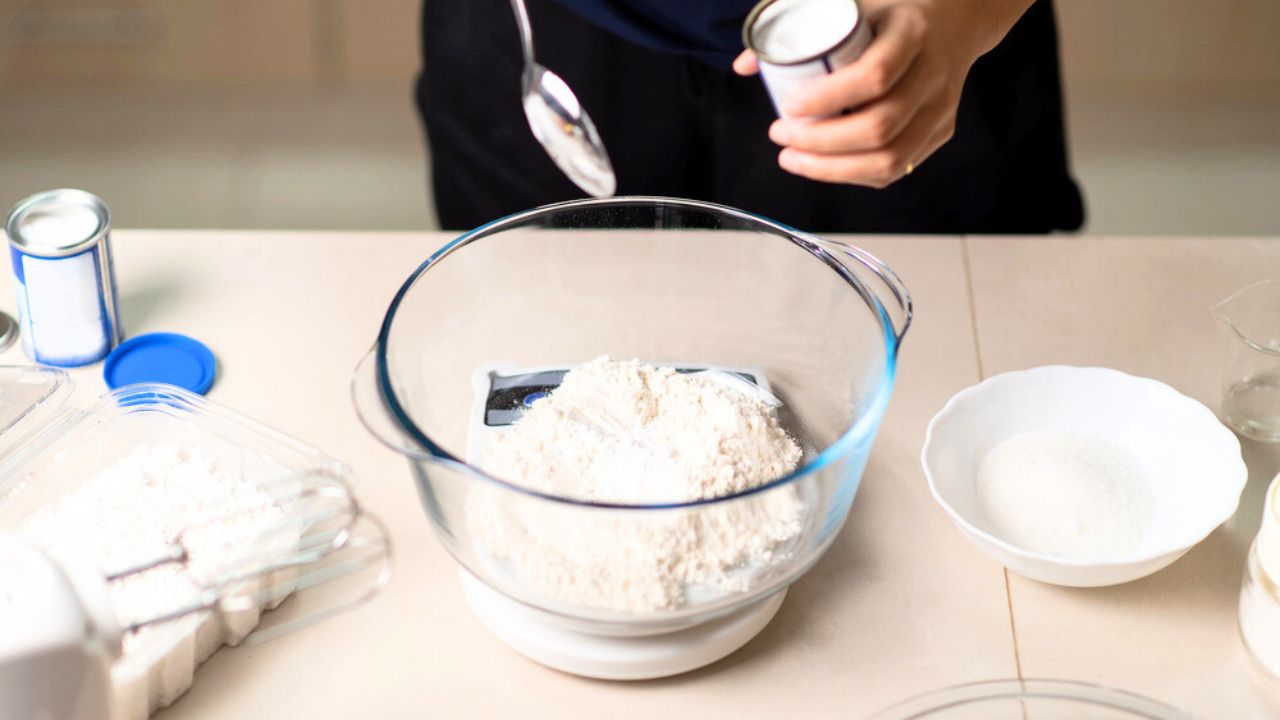
Image Credit: Depositphotos.com.
Tarnished silver can be restored to its original brilliance using a simple chemical reaction. This method uses common kitchen items to lift tarnish without harsh polishes.
Why it Works: The combination of aluminum foil, baking soda, and boiling water creates an electrochemical reaction that transfers the tarnish (silver sulfide) from the silver object to the aluminum foil.
Quick Guide:
- Best For: Silver cutlery, jewelry, and serving pieces.
- How-To: Line a pan or your sink with aluminum foil. Place the silver items on the foil, ensuring they make contact. Sprinkle generously with baking soda and pour boiling water over everything. Let it sit for 10-15 minutes, then rinse and dry.
- Care Tip: This method is best for sterling silver. Avoid using it on silver-plated items, as it can sometimes be too aggressive.
9. Unclog a Shower Head with Vinegar
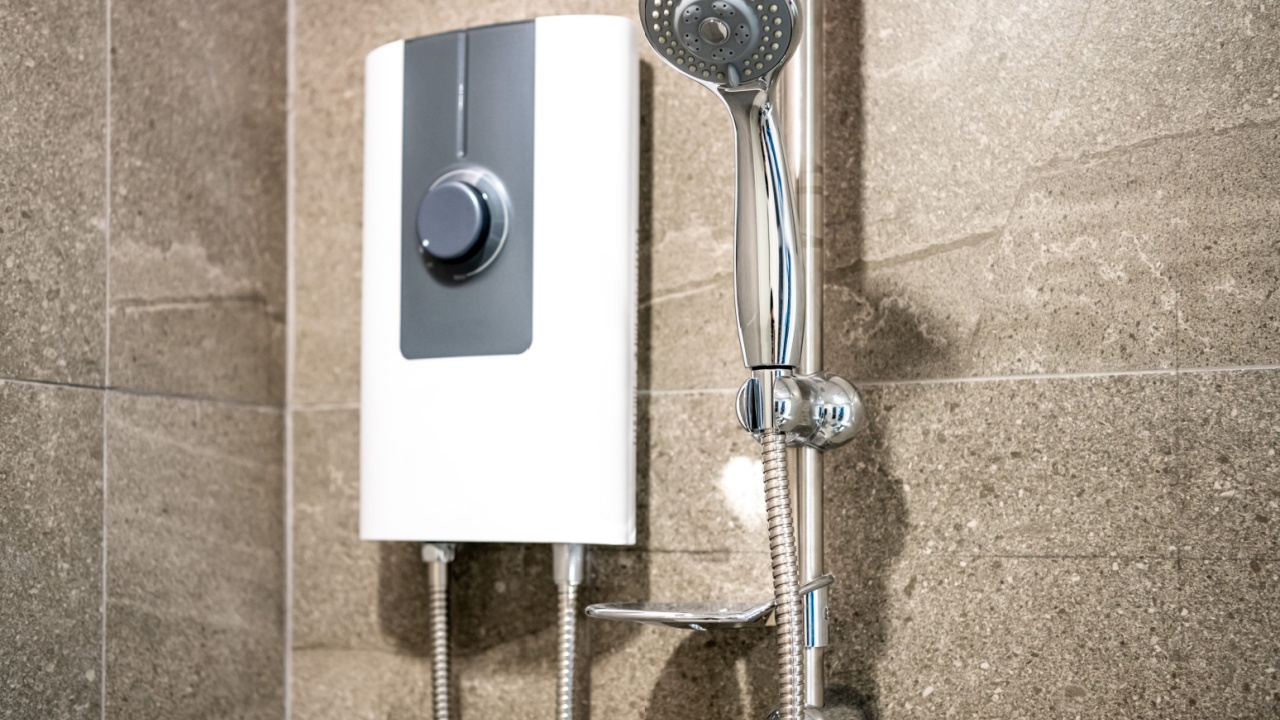
Image Credit: Shutterstock.
Hard water deposits can clog the small nozzles on your shower head, leading to weak or uneven water pressure. An overnight soak in vinegar will dissolve the mineral buildup and restore flow.
Why it Works: The acetic acid in white vinegar is excellent at breaking down and dissolving calcium and magnesium deposits (limescale) that cause blockages.
Quick Guide:
- Best For: Any shower head with mineral buildup.
- How-To: Fill a plastic bag with white distilled vinegar. Secure the bag over the shower head with a rubber band, making sure the head is fully submerged. Leave it overnight, then remove the bag and run the shower to flush out the loosened debris.
- Next Steps: Use a small brush or an old toothbrush to scrub away any remaining stubborn deposits.
10. Deep Clean a Can Opener
Image Credit: Shutterstock.
A handheld can opener can get gummed up with food particles and become difficult to turn. A quick clean and lubrication will have it working like new again.
Why it Works: A toothbrush is the perfect tool for scrubbing the small gears and blades of a can opener. The vegetable oil then lubricates the moving parts, ensuring smooth operation.
Quick Guide:
- Best For: Manual, handheld can openers.
- How-To: Use an old toothbrush, hot water, and dish soap to scrub the gears and cutting wheel. Rinse thoroughly, then apply a light coating of vegetable oil to the gears. Wipe off the excess oil before use.
- Care Tip: Clean your can opener regularly to prevent rust and the buildup of bacteria.
11. Fix Wood Scratches with a Pecan

Image Credit: Radiokafka at Shutterstock.
Minor scratches and nicks on wood furniture can be surprisingly well-disguised with a simple nut. The natural oils in a pecan can help blend away the blemish.
Why it Works: The oil from the pecan nut seeps into the scratched, exposed wood, darkening it to better match the surrounding finish. The soft nut meat also helps polish the area.
Quick Guide:
- Best For: Light-colored to medium-colored wood furniture, floors, and cabinets.
- How-To: Crack open a pecan and rub the nut meat directly onto the scratch. Continue rubbing until the scratch becomes less noticeable.
- Next Steps: This trick also works with walnuts and almonds. Test on an inconspicuous spot first to ensure the color match is right.
12. Use Vinegar to Dissolve Glue
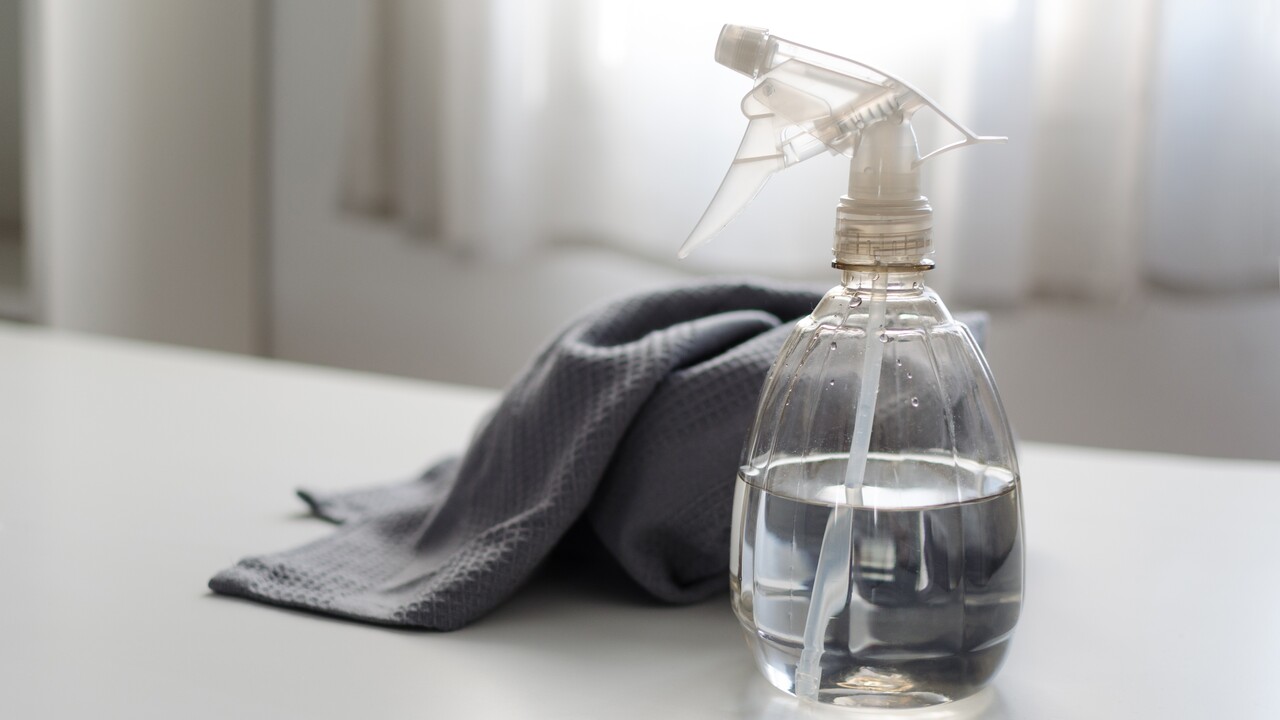
Image Credit: Shutterstock.
Whether you’ve spilled some craft glue or need to unstick a misaligned joint, vinegar is an excellent and gentle solvent for many common glues.
Why it Works: The acetic acid in vinegar works to soften and break down the bond of many adhesives, especially water-based glues like wood glue or school glue.
Quick Guide:
- Best For: Removing spots of wet or semi-dried water-based glues.
- How-To: Apply a small amount of white vinegar to a cloth and dab it onto the glue spot. Let it sit for a few minutes to soften the glue, then gently scrape or wipe it away.
- Caution: Vinegar is acidic. Use it carefully on sensitive surfaces like marble or unfinished wood, and always test in a hidden area first.
13. Shine Stainless Steel with Club Soda

Image Credit: Shutterstock.
If your stainless steel flatware or appliances are looking dull, a little bit of bubbly can bring back their shine. The carbonation helps lift grime and leaves a streak-free finish.
Why it Works: The carbonation in club soda or seltzer helps to gently lift and loosen fingerprints, water spots, and other residues from the surface of stainless steel.
Quick Guide:
- Best For: Stainless steel cutlery, sinks, and appliances.
- How-To: For flatware, soak it in a pan of club soda until the fizzing stops. For appliances, pour some club soda onto a microfiber cloth and wipe in the direction of the grain.
- Next Steps: Buff with a dry, clean cloth to enhance the shine and remove any remaining moisture.
14. Clean Wicker Furniture with a Paintbrush
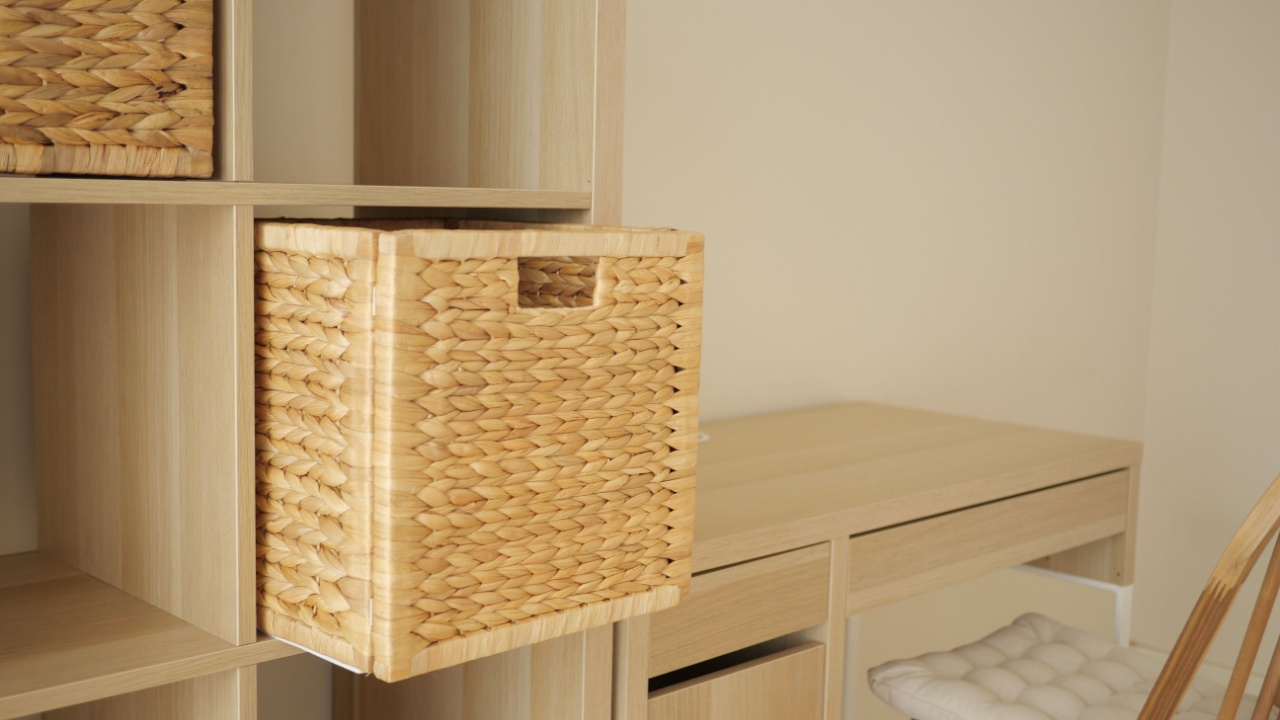
Image Credit: Shutterstock.
Wicker’s intricate weave is beautiful, but it can be a magnet for dust and a challenge to clean. A paintbrush is the perfect tool for getting into all those nooks and crannies.
Why it Works: The bristles of a paintbrush are flexible enough to get deep into the woven texture of wicker, dislodging dust that a cloth would miss. Furniture polish helps attract and trap the dust.
Quick Guide:
- Best For: Wicker chairs, baskets, and decor.
- How-To: Lightly spray your favorite furniture polish onto the bristles of a clean, dry paintbrush. Use the brush to “paint” the wicker, letting the bristles do the dusting work for you.
- Outdoor Care: For outdoor wicker, you can use a hose for a quick rinse, but this brush method is ideal for indoor pieces or a more detailed clean.
15. Remove Ink and Crayon with Rubbing Alcohol
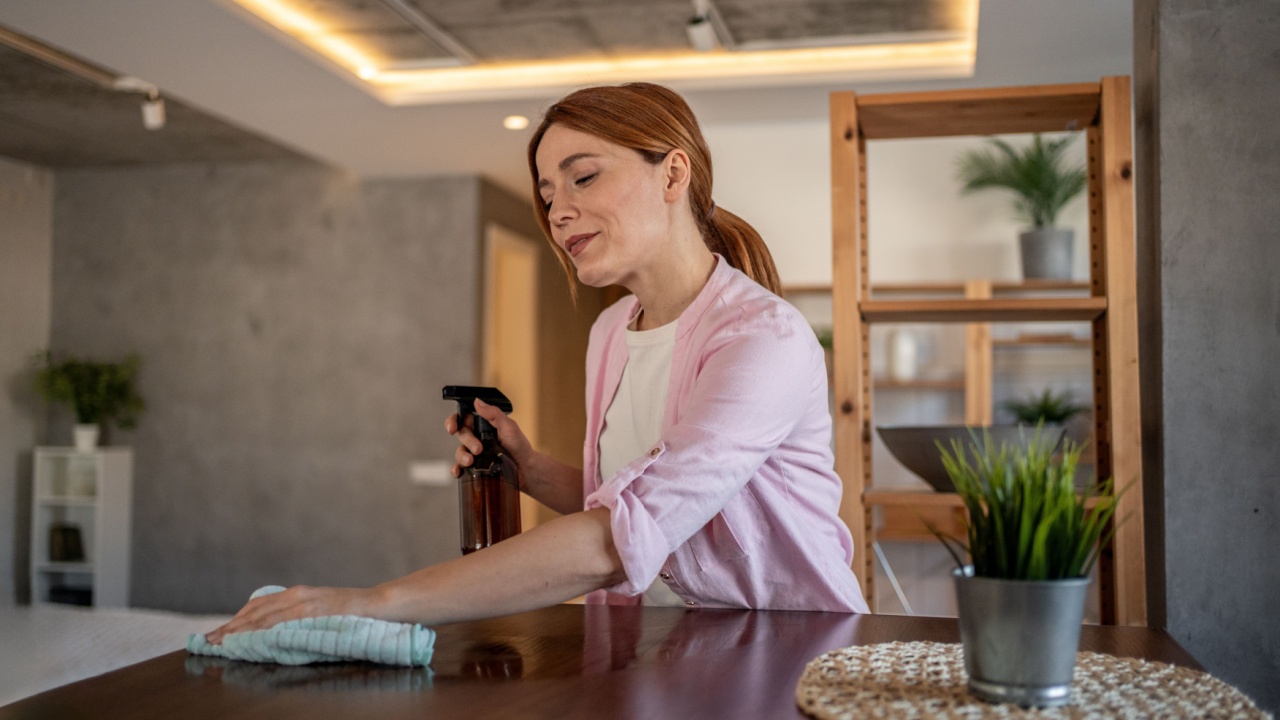
Image Credit: Shutterstock.
When little artists get creative on the wrong surfaces, rubbing alcohol can be your best friend. It’s a powerful solvent that can lift ink and crayon marks from a variety of materials.
Why it Works: Rubbing alcohol acts as a solvent, dissolving the pigments and wax in ink and crayon. This allows you to wipe the stain away without damaging the surface underneath.
Quick Guide:
- Best For: Removing permanent marker from hard surfaces, ink from some fabrics, and crayon from walls or woodwork.
- How-To: Dab a cotton ball or cloth with rubbing alcohol and gently blot or rub the stain. For clothing, place a clean cloth behind the stain to absorb the ink as it lifts.
- Safety Tip: Always test on a small, hidden area first, especially on painted walls or delicate fabrics, to ensure it doesn’t remove color.
16. Use Peanut Butter to Remove Gum
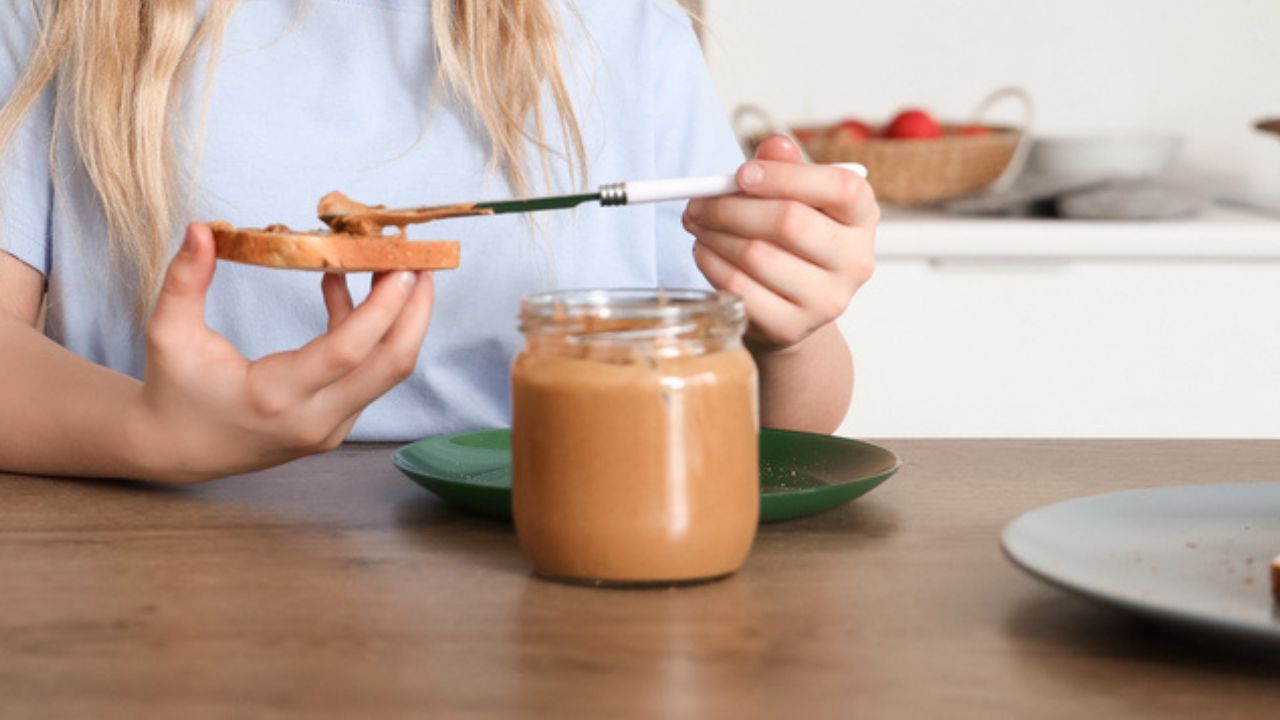
Image Credit: Depositphotos.com.
Getting gum stuck in hair or on your skin is a sticky mess. The oils in peanut butter can help break down the gum’s grip, allowing it to slide right off.
Why it Works: The oils in peanut butter lubricate the gum and the surface it’s stuck to, reducing the stickiness and allowing you to work it free without pulling or cutting.
Quick Guide:
- Best For: Removing chewing gum from hair and skin.
- How-To: Apply a generous amount of creamy peanut butter or vegetable oil to the gum. Work it in with your fingers, wait a few minutes, and the gum should loosen enough to be removed easily.
- Next Steps: Wash the area with soap and water or shampoo to remove the oily residue.
17. Keep Soap Handy at an Outdoor Faucet
Image Credit: Shutterstock.
After a day of gardening, your hands are often covered in dirt. Make cleanup easy by keeping a bar of soap right where you need it at your outdoor spigot.
Why it Works: Tying the soap to the faucet means it’s always accessible and won’t get lost or caked in mud on the ground. The nylon stocking allows the soap to lather up while keeping it contained.
Quick Guide:
- Best For: Quick cleanup after gardening or outdoor projects.
- How-To: Place a bar of soap into the toe of an old nylon stocking. Tie the open end of the stocking securely around the handle of your outdoor water faucet.
- Garden Tip: This also works great at potting benches or in outdoor sheds.
18. Clean Rust Stains on Concrete with Lemon Juice
Image Credit: Shutterstock.
Rust stains from patio furniture, tools, or planters can spoil the look of your concrete patio or driveway. The natural acidity of lemon juice can help bleach these stains away.
Why it Works: Lemon juice contains citric acid, a mild acid that can dissolve iron oxide (rust). It acts as a natural and gentle cleaning agent for mineral-based surfaces like concrete.
Quick Guide:
- Best For: Light rust stains on concrete, patios, and walkways.
- How-To: Pour pure lemon juice directly onto the rust stain. Let it sit for 10-15 minutes, then scrub with a stiff brush. For stubborn stains, add a little salt to the lemon juice to create a gentle abrasive paste.
- Care Tip: Rinse the area thoroughly with water afterward. This method works best on a sunny day, as the sun can enhance the bleaching effect of the lemon juice.
19. Make a Duster from a Sock and a Fly Swatter
Image Credit: Shutterstock.
Dusting under heavy furniture and appliances is often neglected because it’s so hard to reach. This clever DIY tool extends your reach and makes the job simple.
Why it Works: An old sock, especially a fuzzy one, is great at trapping dust. The long, thin handle of a fly swatter allows you to slide the sock into tight spaces like under the fridge or sofa.
Quick Guide:
- Best For: Dusting under furniture, appliances, and other hard-to-reach spots.
- How-To: Slip an old sock over the head of a fly swatter and secure it with a few stitches or a rubber band. You now have a flexible, long-reach duster.
- Next Steps: When you’re done, simply remove the sock and toss it in the laundry.
20. Wash Walls with a Paint Roller

Image Credit: Depositphotos.com.
Washing walls with a sponge can be a slow, streaky, and back-breaking job. Using a paint roller makes the process faster, more efficient, and provides more even coverage.
Why it Works: A paint roller covers a large surface area quickly and applies a consistent, even layer of cleaning solution. This prevents the drips and streaks that are common with sponge washing.
Quick Guide:
- Best For: Washing large wall surfaces.
- How-To: Fill a paint tray with your chosen wall cleaning solution. Use a clean paint roller with a medium-nap cover to “paint” the solution onto the walls. Follow up with a second roller dipped in clean water to rinse.
- Next Steps: Lay towels along the baseboards to catch any drips. Work in sections from top to bottom.
Bring Old-Fashioned Wisdom into Your Modern Home
Image Credit: Shutterstock.
By embracing these time-honored cleaning tips, you can maintain a beautiful home and garden in a way that is both effective and economical. The next step is to look around your own home for these simple ingredients.
Pick one or two of these tricks to try this weekend; you might be surprised at how well they work. Consider starting a small herb pot with mint for a fresh supply, or stock up on white vinegar and baking soda on your next grocery run. These forgotten methods are ready to be remembered.
