
Preserving flowers is a beautiful way to keep cherished memories alive or create stunning DIY decorations. Whether it’s a wedding bouquet, a gift from a loved one, or simply garden blooms you adore, drying flowers quickly ensures you can enjoy their beauty for much longer.
This guide will introduce you to six fast and effective methods for drying flowers, complete with step-by-step instructions. Plus, we’ll explore why you should dry flowers, common mistakes to avoid, helpful tips, and FAQs to make the process as smooth as possible.
Why You Should Dry Flowers
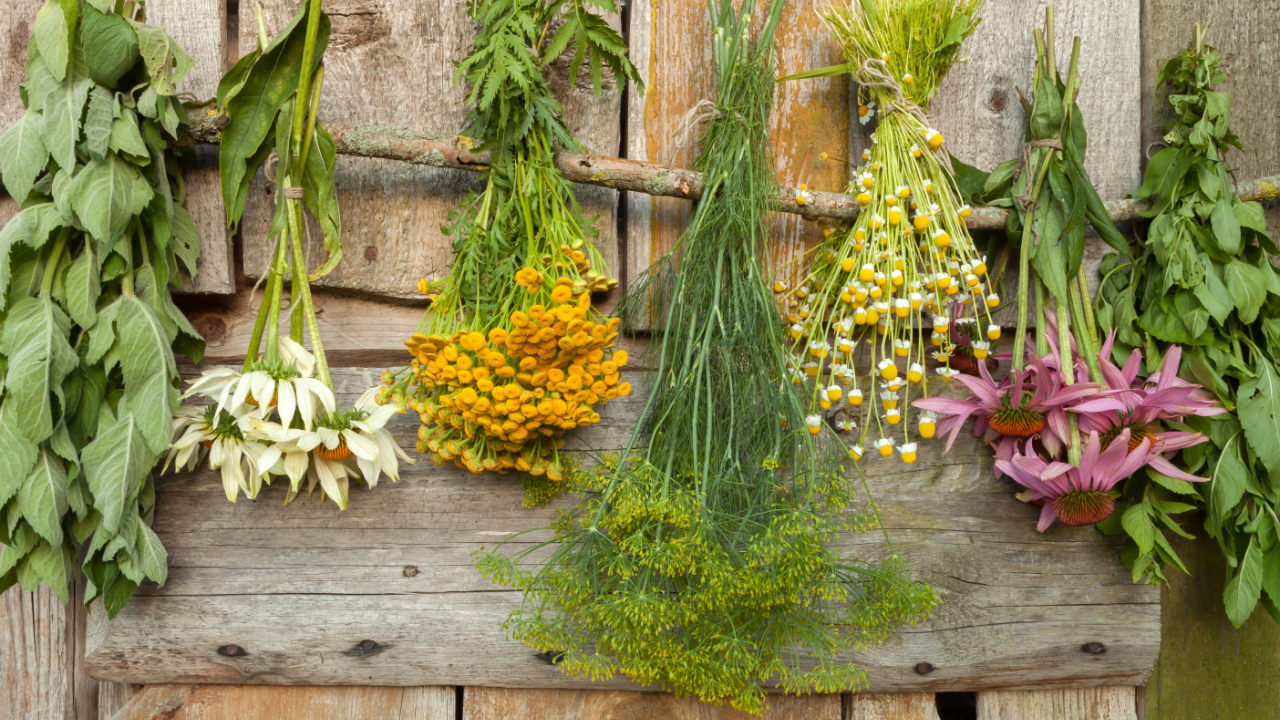
Image Credit: Shutterstock
Drying flowers lets you capture the essence and charm of their natural beauty, even after they’ve been picked. Here are a few great reasons to try it for yourself:
- Preserve sentimental value: Keep flowers from a special moment, such as a wedding, birthday, or anniversary, as a lasting memory.
- Create unique decor: Use dried flowers for framing, wreaths, shadow boxes, or floral arrangements to add a vintage or rustic touch to your home.
- DIY crafts and gifts: Dried flowers can transform simple items like cards or candles into thoughtful, handmade gifts.
- Reduce waste: Extending the life of your flowers means making the most of your blooms, especially if you grow or buy them yourself.
Now that you know why floral preservation is worth it, let’s dive into six easy methods to try. All the methods we’ve outlined are well-established and validated by trusted DIY and floral design sources.
1. Microwave Drying

Image Credit: Depositphotos.com.
Microwave drying is one of the quickest ways to preserve flowers while retaining their vibrant colors. It’s especially great for smaller, delicate blooms, like daisies.
How It Works: This method uses silica gel and short bursts of microwaves to remove moisture from the flowers while maintaining their shape and color.
How to Get Started:
- Place a small layer of silica gel in a microwave-safe dish.
- Add the flowers, ensuring they’re fully supported by the gel.
- Cover the flowers with more silica gel.
- Microwave on low for 1–3 minutes, checking the progress carefully.
- Allow the flowers to cool in the silica gel for 24 hours before removing them.
Pro Tip: Use flowers with dry petals, as damp blooms may scorch more easily in the microwave.
2. Oven Drying
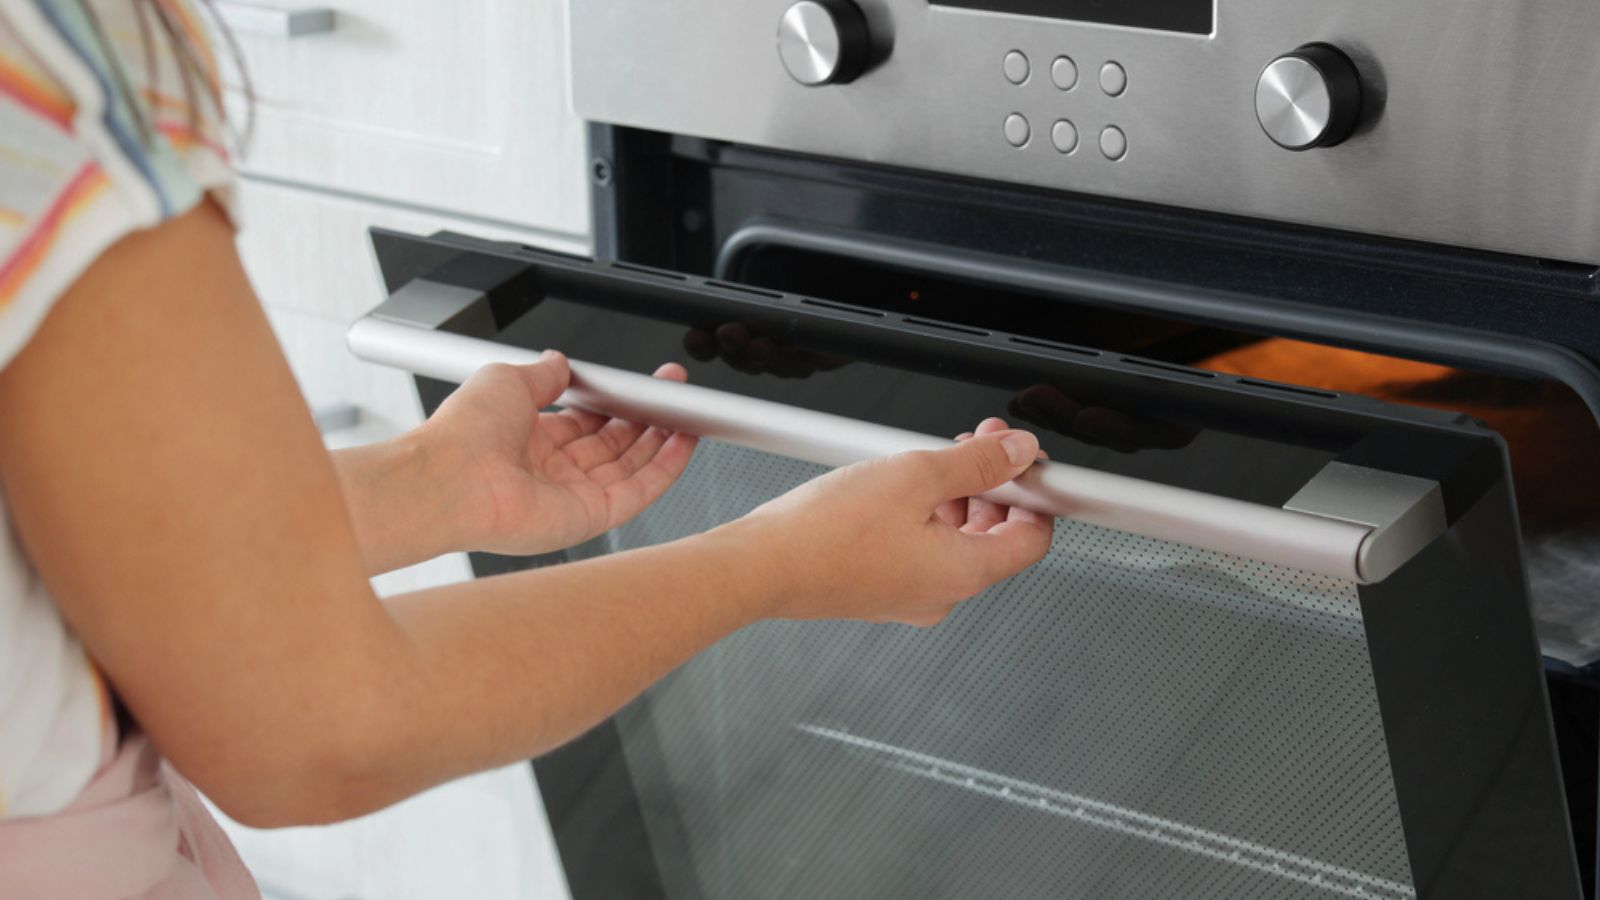
Image Credit: Depositphotos.com.
Oven drying is a simple and reliable technique that works well for drying larger batches of flowers. While the colors may dull slightly, it’s an effective way to preserve blooms in a hurry.
How It Works: The low heat of the oven drives moisture out of the flowers gradually, leaving them crisp and ready for display.
How to Get Started:
- Line a baking sheet with parchment paper to protect the flowers.
- Spread the flowers out in a single layer, making sure they don’t touch.
- Set your oven to its lowest temperature (100–150°F).
- Leave the oven door slightly ajar to allow the moisture to escape.
- Check the flowers every 30 minutes and remove them once they’re fully dry.
Pro Tip: Use masking tape to label your flowers in case you’re drying different types together.
3. Dehydrator Drying
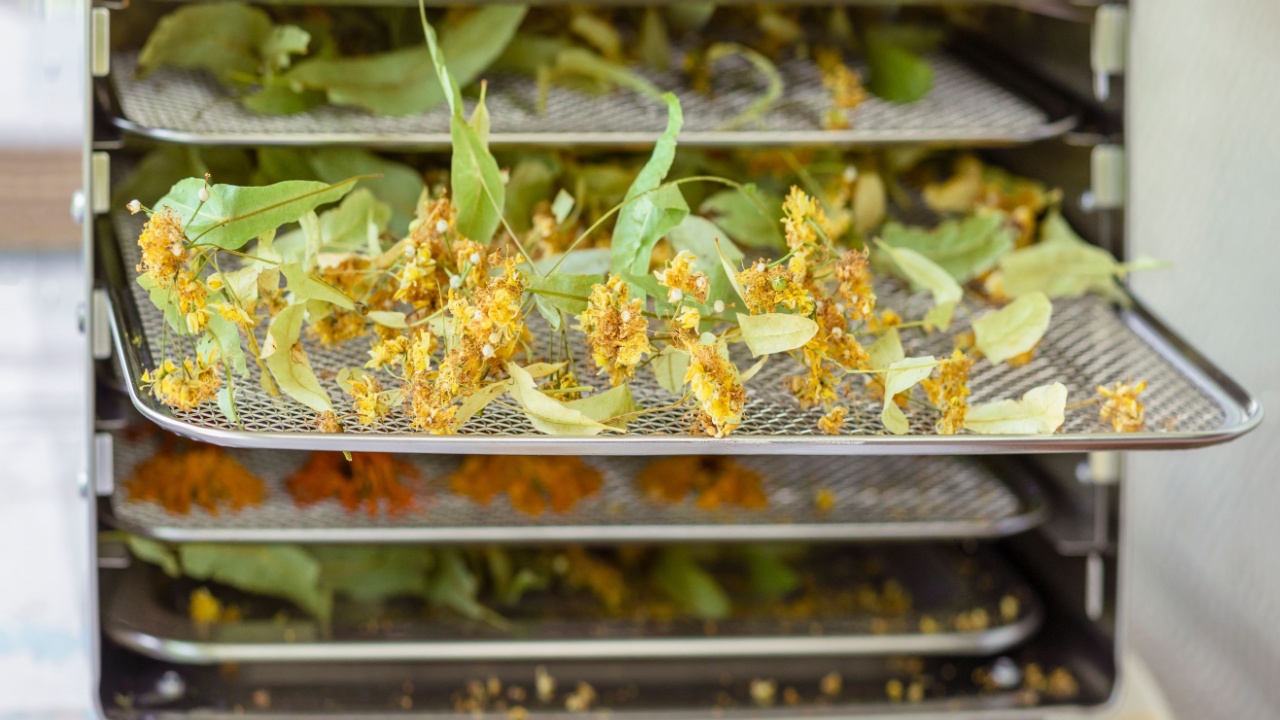
Image Credit: Shutterstock.
If you have a food dehydrator, you can put it to work drying flowers. This method is gentle and preserves the structural integrity of the blooms.
How It Works: The consistent temperature of the dehydrator dries flowers evenly while keeping their shape intact.
How to Get Started:
- Arrange the flowers on the trays so they don’t overlap.
- Set the dehydrator temperature to 100°F.
- Check the flowers every few hours until they feel crisp and dry.
Pro Tip: Reserve a dehydrator tray specifically for flowers to avoid cross-contamination with food.
4. Silica Gel Drying
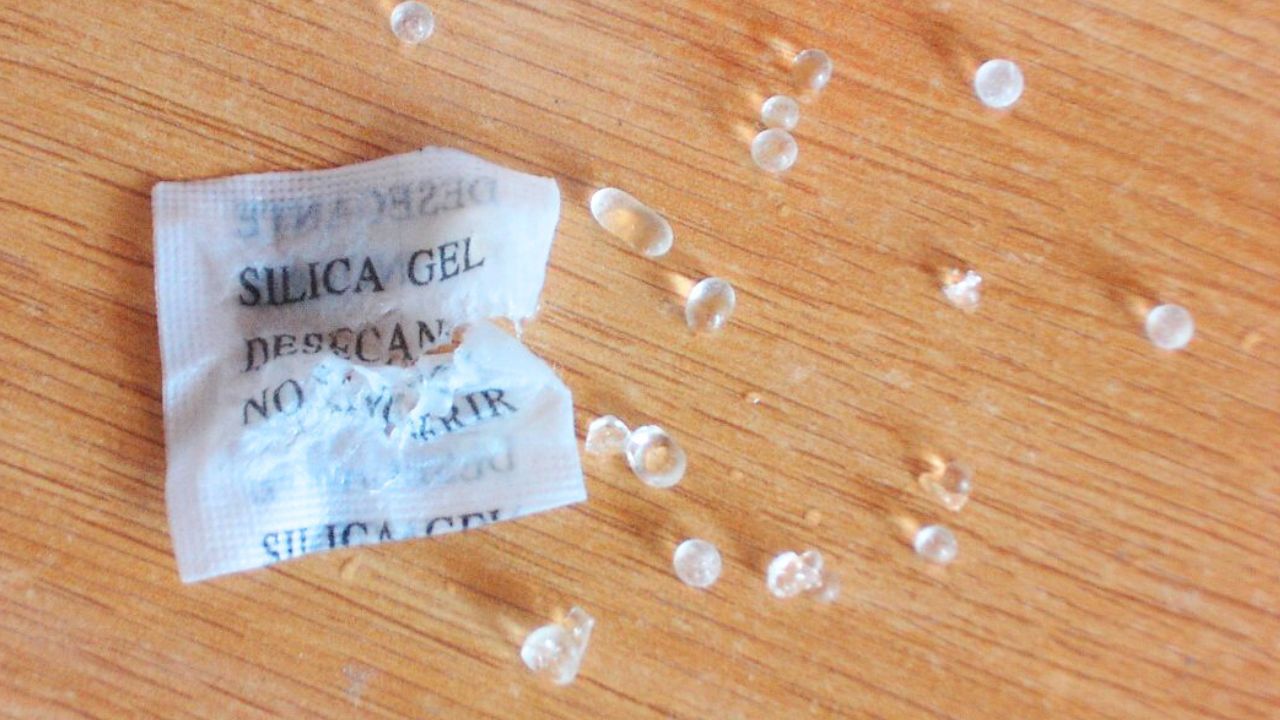
Image Credit: No machine-readable source provided. Own work assumed (based on copyright claims) – Public Domain/Wiki Commons.
Silica gel drying is a professional-grade method that yields highly detailed, lifelike dried flowers. Though it requires some planning, the results are worth the effort.
How It Works: Silica gel absorbs moisture from the flowers while preserving their shape and color.
How to Get Started:
- Pour a layer of silica gel into an airtight container.
- Place the flowers face-up in the gel, ensuring they aren’t touching.
- Gently cover the flowers with more silica gel.
- Seal the container and check it after 1–3 days.
Pro Tip: You can reuse silica gel multiple times by baking out the moisture at a low temperature.
5. Iron Pressing
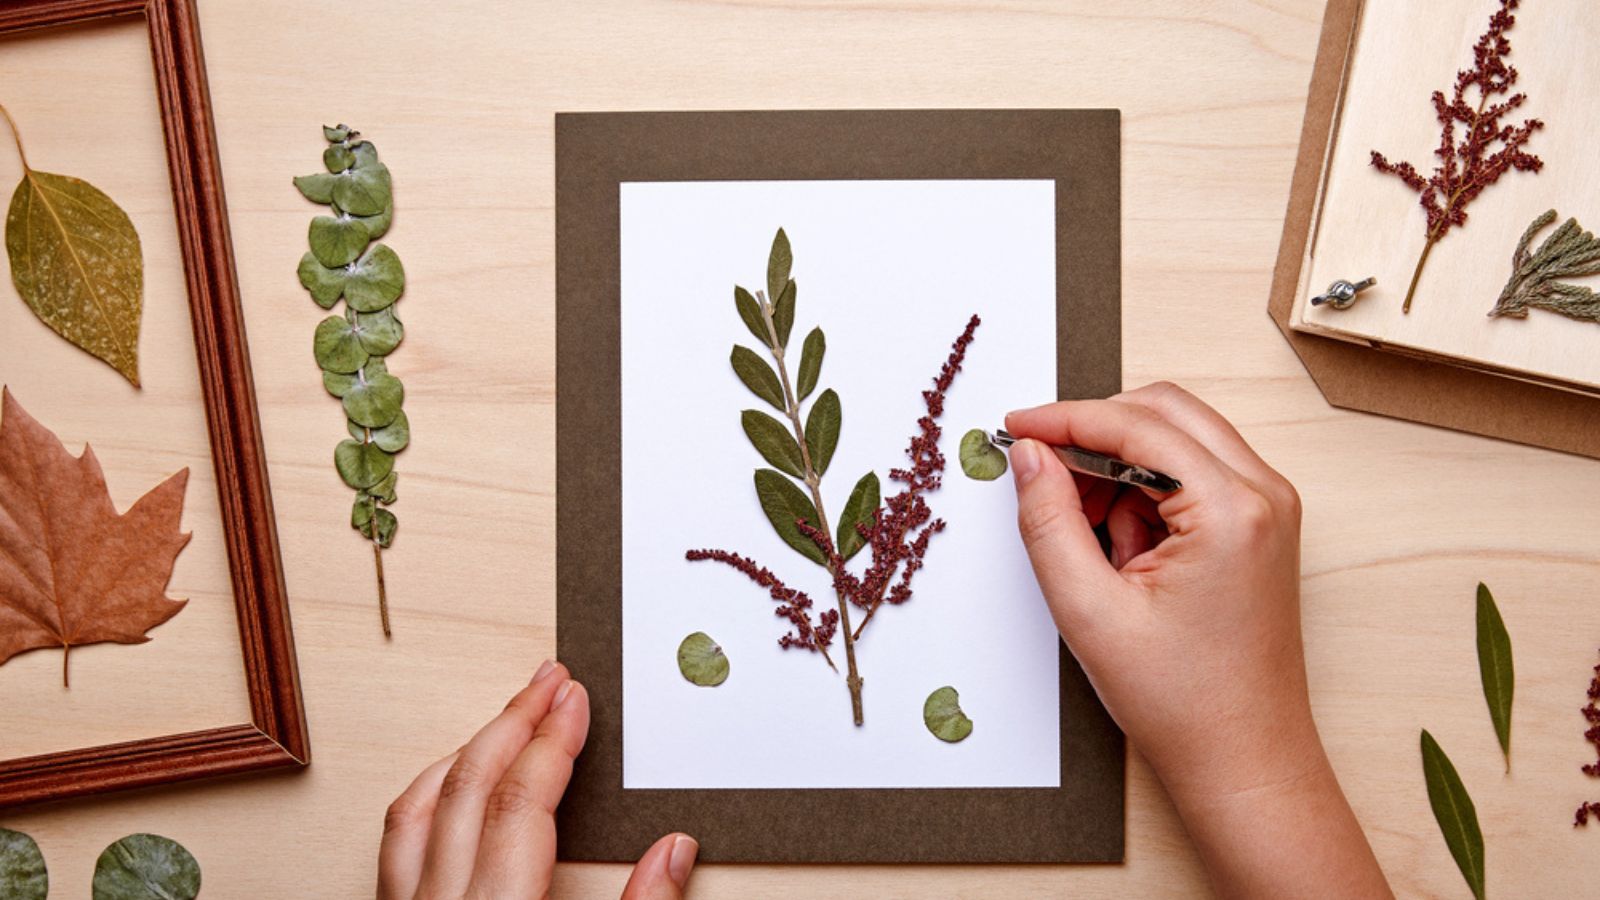
Image Credit: Depositphotos.com.
Iron pressing is a favorite technique for creating pressed flowers, perfect for scrapbooks, framed art, or greeting cards.
How It Works: Gentle heat flattens and dries flowers quickly, leaving them paper-thin and ready for creative projects.
How to Get Started:
- Place the flower between two sheets of parchment paper or wax paper.
- Use a warm iron (no steam) to press the flower for 10–15 seconds.
- Repeat as needed until the flower is completely flat and dry.
Pro Tip: Experiment with small, flat flowers such as pansies or violas for the best results.
6. Air Drying
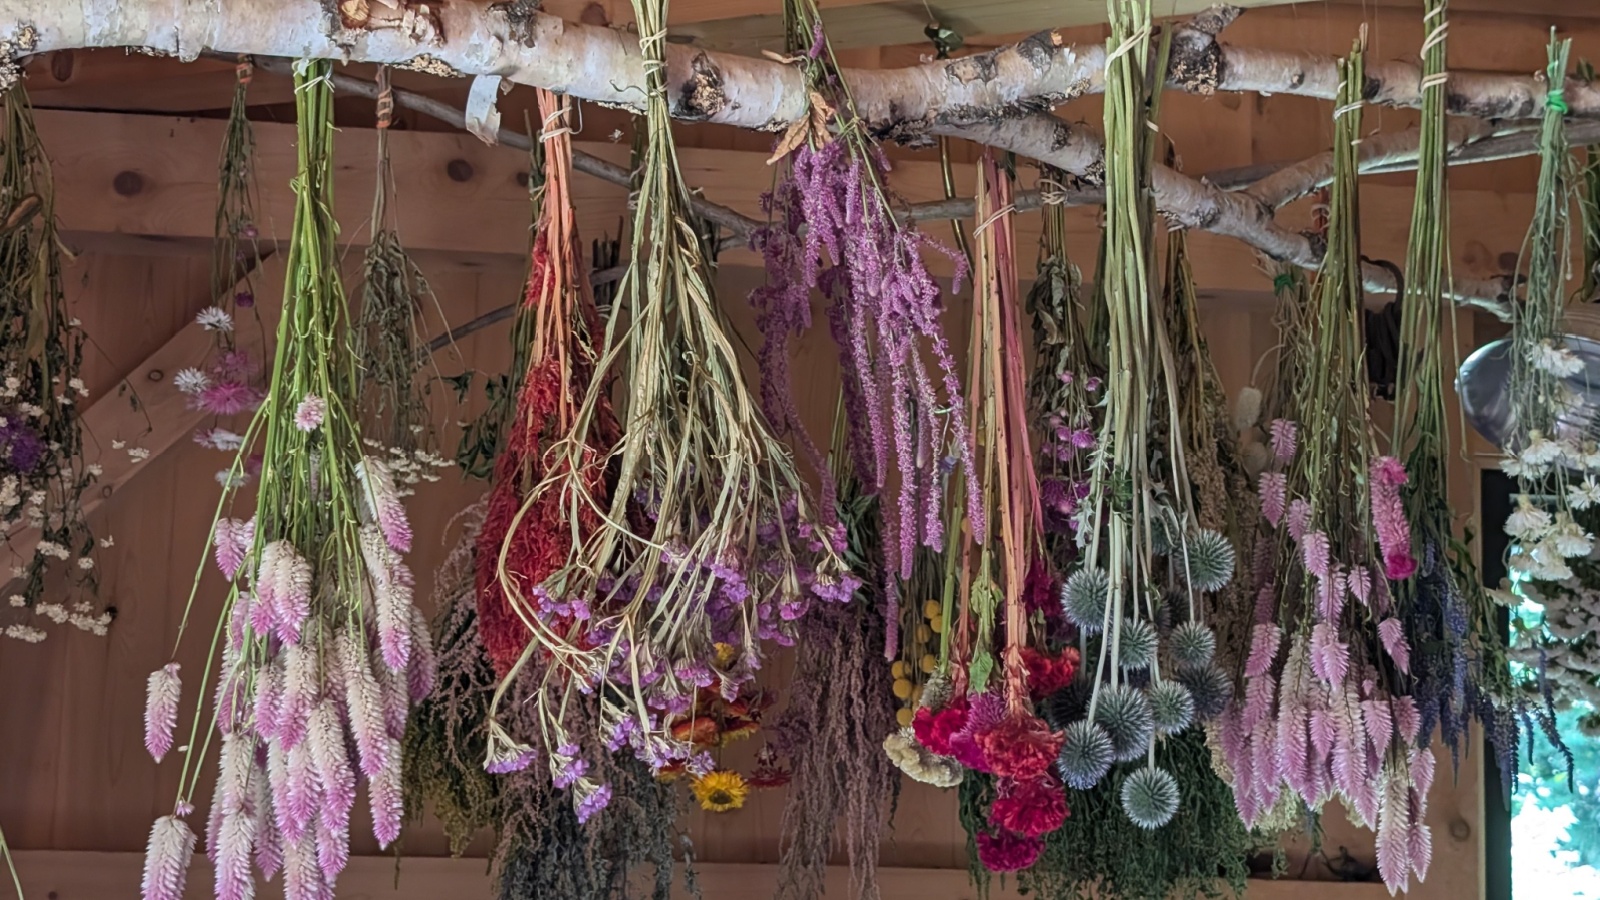
Image Credit: Shutterstock.
Air drying is the most traditional method, and can be accomplished quickly with smaller flowers or sunny conditions.
How It Works: Heat and airflow naturally remove moisture from flowers over a short period.
How to Get Started:
- Tie small bundles of flowers with a string or rubber bands.
- Hang the bundles upside down in a warm, dry, well-ventilated area.
- Check regularly, and the flowers should dry within 1–2 weeks, depending on humidity.
Pro Tip: Use a fan to speed up the drying process if you’re in a humid environment.
Mistakes to Avoid

Image Credit: Shutterstock.
- Overheating with heat-based methods: Always start with lower temperatures and increase gradually.
- Using too many flowers at once: Crowding can cause uneven drying, especially in ovens or dehydrators.
- Skipping preparation: Remove excess leaves and ensure no blooms are damp, as excess moisture may lead to mold.
Tips to Get Started

Image Credit: Shutterstock.
- Work with fresh flowers: The fresher the blooms, the better the results. Avoid flowers that have started to wilt or brown.
- Choose the right method: Match your drying method to the flower type and your desired outcome.
- Plan your project: Decide if you want flat, colorful, or sculptural flowers before starting.
FAQs
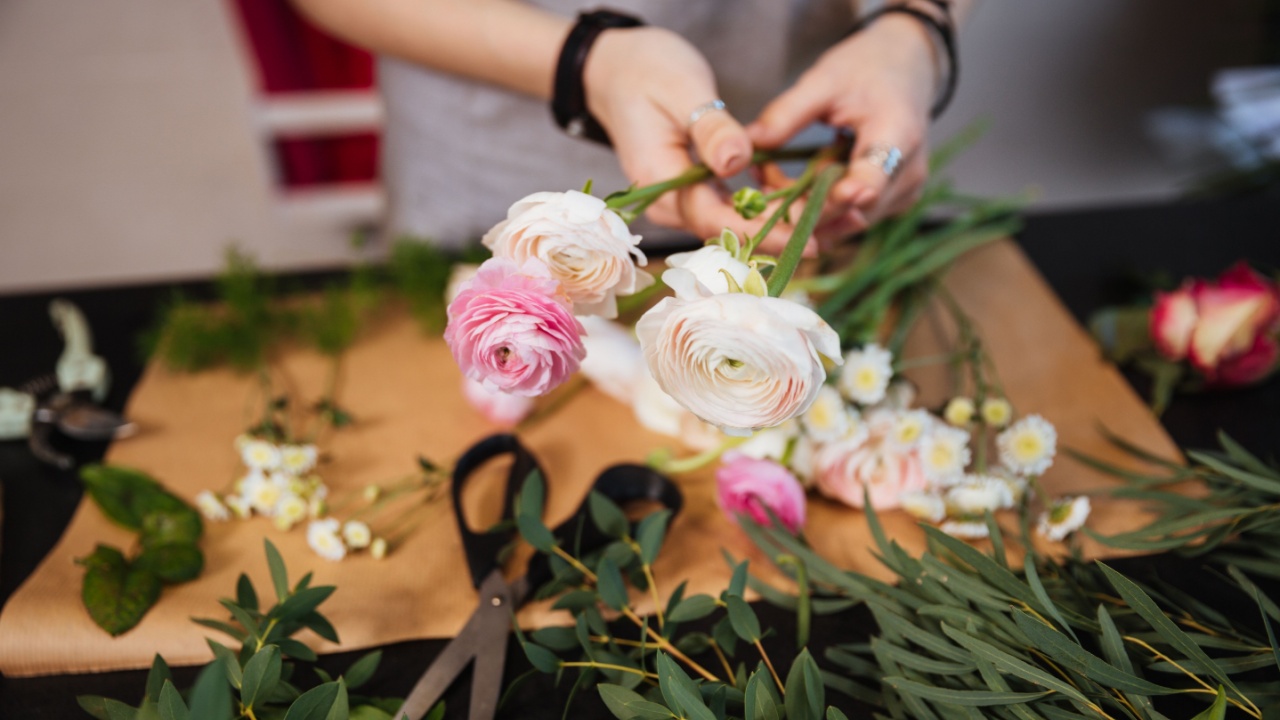
Image Credit: Shutterstock.
Can all flowers be dried quickly?
Yes, but some flowers like roses may require extra care or drying time due to their thickness.
Which method works best for color preservation?
Silica gel drying is your best bet for preserving both shape and vibrant color.
How do I store dried flowers?
Keep them in a cool, dry place away from direct sunlight to prevent fading and brittleness.
Can I mix methods?
Absolutely! For example, you can start with microwave drying to partially dry thick flowers, then finish with air drying.
Are there flowers that don’t dry well?
Yes, some flowers don’t dry well and can become discolored or lose their shape. These include softer flowers like lilies and tulips. It’s best to research which method works best for the specific type of flower you want to dry.
What are other uses for dried flowers?
Dried flowers can be used in various crafts such as pressed flower art, potpourri, and homemade candles. They also make beautiful additions to home decor and can be used as natural confetti for special occasions. Additionally, some dried flowers have medicinal properties and can be used in herbal remedies. So don’t throw away those wilted blooms just yet –
Choose the Method That Works Best
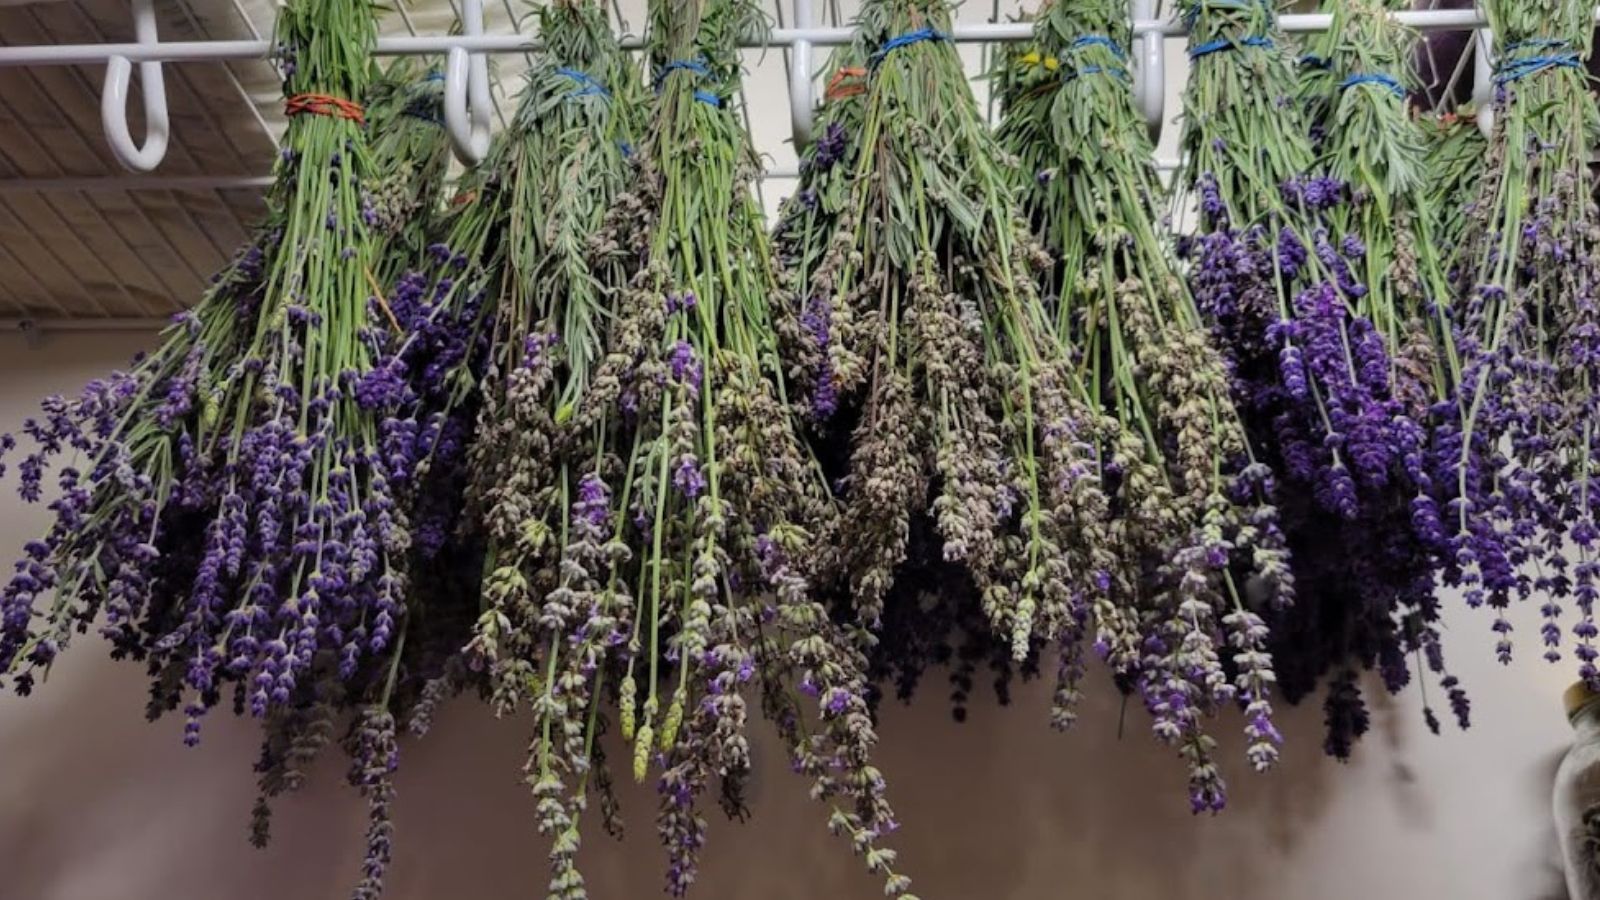
Image credit: Backyard Garden Lover.
Drying flowers quickly is a rewarding way to preserve the beauty of your blooms. With six versatile methods to choose from, you can find the perfect approach for your flowers and desired results. Avoid common mistakes, try out these helpful tips, and enjoy the lasting charm of dried flowers in your home or craft projects!
