
The leaves are doing their annual costume change, we are airing the heavy sweaters now, and my kids are starting to use the word “bored” with alarming frequency. This magical season means it’s time to trade in our garden trowels for glue sticks and our sun hats for whatever protects the dining room table from a glitter explosion. The backyard is a treasure chest of free art supplies right now, from acorns to pinecones and everything in between.
After letting the kids climb the walls like little squirrels who’ve had too much apple cider, let them reset while making something wonderful. We’re about to turn that pile of nature loot into decorations you’ll actually want to display. Here are some craft ideas perfect for little hands and will keep them occupied long enough for you to enjoy a hot beverage.
1. Pinecone Owls
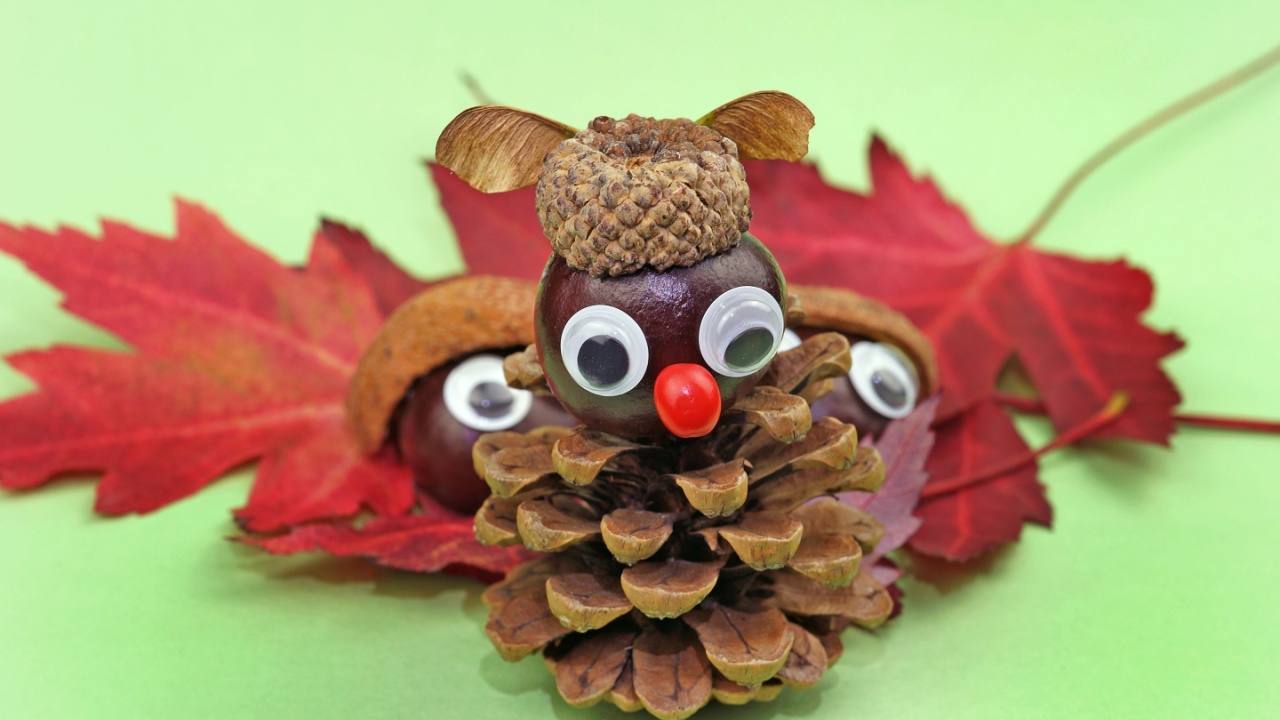
Image Credit: Shutterstock.
Pinecone owls are ridiculously cute and simple to make. Your backyard probably has a stockpile of pinecones just waiting to be turned into a parliament of wide-eyed owls staring at you from the mantelpiece.
This craft is great because it lets kids work with different textures like felt and the natural pinecone. It helps develop fine motor skills when cutting the small felt pieces and placing them just right. The result is a charming little creature they can be proud of.
Quick Guide:
- Supplies: Pinecones, colorful felt sheets, googly eyes, craft glue.
- Steps: Cut out felt shapes for wings, a beak, and maybe some little ear tufts. Glue them onto the pinecone. Add the googly eyes last for that final touch of personality.
- Pro-Tip: To kill hitchhiking critters and dry sap, wash pinecones, then bake them on a foil-lined sheet at about 200 °F (90–95 °C) for 20-45 minutes, checking often so they don’t burn.
2. Pinecone Bird Feeder
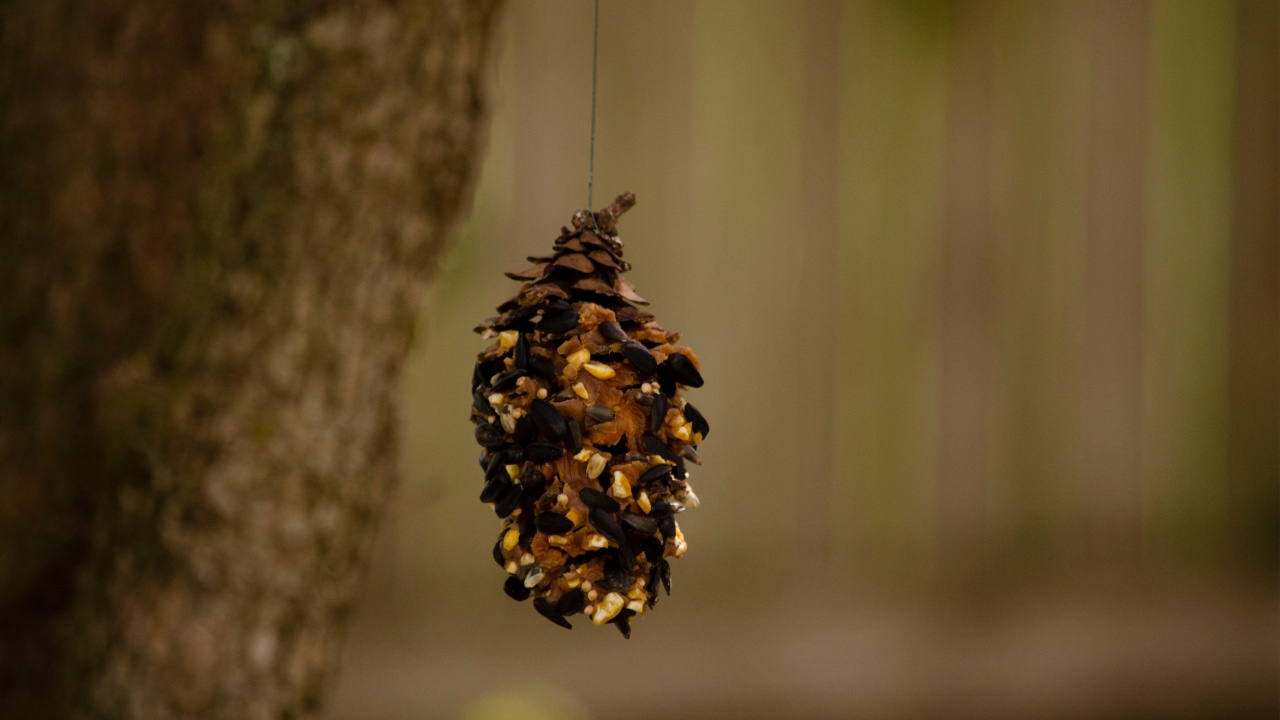
Image Credit: Shutterstock.
Here’s a craft that gives back to your garden’s feathered friends. It’s wonderfully messy, which kids love, and it teaches them a little something about local wildlife. You get to decorate your yard while providing a much-needed snack for birds as their natural food sources become scarcer.
This project is a fantastic sensory experience. The sticky peanut butter and the texture of the birdseed are fun for kids to handle. It also offers a perfect opportunity to talk about the birds you see in your yard and what they eat.
Quick Guide:
- Supplies: Large pinecones, peanut butter (or sunflower seed butter for allergies), birdseed, twine.
- Steps: Tie a piece of twine to the top of the pinecone for hanging. Use a spatula or spoon to cover the pinecone in peanut butter. Roll the sticky pinecone in a shallow dish of birdseed until it’s completely coated.
- Pro tip: Hang your feeder on a branch outside a window where you can watch the birds enjoy their meal. You can turn it into a science project by identifying the different bird species that visit.
3. Nut Caterpillars

Image Credit: Shutterstock.
This is a simple and sweet craft that requires little more than some glue and a handful of acorns. These little caterpillars can be lined up on a windowsill or used as a centerpiece for a fall dinner. My kids once made an entire family of them and gave them all names.
It’s an excellent project for practicing counting and patterns. Kids can decide how long their caterpillar will be and arrange the acorns in a line before gluing. The finished product is a cute little critter that brings a bit of nature indoors.
Quick Guide:
- Supplies: Acorns (caps removed- or any type of nut on hand), hot glue gun (with adult supervision) or strong craft glue, markers.
- Steps: Gently remove the caps from the acorns. Glue the acorns together in a line to form the caterpillar’s body. Use a marker to draw a little face on the front of the acorn. You can even glue an acorn cap back on for a little hat.
- Pro Tip: To prevent mold and bug problems, wash acorns and dry them in the oven on its lowest setting (about 175-200 °F / 80-95 °C) for 1-3 hours, checking frequently, or freeze them first to kill any larvae, then dry. Times vary by size and moisture.”
4. Painted Pumpkins
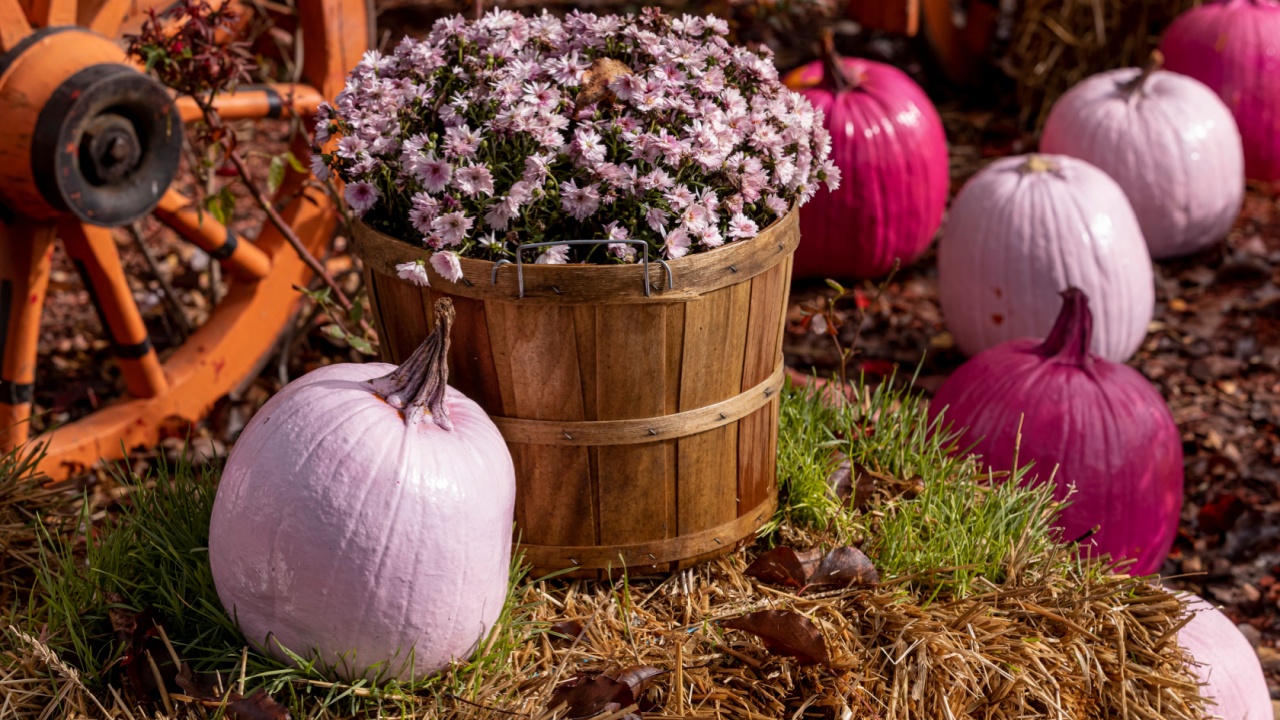
Image Credit: Shutterstock.com
Carving pumpkins is a tradition, but it can be a slimy, difficult mess, especially with younger kids. Painting pumpkins, on the other hand, offers all the creativity with none of the sharp tools. You can create anything from spooky monsters to abstract art.
Painting is a much safer alternative to carving for little ones and allows for more intricate and colorful designs. It’s also a great way to use those mini pumpkins and gourds that are too small to carve.
Quick Guide:
- Supplies: Pumpkins (any size), acrylic craft paint, paintbrushes, newspaper, or a drop cloth.
- Steps: Wash and thoroughly dry your pumpkins to make sure the paint adheres well. Lay down your protective covering. Let the kids paint whatever they imagine. Polka dots, stripes, silly faces, or just a solid new color all look great.
- Next Steps: Once dry, you can seal the painted pumpkins with a clear craft sealer spray to protect the design from the elements if you plan to display them outside.
5. Burlap Gift Bags
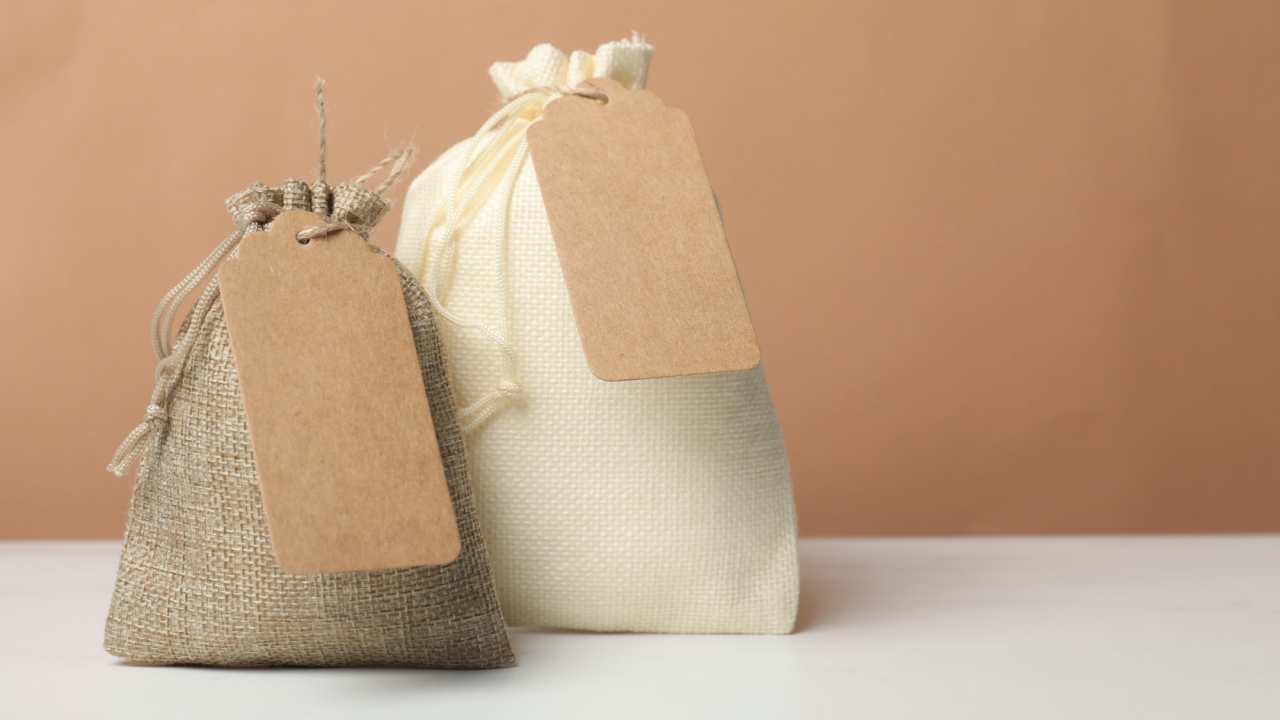
Image Credit: Shutterstock.
Making burlap bags is perfect for creating little party favors for a fall gathering or Thanksgiving. They have a rustic, charming look and are incredibly simple to make. You can fill them with candy, small toys, or even some of the other crafts from this list.
This is a great tactile project that teaches a fundamental and valuable skill. Kids get to practice tying knots and bows, which is a surprisingly tricky maneuver for little fingers. It’s a functional craft that can be used for gift-giving.
Quick Guide:
- Supplies: Square pieces of burlap, twine or ribbon, small gifts or candy.
- Steps: Lay a piece of burlap flat. Place your gift in the center. Gather all the edges of the burlap up around the gift. Use a piece of twine or ribbon to tie the top of the bag shut with a bow.
- Pro-Tip: You can decorate the bags further by having kids stamp them with fabric paint before filling them. A simple leaf or apple stamp looks fantastic.
6. Leaf Rubbings
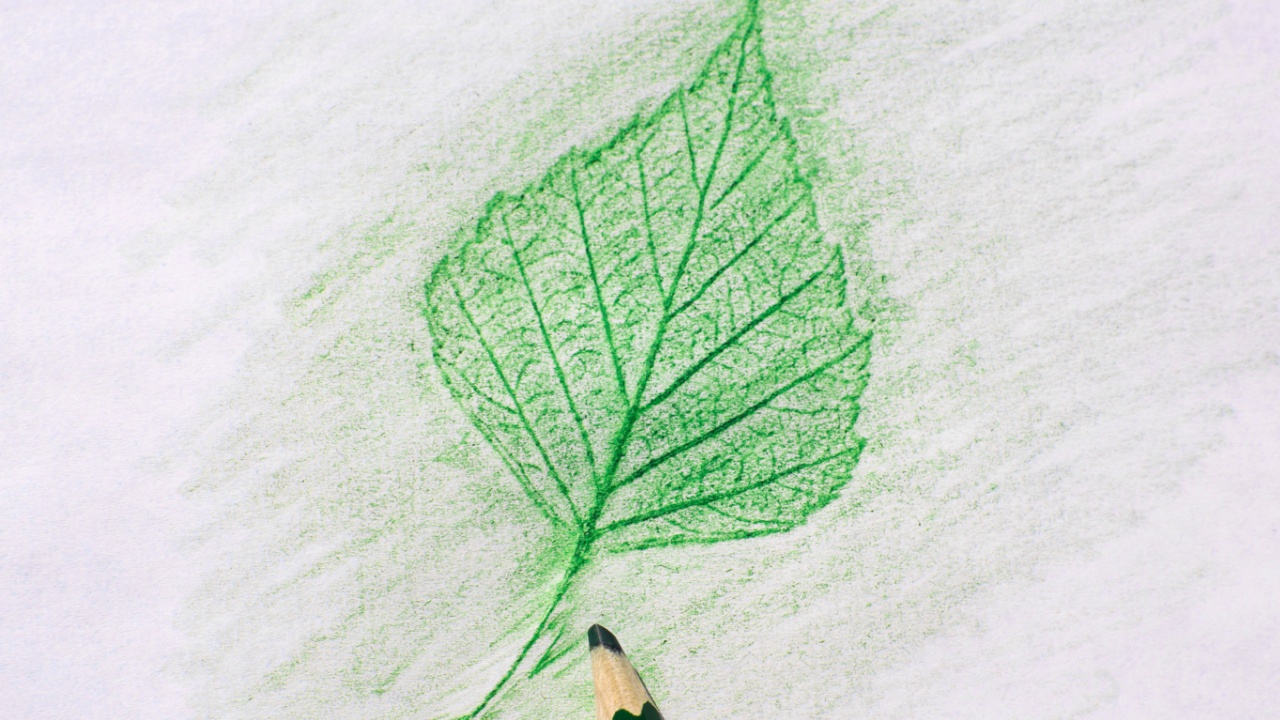
Image Credit: Shutterstock.
A timeless activity that combines a nature walk with an art project. The magic of seeing the leaf’s detailed veins appear on the paper is always a hit. It’s a beautiful way to appreciate the variety of leaves falling in your yard.
Leaf rubbings are a wonderful way to study the science of leaves up close without getting too technical. It encourages observation and can lead to conversations about why leaves change color and fall from the trees.
Quick Guide:
- Supplies: A variety of freshly fallen leaves, thin paper (like printer paper), crayons with the paper peeled off.
- Steps: Go on a leaf hunt in your backyard to find different shapes and sizes. Place a leaf on a hard surface, cover it with a piece of paper, and rub the side of a crayon over the paper. The leaf’s texture will magically appear.
- Next Steps: You can cut out the leaf shapes and string them together to make a garland, or use the papers as unique stationery for writing fall thank-you notes. (See more leaf crafts here)
7. Apple Stamping

Image Credit: Shutterstock.
Who knew a simple apple could be a perfect stamp? This project is fun, a little messy, and produces surprisingly beautiful results. You can stamp onto paper to make cards or artwork, or even use fabric paint to create a custom tea towel or tote bag.
This craft is a great lesson in patterns and shapes. The star that appears when you cut the apple horizontally is always a fun surprise for kids. It connects a familiar food with a new, creative purpose.
Quick Guide:
- Supplies: Apples, a knife (for adult use), paint (acrylic or fabric), paper or fabric.
- Steps: An adult should cut the apples in half. You can cut them vertically for a classic apple shape or horizontally to reveal the star-shaped seed pattern inside. Pour some paint onto a paper plate, dip the cut side of the apple into the paint, and press it firmly onto your paper or fabric.
- Pro-Tip: Use a fork stuck into the rounded side of the apple half as a handle. This makes it easier for kids to hold and stamp without getting their hands completely covered in paint.
8. Scarecrow Craft
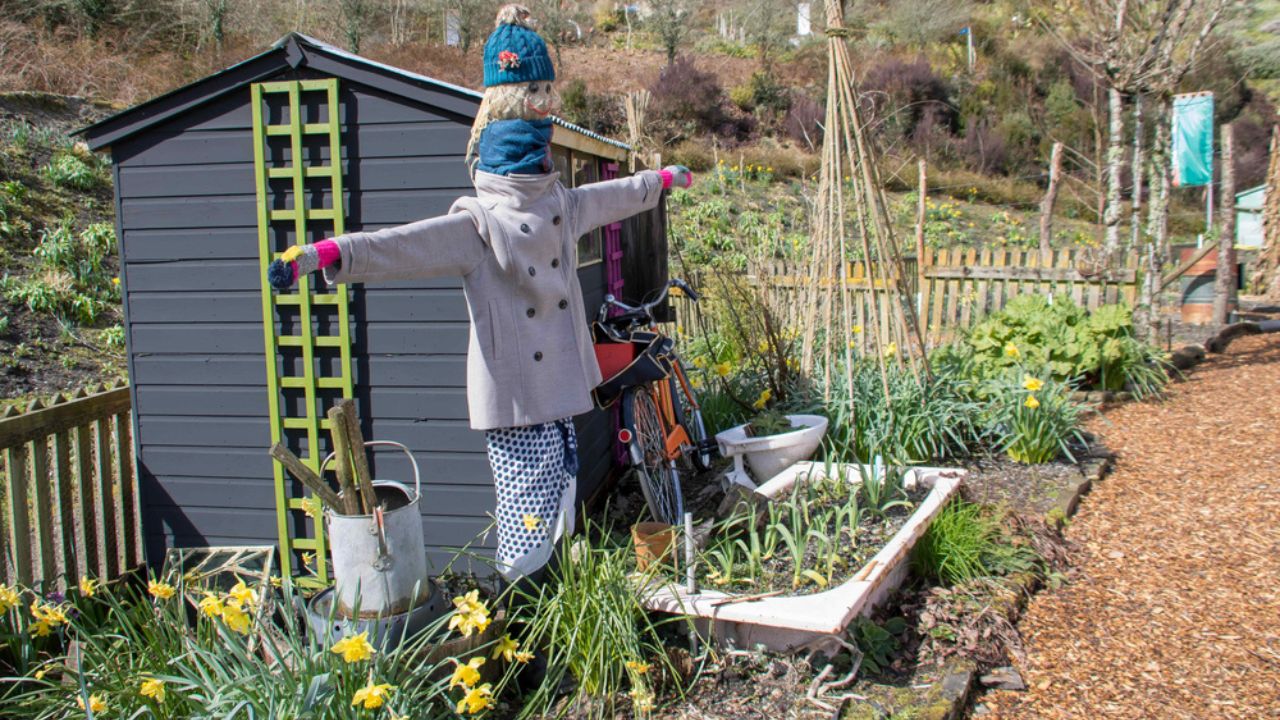
Image Credit: Shutterstock.
Building a life-sized scarecrow for the garden is a big project, but kids can create their own miniature versions using basic craft supplies. These little scarecrows are adorable and can be used to decorate potted plants or sit on a shelf.
This activity is all about imagination. Kids can design their scarecrow’s outfit and expression, giving it a unique personality. It’s a great way to use up scrap fabric and other odds and ends you might have in your craft bin.
Quick Guide:
- Supplies: Craft sticks (like popsicle sticks), twine, scrap fabric, felt, markers, and a hot glue gun.
- Steps: Glue three craft sticks together to make a cross shape (one vertical, one horizontal). Wrap twine around the intersection to secure it. Use fabric scraps to create a little shirt and pants, gluing them onto the sticks. Draw a face on a small circle of felt and glue it to the top. Add a tiny felt hat to finish the look.
- Next Steps: Stick your mini scarecrow in an indoor herb garden or a pot of mums on the front porch for a festive decoration.
9. Fall Collage
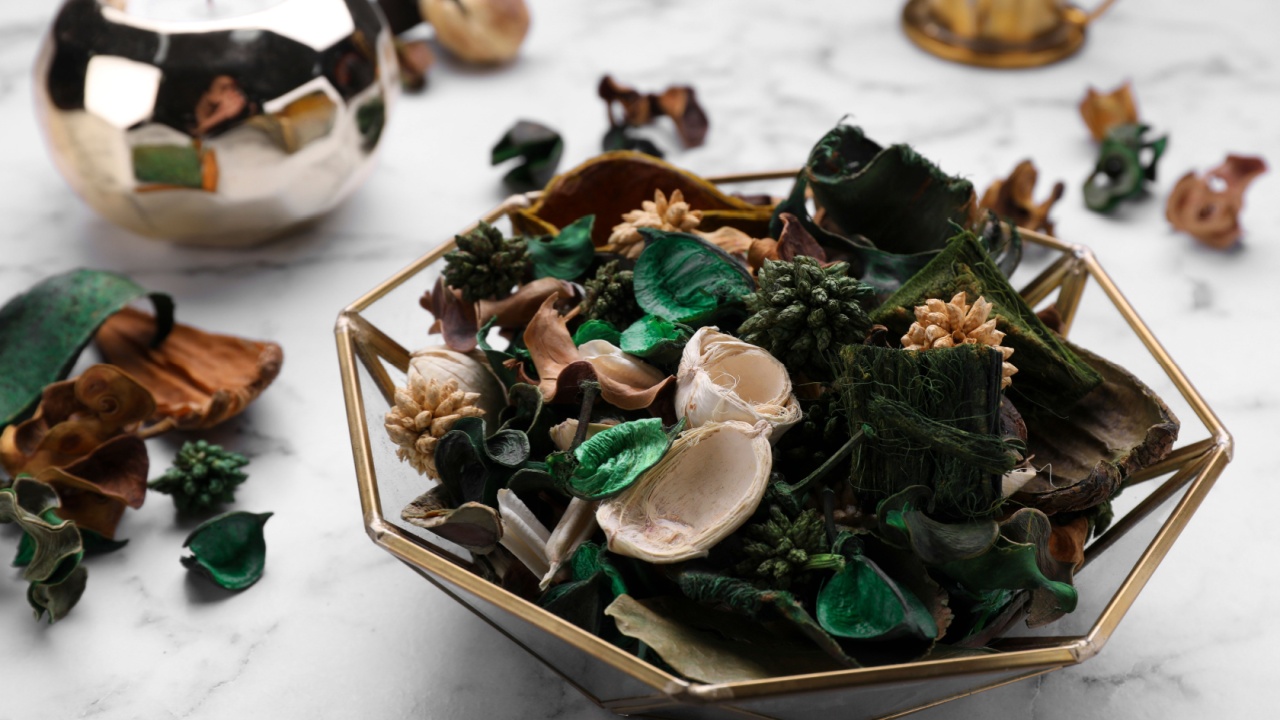
Image Credit: Shutterstock.
A fall collage is the perfect way to use all the natural treasures your kids collect on their walks. Leaves, twigs, acorn caps, and seeds can all be combined into a beautiful piece of textured art. It’s a free-form project with no right or wrong way to do it.
This craft encourages creativity and resourcefulness. It teaches kids to see the artistic potential in everyday objects found in nature. They get to make all the design decisions, from placement to composition.
Quick Guide:
- Supplies: A piece of cardboard or heavy paper, craft glue, and a collection of fall nature items (leaves, small twigs, seeds, dried flower petals).
- Steps: Spread glue over the cardboard. Let your child arrange their collected items on the sticky surface to create a scene or a pattern. Let it dry completely.
- Care Tip: Some natural items, like colorful leaves, will fade as they dry. To preserve their color a bit longer, you can press them between wax paper with a warm iron before gluing them down.
10. Tin Can Luminaries

Image Credit: Shutterstock.
Upcycle some old tin cans into beautiful lanterns to light up your walkway on a crisp autumn evening. This project requires some adult help, but the glowing results are well worth the effort.
This is a great lesson in recycling and repurposing. Kids can be involved in the design process by drawing their patterns on paper first. The final product is a functional and beautiful piece of outdoor decor.
Quick Guide:
- Supplies: Clean tin cans (labels removed), a hammer, a nail, a marker, and battery-operated tea lights.
- Steps: Fill the tin can with water and freeze it solid. This prevents the can from denting when you hammer the holes. Draw a simple design on the outside of the can with a marker (like a leaf or a pumpkin). Place the frozen can on a towel and use the hammer and nail to punch holes along your design.
- Next Steps: Once the ice melts, dry the can and pop a battery-operated tea light inside. The light will shine through the holes, creating a magical glow.
11. Gourd Wreath
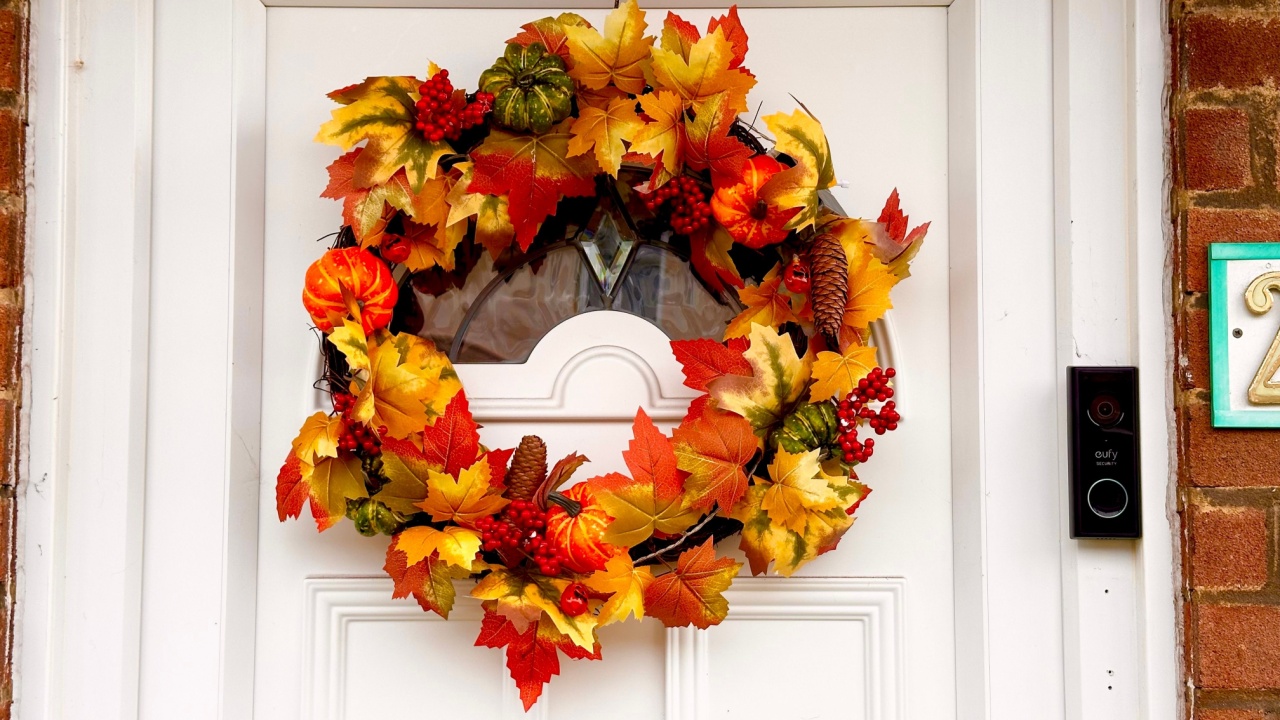
Image Credit: Shutterstock.com.
Making a full-sized wreath can be complicated, but a miniature version using small gourds is much more manageable for kids. They can create a festive decoration to hang on their bedroom door or display on a table.
This project introduces kids to the basics of wreath-making on a small scale. They can practice arranging objects in a circular pattern and learn how to attach them securely. It’s a fantastic way to use the variety of colorful and interestingly shaped gourds available in the fall.
Quick Guide:
- Supplies: A small grapevine wreath form, mini gourds and pumpkins, a hot glue gun, and optional decorations like fall leaves or berries.
- Steps: Arrange the gourds on the wreath form to get an idea of placement before you start gluing. An adult should handle the hot glue gun to attach the gourds firmly to the wreath. Fill in any gaps with silk leaves, small pinecones, or plastic berries.
- Pro-Tip: Choose lightweight gourds and pumpkins. The heavier ones have a tendency to fall off, leading to crafting-related heartbreak.
12. Acorn Photo Frame
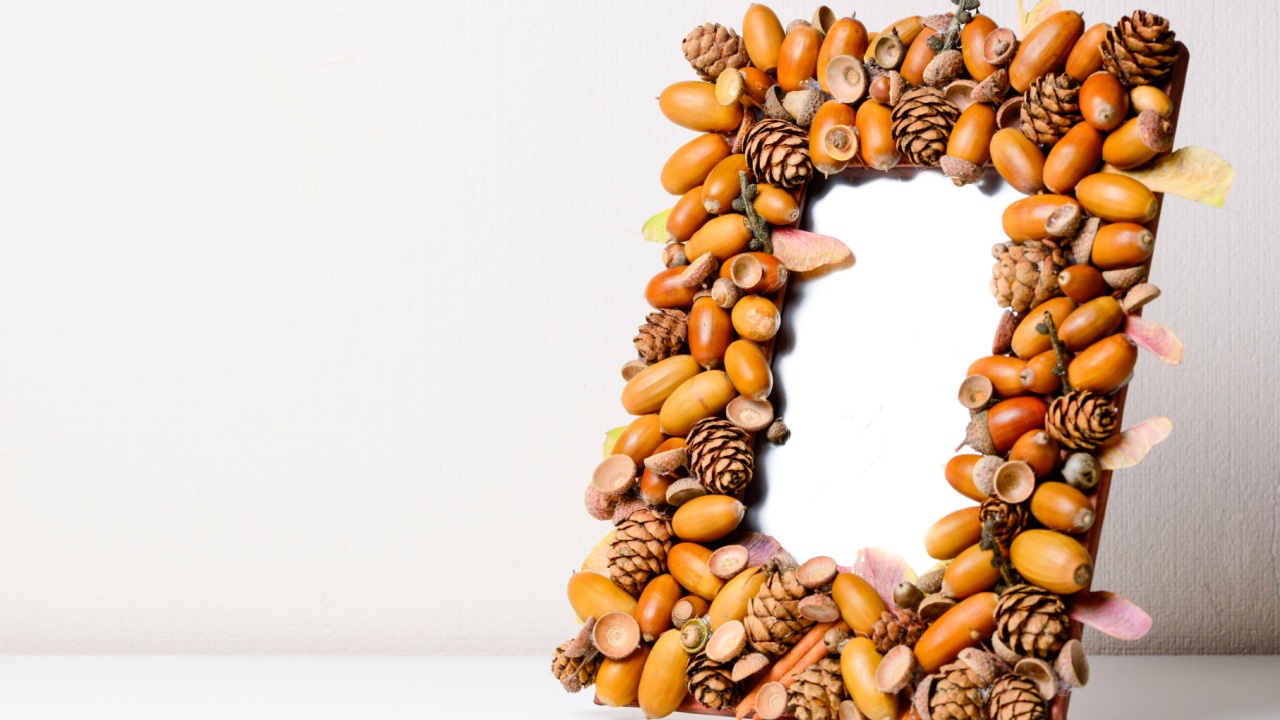
Image Credit: Shutterstock.
Turn a plain, inexpensive photo frame into a rustic masterpiece. This is a simple craft that looks impressive when finished. It’s a great way to frame a favorite family photo from a fall outing.
This project is like a puzzle, requiring kids to fit the acorns together to cover the frame. It’s a good exercise in patience and spatial reasoning. The finished product is a lovely, personalized piece of home decor.
Quick Guide:
- Supplies: A plain wooden photo frame, lots of acorn caps, and a hot glue gun.
- Steps: Start in one corner and begin gluing acorn caps onto the frame. You can place them in neat rows or a more random pattern. Continue until the entire front surface of the frame is covered.
- Next Steps: Once the glue is dry, insert a favorite fall photo. These frames make excellent handmade gifts for grandparents or other family members.
13. Fabric Printing Fun

Image Credit: Shutterstock.
Fabric printing is a fantastic way for kids to explore pattern-making and design while creating something they can actually use — from tote bags to tea towels or even a personalized t-shirt. It’s simple, tactile, and offers endless opportunities for creativity.
This craft introduces the basics of textile art in an approachable way. Kids can experiment with colors, shapes, and textures using items like leaves, sponges, stencils, or even their own handprints to create beautiful, one-of-a-kind designs.
Quick Guide:
- Supplies: Fabric paint, brushes or sponges, stencils or natural materials (like leaves), and a plain cotton item such as a tote bag, tea towel, or t-shirt.
- Steps: Lay your fabric flat on a protected surface. Arrange your chosen objects or stencils, then dab or roll fabric paint gently over them. Carefully lift the object or stencil to reveal the print. Continue until you’re happy with the design.
- Care Tip: Let the paint dry completely — usually about 24 hours. To make the design permanent, heat-set the paint according to the product instructions (typically by ironing the reverse side on medium heat for several minutes).
14. Pinecone Hedgehog
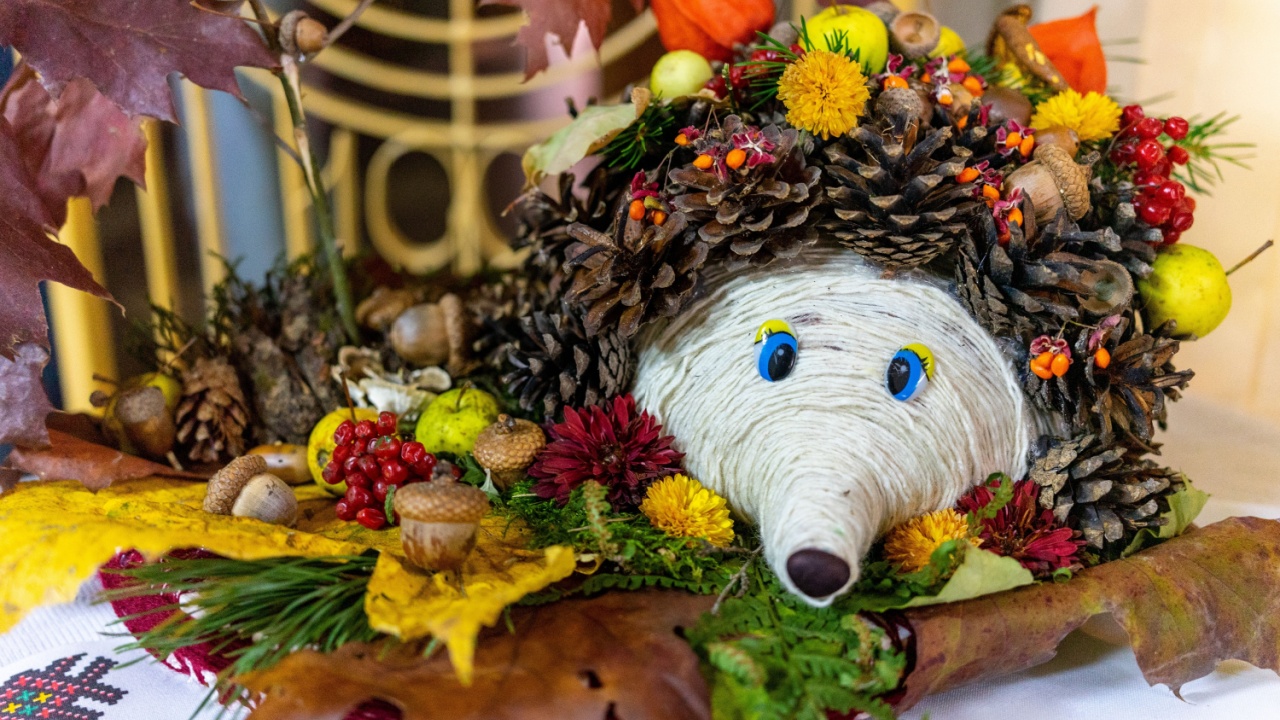
Image Credit: Shutterstock.
This craft transforms a simple pinecone into an adorable little hedgehog (or go big and make a big one with lots of pinecones like the picture above!). It’s a great project for working with modeling clay and combining natural materials with craft supplies.
This activity is great for sensory play, with the textures of the pinecone and the soft, pliable clay. It encourages three-dimensional thinking as kids shape the hedgehog’s face and attach it to the pinecone body.
Quick Guide:
- Supplies: A pinecone, modeling clay (brown or beige), small black beads, or a marker.
- Steps: Lay the pinecone on its side; this will be the hedgehog’s spiky body. Take a small piece of modeling clay and shape it into a cone for the hedgehog’s face. Press the clay onto the pointy end of the pinecone. Use two tiny black beads for eyes and a slightly larger one for the nose, or simply draw them on with a marker.
- Next Steps: These little hedgehogs look cute peeking out from behind a potted plant or sitting in a line on a bookshelf. You can make a whole family of them in different sizes.
Bringing It All Together
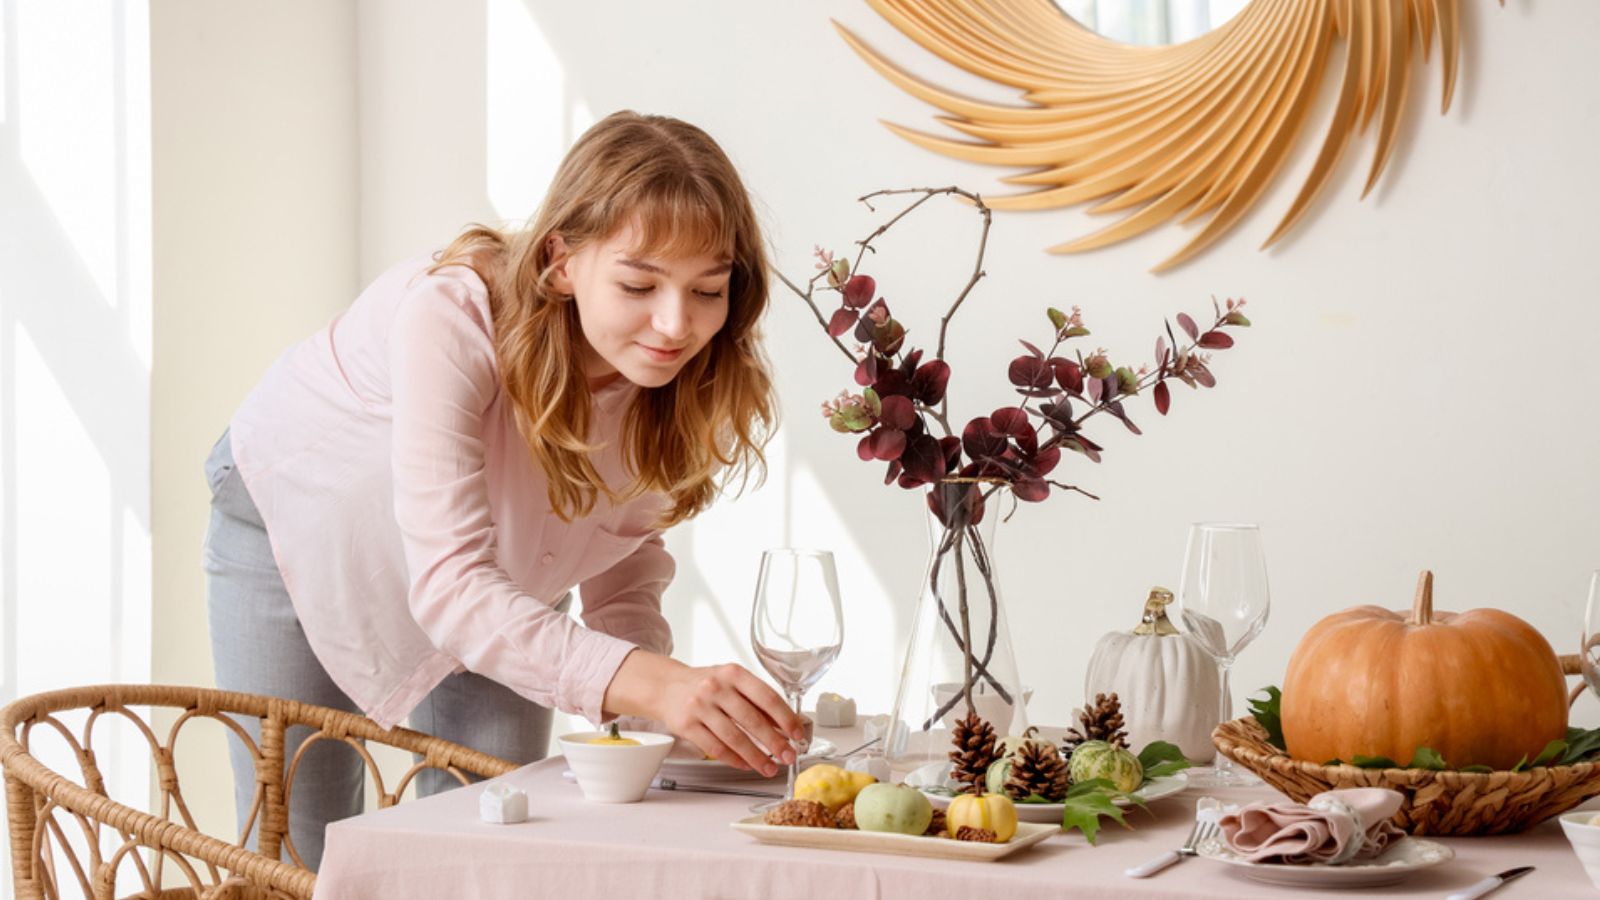
Photo Credit: Depositphotos.com.
Once your masterpieces are dry and the glitter has been (mostly) vacuumed up, find a special place to display them. Integrating these handmade decorations into your home is the final step of the creative process. You can arrange them on the mantel, create a centerpiece for your dining table, or decorate the front porch to welcome guests. These crafts are more than just a way to pass an afternoon; they are the memories you’ll look back on for years to come.