Most homeowners purchase a heat gun for a single, specific purpose. Perhaps stripping layers of ancient paint off a doorframe or wallpaper off a wall seemed necessary at the time. Once those jobs end, the tool usually sits on a shelf in the garage, gathering dust while other household problems pile up.
However, this device generates high temperatures and directs airflow with precision, making it useful for far more than just stripping paint. It can handle repairs around the house and garden that might otherwise require expensive professionals or harsh chemicals. It is time to get more value out of this investment.
Here are ten practical ways to put that thermal power to work.
1. Remove Old Caulk Around Tubs and Sinks
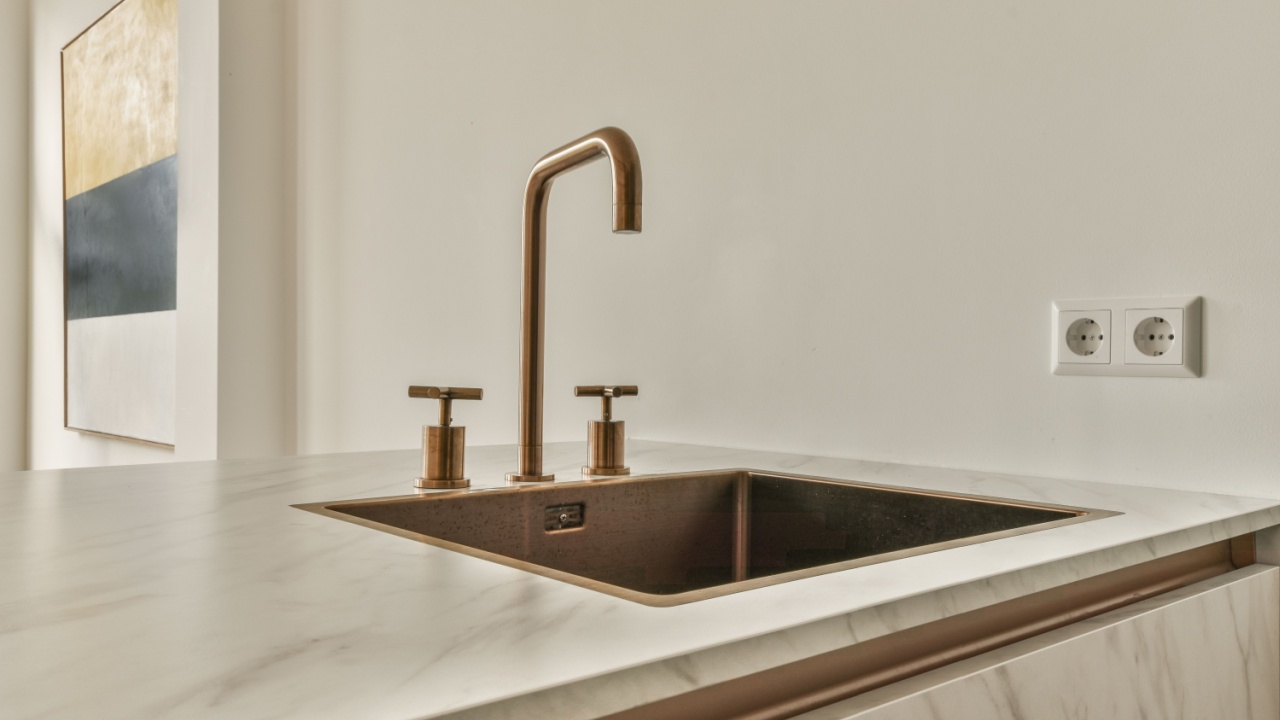
Image Credit: Shutterstock.
Silicone and latex caulk eventually degrade, turning brittle or growing mold that no amount of scrubbing will remove. Trying to scrape away hardened caulk with a putty knife often leads to scratched enamel or gouged fiberglass. Cold caulk clings to surfaces with annoying tenacity. Applying heat changes the physical state of the sealant.
Set the heat gun to a low setting, usually around 200 to 400 degrees Fahrenheit, and wave it back and forth over a section of the old caulk. The heat softens the material, turning it from a hard solid into a pliable, gummy substance. Once heated, the caulk should lift away easily with a plastic scraper. Always keep the nozzle moving to avoid overheating the tub surround or backsplash.
2. Remove Stickers

Image Credit: Shutterstock.
Retailers seem to use the strongest industrial adhesives known to man solely for attaching price tags to delicate items. You buy a new ceramic planter or a set of glazing tools, and the sticker refuses to peel off in one piece. You end up picking at paper shreds with a fingernail for twenty minutes. A blast of hot air solves this frustration immediately. The heat penetrates the paper label and liquefies the adhesive underneath.
Hold the gun several inches away from the object on a low setting. Apply heat for just a few seconds. You will see the edge of the sticker lift slightly or darken. At that point, peel it back slowly. The label should come off in one smooth motion, leaving little to no sticky residue behind. This works on glass, ceramic, wood, and even book covers, provided you keep the heat exposure brief.
3. Remove Old Paint from Furniture

Image Credit: Shutterstock.
This remains the classic function for a reason, but many people do it incorrectly. They crank the dial to maximum and scorch the wood. Using a heat gun to strip paint requires patience, not brute force. This method is far superior to chemical strippers, which create messy sludge and release toxic fumes. When refinishing a vintage garden bench or a flea market dresser, working in small sections yields the best results.
Direct the hot air at the painted surface until the paint begins to bubble and blister. Immediately follow the heat stream with a metal scraper, lifting the paint while it remains soft. If dealing with pre-1978 furniture, you must test for lead paint first. Heating lead paint vaporizes the toxins, creating a severe health hazard. Assuming the paint is safe, this thermal method leaves the wood dry and ready for sanding, skipping the long drying times associated with chemical gels.
4. Remove Stubborn Adhesives
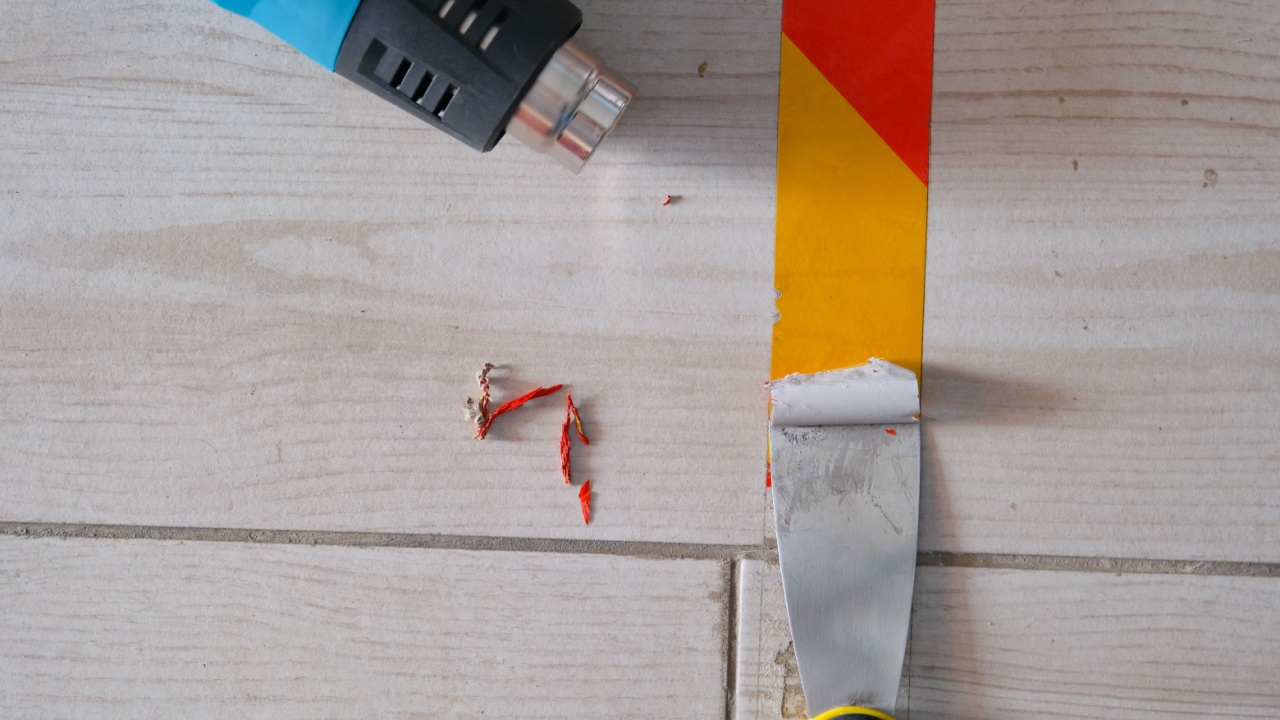
Image Credit: Shutterstock.
Sometimes the sticker is gone, but the glue remains. Or perhaps you pulled up old linoleum and found the subfloor coated in decades-old mastic. Chemical solvents can damage certain flooring materials or finishes. Heat offers a safer alternative for softening these persistent glues. For floor adhesives, use a higher temperature setting and work with a heavy-duty floor scraper. The heat reactivates the glue, making it tacky and easier to scrape up.
For smaller residues on hard surfaces, a lower setting works well. Wipe the softened glue away with a disposable rag. This technique proves especially helpful when removing bumper stickers from cars. The metal bumper acts as a heat sink, so you may need slightly more persistence, but the heat allows the vinyl to release without damaging the paint underneath, unlike razor blades.
5. Fix Composite Deck Discoloration
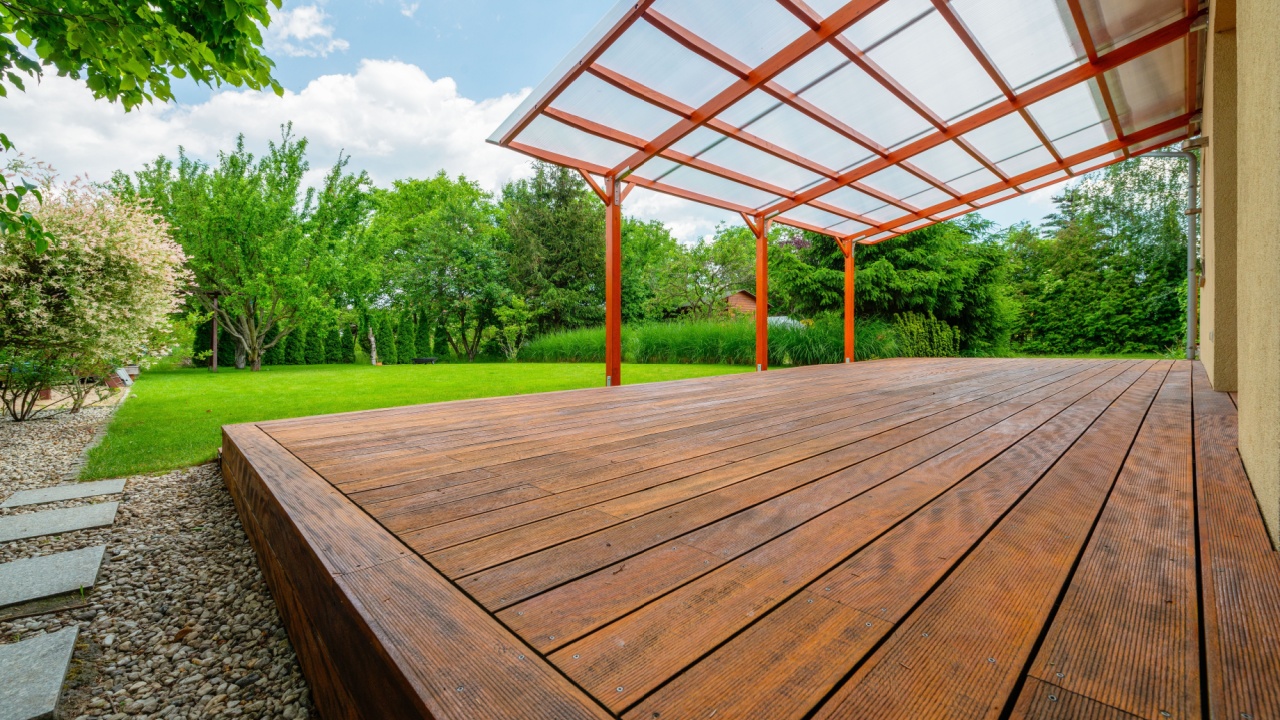
Image Credit: Shutterstock.
Backyard enthusiasts often invest in composite decking for its durability, but the sun eventually takes a toll. Over the years, UV rays bleach the boards, leaving them looking gray and tired. Before replacing the entire deck, consider thermal restoration. Composite decking is essentially a blend of wood fibers and plastic. Carefully applying heat brings the oils and resins in the plastic to the surface, effectively re-saturating the color.
This process requires extreme caution. If you hold the gun in one spot too long, you will melt the plastic texture and ruin the board. Practice on an inconspicuous area first. Keep the gun moving constantly at a medium distance. You should see the color deepen almost instantly. This fix is permanent in the sense that it alters the material surface, but fading will eventually occur again with time.
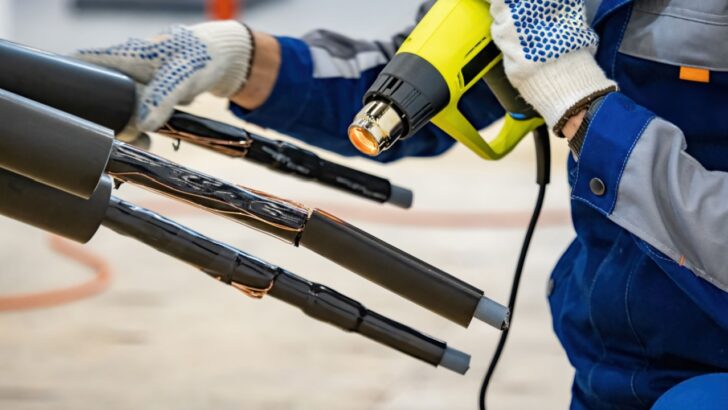
6. Heat-Shrink Tubing for Electrical Repairs
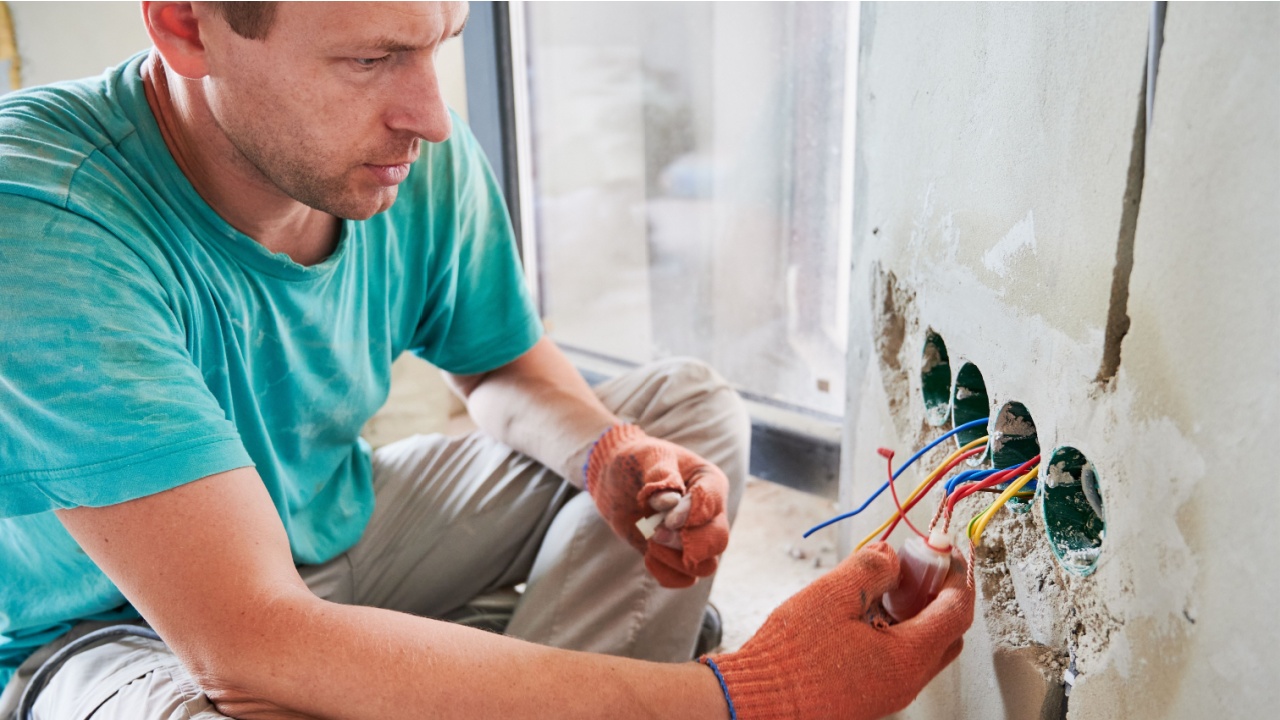
Image Credit: Shutterstock.
Outdoor lighting takes a beating from moisture and temperature changes. When repairing frayed wires on garden lights or extension cords, electrical tape often fails. It peels off after a few rainstorms, exposing the wires to the elements. Heat-shrink tubing provides a professional, watertight seal.
Slide the tubing over the wire connection before soldering or twisting the wires together. Once the connection is secure, slide the tubing over the exposed metal. Use the heat gun on a low setting to shrink the plastic sleeve. A lighter or a match can leave soot marks or melt the tubing unevenly. The heat gun provides a uniform stream of hot air, contracting the tubing tightly around the wire for a seal that keeps moisture out. This simple step significantly extends the life of outdoor electrical repairs.
7. Smooth Warped or Dented Baseboard Corners
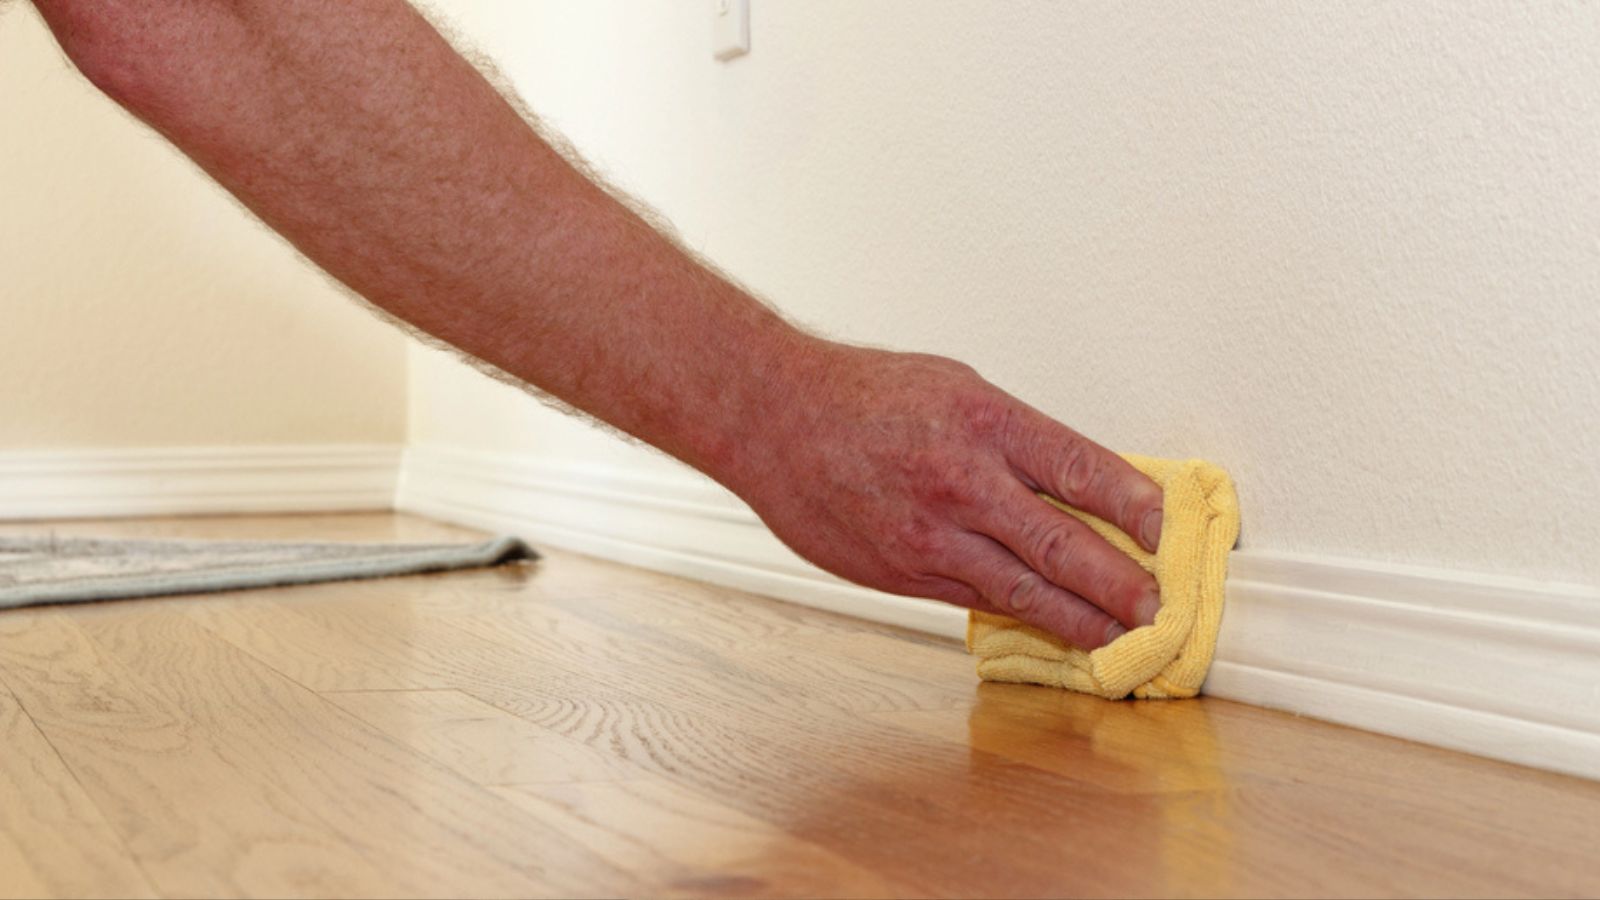
Image Credit: Deposit Photos.
Baseboards are common in mudrooms, garages, and utility areas. Installing them around tight corners often results in cracking or whitening of the material at the bend. Furthermore, heavy impacts can dent the plastic, leaving an unsightly mark. To install baseboards around a corner, heat the back of the material until it becomes floppy.
Press it firmly into the corner and hold it there with a cold, damp cloth until it cools. The vinyl will retain the new shape perfectly. For dents in existing vinyl trim, careful heating can sometimes allow the material to “remember” its original flat shape, or at least soften it enough for you to smooth out the imperfection with a flat tool.
8. Remove Epoxy or Resin
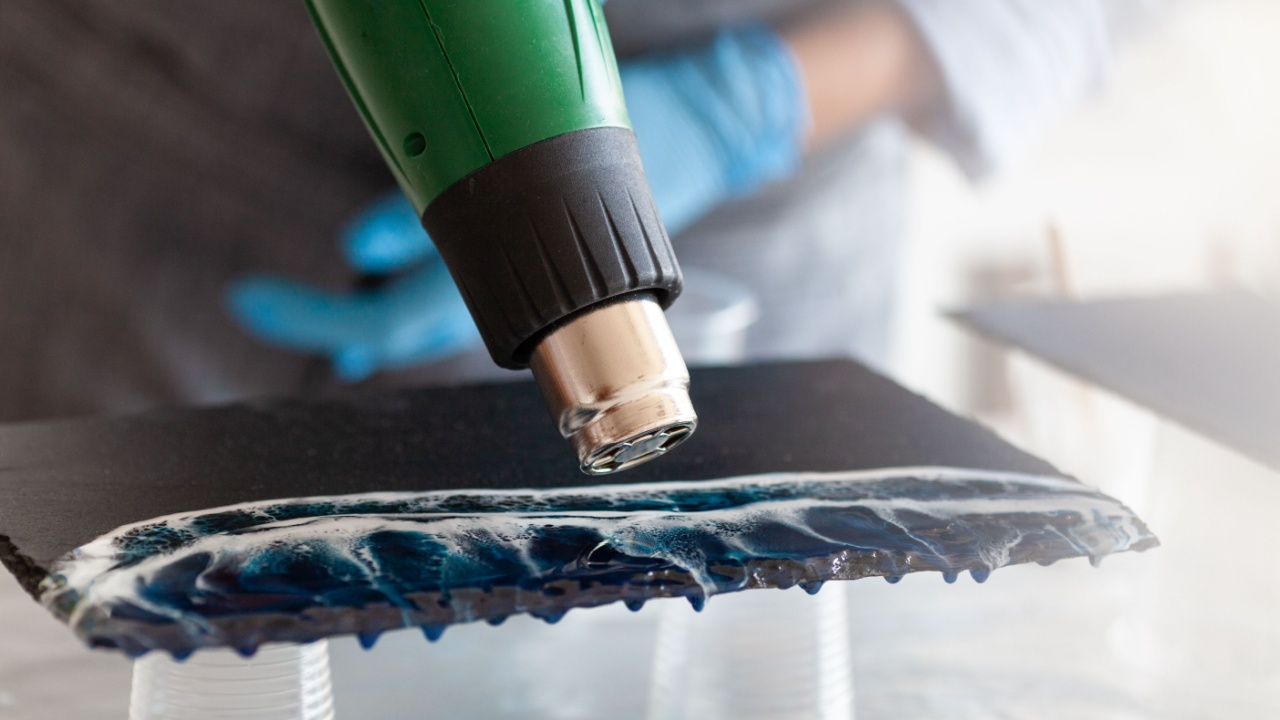
Image Credit: Shutterstock.
Crafters and DIYers know the panic of spilling epoxy resin where it does not belong. Once cured, epoxy feels like solid rock. Chipping it away usually damages the surface underneath. While cured epoxy is incredibly strong, it has a low heat resistance compared to metal or stone.
Heating cured epoxy to around 200 degrees Fahrenheit softens it significantly. It essentially returns to a gel-like state. You can then scrape it off with a plastic tool. This is excellent for cleaning up messy edges on a project or removing a failed resin pour. Ventilation is mandatory here, as heated epoxy releases fumes. Wear a respirator and work in an area with good airflow.
9. Thaw Frozen Pipes
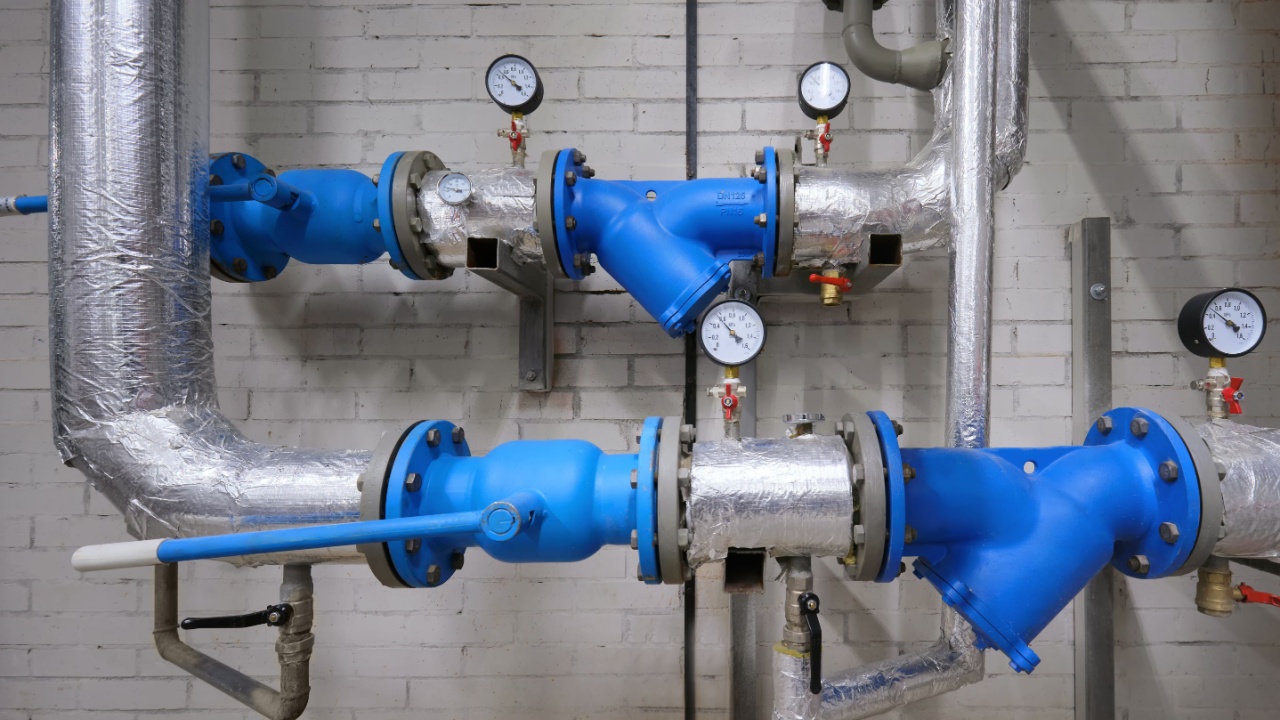
Image Credit: Shutterstock.
Winter weather can wreak havoc on plumbing, especially pipes running through uninsulated crawl spaces or garages. A frozen pipe is a ticking time bomb waiting to burst. Using an open flame like a torch is dangerous and poses a severe fire risk. A heat gun offers a safer, controlled method for thawing.
Open the faucet connected to the frozen pipe to allow water to flow once the ice melts. Start heating the pipe near the faucet end and slowly work your way back toward the frozen section. Keep the gun moving to avoid creating steam pressure inside the pipe, which could cause a rupture. Do not use this method on PVC pipes unless you are extremely careful, as they can warp or melt. For copper or galvanized steel, however, it is a highly effective remedy.
10. Repair Vinyl Flooring
Image Credit: Shutterstock.
Vinyl flooring is durable, but sharp objects can cause scratches, gouges, or lifting seams. Replacing a single plank or tile can be difficult if the floor is glued down. Heat can help repair minor damage without replacement. Heat makes vinyl pliable.
For a lifted seam or corner, heat the adhesive underneath by warming the vinyl from the top. Once the glue reactivates, press the flooring back down with a heavy weight until cool. For small scratches or gouges, some vinyl types can be self-healing. Gently heating the area relaxes the material, causing shallow scratches to disappear or become less visible. If you need to patch a piece, heat helps remove the damaged plank and makes the new piece flexible enough to fit into the tight space.
Keep It Handy, But Keep It Safe

Image Credit: Shutterstock.
The heat gun belongs in your regular rotation of household tools, not hidden away in a box. From the garden deck to the bathroom plumbing, it solves problems that other tools cannot touch. However, respect the temperature. The metal nozzle remains hot enough to burn skin or melt plastic long after you flip the switch to “off.” Always set the tool down on its integrated stand and let it cool completely on a non-flammable surface before storing it. With proper caution, this device simplifies home maintenance in surprising ways.