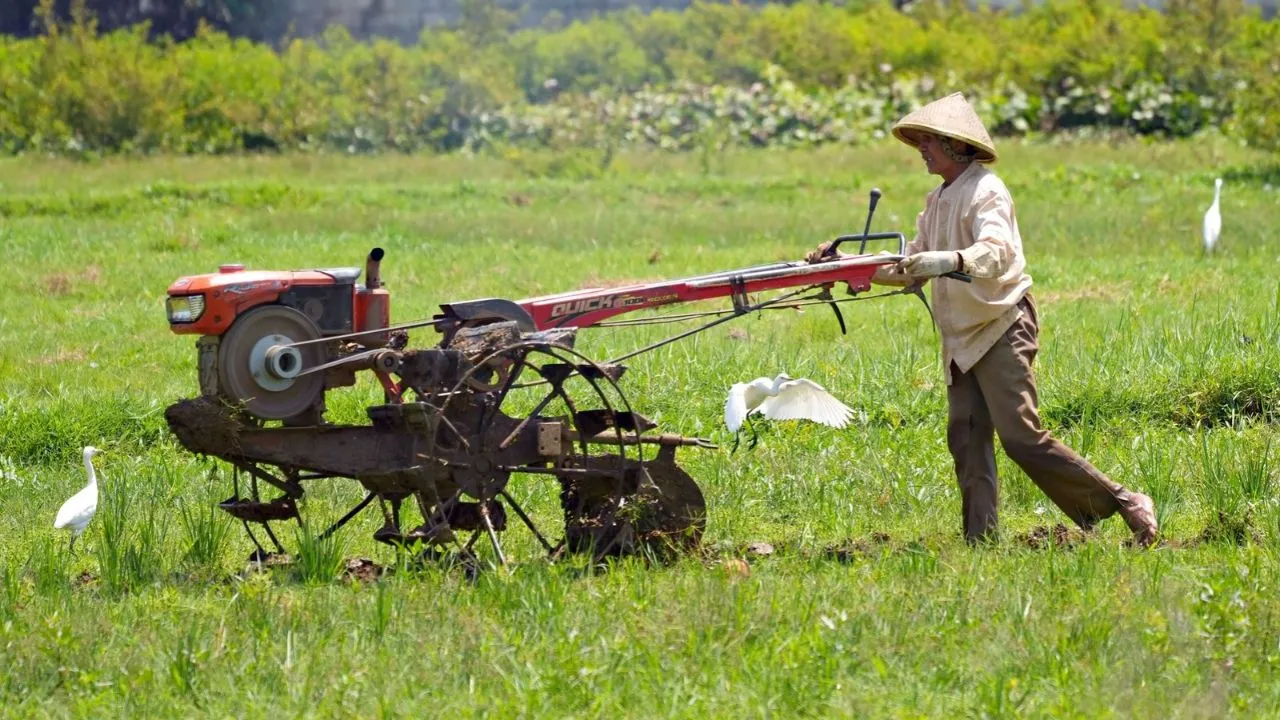
Stop Tilling: 7 No-Till Alternatives to Starting a New Garden Bed
The fastest way to ruin a new garden bed is the way most of us were taught to start one: rent a tiller, churn up the lawn, and call it ready.
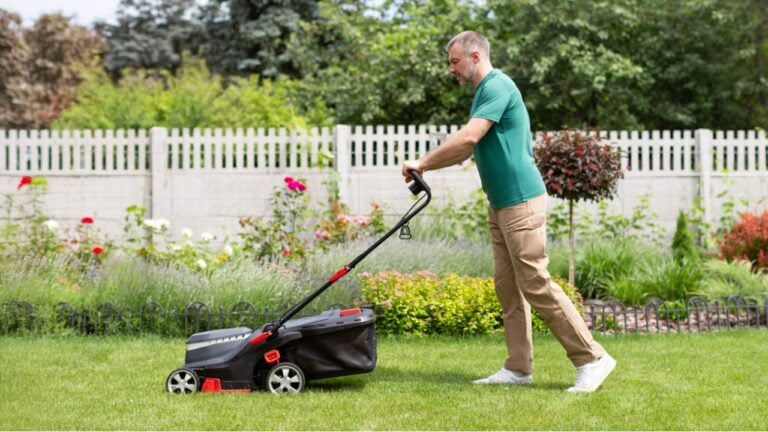
It looks perfect for about a week. Then the fluffy soil slumps, crusts over after the first hard rain, and sprouts a carpet of weeds you personally woke up. Long-time gardener Margaret Roach of A Way to Garden used to till deeply every year, and now warns that turning the soil can unearth weed seeds that then sprout. Worse, most homeowners don’t realize that breaking ground for a brand-new bed can legally require a phone call first.
Here is why this matters right now, in November. The best materials for a no-till bed are free and falling into your yard this month; the cardboard is stacking up from holiday deliveries, and a bed built before the ground freezes has the whole winter to turn itself into soil. Skip the tiller rental and the sore back that comes with it, and you can plant straight into rich, dark ground in spring.
Why Tilling Is the Worst Way to Start a New Garden Bed
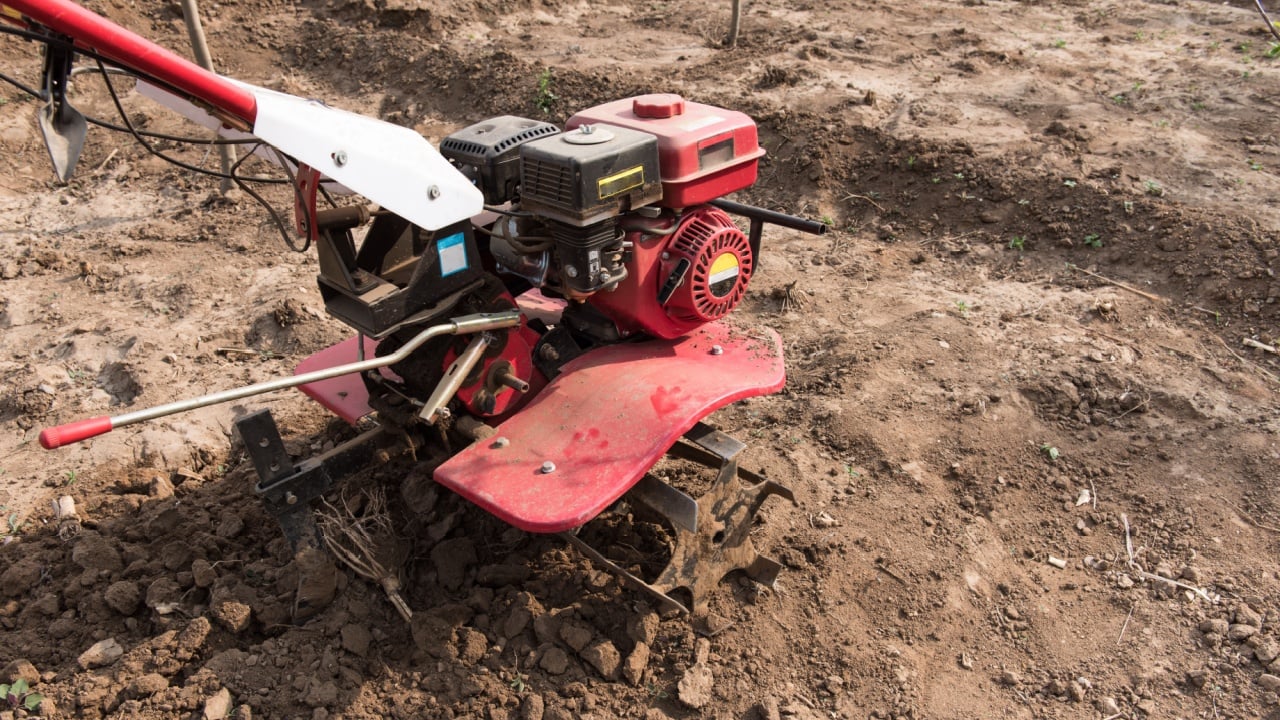
Healthy soil is held together in crumbs, or aggregates, glued by roots and microbes. According to the University of Minnesota Extension, tillage breaks those aggregates apart, and over time this leads to compaction, reduced water-holding capacity, and erosion. Their bottom line is blunt: “Tillage contributes negatively to soil health over time.” In other words, the tiller trades one good-looking weekend for years of harder work.
Below are seven no-till alternatives to starting a new garden bed, along with the one mistake that sinks each of them.
1. Smother the Grass With Cardboard, but Never Leave Gaps
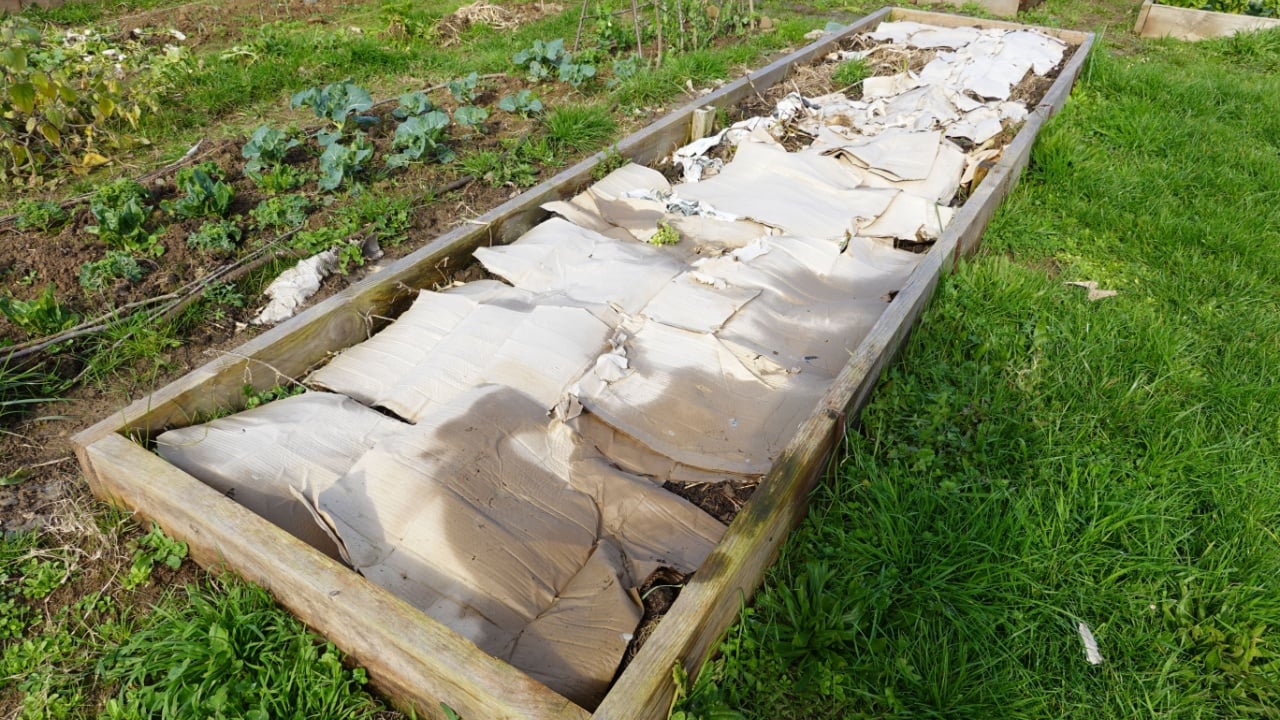
Plain brown cardboard laid over mown lawn blocks light and kills the grass underneath for free; Epic Gardening writer Huan Song gathered enough for an entire plot by asking a local store manager for their boxes. Overlap every seam generously and stick to plain boxes without heavy printed ink. Do not expect cardboard to beat everything, though. No-dig expert Charles Dowding told Homes & Gardens, “Perennial weeds will grow through the cardboard,” because it softens in about nine weeks, so dig out thistles, docks, and woody stems first.
2. Pile Compost on Top and Plant Right Away
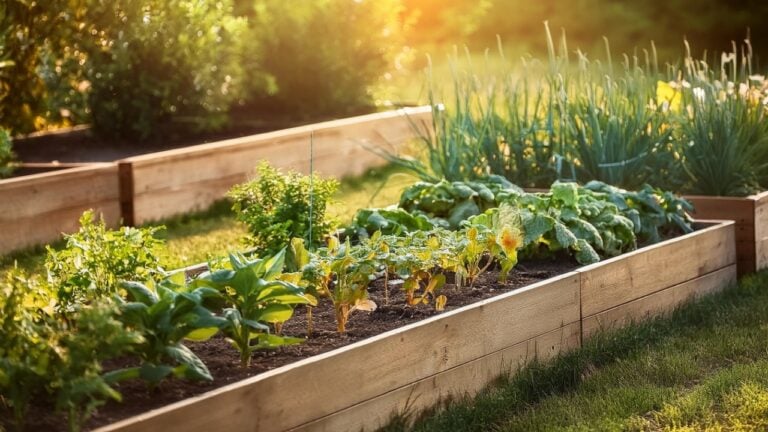
This is the method that converted the professionals. Dowding says you can plant immediately “so long as you layer around two-to-four inches of compost on your cardboard,” since roots grow in the compost while the cardboard rots. The payoff is real: in side-by-side beds tracked from 2013 to 2020, the Royal Horticultural Society reports Dowding harvested 855 kilograms of produce from the bed he never dug versus 755 kilograms from the dug bed. That’s roughly 220 extra pounds of food for doing less work.
3. Build a Lasagna Bed From Free Fall Leaves (and Never Add Mystery Manure)
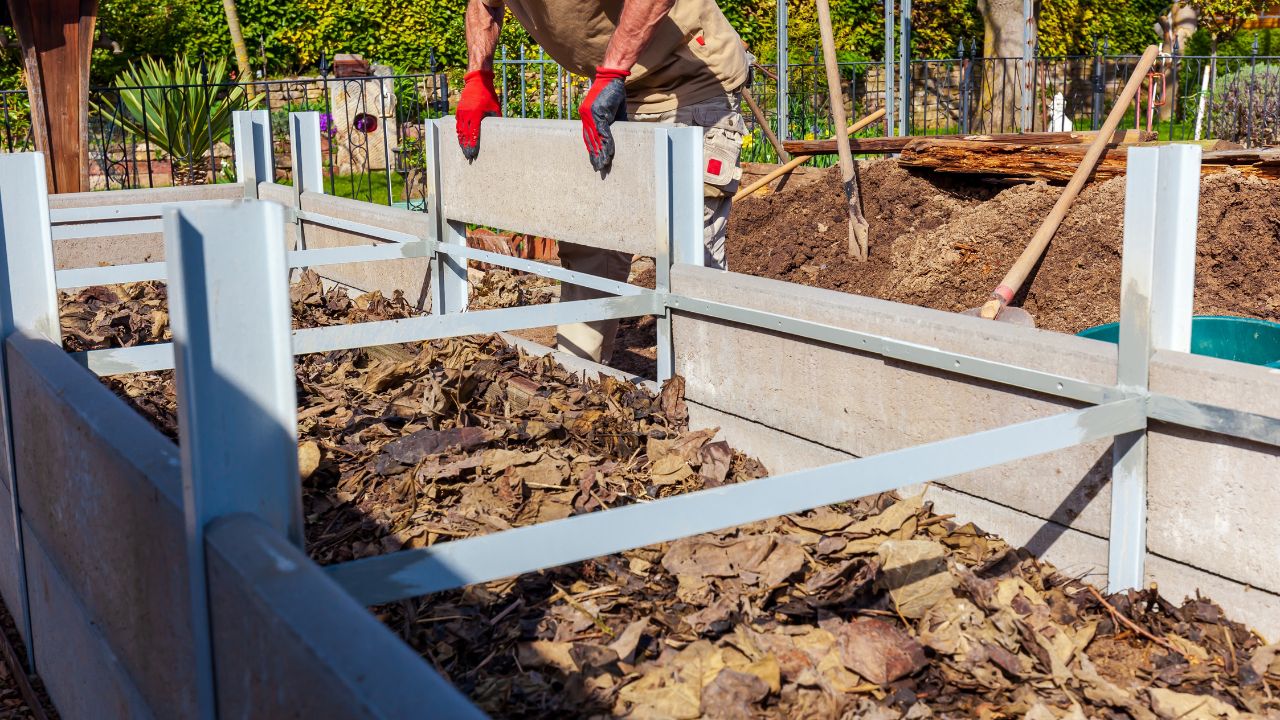
Every bag of leaves you set on the curb this month is money thrown away. Penn State Extension calls fallen leaves “an excellent and free mulch,” and a lawn mower is all you need to shred them. Alternate shredded leaves with green material such as kitchen scraps or untreated grass clippings; the Collin County Master Gardeners Association notes that a five- to six-inch stack settles into two to three inches of compost.
Never add hay, straw, or manure unless you know its history. NC State Extension warns that certain pasture herbicides survive in these materials, and “degradation is particularly slow in piles of manure and compost.” In 2012, contaminated manure compost damaged over 500 home gardens, causing hundreds of thousands of dollars in losses, in Vermont alone, according to University of Vermont Extension.
4. Tarp the Lawn and Let the Dark Do the Work
Covering grass with an opaque black tarp, called occultation, kills it without a single shovel stroke. University of Minnesota Extension says it typically takes at least four weeks and advises, “Mow the grass as short as possible before adding your tarp.” Laid down this month, it can simply stay put until spring. One warning before you pull it back: Utah State University Extension cautions that lumber and debris left on the ground give snakes perfect hiding spots, and a long-sitting tarp works the same way. Lift it away from your body, never toward it.
5. Copy Ruth Stout’s Old-Fashioned Deep Mulch
Your grandmother’s generation knew this one. In 1955, Ruth Stout published How to Have a Green Thumb Without an Aching Back, a book that, as Kirkus Reviews put it, spread by word of mouth among “the aged, the indolent and the busy.” Her trick was simply a permanent blanket of mulch. Journey with Jill recommends an 8- to 10-inch layer of chemical-free hay from a source you trust, or leaves, pulled aside at planting time. For gardeners over 50 who are done wrestling machinery, it may be the kindest method on this list.
6. Loosen Hard Ground With a Broadfork Instead of a Machine

If your new spot is truly compacted, you still don’t need to flip it. University of Minnesota Extension says a broadfork loosens soil without breaking up its structure and is “easier on your body than a shovel or a regular garden fork,” because you lean back with your body weight instead of muscling it. Flower farmer Fran Parrish of Heirloom Soul Florals admits a good one costs well over $200, but notes it lasts a lifetime and is much cheaper than a rototiller plus years of gas and repairs.
7. Stack Logs Into a Hugelkultur Bed for Poor Soil
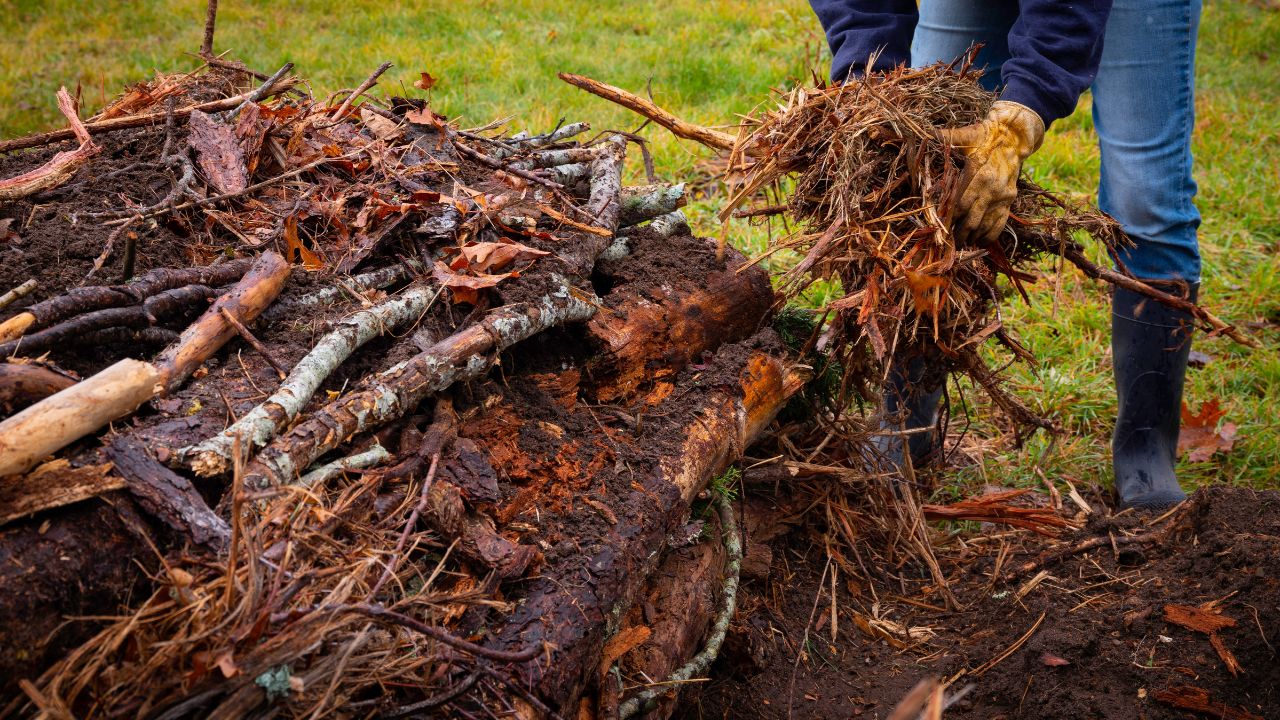
Got fallen branches from fall cleanup? Don’t haul them away. Hugelkultur buries logs under layers of organic matter and compost, and Journey with Jill reports that these logs can feed your soil for 10 to 15 years. Dave Whitinger of the National Gardening Association told A Way to Garden it’s “like sheet mulching or lasagna gardening,” except wood forms the first layer. It turns yard debris you would otherwise haul away into the free foundation of a raised bed.
Your No-Till Garden Bed Plan for November, Before the Ground Freezes
Pick one spot, mow it short, and pull out any perennial weeds. Lay overlapping cardboard, wet it, and pile on shredded leaves and compost from a source you trust. Garden Design says “the best time to make no-till beds is in autumn when fallen leaves are available,” then let the bed rest until spring. A word of balance: Washington State University horticulturist Linda Chalker-Scott writes at The Garden Professors that “there are no science-based citations” behind deep sheet mulching, and she favors thick arborist wood chips instead. If your bed is meant for permanent shrubs rather than vegetables, take her advice and skip the cardboard.
The tiller gives you a bed that looks perfect for one weekend; the leaves you were about to bag give you one that gets better every single year, for free. You don’t have to own a machine, rent one, or dig at all to grow more food than you did last summer. As Collin County Master Gardener Jim Binnings puts it, give no-till a chance and “some magic will happen in your garden.” Start one small bed before November ends, and let winter do the heavy lifting.
Read More
The 7 Best Garden Items to Thrift This Fall
9 Smart Ways to Save Money in the Garden Before Fall Ends