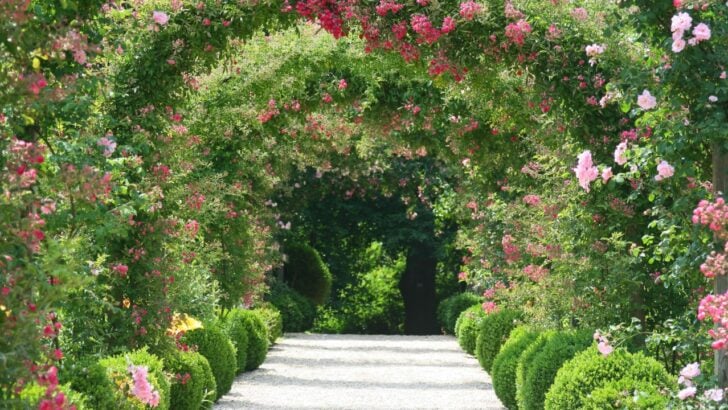
Roses have a reputation for being difficult, demanding, and best left to people with more time and patience than the average gardener. That reputation is almost entirely undeserved. The truth that experienced rosarians have known for decades is this: roses are generous plants that will reward almost any gardener handsomely, as long as a handful of fundamental needs are met. Get those right, and roses practically take care of themselves.
The surprising part is how few steps actually matter. Most of the complexity around rose growing is noise, inherited from an era of fussy hybrid teas that needed constant coddling. Modern roses, including the disease-resistant shrub types, the beloved Knock Out series, and the new generation of David Austin English roses, have been bred to thrive with far less intervention. What they still need, regardless of variety, are the right soil conditions, the right food, the right amount of water delivered the right way, and a little timely attention at key moments in the season.
Right now, the growing season is in full swing, and every step you take this month will have a direct impact on what your roses produce through fall. The window to course-correct, improve your fertilizing approach, add mulch, and train your climbers is open right now. Roses that receive the right care this season can produce hundreds of blooms from a single established plant. Roses that are left to struggle will give you enough flowers to tease you, but never enough to satisfy.
Here are the seven steps that separate a breathtaking rose garden from a merely decent one, drawn from the advice of professional rosarians, horticultural experts, and the gardeners whose yards stop you cold when you walk past them.
Step 1: Choose the Right Rose for Your Climate
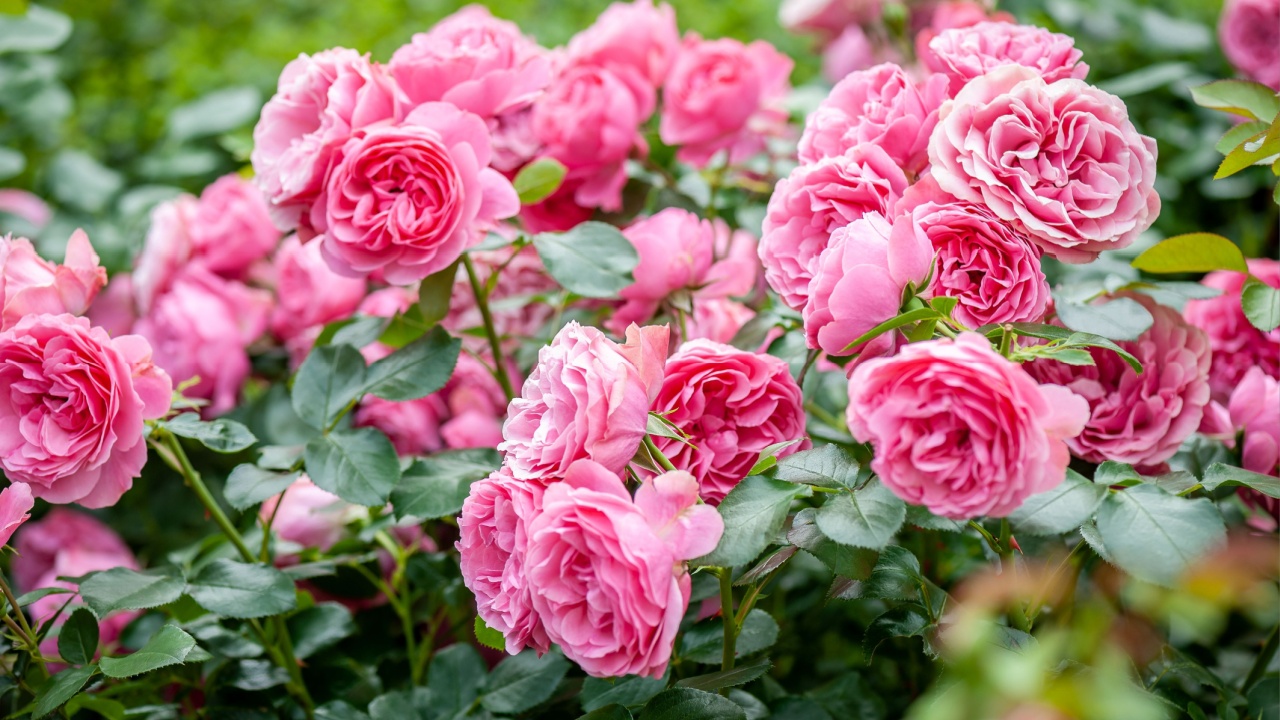
Image Credit: Shutterstock.
Every gorgeous rose garden begins with a decision made before a single hole is dug: choosing the right variety for where you actually live. No amount of care downstream will compensate for a rose that was never built to thrive in your climate, and this is the mistake that costs gardeners the most frustration and money over time.
According to Garden Design, roses range from micro-miniatures to grand climbing varieties, and they vary enormously in their disease tolerance, cold hardiness, and bloom habits. For gardeners who want reliable, generous flowering without constant intervention, modern shrub roses are the right starting point. As Monrovia explains, newer cultivars have been bred for exceptional disease resistance, hardiness, and more blooms than their classic predecessors. The Knock Out series blooms from spring through fall in zones 5 to 11, requires no deadheading to rebloom, and has dramatically improved resistance to black spot compared to traditional hybrid teas.
When selecting any rose, check the hardiness zone range on the tag. A rose rated zones 4 to 9 will survive cold winters without special protection; a zone 7 to 10 variety may die outright in a northern garden. Master rosarian Dan Bifano, who tends the rose gardens for some of the most celebrated estates in Southern California, puts it plainly: give your roses a spot where they genuinely want to grow, and they will reward you for decades.
Step 2: Plant in Full Sun With Well-Drained Soil

Image Credit: Shutterstock.
Roses are sun worshippers. The Old Farmer’s Almanac is clear that most roses need at least six hours of direct sunlight daily, and more sun generally produces stronger growth and better flowering. Morning sun is particularly valuable because it dries overnight moisture from the foliage, which reduces the risk of fungal disease. A rose planted in a shaded corner will never bloom to its potential, no matter what else you do right.
Soil preparation matters just as much as sun exposure. Roses demand well-drained soil; standing water around the roots leads to root rot, which is difficult to reverse. Garden Design recommends amending the planting hole generously with rich organic matter and digging it wide enough to accommodate the roots when fully spread. In clay-heavy soils, mixing in compost, perlite, or coarse sand dramatically improves drainage. For gardeners dealing with persistently poor drainage, raised beds are an excellent and relatively inexpensive solution: a simple 12-inch raised bed with good amended soil can transform what would have been a struggling planting into a thriving one.
Plant in spring after the last hard frost, or in fall at least six weeks before the ground freezes. Both windows give new roses time to establish roots before facing temperature extremes.
Step 3: Feed Roses With the Right Fertilizer at the Right Time
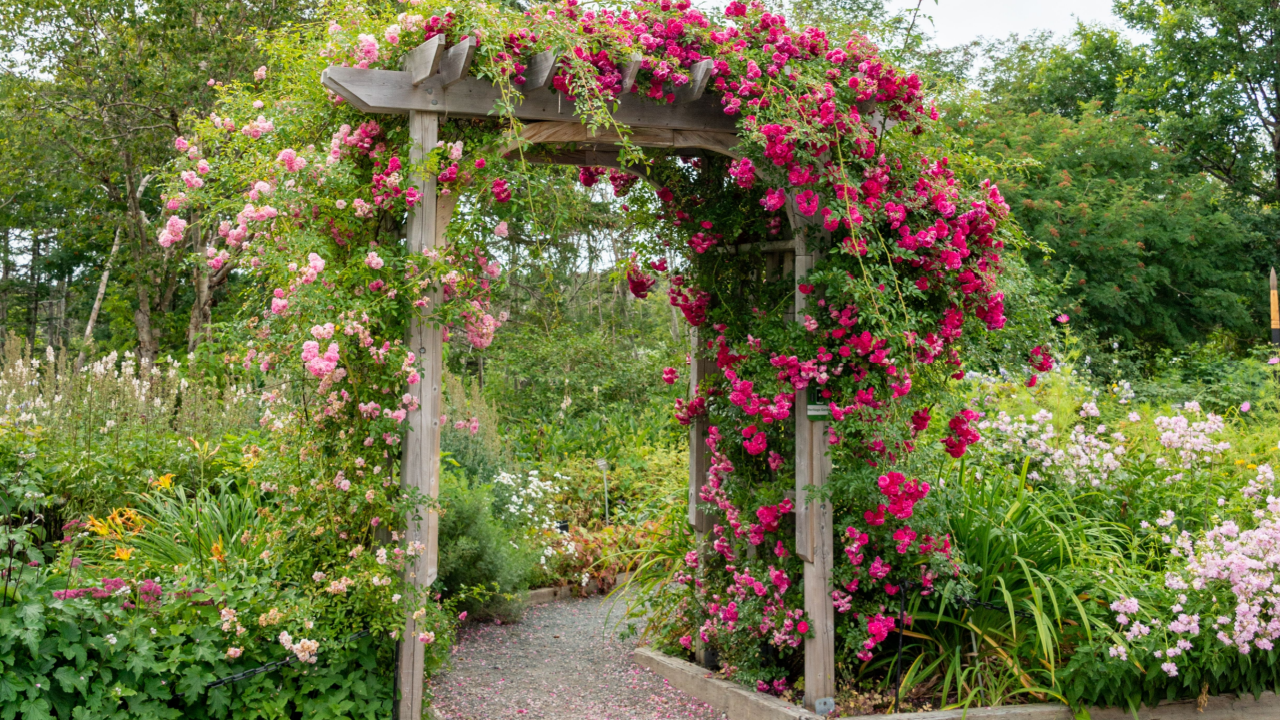
Image Credit: Shutterstock.
Fertilizing is where more rose gardens go quietly wrong than anywhere else. Roses are heavy feeders, but the type of fertilizer matters enormously. Gardeners who reach for an all-purpose high-nitrogen formula or a lawn fertilizer are inadvertently pushing their plants to produce lush, dark-green foliage at the direct expense of flowers. According to Garden Design, too much nitrogen causes excessive foliage growth and suppresses bloom production. A big leafy rose bush with almost no flowers is a classic sign of nitrogen overload.
What roses need to bloom abundantly is phosphorus, the middle number in any fertilizer’s NPK ratio. Phosphorus promotes healthy root development and abundant flower production; a shortage causes buds that fail to open. For the active growing season, use a dedicated rose fertilizer or a balanced formula with a higher phosphorus ratio, applied every two to four weeks through midsummer. In early fall, switch to a low-nitrogen formula such as bone meal to strengthen roots and set up next year’s bloom cycle. Stop fertilizing six to eight weeks before your average first frost date.
One time-tested and nearly free option that professional rosarians have relied on for generations: alfalfa. Alfalfa meal or alfalfa tea, brewed by soaking pellets in water for two to four days, delivers a balanced nutrient profile including a natural growth stimulant called triacontanol. Perry Homes gardening experts recommend 1 cup for large bushes and half a cup for smaller ones, watered in well. A bag of alfalfa pellets from any farm supply store costs $15 to $20 and will feed an entire rose garden through the season.
Step 4: Water Deeply at the Roots
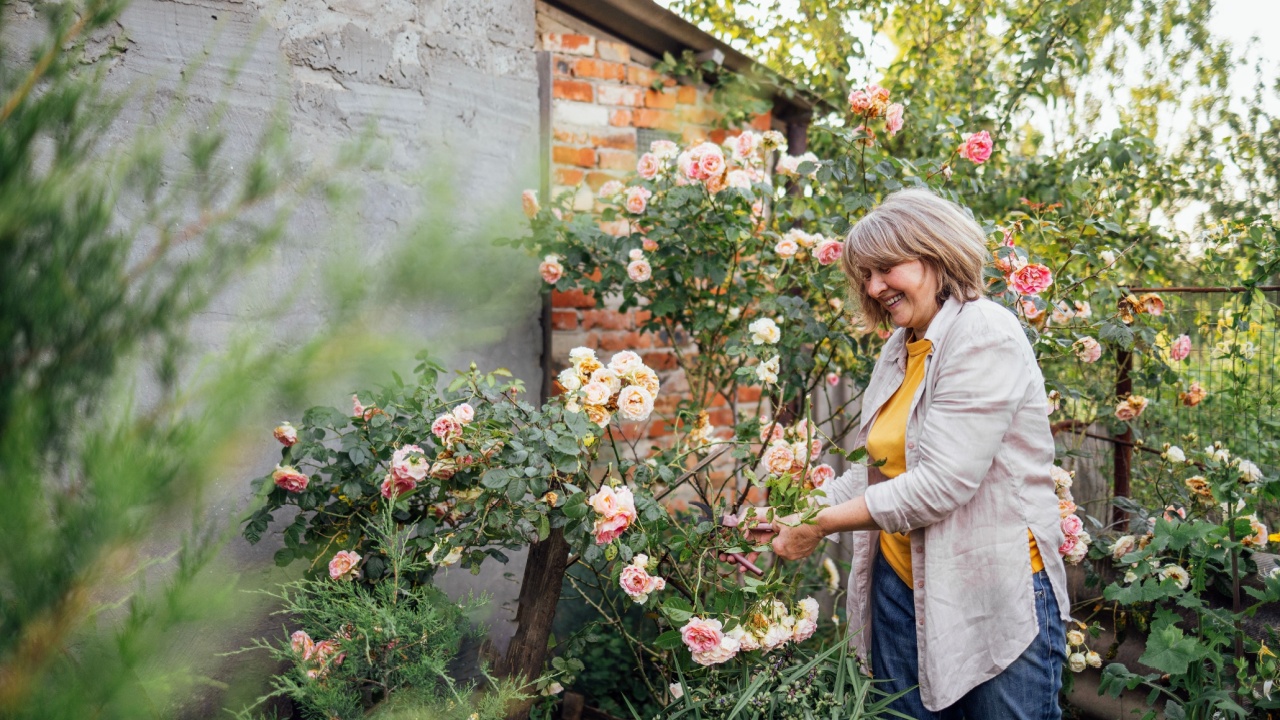
Image Credit: Shutterstock.
How you water your roses shapes how healthy and disease-free they stay all season. Overhead watering, whether from a sprinkler or a hose aimed at the foliage, leaves leaves wet for extended periods and creates ideal conditions for black spot and powdery mildew, the two fungal diseases most responsible for defoliating rose bushes mid-season. A rose that loses its leaves in July is spending the rest of the season in recovery rather than flowering.
The correct approach is to water at the base of the plant, directing moisture to the root zone while keeping foliage dry. A soaker hose or drip irrigation system is the gold standard, and both are inexpensive to set up. Birds & Blooms recommends watering deeply and less frequently rather than lightly every day; once established, most roses need about an inch of water per week. Consistent, deep watering encourages roots to grow downward in search of moisture, producing more drought-tolerant, resilient plants over time.
If overhead watering is unavoidable, do it in the morning so that foliage has the full day to dry. Evening watering that leaves leaves damp overnight is one of the fastest invitations to fungal disease a gardener can extend.
Step 5: Mulch Generously
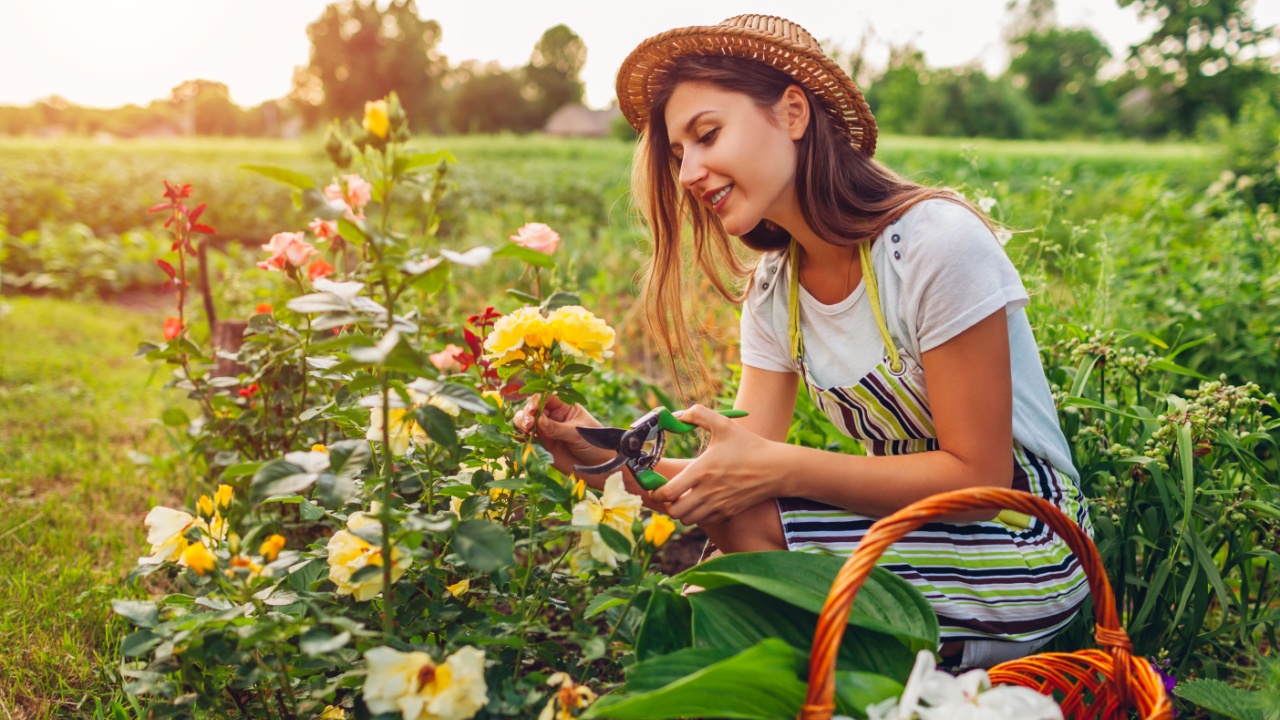
Image Credit: Shutterstock.
A 2 to 3-inch layer of organic mulch around your rose bushes is one of the highest-return investments in the rose garden, and one of the most consistently underestimated. Mulch retains soil moisture, reducing how frequently you need to water. It suppresses weeds that compete with roses for nutrients and water. It moderates soil temperature, keeping roots cooler in summer heat and protecting them from early-fall frost. And as it breaks down, it continuously enriches the soil with organic matter that improves texture and feeds beneficial microbes.
Perry Homes rose care experts point out that mulch also physically prevents soil from splashing up onto foliage during rain or irrigation, which is one of the primary vectors through which fungal spores spread from soil to leaves. A gardener who skips mulch is, in effect, paying more for fungicide, more for water, and more for fertilizer throughout the season. A $20 bag of shredded bark or wood chip mulch, applied once in spring and refreshed in fall, can realistically save a rose gardener $400 or more in cumulative inputs over a growing season.
Keep the mulch layer about 2 inches away from the base of each cane. Mulch piled directly against rose stems can trap moisture and encourage crown rot, which is difficult to detect until significant damage has already been done.
Step 6: Prune at the Right Time and Deadhead All Season
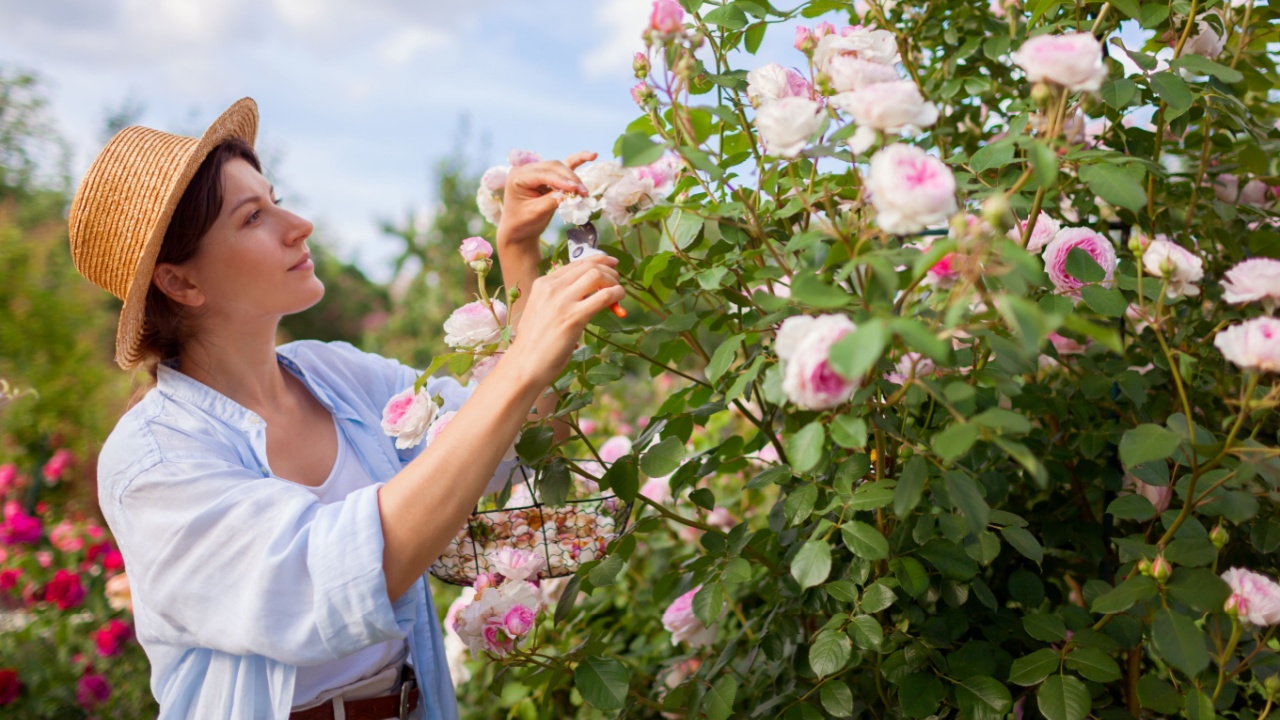
Image Credit: Shutterstock.
Pruning is the step that intimidates most home gardeners, but it is far simpler than its reputation suggests and far more important than most people realize. An unpruned rose becomes congested, woody, and poorly ventilated, exactly the conditions that favor disease and reduce bloom production. The main annual pruning happens in early spring, timed to when new growth begins to emerge. For warmer zones, that is, as early as late February; for colder zones, it may be as late as May.
Garden Design‘s pruning guide recommends bypass shears rather than anvil shears, which can crush canes and introduce disease. Make each cut at a 45-degree angle, about a quarter inch above an outward-facing bud. Removing dead, diseased, and crossing branches opens up the center of the plant to better airflow — and better airflow is one of the most effective disease-prevention tools available. Gardeners’ World adds that weak, spindly stems should be cut all the way back to pencil-thick wood to force vigorous new growth from a stronger base.
Throughout the season, deadheading keeps repeat-blooming roses producing continuously. When spent flowers are left on the plant, roses redirect their energy into forming rosehips, the seed-bearing fruit that signals the plant’s reproductive work is done. Removing spent flowers redirects that energy back into producing new buds. As Birds & Blooms explains, trim spent flowers down to the first or second five-leaflet leaf for the best results.
Step 7: Stay Ahead of Pests and Disease With Early Action
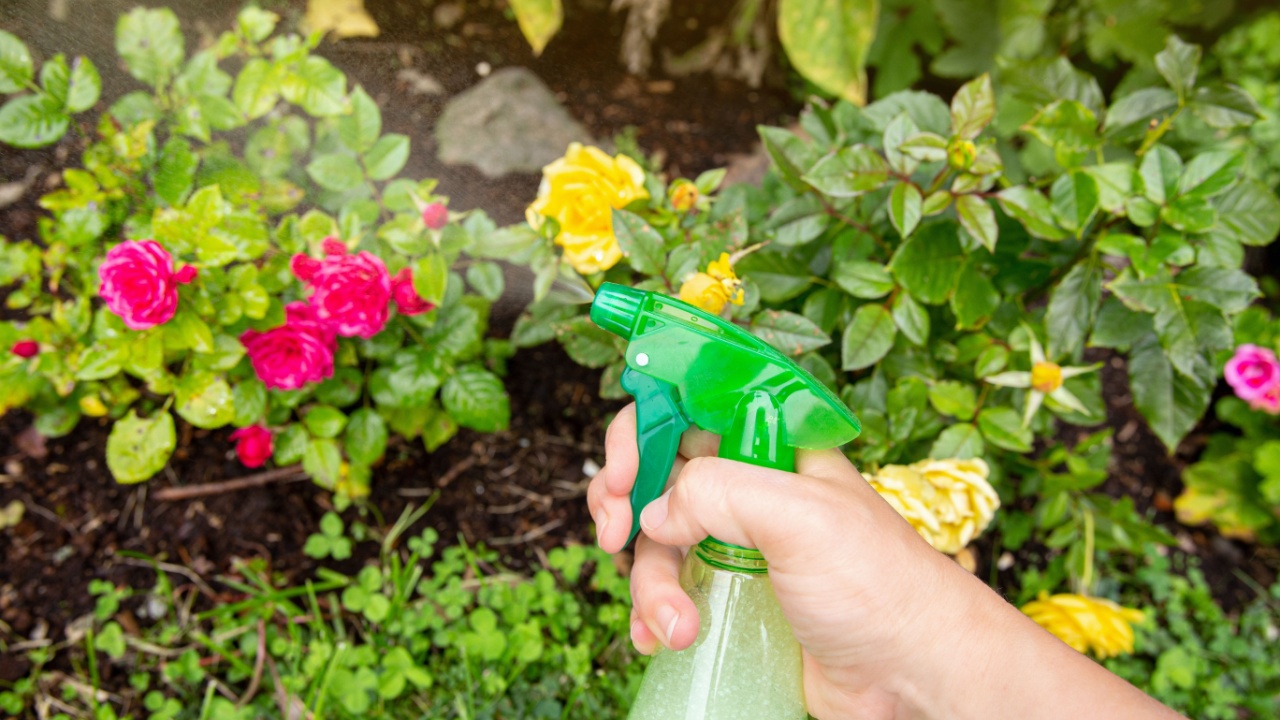
Image Credit: Shutterstock.
The gardeners with the most consistently beautiful rose gardens are not the ones who react to problems; they’re the ones who check in on their plants regularly and address issues before they escalate. Black spot, powdery mildew, and aphids are the three most common threats to rose health, and all three are dramatically easier to manage when caught early. A quick visual scan of your rose bushes once or twice a week takes less than five minutes and can prevent the kind of mid-season defoliation that sets a plant back for months.
For aphids, which cluster on new buds and sap the developing flowers, Jackson & Perkins rosarian Wes Harvell recommends natural pest control methods first: hand-removing insects, growing plants that attract beneficial predators, or applying neem oil selectively. Broad-spectrum insecticides kill beneficial insects alongside harmful ones, disrupting the garden ecosystem in ways that create new problems. For fungal diseases, removing fallen leaves promptly eliminates one of the primary sources of reinfection; Gardeners’ World notes that raking up diseased foliage is one of the most effective low-cost preventive measures available.
Your Best Rose Season Starts This Month
Image Credit: Shutterstock.
Give your roses the right food, the right light, and a deep drink at their roots, and they will reward you with more blooms than you imagined possible. These seven steps are not complicated, and most of them cost very little. The gardeners with the most spectacular rose gardens are not doing more than everyone else. They have simply learned which steps genuinely matter and committed to them consistently, season after season.
Start with your fertilizer: swap anything high in nitrogen for a dedicated rose formula or a bag of alfalfa pellets. Add your mulch layer this week while the soil is warm and workable. Deadhead anything that has already bloomed. Right now, every adjustment you make will pay dividends through October.
Read more:
Direct Sow These 9 Seeds in June Before the Window Closes for Good
June Is National Pollinator Month. Are You Accidentally Harming the Bees You Want to Help?