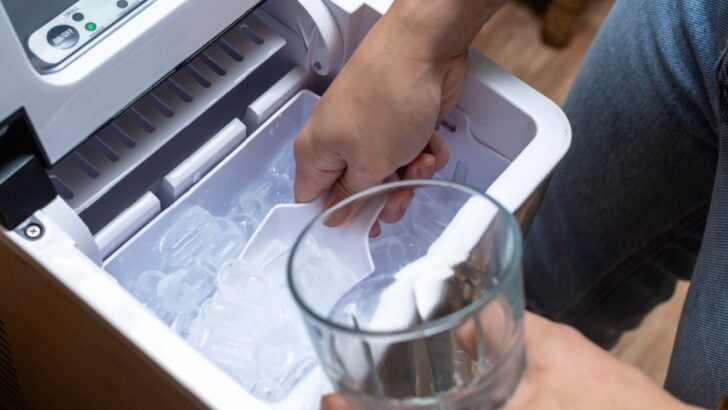
When was the last time you cleaned your ice machine? A glass of iced water can look clean while hiding a dirty secret. If your ice machine, whether stand-alone or in the freezer, has not been cleaned in a while, every cube may carry mineral scale, slime, mold, or old odors into your drink.
Ice makers stay cold, dark, and damp, which makes them a prime spot for buildup. Hard water leaves scale behind, and trapped moisture gives bacteria and mold a place to grow if the machine is ignored.
That grime does more than hurt taste. It can slow ice production, clog parts, wear down the machine, and leave cubes cloudy, stale-smelling, or oddly shaped.
This guide will show you how to clean your ice machine thoroughly, which supplies to use, where grime hides, and how to keep the unit cleaner during the hottest months of the year.
1. Gather the Right Cleaning Supplies First

Image Credit: Shutterstock.
Before you unplug anything, get all your supplies in one place so the cleaning job goes smoothly. You will need warm water, dish soap, white vinegar, a soft cloth, a sponge, a soft brush or old toothbrush, and a dry towel.
A spray bottle helps with wiping large surfaces, and cotton swabs can help reach tiny crevices near seals and hinges. If your machine manual recommends a specific nickel-safe cleaner or descaler, use that instead of guessing.
Skip harsh tools and strong chemicals that can damage the finish or leave residue behind. Steel wool and abrasive scrub pads can scratch surfaces, allowing grime to cling even faster later on.
Bleach may be too harsh for some units unless the manufacturer clearly says it is safe and gives exact dilution steps. Reading the manual matters here, since some machines have parts or coatings that react poorly to the wrong cleaner.
2. Unplug The Machine And Empty Everything
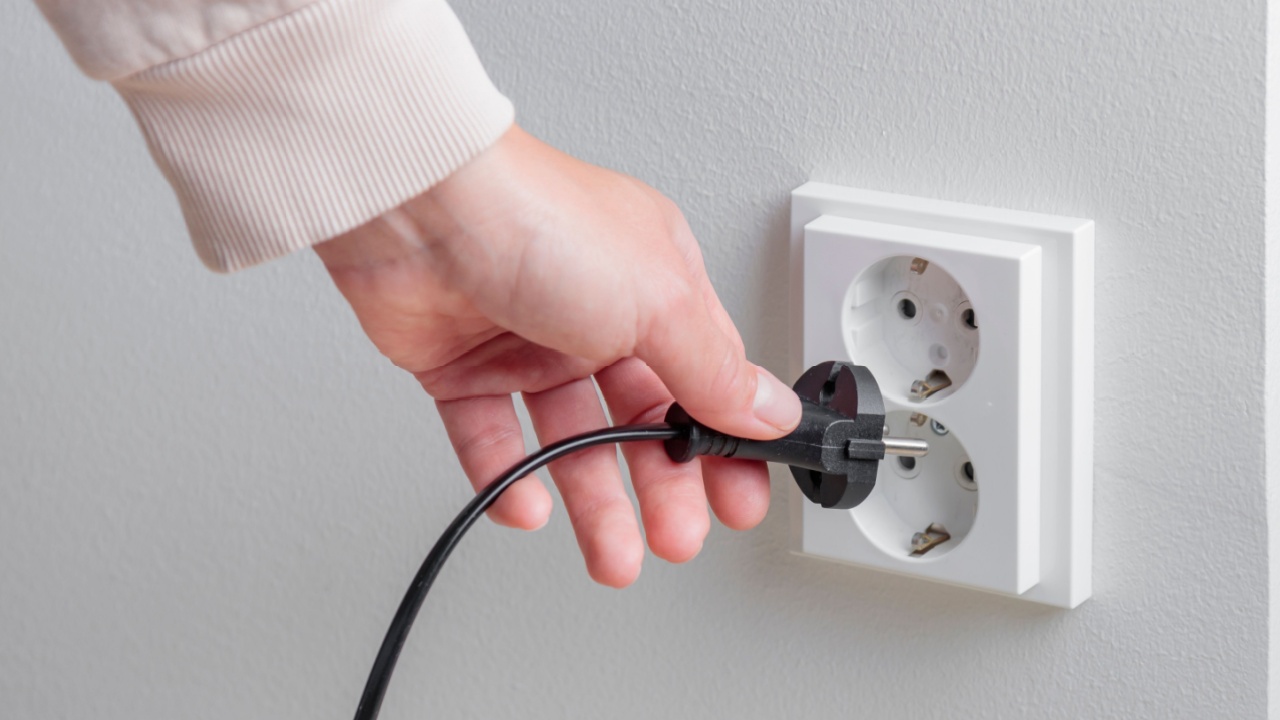
Image Credit: Shutterstock.
The first step is to turn off the ice maker, unplug it, and remove all ice from the bin. (Note: If your ice maker is in the freezer, you’ll want to work efficiently through these steps to minimize the time the fridge is unplugged.) Toss that ice out, since old cubes may already hold stale smells, trapped debris, or cleaning residue from a half-done past wash.
If your unit has a water reservoir, drain it fully before you begin scrubbing. Take out any removable trays, scoops, baskets, or filters so each part can be cleaned thoroughly on its own.
This prep work makes the rest of the job safer and more effective. Cleaning a machine while it still has power or standing water inside raises the risk of electrical trouble and missed grime.
Emptying the unit also lets you see problem spots that are usually hidden by ice or pooled water. Once the inside is bare, it becomes much easier to spot scale, pink film, black specks, or cloudy residue.
3. Wash Removable Parts The Right Way

Image Credit: Shutterstock.
Take all removable parts to the sink and wash them in warm water with a small amount of dish soap. Let them soak for several minutes if they have sticky residue, cloudy film, or white mineral deposits.
Use a soft sponge or brush to clean corners, handles, and ridges where slime can hide. Rinse each piece very well so no soap is left behind, then set them on a clean towel to dry.
If you still see scale after washing, soak the parts in a mix of equal parts white vinegar and warm water for a short period before scrubbing again. This can loosen mineral deposits without rough scraping that may damage the surface.
Be gentle with plastic parts, since small scratches give grime more places to stick later. If a filter is old or heavily coated, replacing it may be better than trying to save it.
4. Clean The Interior Without Missing Hidden Spots
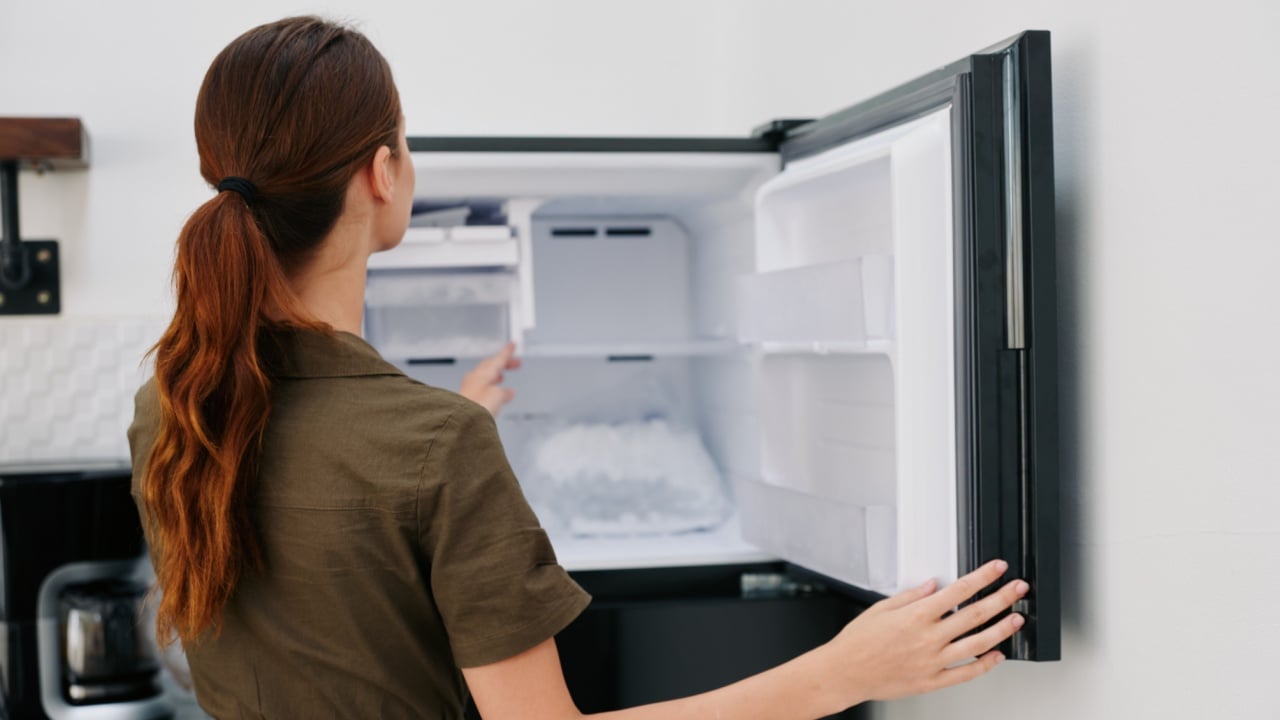
Image Credit: Shutterstock.
Once the loose parts are out, wipe the inside of the machine with a cloth dipped in a mix of equal parts water and white vinegar, unless your manual calls for a different cleaner.
Pay close attention to the water reservoir, freezing area, walls, lid, and any place where you can see white scale or slimy film. Use a soft toothbrush for seams, corners, and tight gaps where a cloth cannot reach. If you have an exterior ice dispenser built into your fridge, take care to clean those extra nooks and crannies as well.
Keep wiping until the residue lifts instead of smearing around. After that first pass, go back with fresh water and a clean cloth to remove leftover vinegar and loosened grime.
Any cleaning liquid left behind can affect the taste of the first few batches of ice. If the machine still smells musty after one cleaning, repeat the process before putting it back together.
5. Wipe The Exterior and Air Vents Too
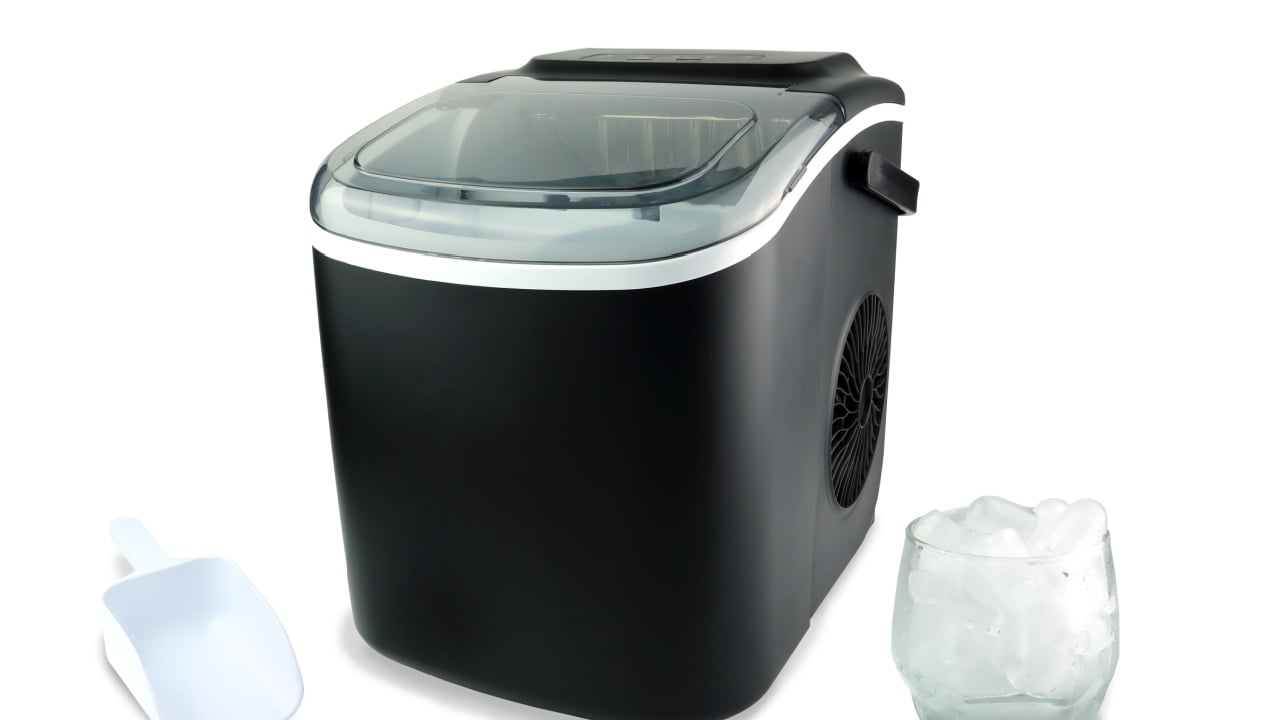
Image Credit: Shutterstock.
The outside of the ice machine affects hygiene and performance. Dust and grease on buttons, handles, and lids can transfer germs to your hands and then to the scoop or bin.
Dirty air vents can block airflow, which makes the machine run hotter and less efficiently. Wipe the exterior with a soft cloth and a mild vinegar-water mix or a cleaner approved for your finish. For a fridge, this’ll require cleaning the coils, which should be done 1 to 2 times a year to maximize efficiency anyway.
Use a dry microfiber cloth after wiping so moisture does not sit on the surface. If the machine has rear or side vents, brush off dust gently so air can move freely. Keep the area around the machine clean as well, especially if it sits near cooking space, a grill, or an open patio door. A clean machine in a dirty corner will not stay clean for long.
6. Reassemble And Flush The System
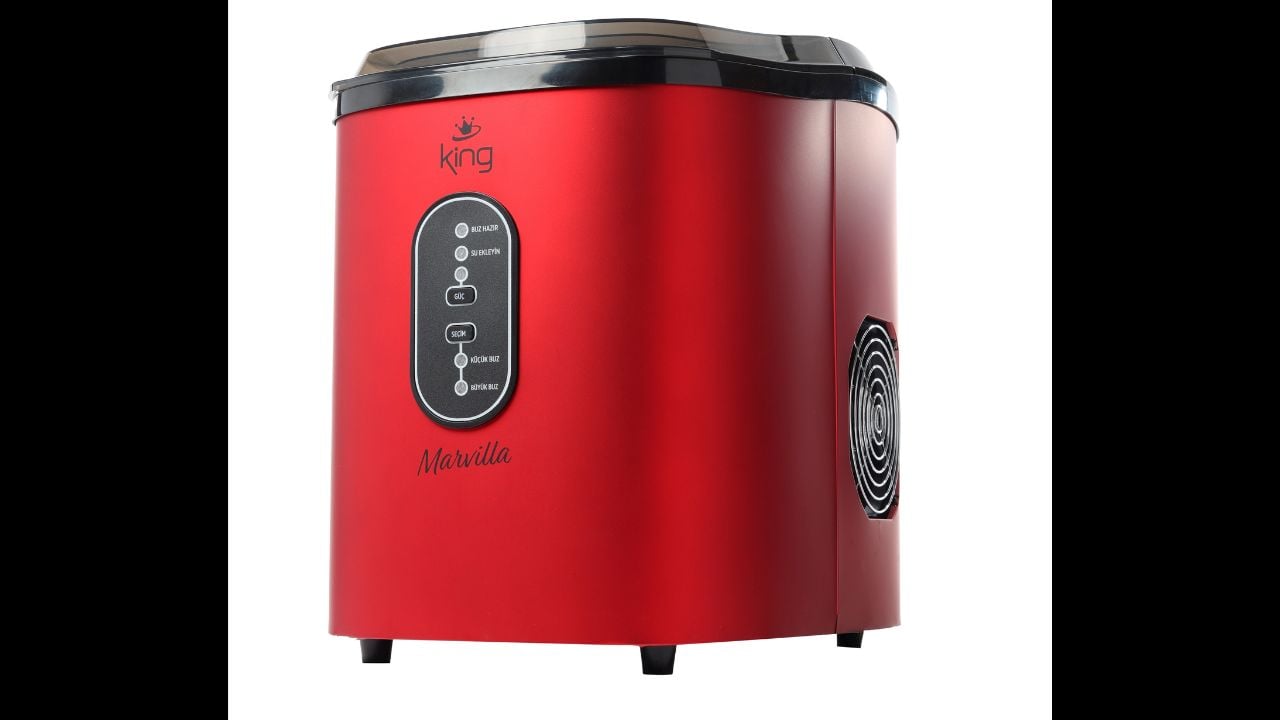
Image Credit: abdullah serbest at Shutterstock.
When all parts are dry, carefully reassemble the machine and refill the reservoir if needed. Plug the unit in and run a cleaning cycle if your model has one. If it does not, let it make ice for one full cycle, then discard that batch.
Run a second cycle and toss that ice too, since this helps clear out any lingering cleaner, loosened scale, or stale odor. This flushing step is important since even a well-rinsed machine can hold traces of vinegar, soap, or residue in hidden channels and water lines.
Throwing out the first couple of rounds gives the system time to reset and produce cleaner ice. Once the cubes look clear, smell fresh, and taste normal, the machine is ready for daily use again.
How Often You Should Clean It
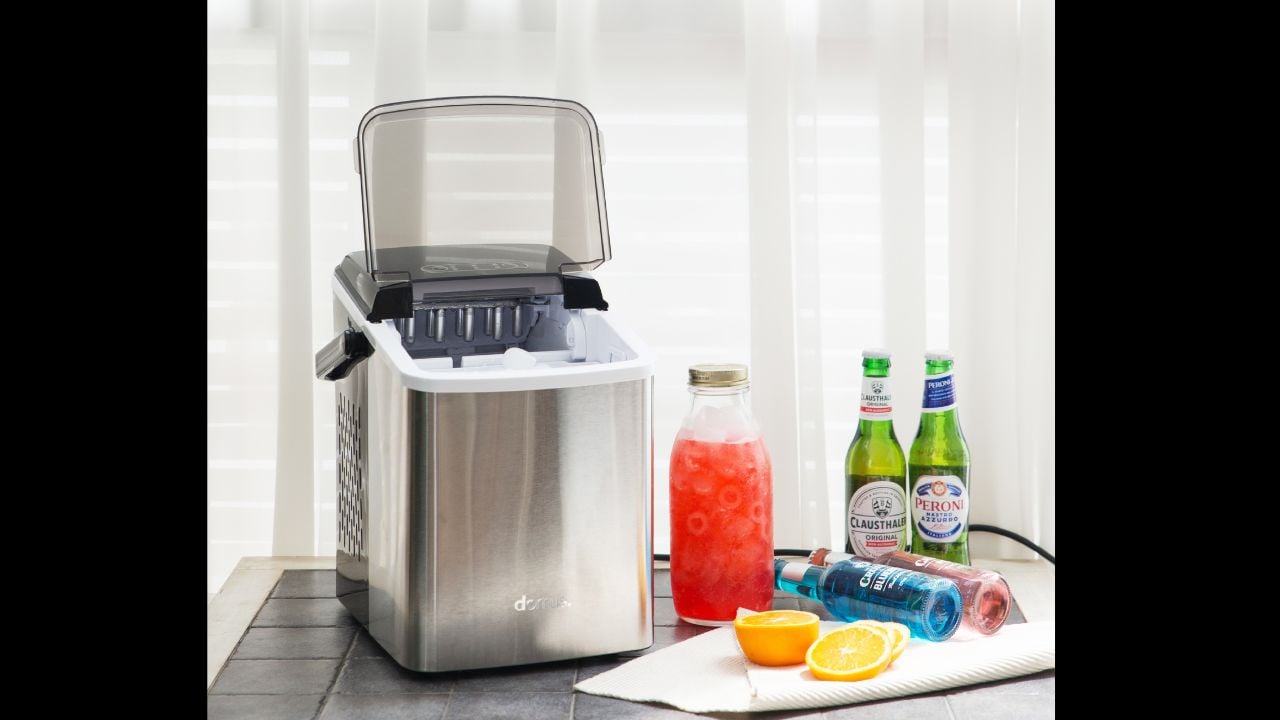
Image Credit: Daisy Sen at Shutterstock.
A light cleaning every few weeks helps stop grime before it gets out of hand during summer. For many households, a deeper clean every six months is a good schedule, though heavy use may call for more frequent care.
Hard water, outdoor use, and frequent parties can all speed up mineral buildup and contamination. If the machine sits unused for a stretch, clean it before using it again.
Your machine may tell you it needs attention through small warning signs. Watch for cloudy ice, smaller cubes, slow production, odd noises, stale smells, or visible film in the bin.
Any of those signs can point to scale, blocked parts, or bacterial growth. Cleaning sooner rather than later can help you avoid costly repairs and keep the machine running more smoothly through the hottest part of the season.