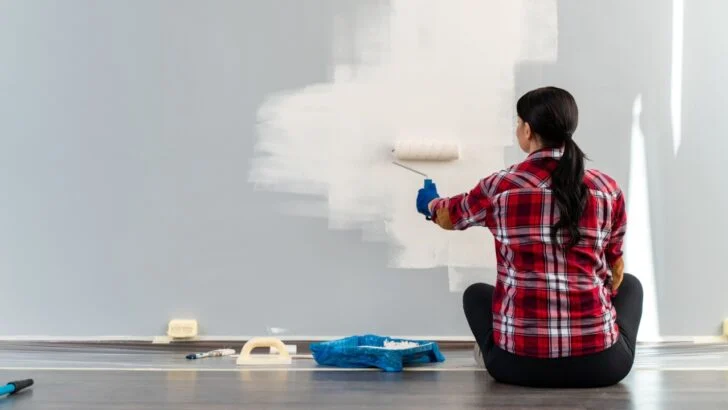
Painting a room can feel like a huge chore that takes up your whole weekend. Just the prep work can take hours before you even open a can of paint. You spend ages taping edges, laying down drop cloths, and then you have to deal with the cleanup.
Luckily, social media is full of brilliant hacks to skip the most annoying parts of home improvement. Short videos with millions of views show how simple household items can completely change the painting game. These viral clips prove you don’t always need expensive tools when basic stuff from your kitchen or bathroom works even better.
Studies show that a lot of DIY time is spent on cleaning and fixing mistakes. So, less mess means finishing faster and with less frustration. Using these clever shortcuts helps you keep your momentum and focus on the fun part: actually painting.
Here are the best painting tricks going viral online right now. Each one is super easy and uses things you probably already have. Try these tips for your next paint job, and it’ll go smoothly from start to finish.
1. The Rubber Band Drip Catcher
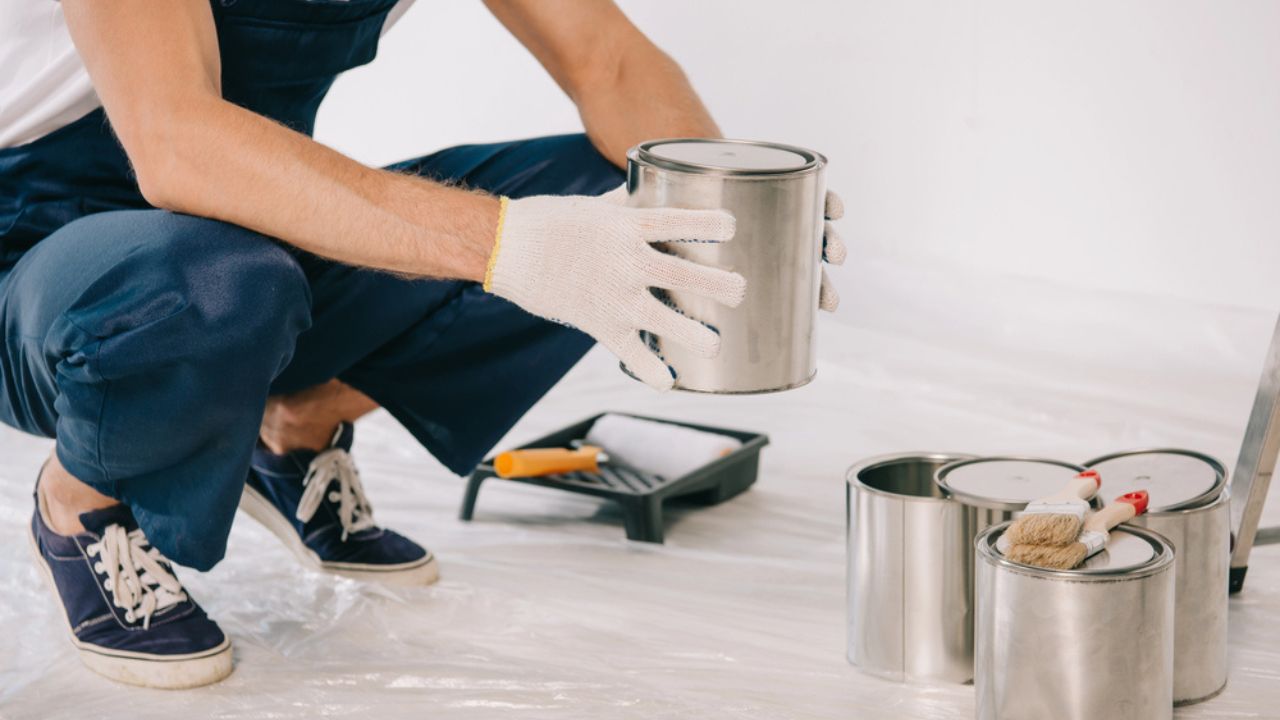
Image Credit: Deposit Photos.
When you open a can of paint, you know that messy rim is going to be a problem. Wiping your brush on it makes paint pool in the groove, which then drips down the side, making a sticky mess on your floor.
A simple trick is to stretch a big rubber band vertically around the can so it goes across the opening. Now, you can tap your brush against the band, and the extra paint drips right back into the can.
Your rim stays clean, and you don’t have to wipe anything before putting the lid back on. Just grab a thick rubber band, and you’ll save yourself from a lot of splatters.
2. The Tin Foil Tray Liner
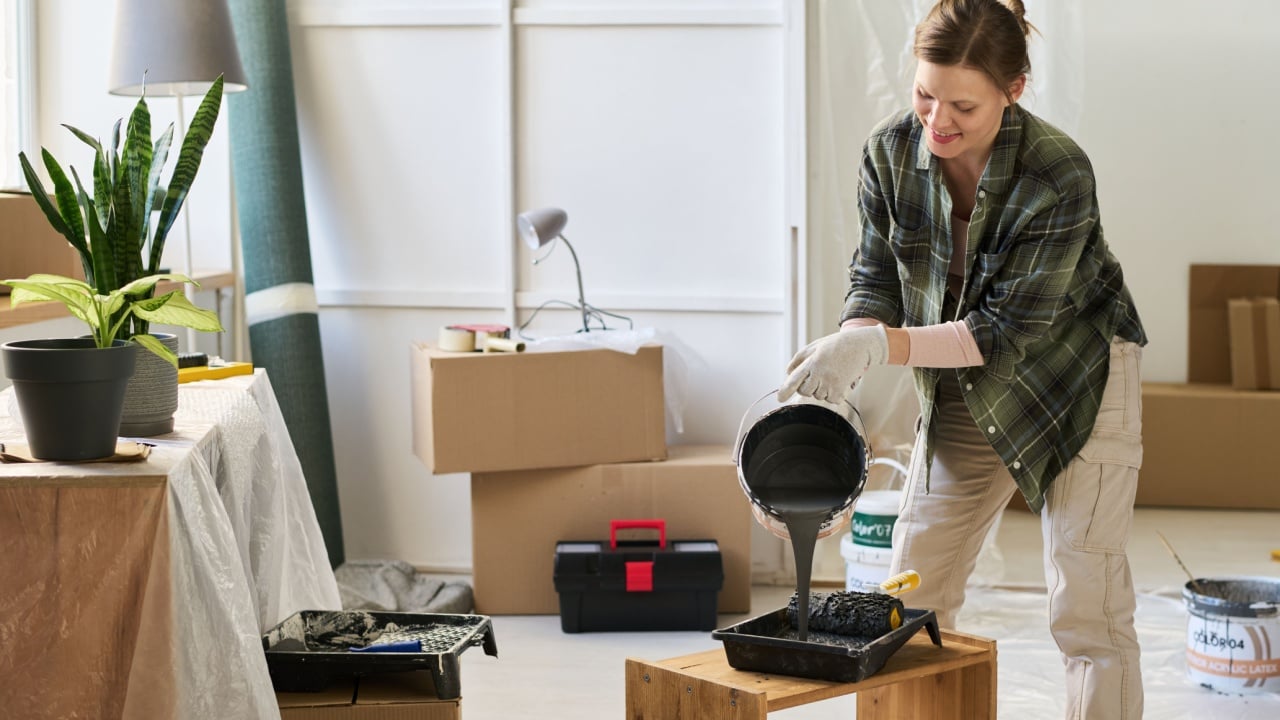
Image Credit: Shutterstock.
Cleaning paint trays is a pain. It takes a long time, wastes water, and you can never get all the dried bits out. Most people just toss the tray and buy a new one for their next project.
Here’s an easier way: before you pour your paint, line the tray with heavy-duty aluminum foil. Make sure to press it into all the corners. The foil creates a barrier that holds the paint.
When you’re done, just peel the foil off and throw it away. Your tray will be perfectly clean and ready for your next paint job. No scrubbing needed.
3. The Lint Roller Prep Trick
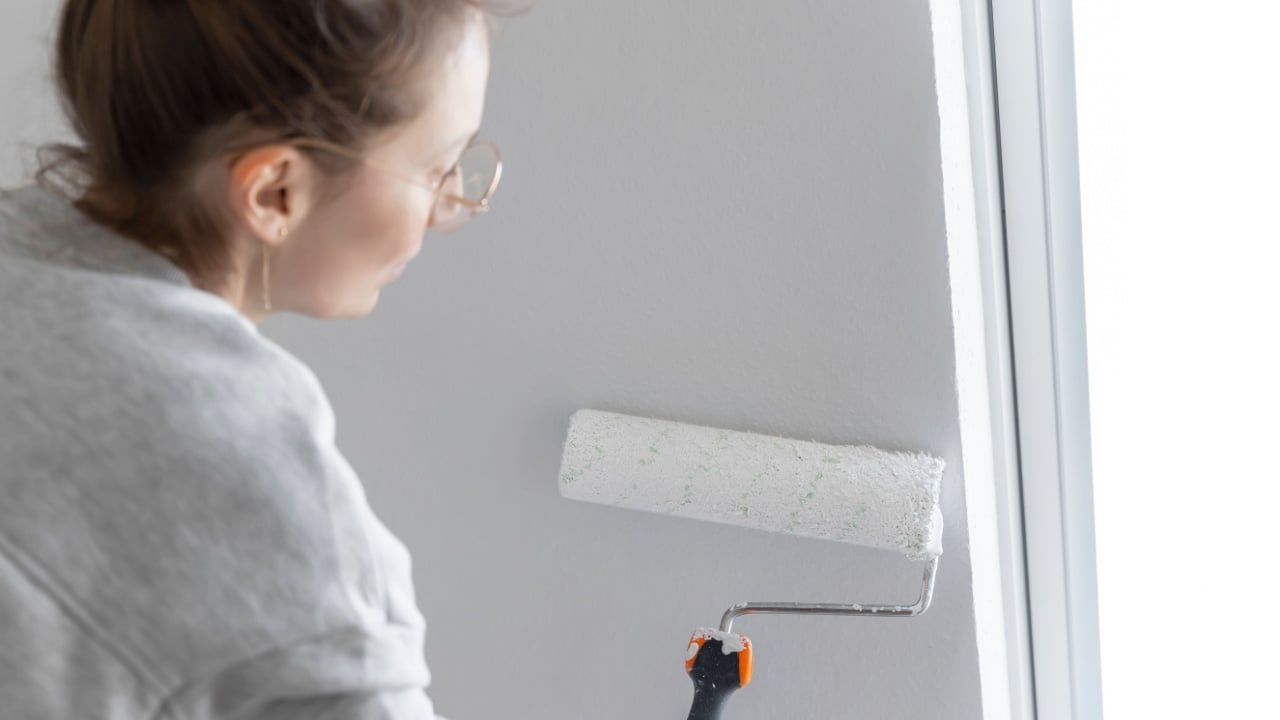
Image Credit: Shutterstock.
New paint rollers have a bad habit of leaving tiny fibers on your freshly painted walls. If you’ve ever tried picking these out of wet paint, you know it can ruin the smooth finish. And if you just leave them, you end up with a bumpy texture that’s super obvious in the light.
A quick way to solve this is to roll a sticky lint remover over the new paint roller before you start. It’ll pick up all the loose fuzz and dust. Just peel away the used sheets, and you’ll have a clean roller sleeve ready to go.
This simple trick makes painting go a lot smoother. Keep a cheap lint roller with your painting supplies to avoid those annoying bumps on your walls.
4. Vaseline On Hardware
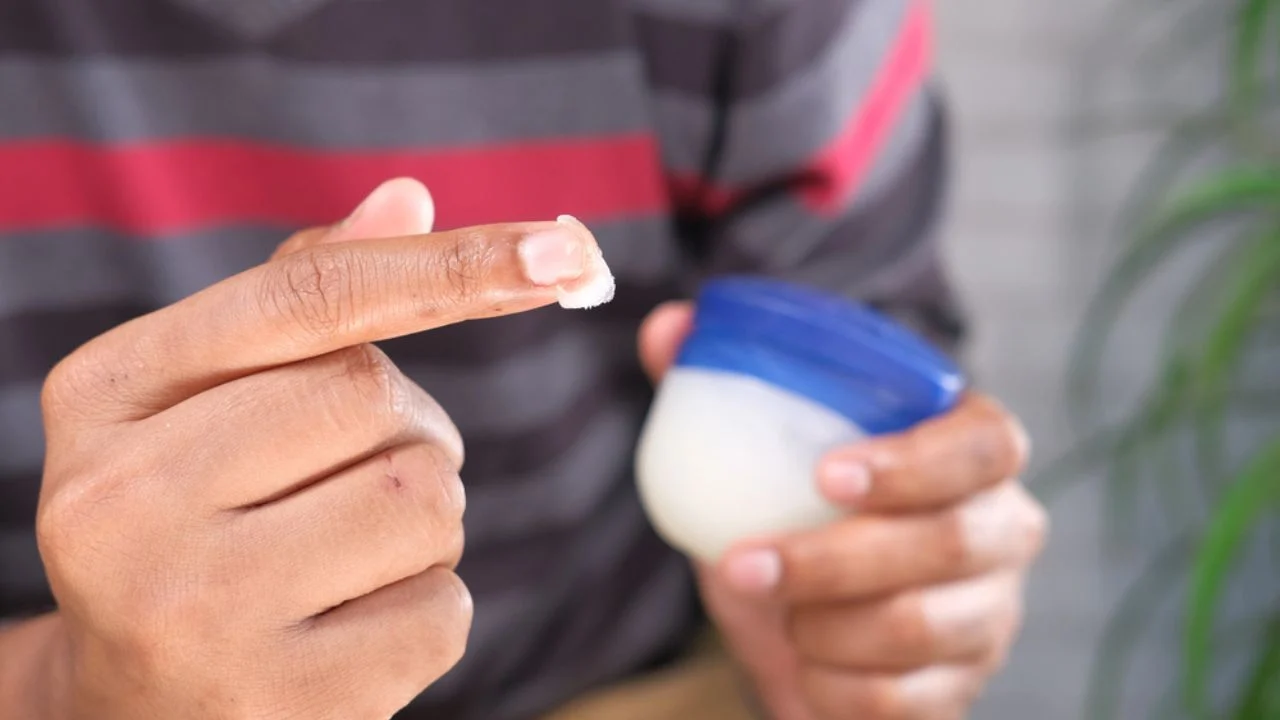
Image Credit: Deposit Photos.
Removing door hinges and window hardware takes up way too much time and energy. But painting around them with a tiny brush requires a surgeon’s steady hand, and accidental splatters on your beautiful metal fixtures just look messy and have to be scraped off later.
Apply a thin layer of petroleum jelly over any screws, hinges, or knobs. This creates a protective barrier, letting you brush right over the metal without a second thought. The paint can’t stick to the greasy surface.
Once the surrounding paint is completely dry, just wipe the hardware with a paper towel. The petroleum jelly comes right off, taking any accidental splatters with it.
5. Vanilla Extract For The Odor
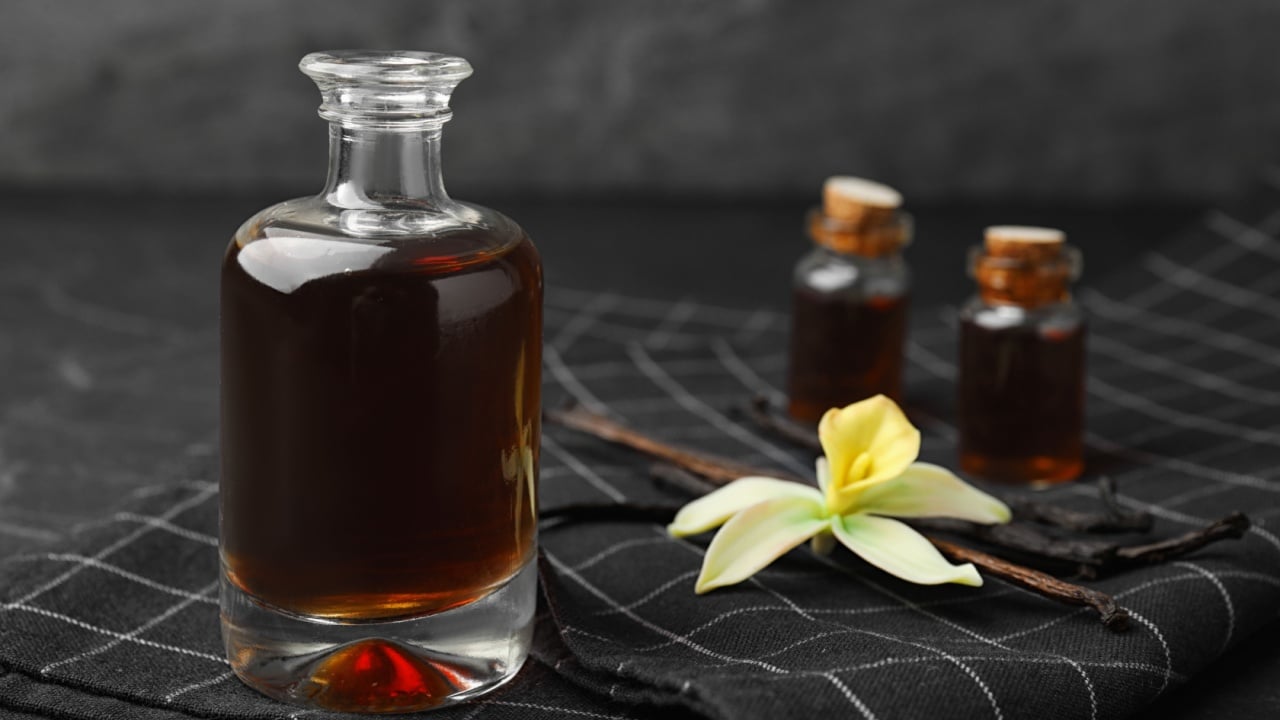
Image Credit: Shutterstock.
Freshly painted rooms often have a strong smell for several days. The chemical odor causes headaches and makes sleeping in the renovated room uncomfortable. Opening windows helps, but cold weather makes ventilation difficult.
Stirring a few drops of pure vanilla extract into the liquid neutralizes the harsh chemical smell. You mix a teaspoon of the baking ingredient into a standard gallon container. The extract creates a pleasant, mild aroma instead of a harsh industrial scent.
Test this trick with light colors first to verify the extract does not alter the tint. Keep a small bottle of extract in your toolkit specifically for indoor renovations.
6. Skip the Tape in Corners and Use a Putty Knife
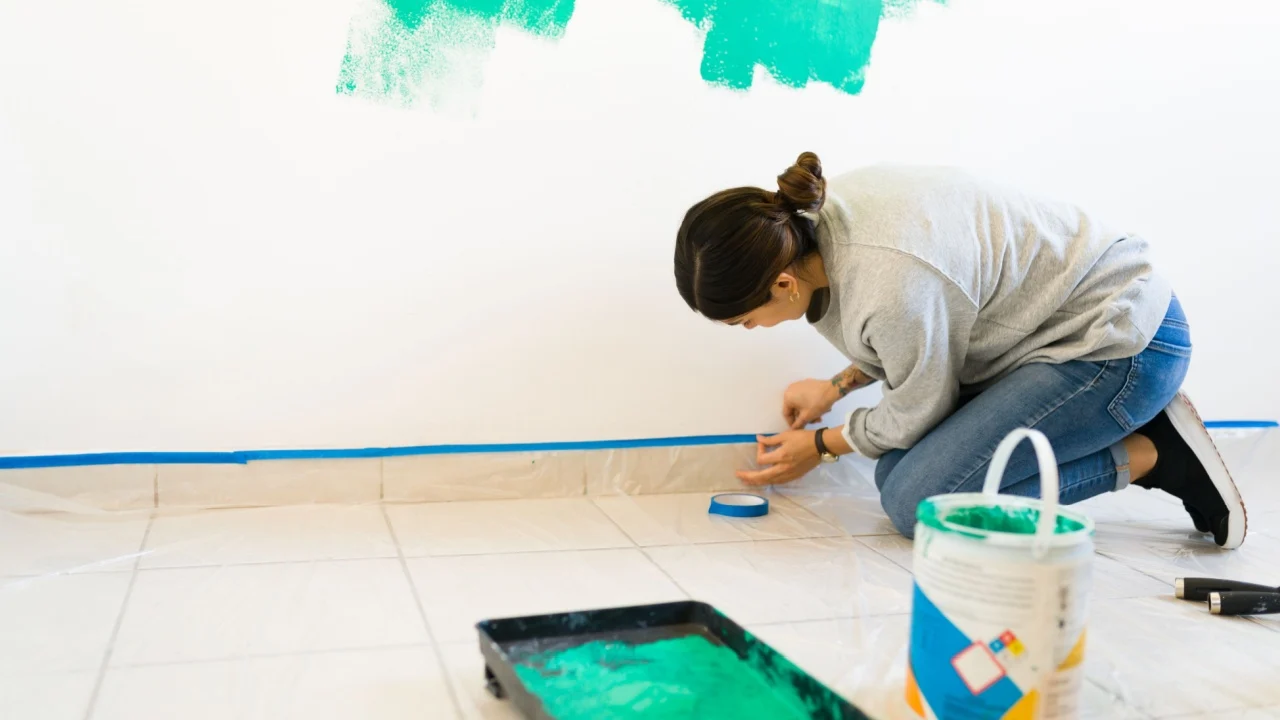
Image Credit: Shutterstock.
This hack is so simple and genius. Simply press the edge of the putty knife into the corner to project the side you aren’t painting. As you use your roller in one hand, move the putty knife to protect the wall.
For a perfectly straight, mess-free paint line, next time just press a metal putty knife against the tape roll. The straight blade gives you a clean, sharp line.
Keep a small metal putty knife in your pocket while you’re painting for these corners and skip all the tedious taping all together.
7. The Chip Can Roller Storage
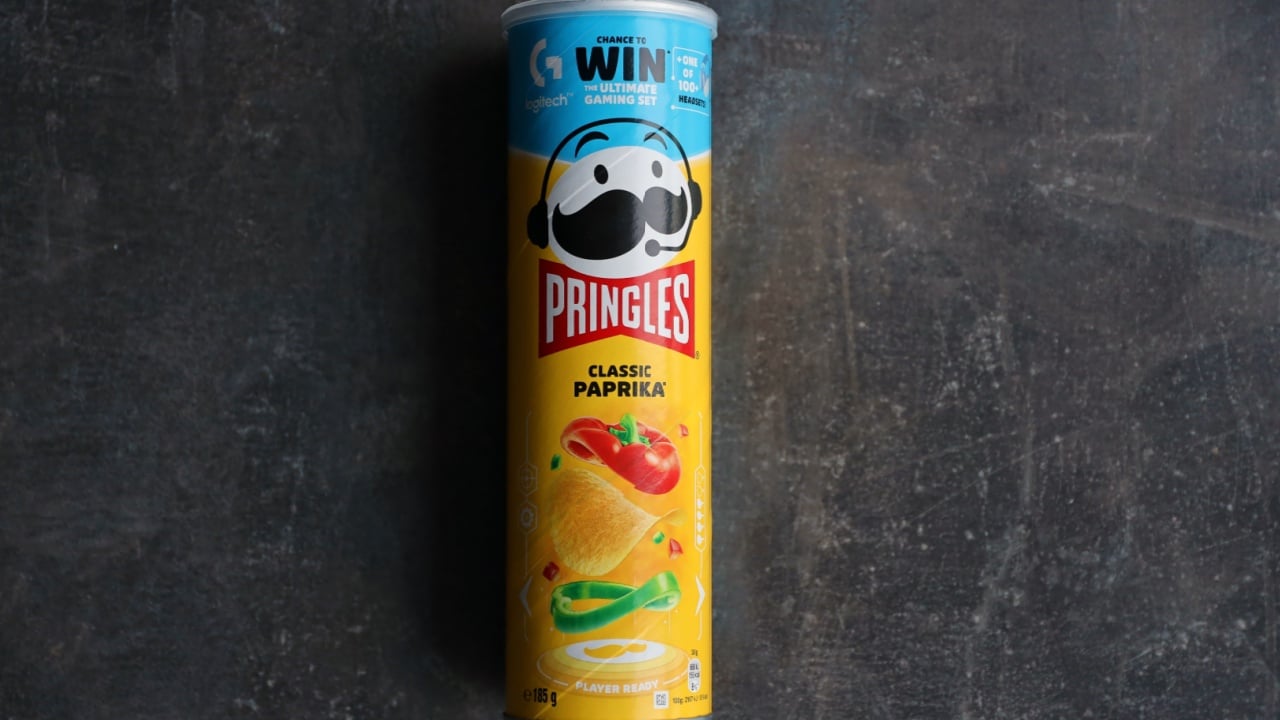
Image Credit: Mehaniq at Shutterstock.
Taking a break in the middle of painting a room usually means washing out your roller so it doesn’t dry out. But washing a roller uses a lot of water and makes it too wet to use right away. If you just leave it out, the roller gets ruined.
Here’s a simple solution: use an empty potato chip can. It’s the perfect airtight container for a wet paint roller. Just slide the roller sleeve off the handle and drop it into the can. The can protects the wet paint from the air. Put the plastic lid on top to seal it and keep the roller moist.
Your roller will stay fresh for hours, or even days. For extra protection, you can put the sealed can in the fridge. This keeps the paint ready for your next coat.
8. Dryer Sheets For Baseboards
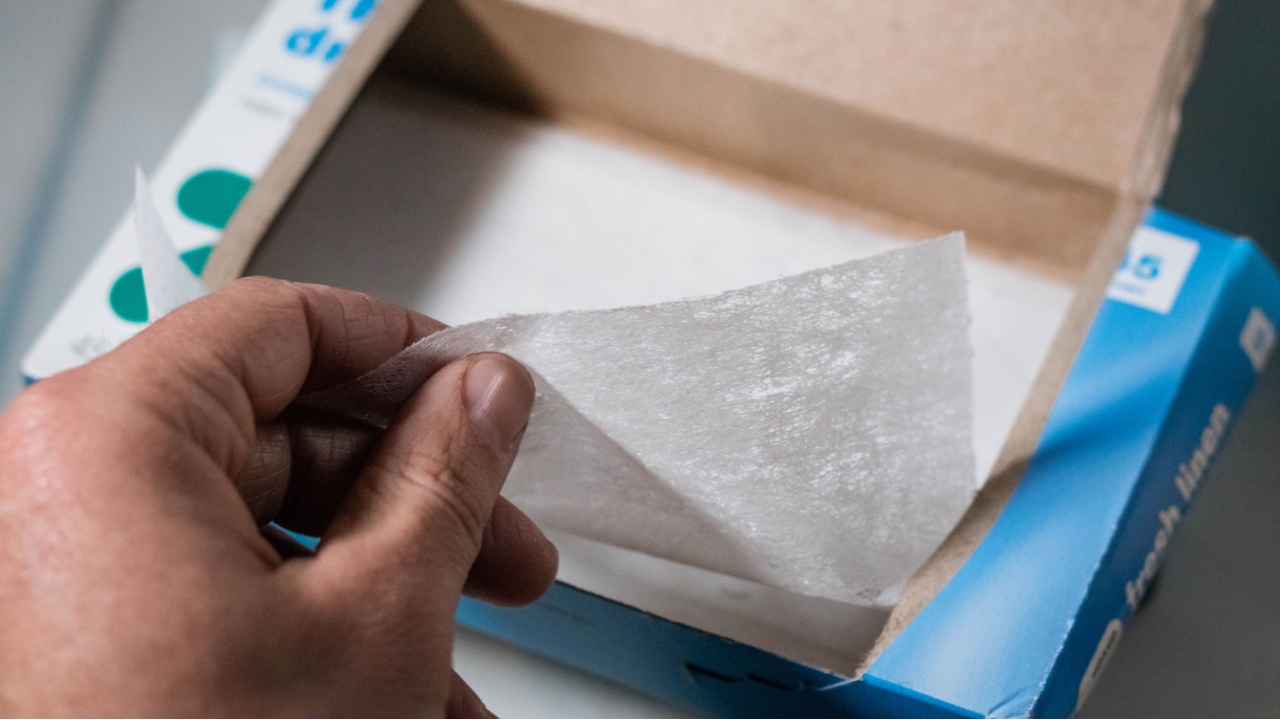
Image Credit: Mike Fig Photo at Shutterstock.
Baseboards collect a massive amount of dust and pet hair. Painting over a dusty baseboard traps the debris forever and ruins the smooth finish. Wiping them with a wet rag takes time to dry before you can apply color.
Rubbing a laundry dryer sheet along the trim removes dust instantly and leaves an anti-static coating behind. You swipe the fabric sheet over the wood just before applying your tape. The sheet grabs the hair and prevents new dust from settling while you work.
Keep a box of inexpensive dryer sheets in your cleaning caddy. Swipe all the trim pieces a few minutes before you open your paint containers.
9. Syringes For Tiny Touch-Ups
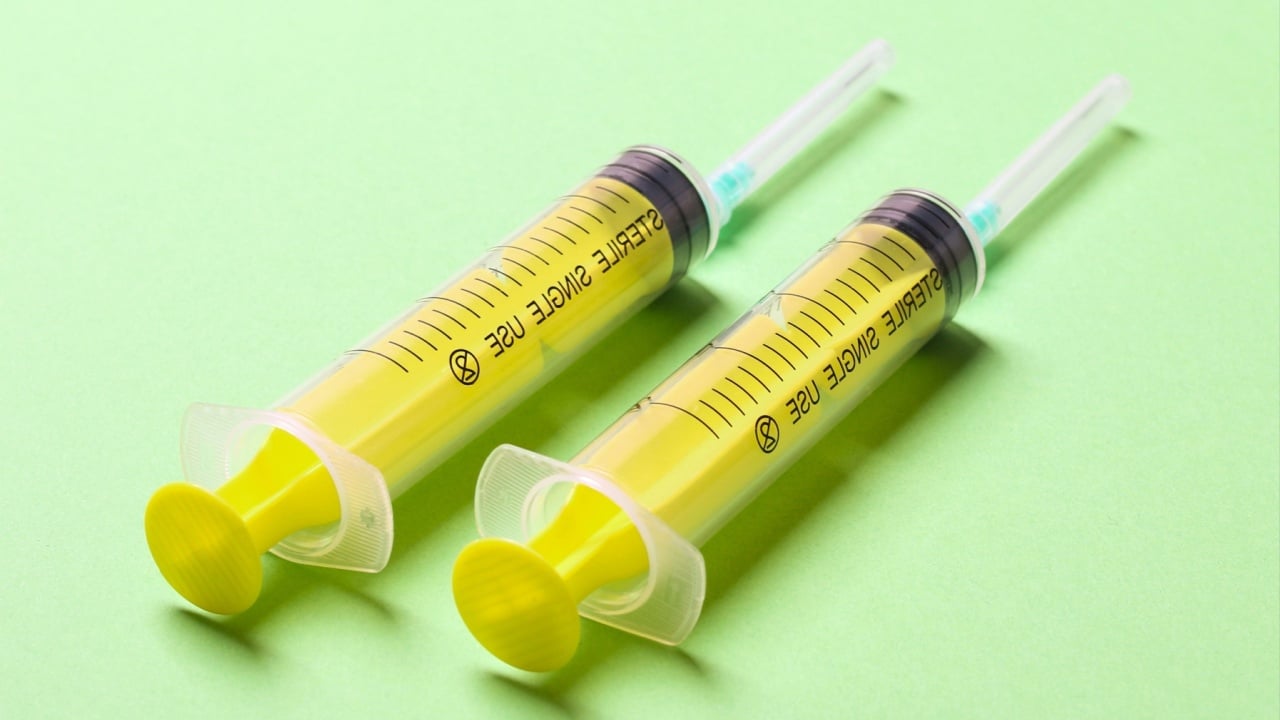
Image Credit: Shutterstock.
Small nicks and scratches happen frequently in busy households. Dragging a large container of paint and a big brush out for a microscopic scratch feels like overkill. The tiny blemishes often go ignored because the repair process takes too much effort.
Filling a small plastic craft syringe with leftover color creates a perfect repair tool. You dab a tiny droplet of color exactly onto the scratch with zero overspray. The small applicator allows for immense precision on delicate corners and door frames.
Ask your local pharmacy for liquid medicine dispensers or buy craft syringes online. Store the filled syringes in a sealed sandwich bag in a cool, dark closet.
10. Squeeze Bottles For Trim Work
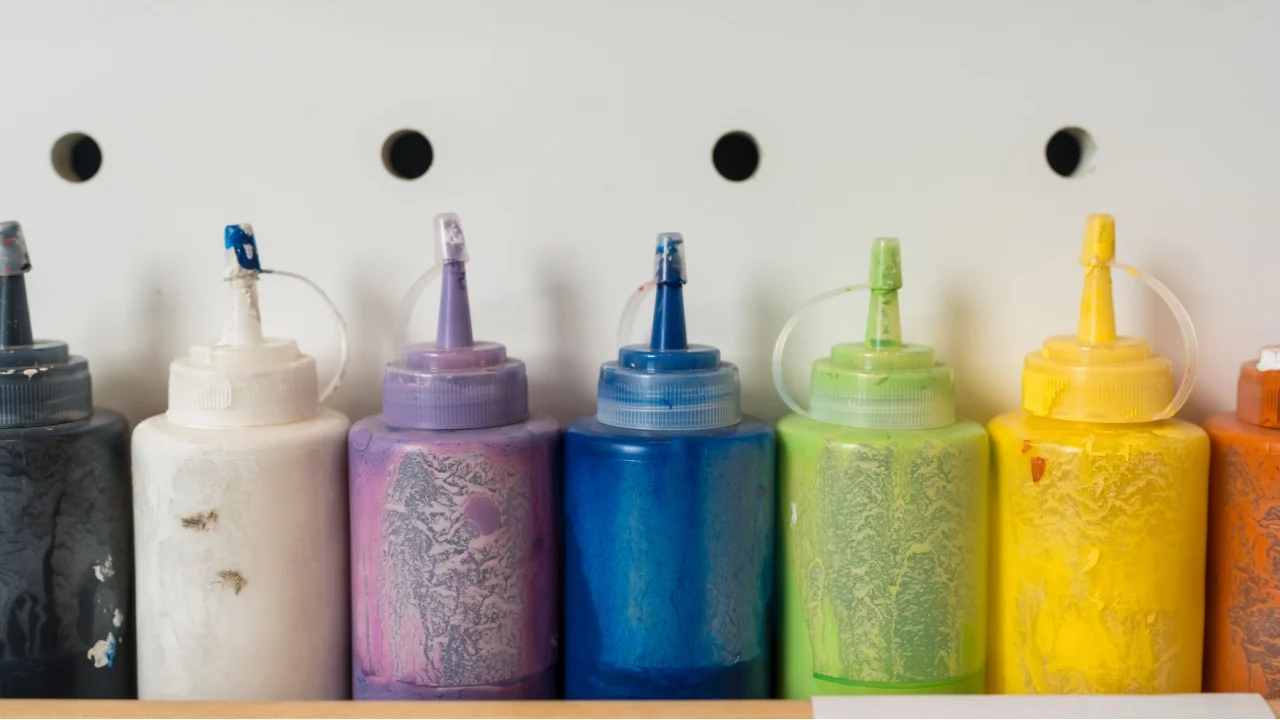
Image Credit: Shutterstock.
Painting narrow window grids requires a very small brush and constant dipping. Balancing a heavy container on a ladder while doing delicate detail work can be dangerous and messy. Spills happen frequently when trying to reach awkward angles.
Pouring the liquid into a plastic condiment squeeze bottle provides total control. You squeeze a small line of color onto your detail brush precisely when you need it. The closed top prevents massive spills if you happen to drop the bottle off the ladder.
Wash out old ketchup or mustard bottles thoroughly before using them. Label the outside with the exact color code for easy reference later.
11. Vinegar For Hardened Brushes
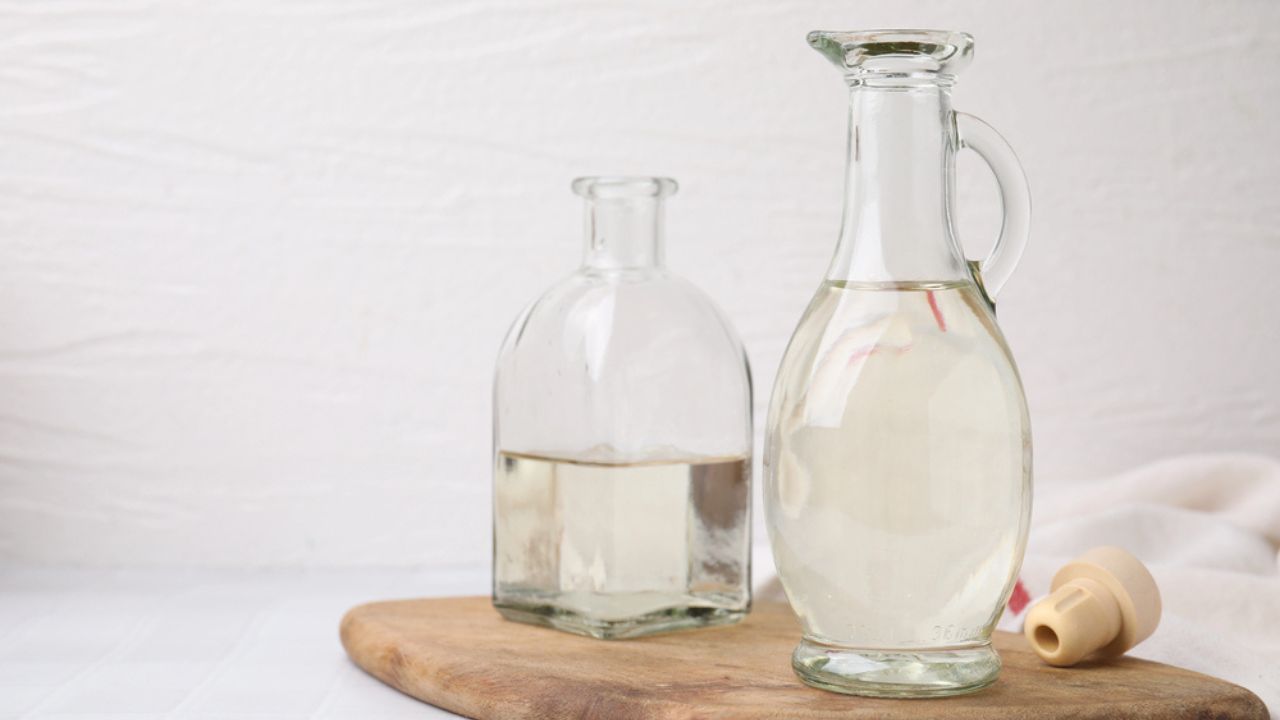
Image Credit: Deposit Photos.
High-quality brushes cost a lot of money to replace. Sometimes a brush gets forgotten, and the bristles dry into a solid, unusable rock. Throwing away expensive tools hurts your renovation budget significantly.
Soaking the ruined brush in warm white vinegar breaks down the hardened acrylic resins effectively. You submerge the bristles in a jar of hot vinegar for thirty minutes. The acidity softens the solid mass back into a pliable state.
Comb through the softened bristles with a wire brush and rinse with warm water. Hang the revived tools upside down to dry so they retain their proper shape.
Master Your Next Project

Image Credit: Shutterstock.
Applying these simple tricks will make your next home improvement task incredibly smooth. You now have the knowledge to avoid massive messes and save your expensive tools from ruin. Grab a fresh roller, tape your baseboards, and transform your living space today.