Creating a personalized snow globe is a delightful and rewarding project for anyone who enjoys hands-on crafts. It’s a fun way to express your creativity, and the finished result also makes a beautiful and festive decoration that looks impressive on any shelf or mantelpiece. Surprisingly, despite its polished appearance, assembling a snow globe is easier than you might think.
The process leaves plenty of room for creative touches, from choosing tiny figurines to adding unexpected surprises like glitter or colorful charms, ensuring that every globe is completely unique and reflective of your personal style.
Here are six simple steps to craft your very own miniature winter scene to cherish and enjoy throughout the season.
1. Roll and Shape Your Santa Figure
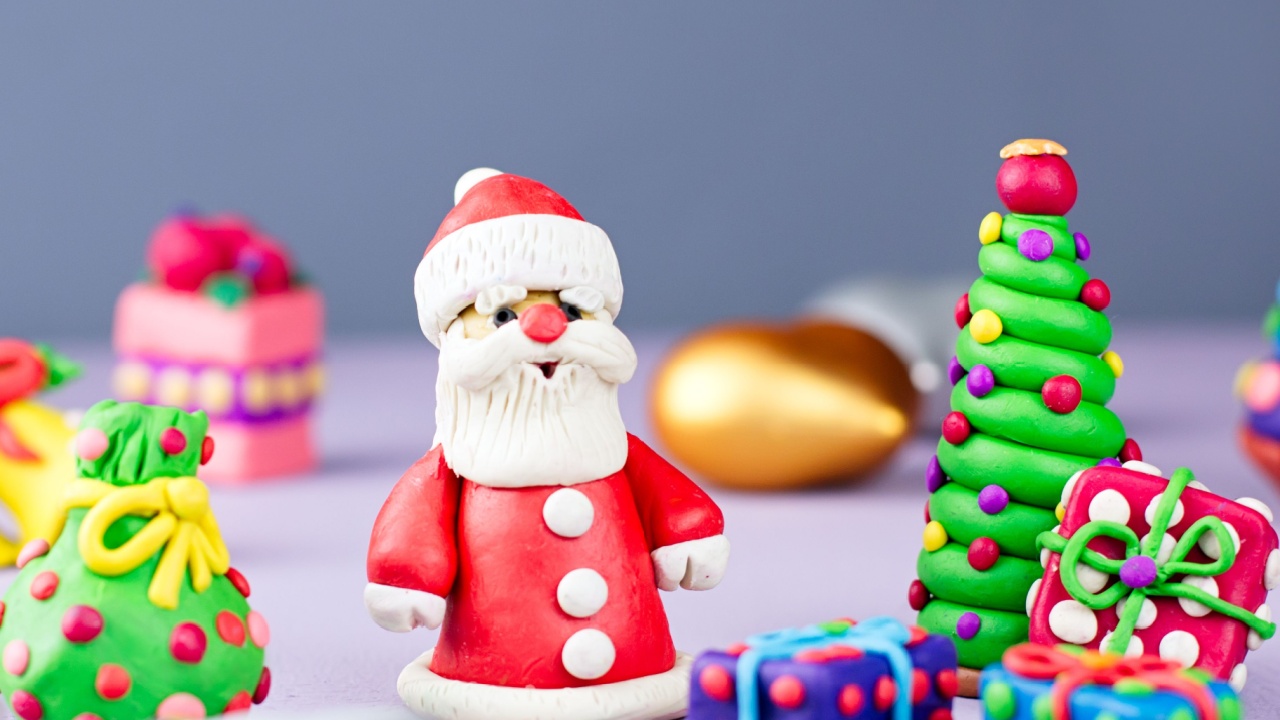
Image Credit: Shutterstock.
The heart of your snow globe is the tiny Santa (or any figurine) you create. Polymer clay is a great material for this job because it’s easy to work with and becomes solid once baked. Begin by shaping red clay into a cone for Santa’s body. Then, form his head, a fluffy white beard, and a classic red hat with a white trim.
If your Santa needs a little help standing upright inside the jar, you can make a small, flat base from clay wrapped around a piece of aluminum foil. This little platform will give him a solid foundation for gluing later on. Polymer clay holds its shape and vibrant color when submerged in water, making it perfect for the wet environment inside a snow globe.
2. Bake the Clay Figure
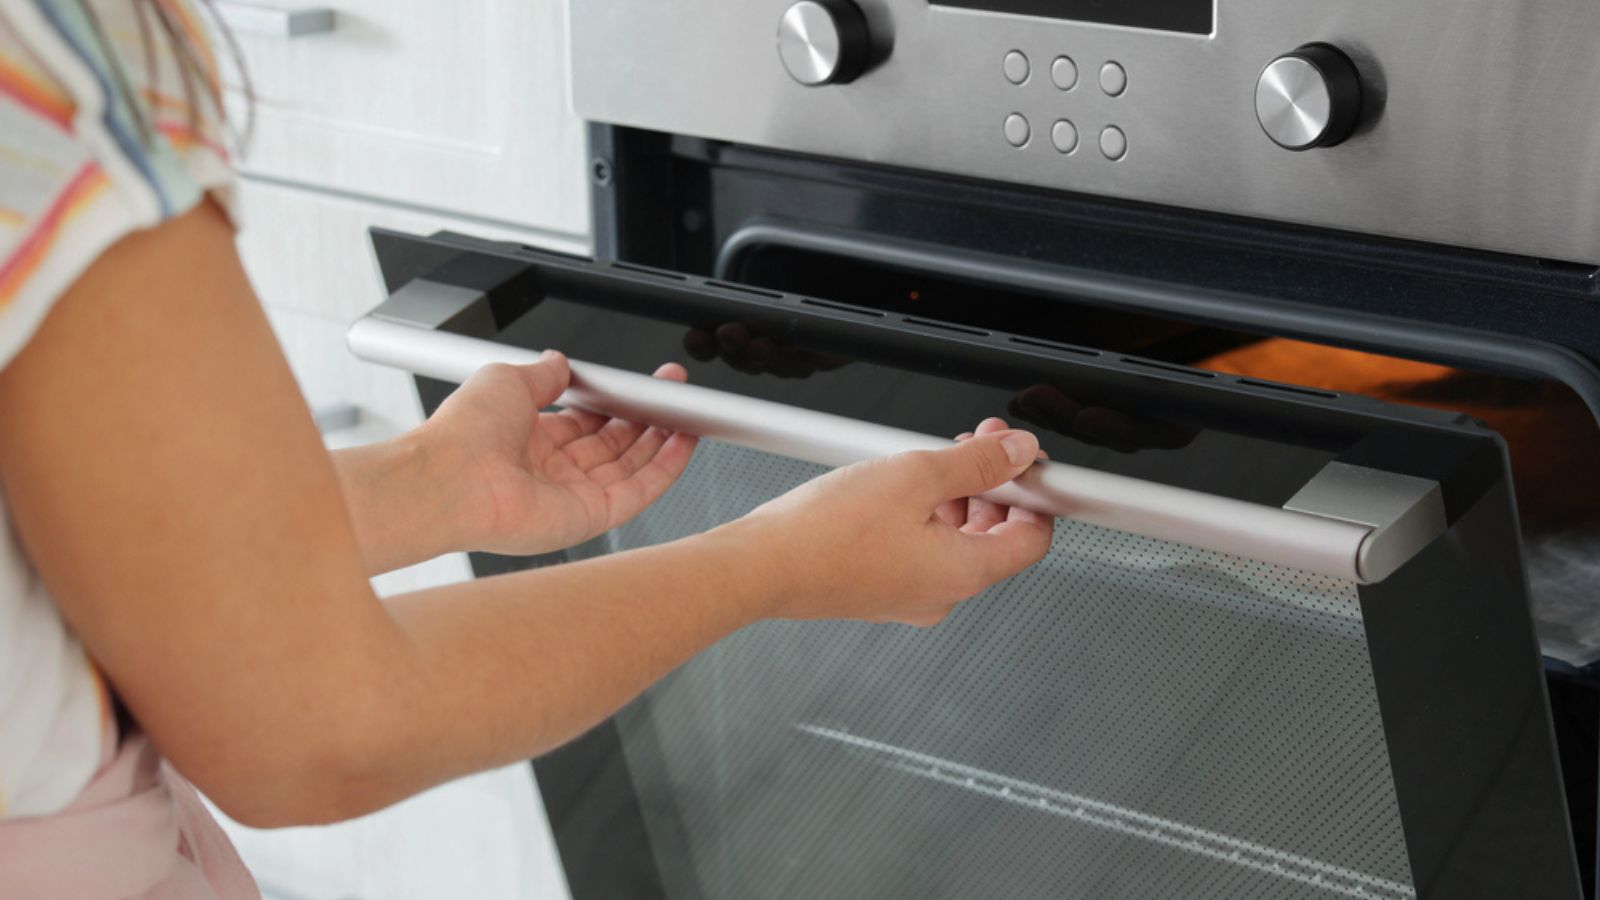
Image Credit: Deposit Photos.
Once your miniature Santa is complete, it’s time to make him permanent. Baking the polymer clay is a necessary step that hardens it, preventing it from turning into a colorful mush inside your globe. Each brand of polymer clay has specific baking instructions for temperature and time, so it’s important to read the packaging.
Place your Santa figure on a baking sheet, preferably lined with parchment paper. After baking for the recommended duration, let him cool completely. Patience here helps prevent cracks and makes sure the figure is fully cured. Curing the clay turns it into a waterproof, solid object that will not dissolve or fall apart in the water-filled jar.
3. Attach Santa to the Lid
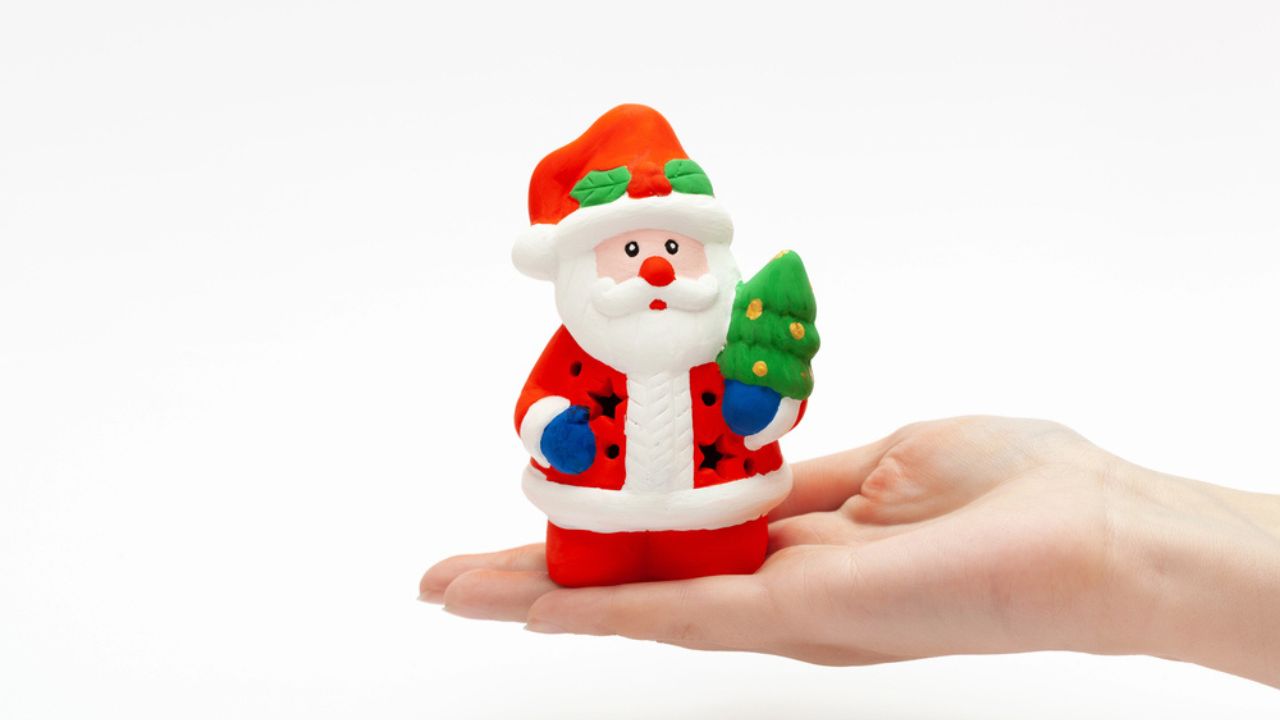
Image Credit: Deposit Photos.
With your Santa figure baked and cooled, it’s time to secure him in his new home. You will need a strong, waterproof adhesive for this. Super glue or a two-part epoxy works very well for creating a bond that can withstand being underwater.
Apply a generous amount of glue to the bottom of your figure’s base and press it firmly onto the center of the jar lid’s inner surface. Set it aside and let the glue cure completely, which might take up to a day depending on the glue you use. A strong, waterproof glue creates a permanent seal, so your Santa does not detach and float around his globe.
4. Fill the Jar with the Liquid Solution
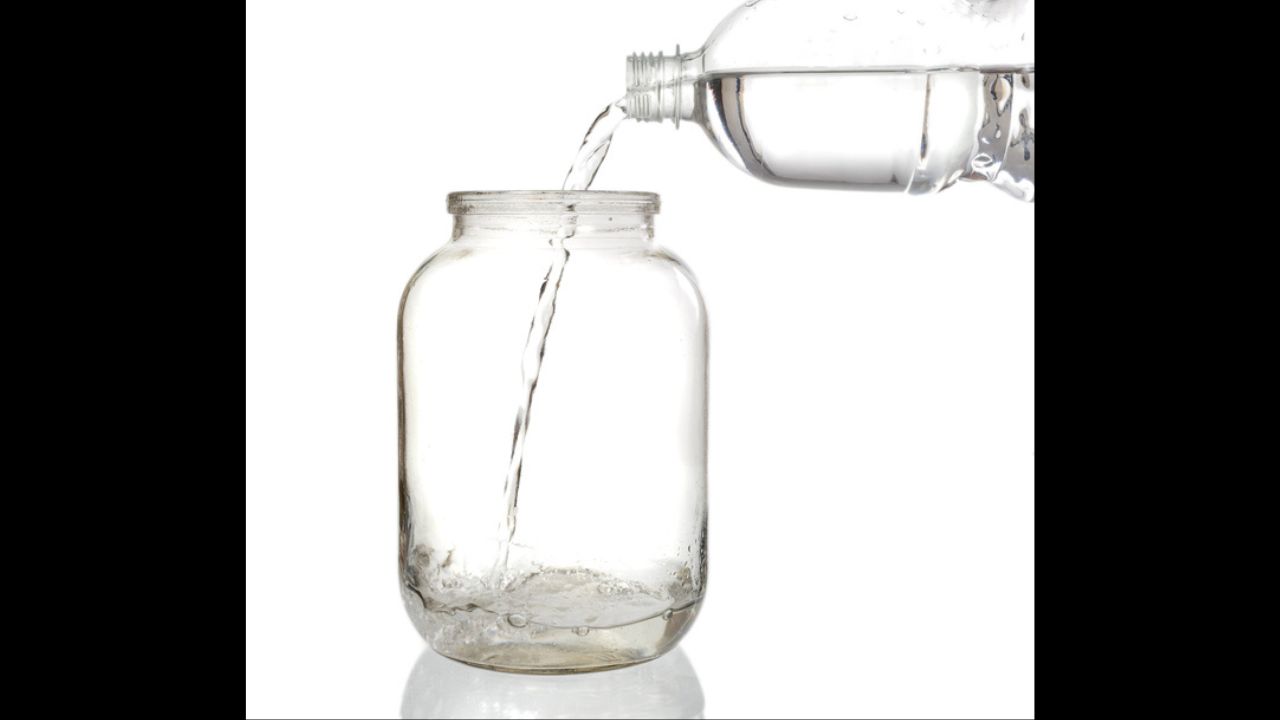
Image Credit: Deposit Photos.
The liquid inside the snow globe is what allows the “snow” to drift down slowly. The key ingredient for this effect is glycerine. In a clean, empty jar, add about three tablespoons of glycerine. Next, fill the jar with water until it is about three-quarters full. Stir the mixture gently to combine them.
Using distilled water can help keep the liquid clear over time, but tap water is also fine for a simple project. You need to leave room for Santa, so avoid filling the jar to the very top. Glycerine is thicker than water, which increases the liquid’s viscosity. This slows the descent of the glitter, creating that classic snow globe motion.
5. Add Your Artificial Snow
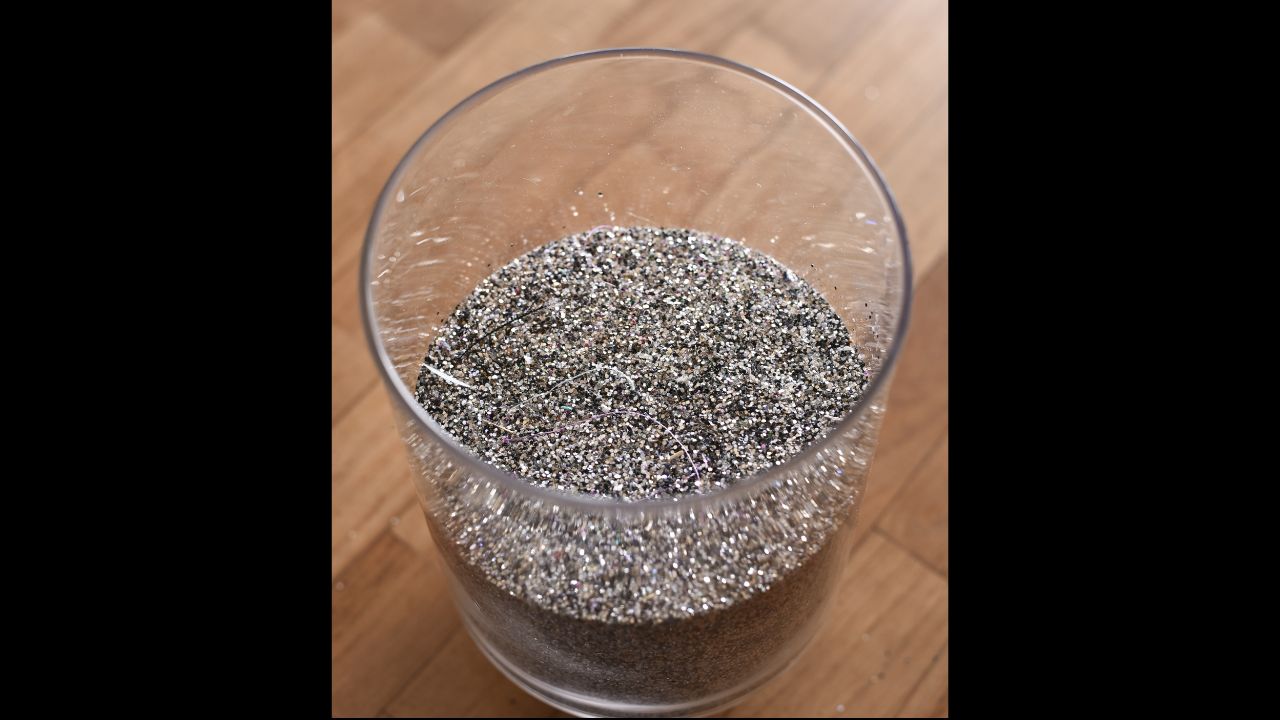
Image Credit: Shutterstock.
Now it’s time for the blizzard. Add about two tablespoons of artificial snow or glitter to the water-glycerine mixture. White or iridescent glitter often gives the most convincing snow-like appearance, but you could add a little red or green for a festive touch.
Give the mixture a very light stir, just enough to distribute the particles through the liquid. Adding too much “snow” can make the water cloudy and obscure Santa, so it is better to begin with a smaller amount. The small, light particles of glitter or artificial snow are what create the swirling storm when you shake the globe. Use less for a clearer view of your Santa figure.
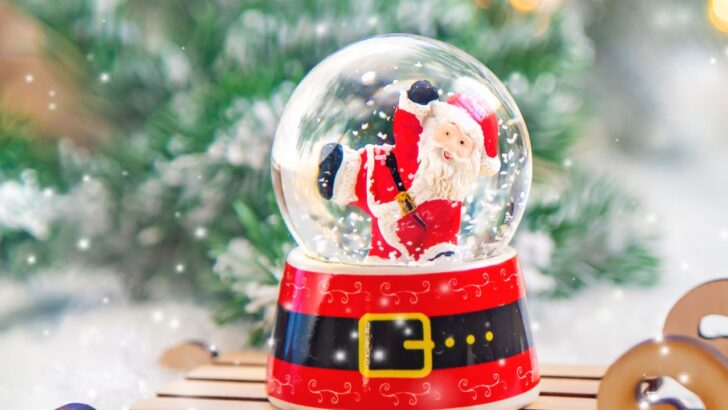
6. Screw on the Lid and Enjoy
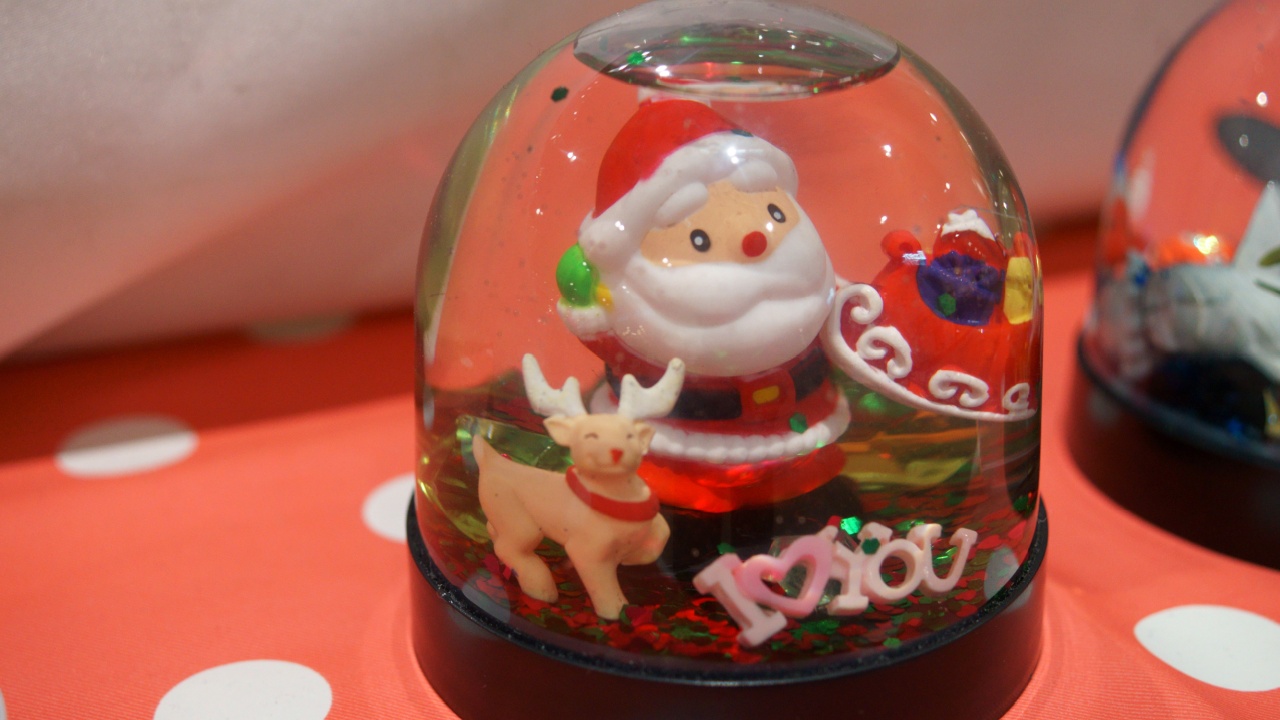
Image Credit: Shutterstock.
This is the final part of the assembly. Carefully take the lid with the cured Santa attached and lower him into the jar, screwing the lid on tightly. As you do this, the figure will displace some liquid, bringing the water level to the top of the jar.
If you are worried about leaks, you can apply a line of waterproof sealant or hot glue around the outside edge where the lid meets the jar. Once the lid is secure, flip your creation over, give it a gentle shake, and watch the snow fall on your tiny Santa. If kids were helping, let an adult handle the hot glue gun.
Beyond the Globe
Image Credit: Shutterstock.
Now that you have made a Santa snow globe, you can experiment with different holiday scenes. Try creating tiny reindeer, a stack of presents, a penguin, or a miniature Christmas tree for your next project.
You can also decorate the outside of the jar lid with paint or ribbon to complete the look. These little glass worlds make wonderful handmade gifts or festive decorations for your own home. It is a great Christmas craft, and the results are always quite exceptional.