
The boxes are down from the attic. The smell of pine (real or artificial) is wafting through the living room. A classic holiday playlist is already on its third loop. It is tempting to grab that shiny red bauble and slap it on the nearest branch immediately. Resist that urge.
Rushing straight to decoration is the rookie mistake of holiday enthusiasts everywhere. Skipping the prep work usually leads to a lopsided tree, dark spots where lights mysteriously vanish, and ornaments sliding off weak branches. Taking a beat to prep the canvas makes the final masterpiece look like something out of a magazine rather than a rushed Tuesday night project.
Here is how to get the foundation right before the glitter comes out.
1. Prune Rogue Branches for a Better Shape
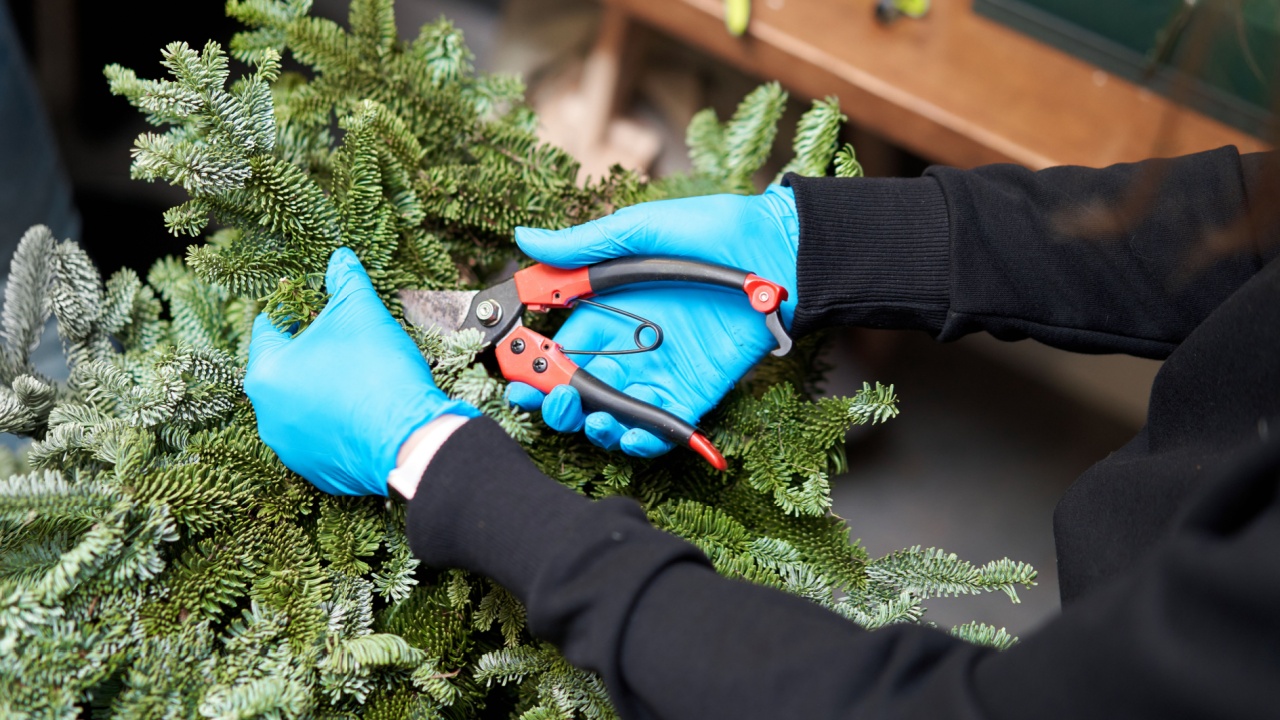
Image Credit: Shutterstock.
Nature rarely grows in a perfect cone. Real trees often come with a few unruly branches sticking out at odd angles or creating weird gaps. Even artificial trees, after spending eleven months crushed in a cardboard box, might look a little wonky.
Taking shears to a Christmas tree seems counterintuitive when the goal is a full, lush look. However, strategic trimming actually improves the overall density and appearance. You want to look for branches that break the symmetry or compete with the leader branch at the very top. For real trees, this also involves removing dead or brown needles and any sap-heavy tips that might ruin your favorite ornaments.
2. Fluff Every Single Branch
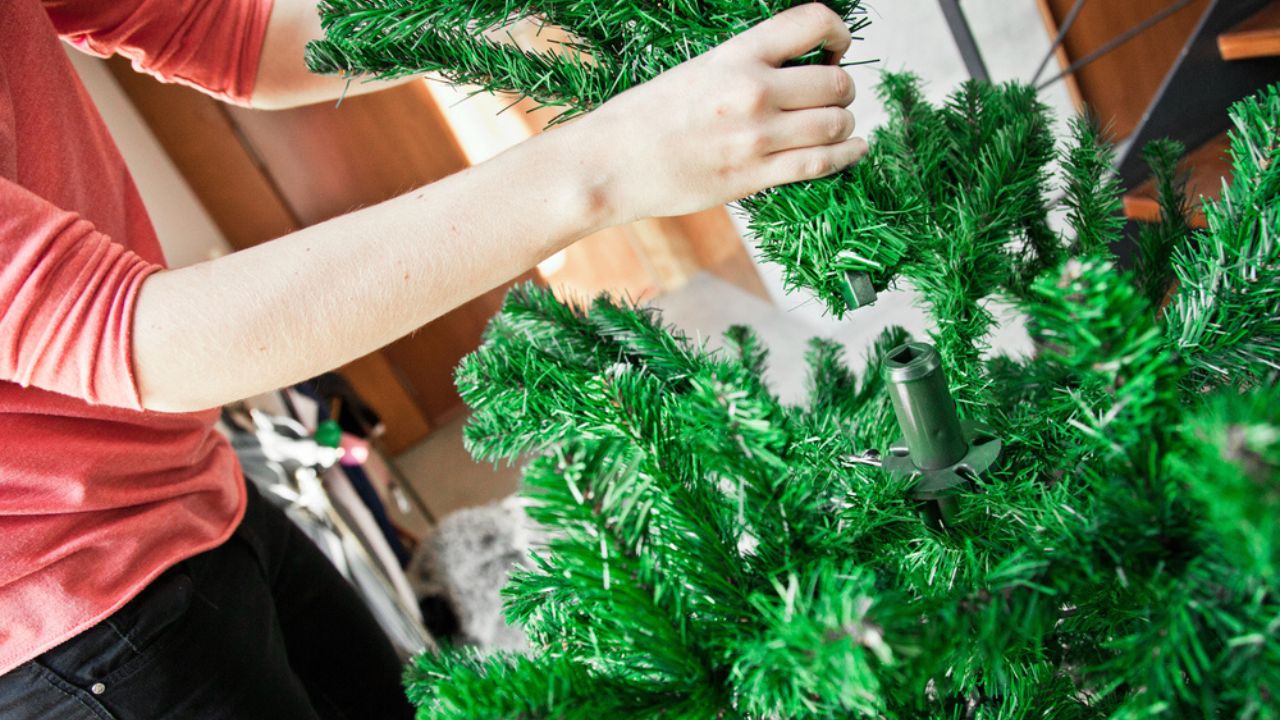
Image Credit: Deposit Photos.
This step is mostly for the artificial tree crowd, though real trees can benefit from a gentle shake-out before coming indoors. When a tree comes out of storage, it looks like a sad, compressed umbrella. To fix this, you have to touch every single piece of greenery. “Fluffing” is the tedious, finger-numbing process of separating every branch tip to make the tree look full.
Start from the bottom and work your way up, section by section. Pull the inner branches straight out and the side branches away at angles. This mimics how real fir grows, reaching out toward the sunlight. This process creates the volume needed to hide the central pole.
3. String the Lights Before Anything Else
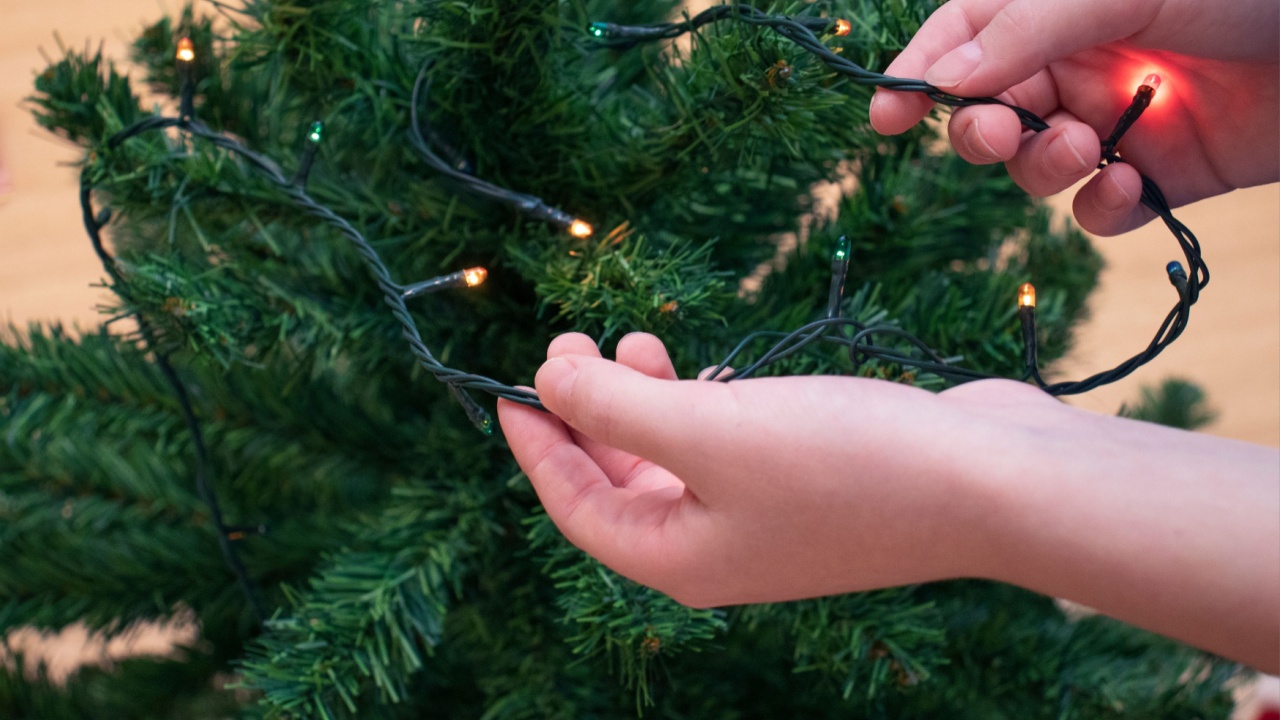
Image Credit: Shutterstock.
Never, ever try to put lights on after ornaments. It ends in tears and broken glass (or at least dreams). Lighting is the background magic that makes everything else sparkle, and it needs to be embedded deep within the tree, not just wrapped around the perimeter like a lasso. The best method involves weaving the wire in and out of the branches. Start at the base and work toward the trunk, then back out to the tip of the branch, then over to the next one.
This method places lights closer to the center, creating an inner glow that adds incredible depth and illuminates ornaments from behind. But before you start, test every strand. Finding a dead bulb after wrapping an entire seven-foot spruce is a specific kind of holiday heartbreak. It also helps to keep the lights on while you work, so you can spot dark patches immediately and adjust on the fly instead of redoing it all later.
Have a Festive Plan
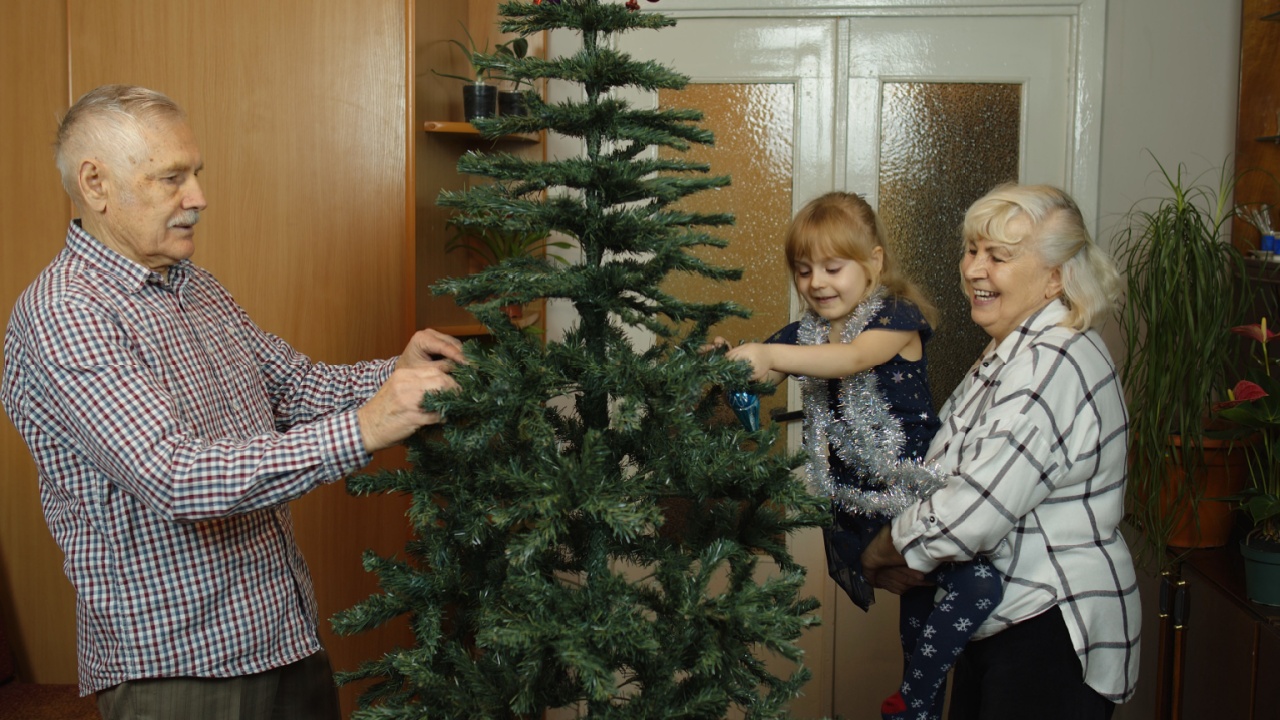
Image Credit: Shutterstock.
The hard work is done. The tree is shaped, full, and glowing from the inside out. Now, you can finally open those boxes of ornaments. Before you start hanging things willy-nilly, group your decorations by size and color.
Place the largest bulbs deeper inside the tree to reflect light and fill gaps. Use the smaller, shinier pieces on the tips of the branches. Step back frequently to check for balance. If you have a collection of heavy, sentimental ornaments, place them on the sturdiest branches you identified during the pruning phase.