
Water is like kindergarten kids; you are best friends on Monday, and by Wednesday, worst enemies. It waters your prize-winning petunias, fills your bird bath, and generally keeps life moving. But when the temperatures drop, that same life-giving water inside your pipes can turn into a destructive force of nature, expanding and bursting with the kind of power that makes you wish you’d paid more attention in science class.
If that sounds dramatic, consider this: in 2021, water damage and freezing accounted for nearly a quarter of all home insurance claims. That’s a lot of soggy carpets and sad homeowners.
The good news is that you don’t have to be a victim of your own plumbing. Preventing a frozen pipe disaster is much easier and significantly cheaper than cleaning one up. With a few proactive steps, you can keep your pipes safe, your water flowing, and your sanity intact.
Here are eight ways to protect your home’s pipes from the woes of winter and upcoming deep freezes.
1. Insulate Your Pipes

Image Credit: Shutterstock.
Pipes get cold, just like people. And while you can’t knit them tiny sweaters, you can give them the next best thing: insulation. This is especially important for pipes in unheated areas of your home, like basements, crawl spaces, attics, or garages. A little bit of foam can make a huge difference.
Foam rubber or fiberglass sleeves are designed to hug your pipes, trapping heat and shielding them from the biting cold. It’s like designing a winter coat for your plumbing. This simple barrier helps maintain the water temperature above freezing, even when the air around it is frigid.
Quick Care Tips:
- Measure First: Before you go to the hardware store, measure the diameter of your pipes to get the right size sleeves.
- Cover Everything: Pay close attention to fittings and elbows, as they can be just as vulnerable. Use matching foam fittings or wrap them securely with insulation tape.
- Check for Gaps: Make sure the insulation is snug, and there are no exposed sections. Gaps can defeat the purpose and create cold spots.
2. Shut Down Outdoor Faucets
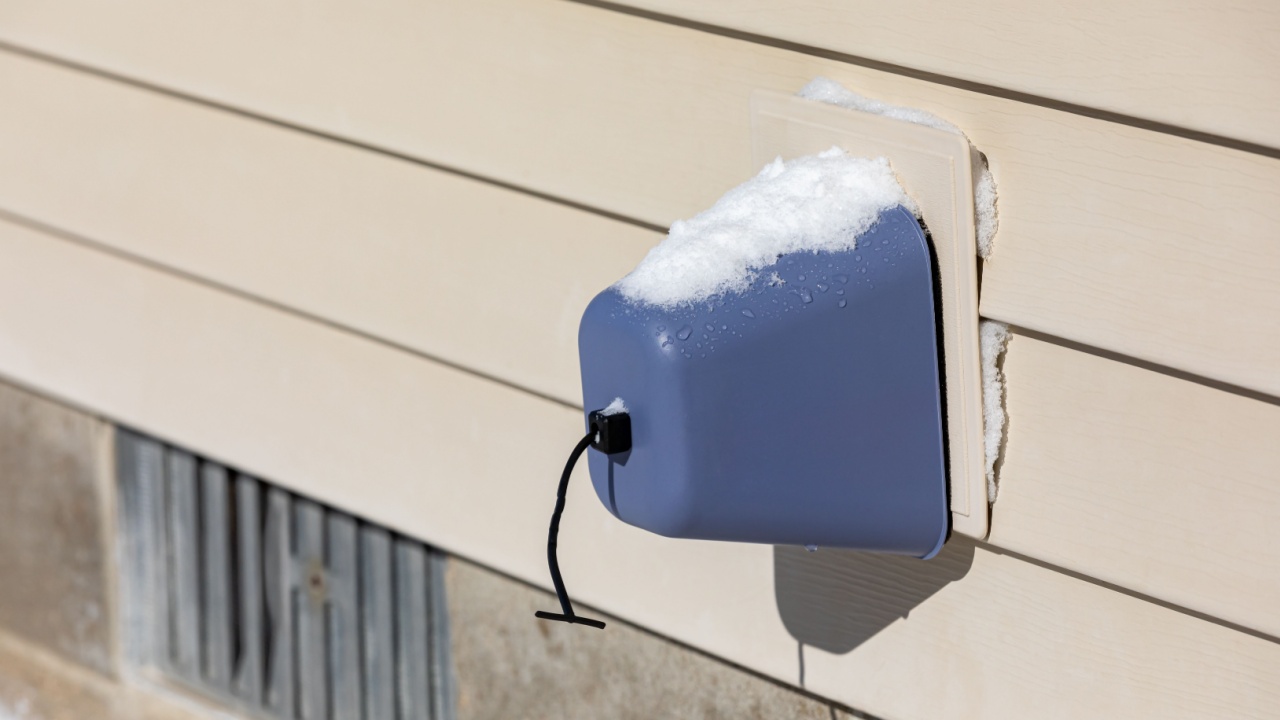
Image Credit: Shutterstock.
Your outdoor spigots are the front line in the battle against winter. They are completely exposed to the elements and are a common starting point for frozen pipes. Taking a few minutes to properly shut them down is one of the most effective preventative measures you can take.
Most homes have a separate shut-off valve for outdoor faucets, usually located in a basement or crawl space. Turning this off stops the water supply. After it’s off, you must drain the remaining water from the line by opening the outdoor tap. Disconnecting your garden hose is also a must. A hose full of water can freeze and create pressure that travels right back into the pipes inside your wall.
Quick Care Tips:
- Find Your Valve: Locate your exterior water shut-off valves now, before you actually need them. Label them with a tag so you don’t forget.
- Store Hoses: Drain your hoses completely and store them in a shed or garage to prevent them from cracking in the cold.
- Add a Faucet Cover: For extra protection, place an inexpensive insulated faucet cover over each outdoor tap.
3. Clear Gutters and Drains
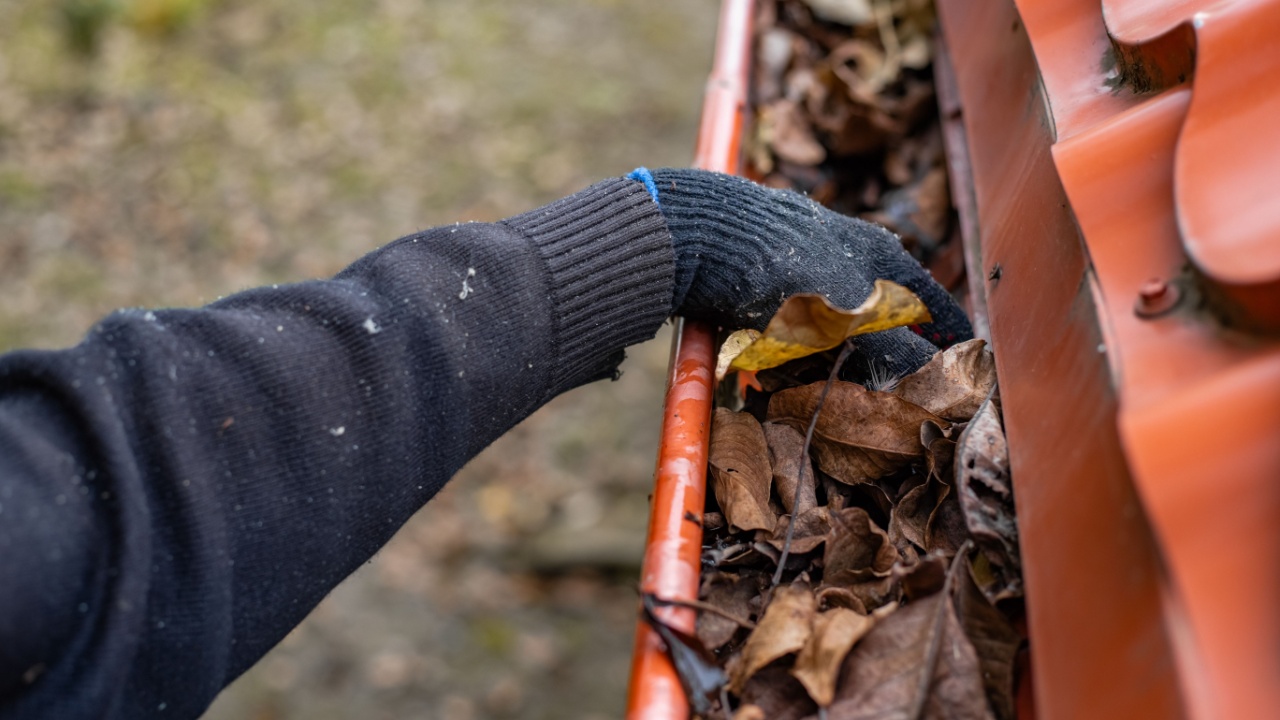
Image Credit: Shutterstock.
You might wonder what your gutters have to do with the pipes inside your house, but clearing them is one of the top projects to finish before winter comes. It’s all about controlling where water goes. Gutters clogged with leaves and other debris can’t do their job. Water will pool, freeze, and form heavy ice dams.
These dams can cause water to back up under your roof shingles, leading to leaks inside your attic or walls. This water can then find its way to pipes, and if it refreezes, it can cause major damage. Keeping your gutters clear allows melting snow and rain to flow away from your house, protecting both your foundation and your plumbing.
Quick Care Tips:
- Schedule a Cleaning: Clean your gutters after most of the leaves have fallen in late autumn.
- Check Downspouts: Make sure your downspouts are clear and directing water at least three to four feet away from your home’s foundation.
- Inspect for Damage: While you’re up there, check for any loose or damaged gutter sections that might need repair before the first snowfall.
4. Keep Your Heat On

Image Credit: Shutterstock.
Leaving for a winter vacation is great, but returning to a flooded house is not. It can be tempting to turn the heat completely off to save money while you’re away, but this is a risky gamble. Your home’s heating system does more than just keep you comfortable; it protects your entire plumbing network.
A baseline temperature is needed to keep the ambient air in your walls and floors warm enough to prevent pipes from freezing. Most experts recommend setting your thermostat to at least 55°F (13°C) if you’re going to be away. The small cost in heating bills is a worthy investment compared to the thousands of dollars you might spend on water damage repair.
Quick Care Tips:
- Program Your Thermostat: If you have a programmable thermostat, set it to a consistent, low temperature while you’re away.
- Ask a Friend: If you’re gone for an extended period, ask a trusted neighbor to check on your house periodically, just to be safe.
- Mold Prevention: Keeping the heat on also helps reduce the risk of mold and mildew, which thrive in cold, damp environments.
5. Let Warm Air Circulate
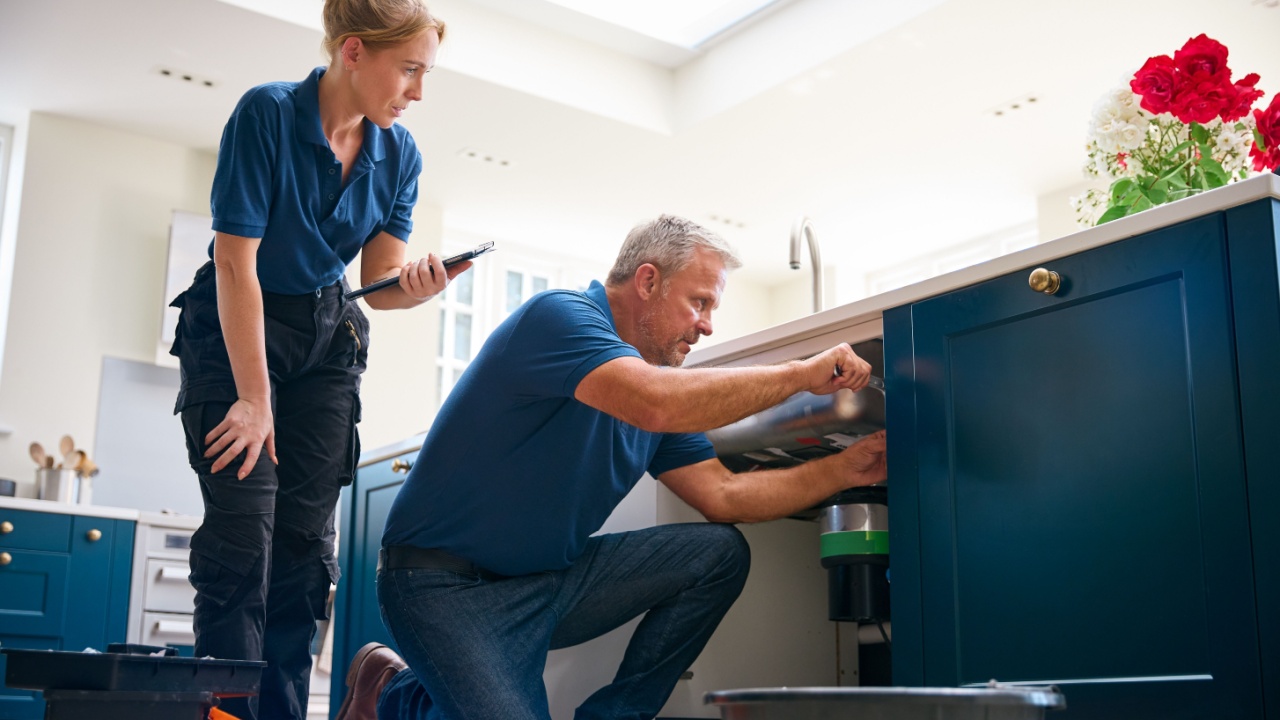
Image Credit: Shutterstock.
Some of your home’s most vulnerable pipes are hidden from view, tucked away inside cabinets, closets, and wall cavities. These areas don’t get the same benefit from your home’s heating as open rooms do. You can easily help them out by giving them some access to warm air.
During particularly cold spells, open the cabinet doors under your kitchen and bathroom sinks. This allows the warmer air of the room to circulate around the pipes, preventing them from getting dangerously cold. If you have pipes in a utility closet or an attic, cracking the access door can have a similar protective effect.
Quick Care Tips:
- Safety First: If you open cabinets that contain cleaning supplies, make sure they are out of reach of any children or pets.
- Target Vulnerable Areas: Focus this strategy on sinks that are located along an exterior wall, as they are most at risk.
- Tiny Trick: A small, low-wattage lamp placed safely inside a larger cabinet can also provide a gentle source of warmth.
6. Inspect Attic and Basement Insulation

Image Credit: Shutterstock.
A pipe bursting on an upper floor is a homeowner’s nightmare. Water doesn’t just damage one room; it can cascade down, affecting ceilings, walls, and floors on every level below. Proper insulation in your attic and basement is your defense against this scenario.
Check these spaces for adequate insulation levels and look for any gaps or cracks that could let cold air seep in. Sealing these air leaks with caulk or spray foam is a quick and effective way to boost your home’s defense. This simple maintenance not only protects pipes but also makes your home more energy-efficient.
Quick Care Tips:
- Look for Drafts: On a windy day, feel for drafts around windows, vents, and any openings where pipes or wires enter the house.
- Insulation Check: Look to see if your attic insulation is level with or below the floor joists. If it is, you might need to add more.
- Seal the Rim Joist: In your basement, the rim joist (the wooden border resting on the foundation) is a common source of air leaks. Sealing it can make a big difference.
7. Let Your Faucets Drip
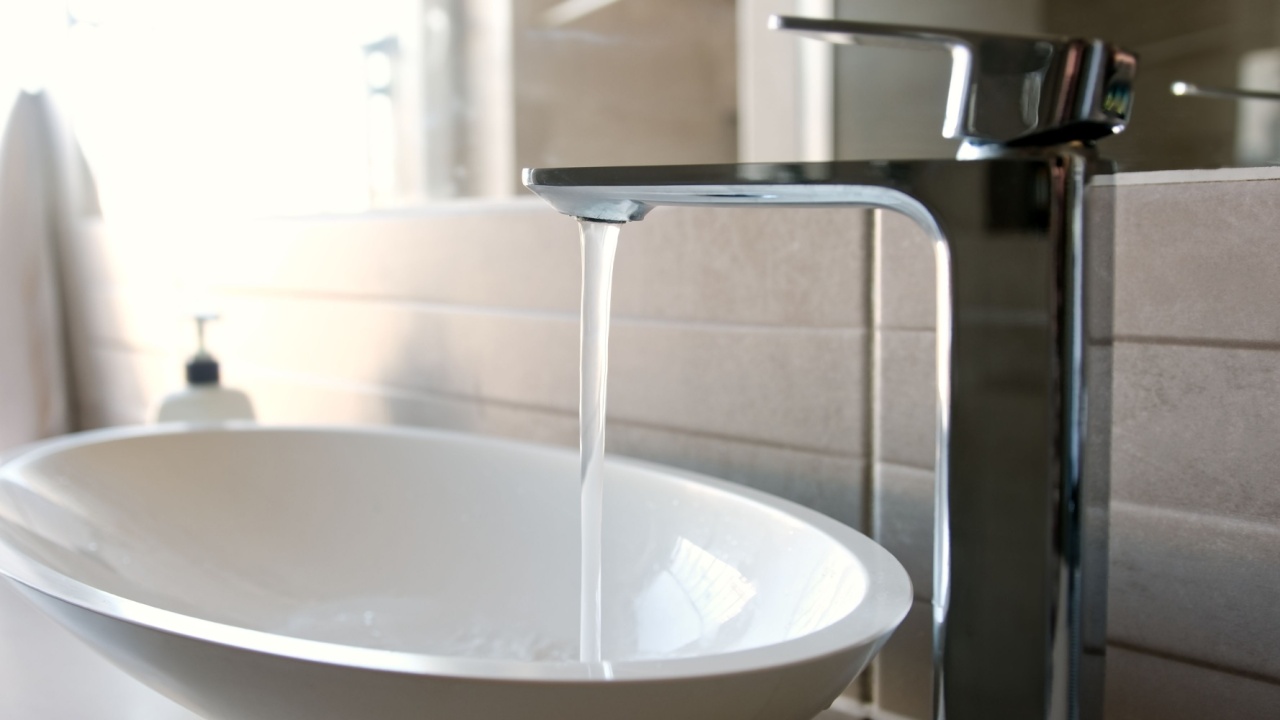
Image Credit: Shutterstock.
When the temperature is expected to drop significantly, one of the simplest and most effective emergency measures is to let your faucets drip. It seems counterintuitive to waste water, but a small drip can prevent a catastrophic leak.
Moving water has a much harder time freezing than stationary water. A slow, steady drip from a faucet connected to a vulnerable pipe creates just enough movement to prevent ice from forming and building pressure. This is a great short-term solution for extreme cold snaps, especially for pipes you know are problematic.
Quick Care Tips:
- Identify At-Risk Faucets: This technique is most effective for faucets located on exterior walls or in unheated areas.
- A Drip is Enough: You don’t need a steady stream; a slow and consistent drip is all it takes. Both hot and cold lines can be helpful.
- Place a Bowl: If the sound of dripping water drives you crazy, place a dish towel or a bowl in the sink to muffle the noise.
8. Apply Heat Tape
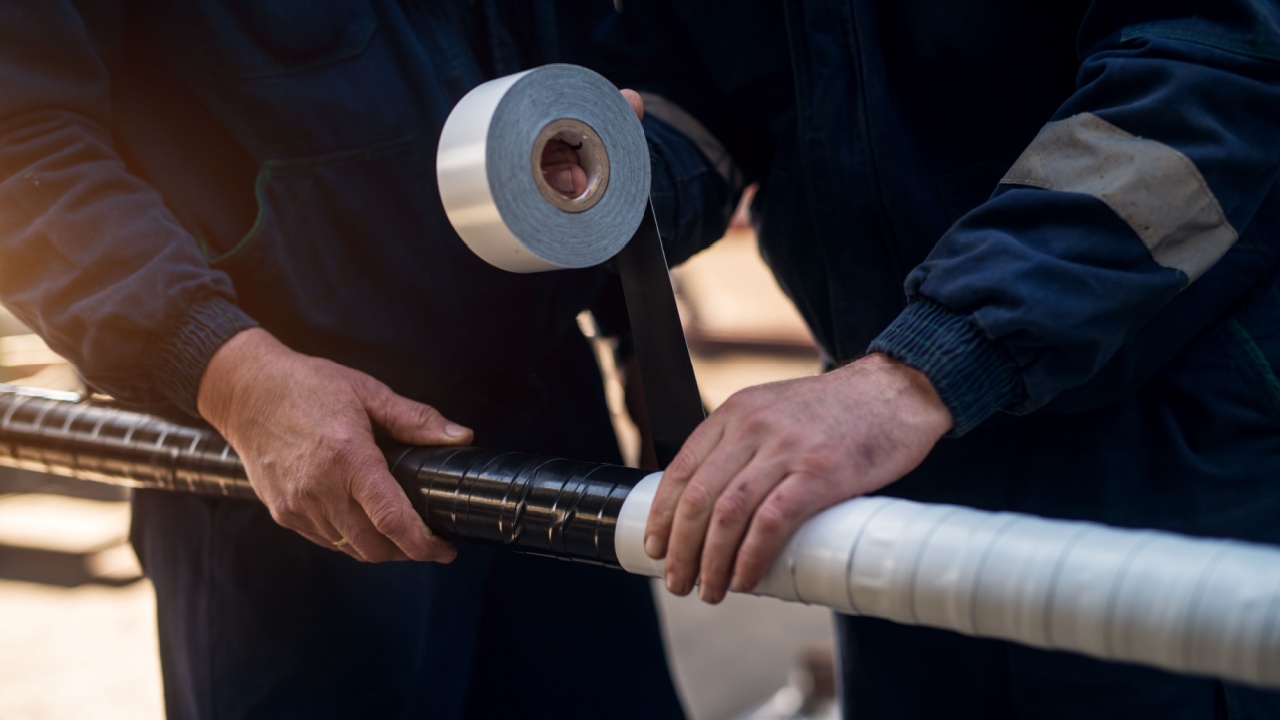
Image Credit: Shutterstock.
For chronically cold pipes that insulation alone can’t protect, heat tape (or heat cable) is a fantastic solution. This product is essentially an electrical cord that you wrap around a pipe. When plugged in, it gently warms the pipe to keep the water inside from freezing.
There are two main types: one that runs at a constant wattage, and a self-regulating version that adjusts its heat output based on the surrounding temperature. While it’s possible to install it yourself, it’s wise to read the instructions carefully. If you have any doubts, calling a professional electrician or plumber is the safest route.
Quick Care Tips:
- Follow Directions: Improper installation can be a fire hazard. Never overlap the cable or use it on a leaky pipe.
- Use a GFCI Outlet: For safety, always plug heat tape into a ground-fault circuit interrupter (GFCI) outlet.
- Automatic Activation: Some models can be paired with a thermostat, so they only turn on when the temperature drops to a certain point, saving energy.
What to Do Next
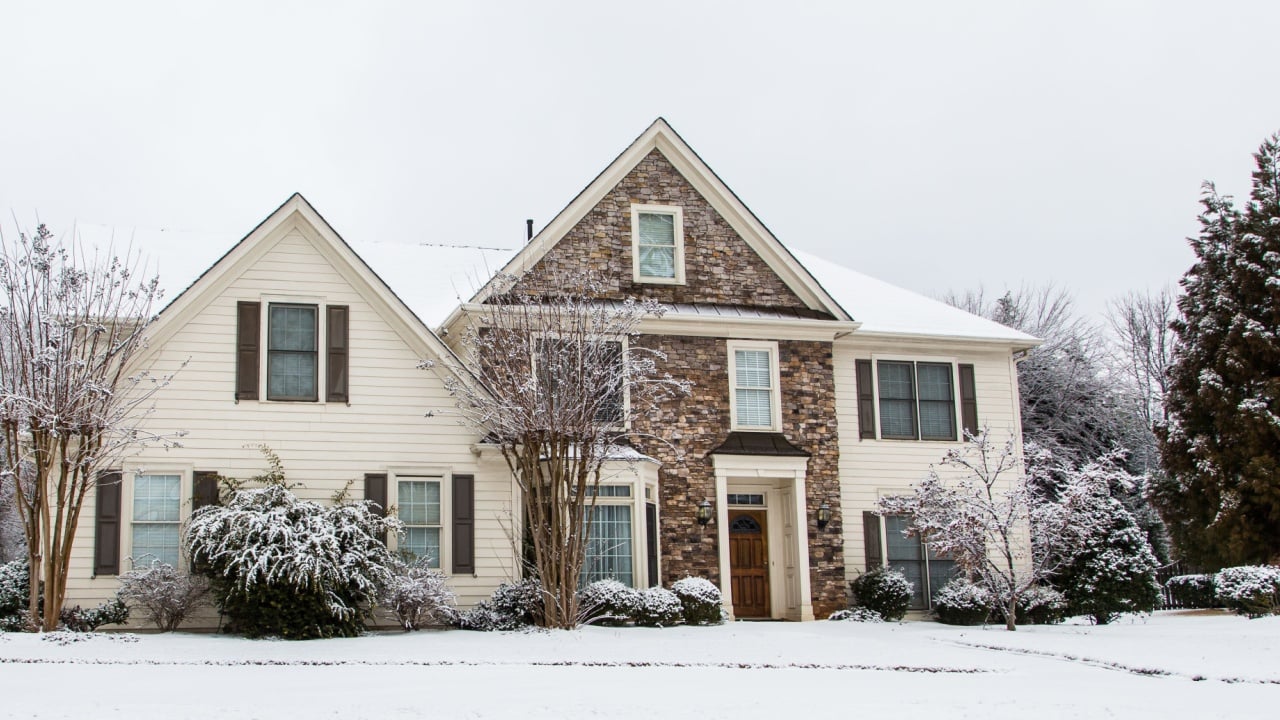
Image Credit: Shutterstock.
Preparing for winter doesn’t have to be an overwhelming task. A little bit of prevention now can save you a world of trouble later. Start by taking a walk around your property to identify your home’s most vulnerable spots. Check the pipes in your basement, crawl space, and under sinks. Locate your outdoor faucets and their shut-off valves. By getting ahead of the problem, you can relax and enjoy the winter, knowing your home is secure and your pipes are protected.