As summer fades and the crisp autumn air settles in, our gardens begin to wind down. But while most of the flowers may be finished for the season, a vital group of garden helpers is just starting to prepare for the cold months ahead. The bees that diligently pollinated our flowers, vegetables, and fruit trees all summer need a safe place to ride out the winter. By making a few simple adjustments to your fall cleanup routine, you can provide a safe haven for these essential insects, ensuring they return in the spring to help your garden thrive once more.
Most of us think of honeybees in hives, but the majority of North America’s 4,000 native bee species are solitary. These bees, including bumblebees, mason bees, and leafcutter bees, don’t live in large colonies. Instead, they find shelter in hollow stems, underground tunnels, and piles of leaves. Helping them survive the winter is one of the most impactful things a gardener can do for their local ecosystem and future harvests. Here are eight simple ways to make your yard a welcoming winter retreat for bees.
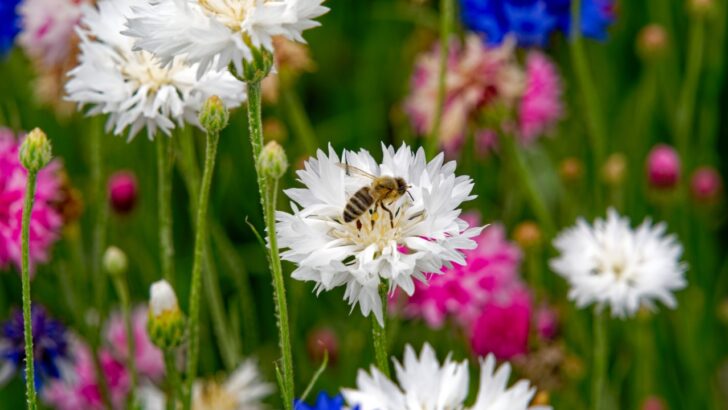
1. Don’t Cut Back Your Perennials
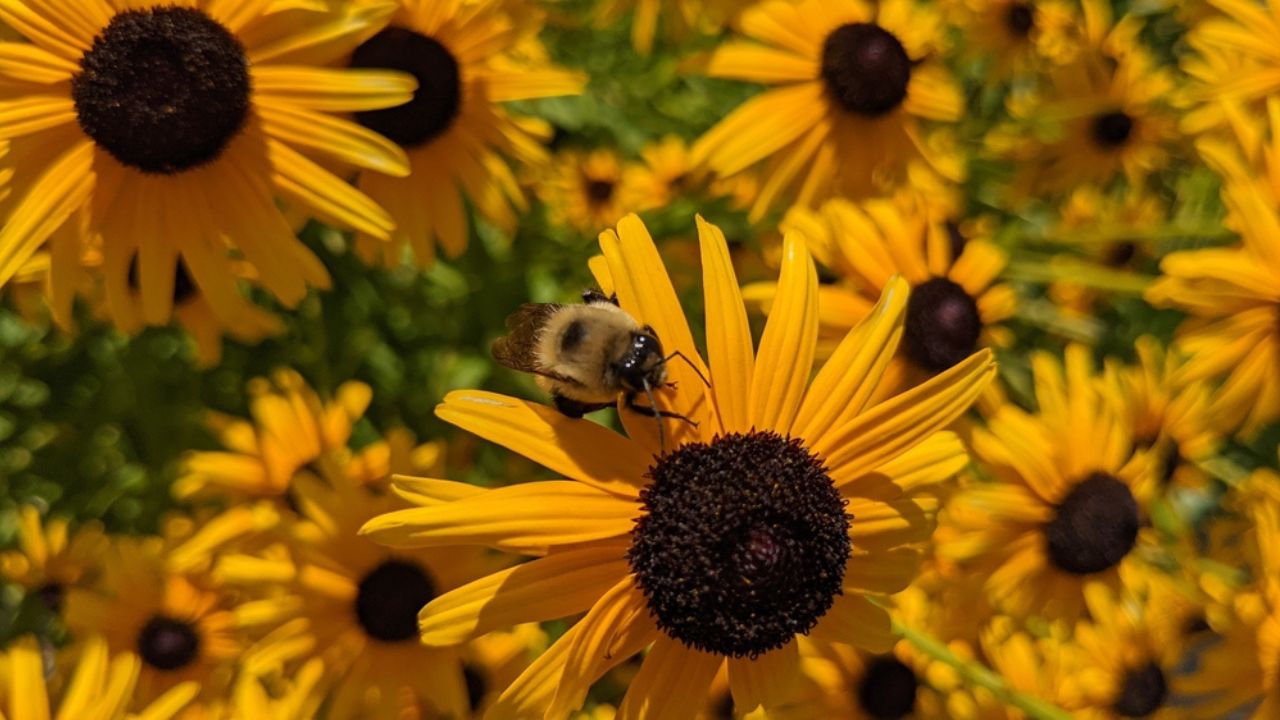
Image Credit: Shutterstock.
As tempting as it is to tidy up the garden by cutting back all the spent flower stalks, resist the urge. The hollow stems of plants like coneflowers, black-eyed Susans, and bee balm provide perfect nesting cavities for many species of solitary bees. Female bees lay their eggs inside these stems, sealing them off with mud or plant material. These developing bees will then emerge in the spring, ready to pollinate.
Leaving your perennials standing not only helps bees but also provides winter interest in your garden and offers food for birds that feast on the leftover seeds. If a tidy look is important, consider cutting the stalks back in late spring, once you see bee activity resume.
Quick Guide:
- What to do: Leave perennial flower stalks and seed heads standing through winter.
- Why it helps: Hollow stems are ideal nesting sites for solitary bees.
- Next Steps: Wait until temperatures are consistently above 50°F (10°C) in spring before cutting back old growth. Bundle the cut stems and leave them in a corner of your garden for a few more weeks to allow any late-emerging bees to escape.
2. Leave the Leaves
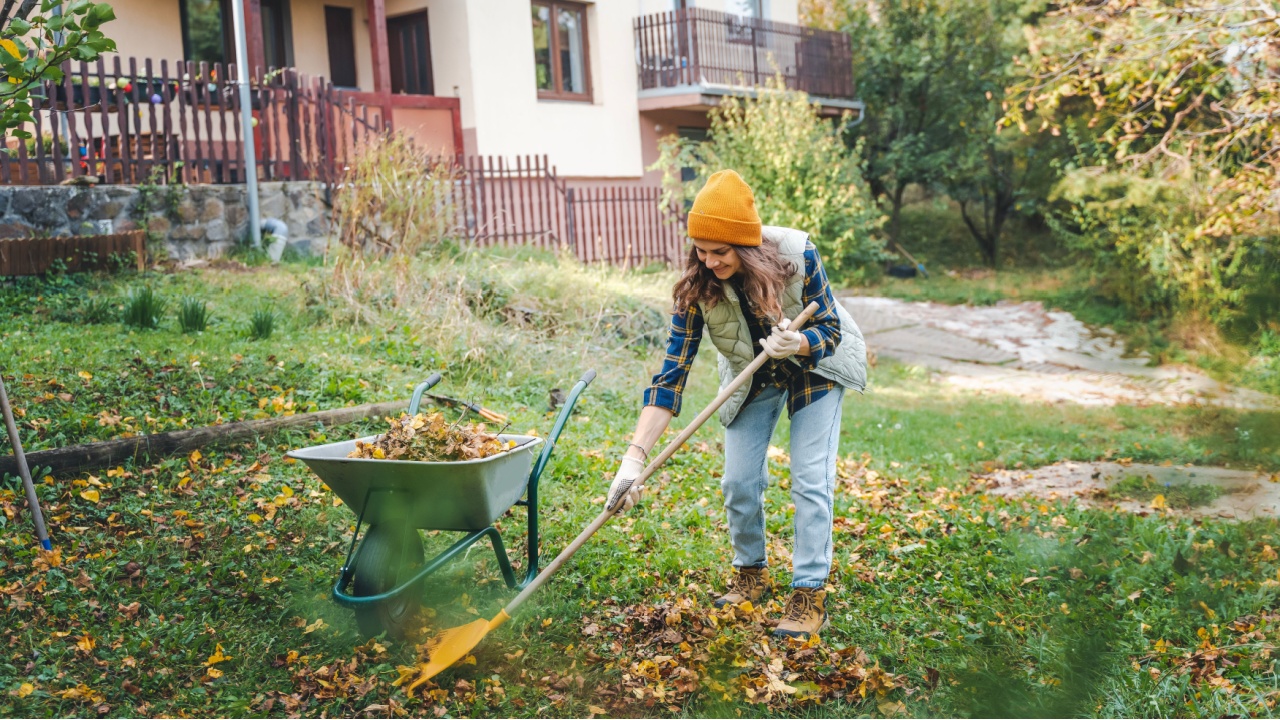
Image Credit: Shutterstock.
A blanket of fallen leaves is one of nature’s best insulators. For queen bumblebees and other ground-nesting insects, a layer of leaves offers crucial protection from freezing temperatures. After mating in the fall, a new queen bumblebee will dig a small chamber just a few inches underground to hibernate. A thick layer of leaf litter on top of her burrow acts like a cozy quilt.
Raking every last leaf removes this essential habitat. While a thick mat of wet leaves can harm your lawn, you can find a happy medium. Rake leaves off your grass and into your garden beds, around the base of shrubs, or into a designated pile in an unused corner of your yard.
Quick Guide:
- What to do: Avoid raking all your leaves. Move them into garden beds or create a loose pile.
- Why it helps: Leaf litter insulates the ground, protecting hibernating queen bumblebees and other beneficial insects.
- Next Steps: Use shredded leaves as a natural mulch for your acid-loving plants like azaleas and camellias. This enriches the soil as it breaks down.
3. Stop Digging So Much
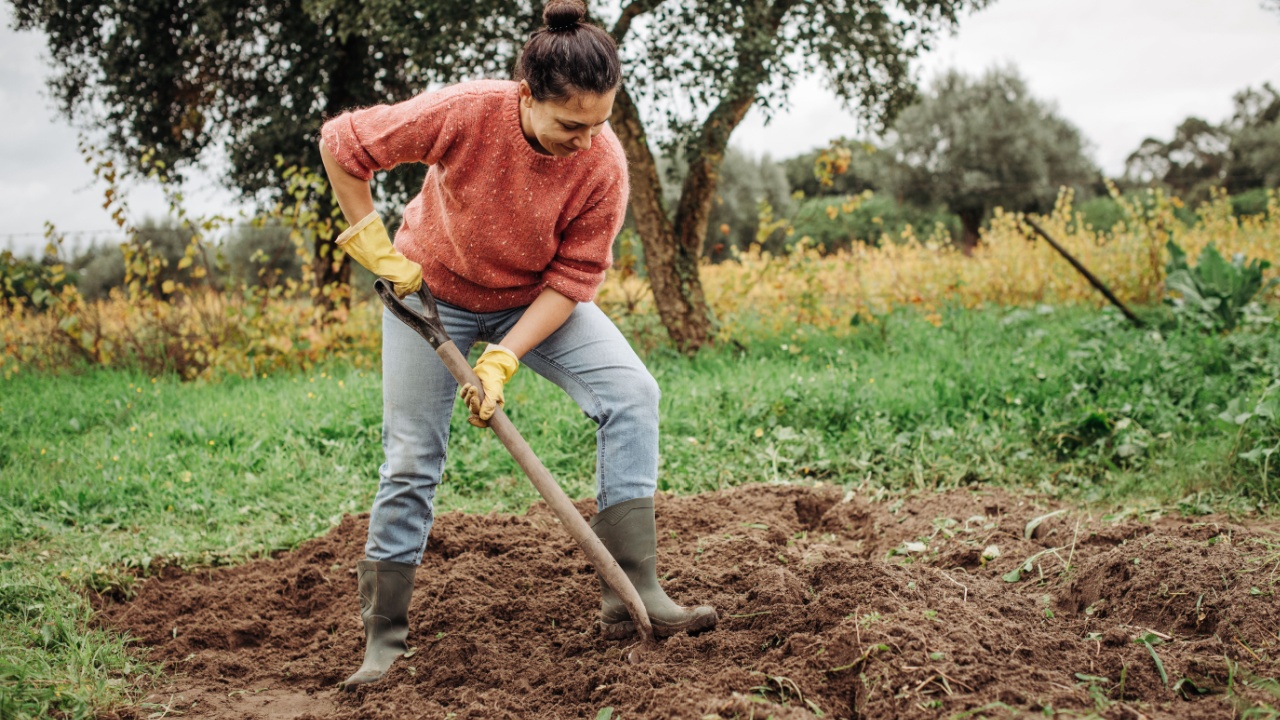
Image Credit: Shutterstock.
Many native bee species are ground-nesters, creating burrows in bare, undisturbed soil. These bees favor sunny, well-drained spots where their nests won’t flood. Once the bees have settled in for the winter, tilling or turning over the soil can destroy their underground chambers and crush the hibernating insects.
Try to be mindful of where you’ve seen bee activity during the summer. Mark off areas of bare ground that you know are popular with pollinators and avoid digging there from late fall until late spring. When you do need to plant fall bulbs or perennials, try to do so before bee activity completely ceases for the season.
Quick Guide:
- What to do: Limit digging and soil cultivation in garden beds from late fall to late spring.
- Why it helps: Protects the underground nests of the majority of native bee species.
- Next Steps: Designate a small, sunny patch of your yard as a “no-dig” zone to encourage ground-nesting bees year after year.
4. Let Logs and Branches Lie
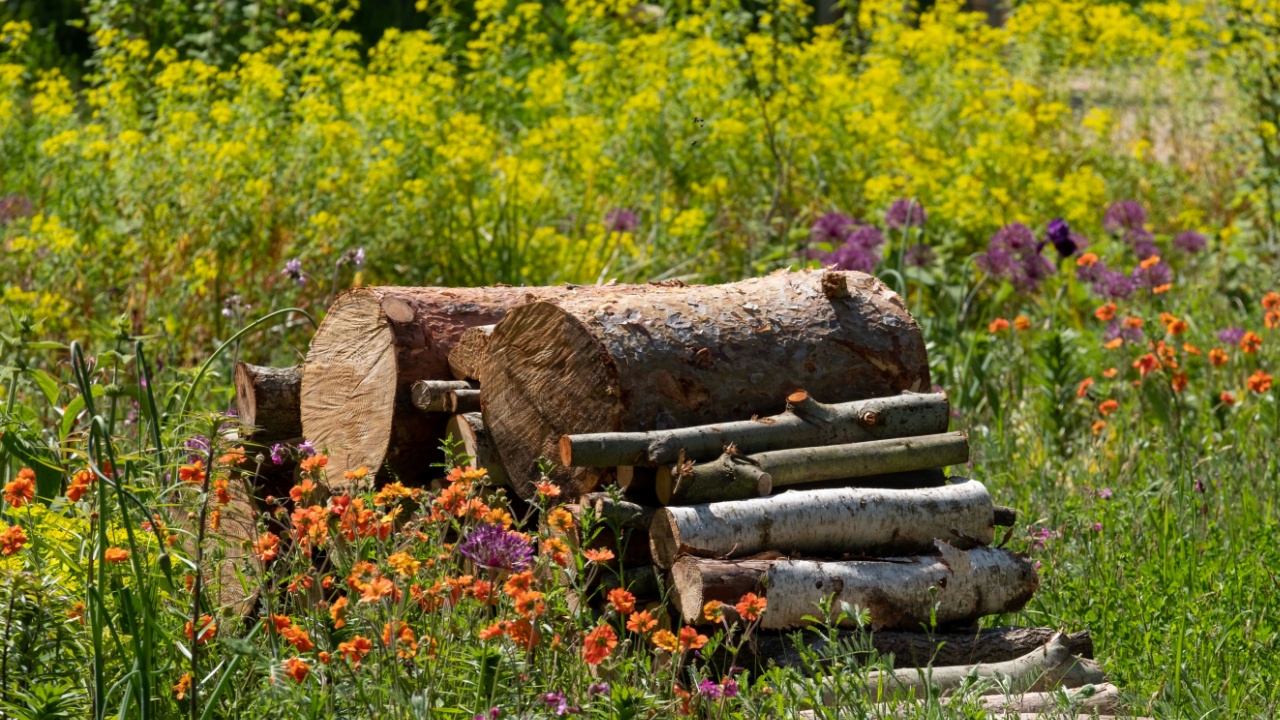
Image Credit: Shutterstock.com.
A fallen log, a pile of branches, or even an old tree stump can become a five-star hotel for overwintering bees. Carpenter bees, mason bees, and other cavity-nesters will make their homes in beetle burrows and cracks within decaying wood. These wooden structures provide a dry, insulated space to wait out the winter.
Instead of hauling every piece of fallen wood to the curb, consider creating a small log pile in a back corner of your yard. This not only supports bees but also provides shelter for other beneficial creatures like beetles, salamanders, and spiders. A rustic log pile can become a fascinating micro-ecosystem right in your own backyard.
Quick Guide:
- What to do: Create a pile of old logs, stumps, or thick branches in a quiet corner.
- Why it helps: Decaying wood offers nesting and hibernation sites for various bee species.
- Next Steps: To make it even more appealing, drill some holes of various sizes (between 3/32 and 3/8 inches) into a few of the logs. Face the holes toward the morning sun.
5. Provide a Water Source
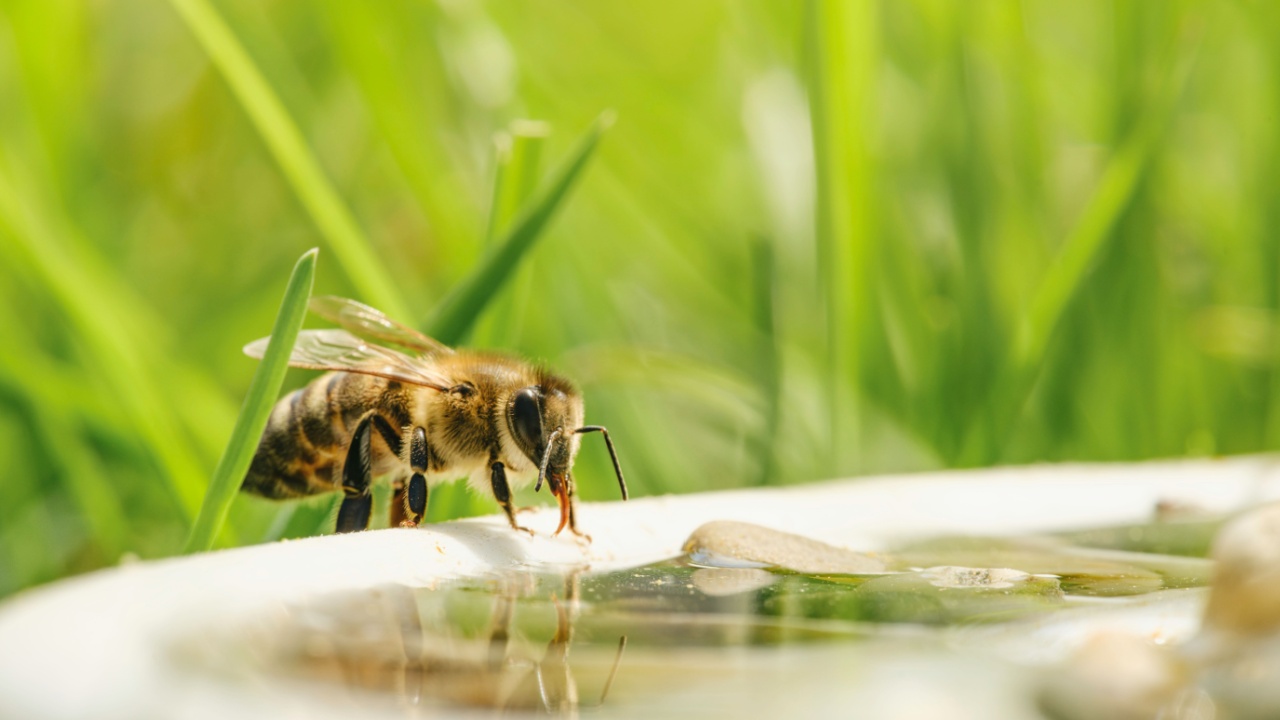
Image Credit: Shutterstock.com.
Even during colder months, bees sometimes emerge on warmer, sunny days and may need a drink. A shallow dish of water with stones, marbles, or twigs in it gives them a safe place to land and sip without the risk of drowning. This is especially helpful during the transitional periods of late fall and early spring when natural water sources might be frozen or scarce.
Place the water source in a sunny, sheltered spot. Remember to check it periodically to ensure it hasn’t completely frozen or evaporated. Providing this simple resource helps support the bees that are still active or just beginning to emerge.
Quick Guide:
- What to do: Set out a shallow dish of water with landing spots like pebbles or marbles.
- Why it helps: Gives bees a safe place to drink during warmer winter days.
- Next Steps: Change the water regularly to keep it fresh and clean. On freezing nights, you can bring the dish inside to prevent it from cracking.
6. Take a Break From Mowing
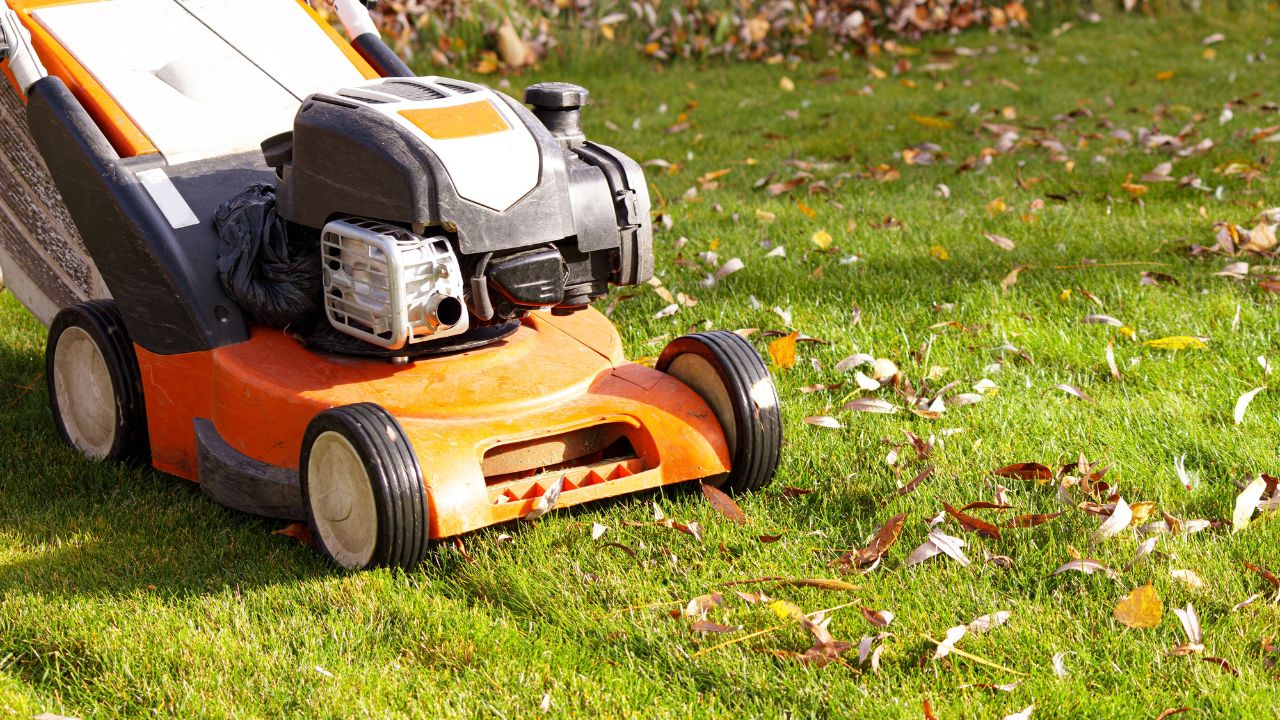
Image Credit: Shutterstock.
As the weather cools, your lawn’s growth slows down. Taking a break from mowing from late fall through early spring offers multiple benefits for bees. First, it allows late-blooming “weeds” like clover and dandelions to provide a final food source before winter sets in. In the spring, these same plants are often the first to bloom, offering a crucial first meal for emerging bees.
Second, longer grass provides another layer of insulation and shelter for insects hunkering down near the soil surface. Mowing can disturb these habitats and harm the creatures within them. Let your lawn grow a little longer during the dormant season to create a safer environment.
Quick Guide:
- What to do: Stop mowing in late fall and don’t start again until lawn growth actively resumes in spring.
- Why it helps: Provides late- and early-season food sources and offers shelter at the soil level.
- Next Steps: Embrace a more natural lawn aesthetic. Consider overseeding with clover, which is drought-tolerant, fixes nitrogen in the soil, and is a favorite food source for bees.
7. Provide Nesting Boxes or Bee Hotels
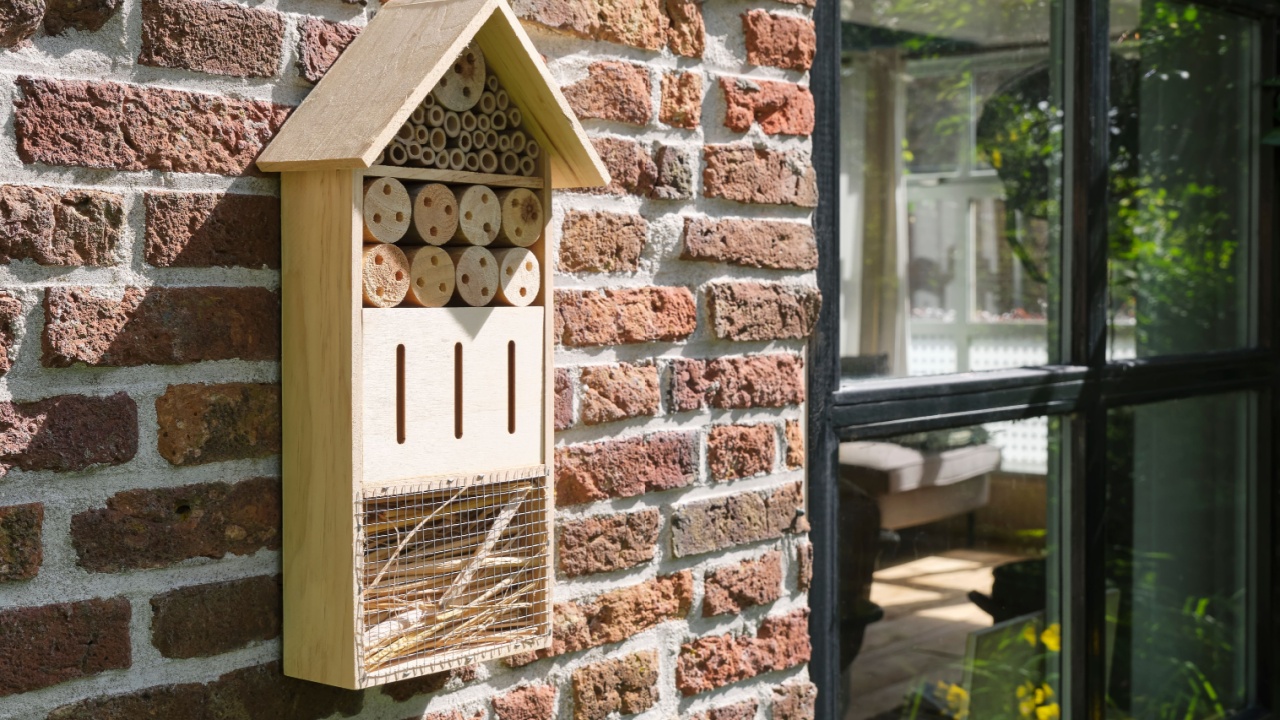
Image Credit: Shutterstock.com.
If you want to take a more active role, you can provide artificial nesting sites. Commercially made bee hotels are widely available, but you can easily make your own. These structures are typically wooden boxes filled with materials that have hollow cavities, such as bamboo canes, drilled blocks of wood, or bundles of hollow reeds.
Place your bee hotel in a spot that gets morning sun and is protected from wind and rain, about three to five feet off the ground. These hotels are primarily used by solitary cavity-nesting species like mason bees and leafcutter bees, who will lay their eggs in the tubes and seal the entrances.
Quick Guide:
- What to do: Install a bee hotel filled with tubes of varying diameters.
- Why it helps: Offers clean, ready-made nesting cavities for solitary bees.
- Next Steps: To prevent the buildup of parasites and disease, clean out your bee hotel every year or two. Replace bamboo canes or paper tubes after the bees have emerged in the spring.
8. Look Out For Hidden Nests
Image Credit: Shutterstock.
Bees are opportunistic and will make their homes in surprising places. Be mindful of potential nesting spots around your property before you start your fall cleanup. Check old flower pots, the undersides of patio furniture, gaps in stone walls, and even the weep holes in your brick siding.
A small hole sealed with mud, chewed-up leaves, or plant fibers is a clear sign that a bee is nesting inside. If you find a nest in an object you need to move, try to do so carefully. If possible, place it in a sheltered location where it will remain undisturbed until spring. A little extra awareness can save a whole new generation of pollinators.
Quick Guide:
- What to do: Be observant and check for sealed holes or bee activity before moving or cleaning outdoor items.
- Why it helps: Prevents the accidental destruction of nests in unexpected places.
- Next Steps: When you find a nest, leave it be. Make a mental note of these popular spots, as bees often return to the same areas year after year.
Encouraging a Bee-Friendly Winter
Image Credit: Shutterstock.
Helping bees overwinter doesn’t require a huge effort; it’s often more about what you don’t do. This fall, challenge yourself to become a “lazy gardener” for a cause. Start by choosing one or two of these tips to implement. Perhaps you’ll decide to leave a patch of perennials standing or create a small log pile in a corner of your yard.
By embracing a slightly messier, more natural garden, you provide the shelter and safety our native bees desperately need. In return, they will reward you next spring with their essential pollination services, leading to a more vibrant, fruitful, and beautiful garden for you to enjoy.
