
A sparkling kitchen counter or freshly vacuumed rug can make a home feel tidy—but some of the most-touched, most-used items quietly collect germs, odors, and grime. Many of these need a monthly reset to protect your health, extend appliance life, and keep your home smelling fresh.
If you aren’t already cleaning these 12 household items monthly, it’s time to add them to your regular cleaning routine.
How We Chose Our Cleaning Spots
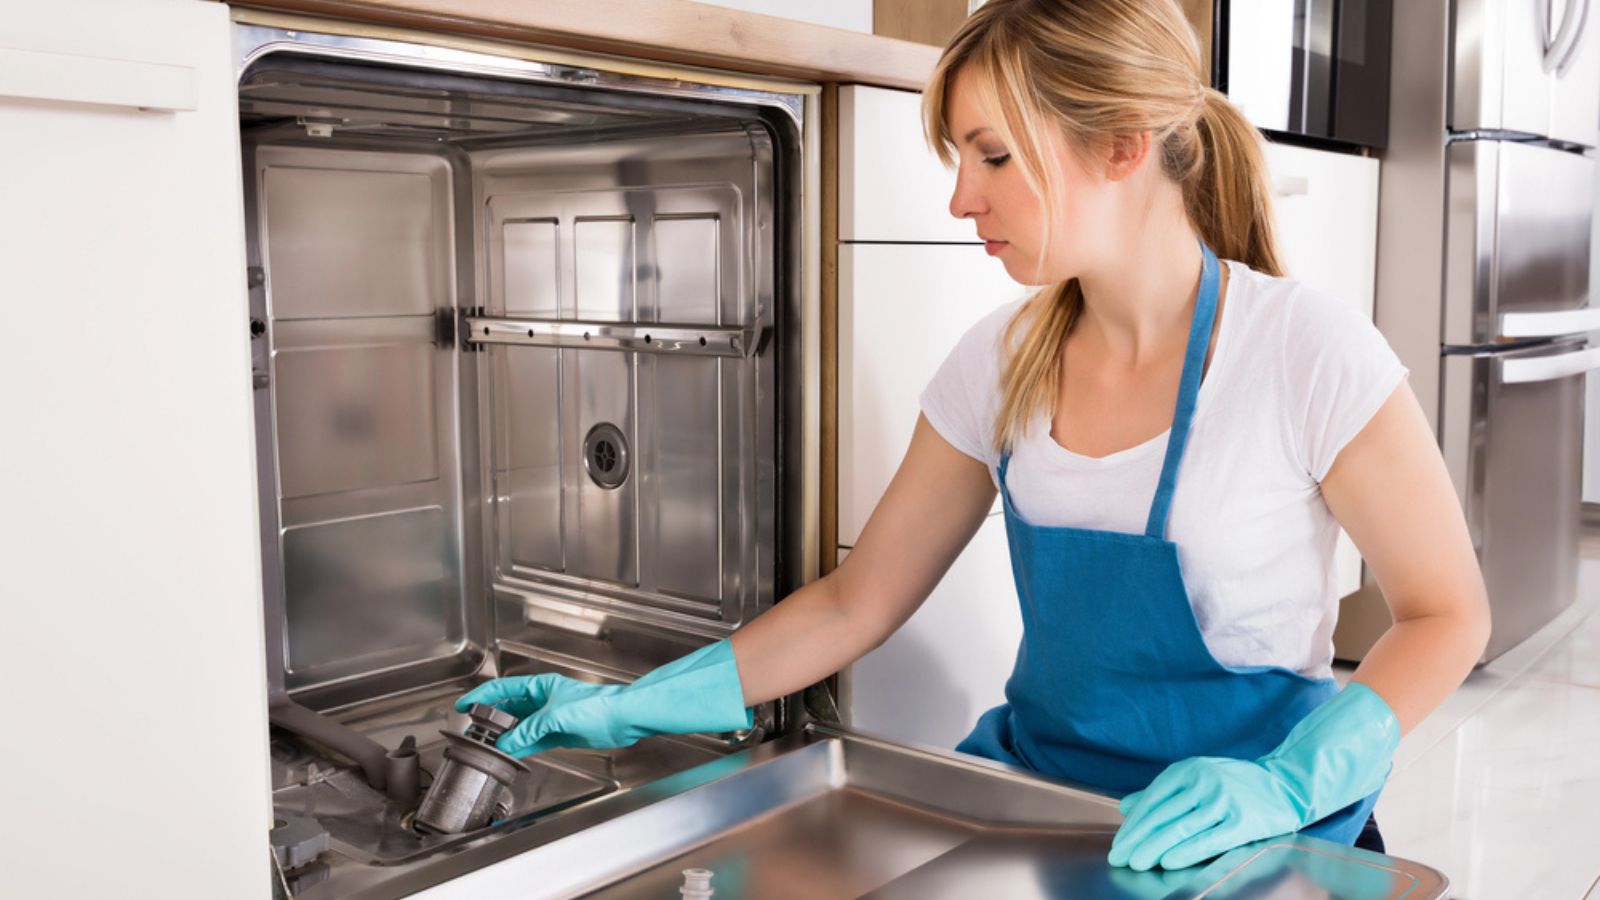
Image Credit: Depositphotos.com.
When we put this list together, we weren’t picking chores at random—we focused on high-impact areas that tend to be quietly neglected until they become problem zones. We considered three things:
- Hidden Build-Up Potential – Places like dishwasher filters, garbage disposals, and washing machine drums may look fine on the outside, but inside they can harbor mineral deposits, soap scum, mold, or bacteria.
- High-Touch Germ Hotspots – Surfaces like light switches, remote controls, and pet bowls come into frequent contact with hands (or paws), making them prime candidates for regular disinfection.
- Performance & Longevity – Appliances, fans, and vents work better—and last longer—when they’re not bogged down by dust, grime, or gunk. Preventive cleaning here saves you repairs later.
We also cross-checked our picks against expert cleaning guidelines from home maintenance specialists, appliance manufacturers, and health authorities, ensuring our list balances realistic effort with maximum payoff.
1. Washing Machine Drum
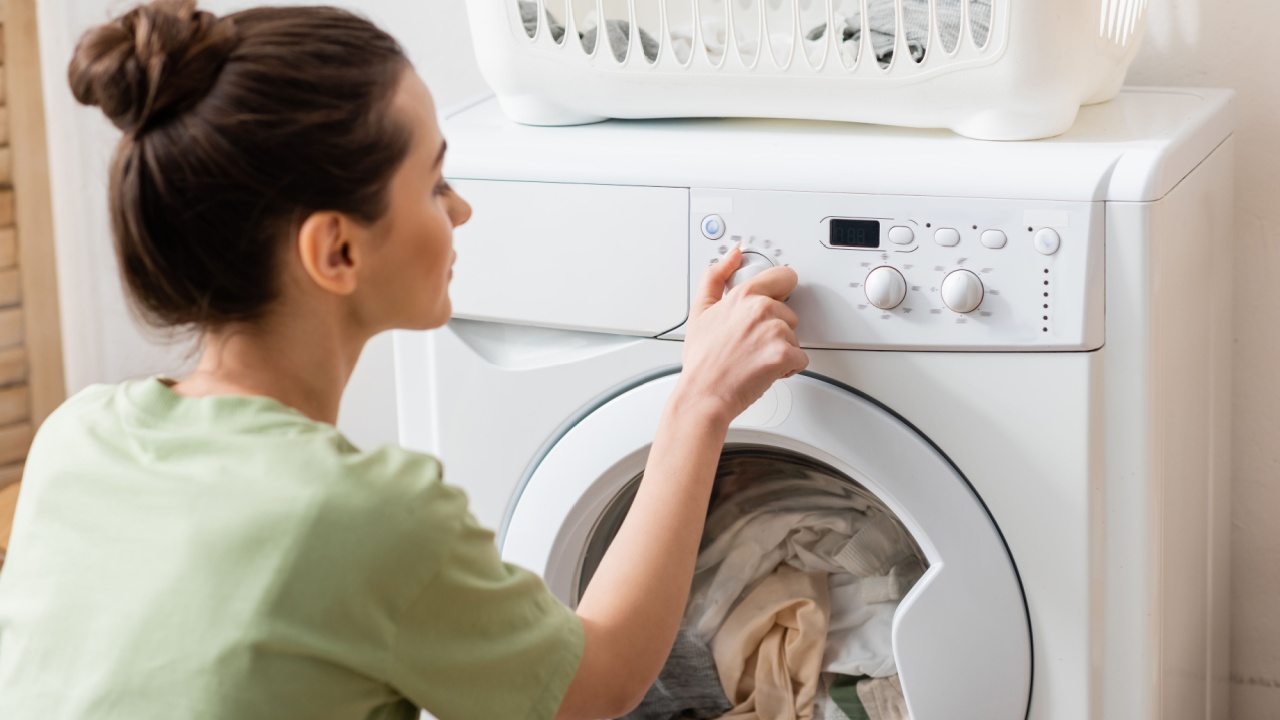
Image Credit: Shutterstock.
Why clean it monthly: Detergent residue, fabric softener, lint, and hard-water minerals build up inside the drum and under the door seal (especially on front-loaders). That film traps moisture, inviting mold and mildew that causes musty clothes. Unfortunately, residential machines found common mold species on door gaskets and dispensers when maintenance lapses. Front-loading machines need to be cleaned more often than top-loading machines.
How to clean it:
- Front-loaders: Run an empty hot cycle with 2 cups of white vinegar in the drum. Then run a second hot cycle with 1/2 cup of baking soda. Wipe the gasket (fold it back) with a 1:1 vinegar–water solution and a microfiber cloth.
- Top-loaders: Fill on hot, add 4 cups white vinegar, agitate 1 minute, pause 1 hour, complete the cycle. Follow with a second hot cycle and 1 cup of baking soda.
- Drawer/dispensers: Remove and soak in hot, soapy water; scrub crevices with a soft brush.
Pro tip: Leave the door open between loads to air-dry the drum and gasket. If you prefer, use a washing-machine cleaner tablet per label.
2. Dishwasher Filter
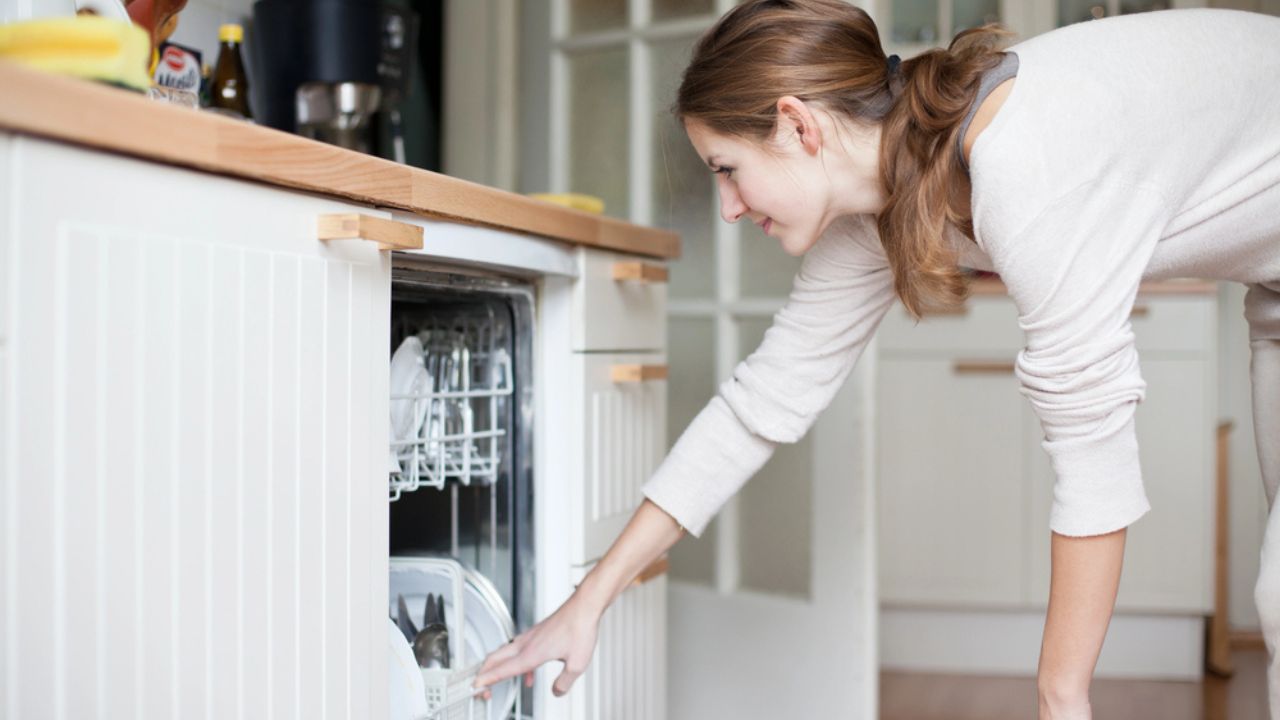
Image Credit: Deposit Photos.
Why clean it monthly: Food particles and grease lodged in the filter decay and can redeposit on dishes, causing film, odors, and poor sanitizing. A clogged filter also forces the pump to work harder.
How to clean it:
- Twist out the cylindrical filter (bottom of the tub), rinse under hot water, and scrub the mesh with a soft brush and a dab of dish soap.
- Check the sump for trapped debris; remove with a paper towel.
- Wipe the door gasket and spray arm holes with a damp cloth.
Pro tip: Run a hot cycle with a bowl of white vinegar on the top rack to de-grease the tub (no dishes). Avoid bleach in stainless-steel interiors.
3. Bathroom Exhaust Fan

Image Credit: Shutterstock.
Why clean it monthly: Dust blankets the grille and motor housing, restricting airflow. That raises humidity, which encourages mold growth on walls and ceilings and can overheat the fan motor. How often you will need to clean your bathroom depends on the frequency of use, you can get away with every 3 to 4 months for lower-trafficked bathrooms.
How to clean it:
- Turn off the power. Pop off the cover; vacuum and wipe the grille.
- Use a soft brush attachment to remove dust from the housing and blades.
- Wipe with a slightly damp cloth; let everything dry before reassembly.
Pro tip: If your bathroom still fogs after showers, the fan may be underpowered. For sizing, aim for 1 CFM per square foot of bathroom area (minimum 50 CFM).
4. Garbage Disposal (Splash Guard & Chamber)
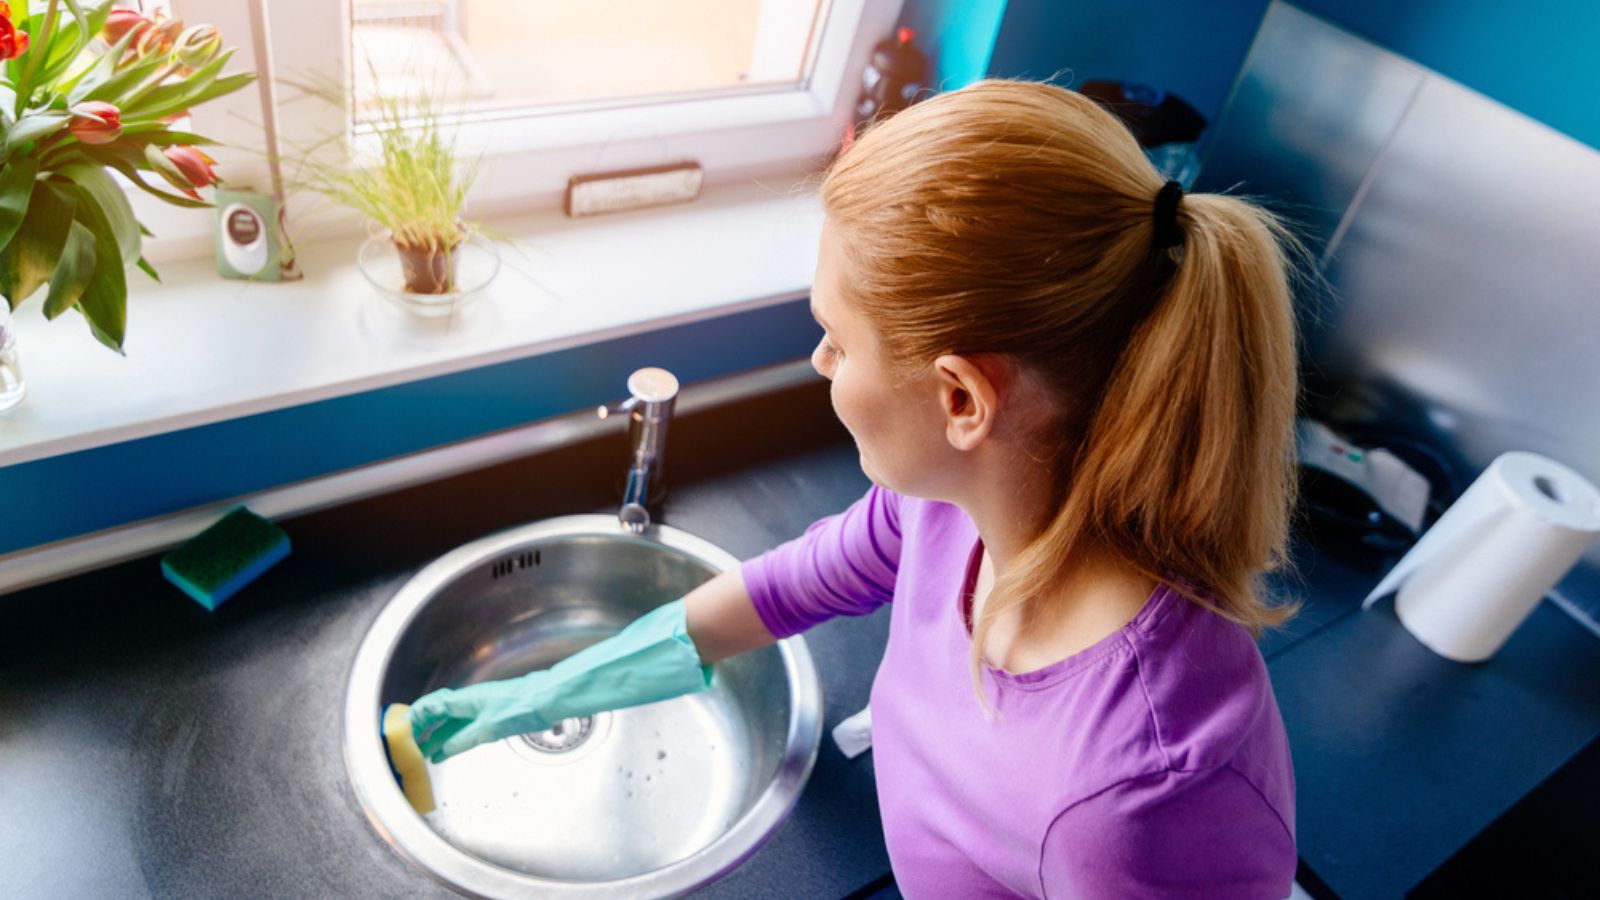
Image Credit: Depositphotos.com.
Why clean it monthly: The splash guard and underside collect biofilm and trapped food. That’s the source of lingering odors and bacterial growth.
How to clean it:
- Unplug or switch off. Pull back the black rubber splash guard and scrub both sides with a long-handled brush and hot, soapy water.
- Pour 1/2 cup of baking soda into the disposal, followed by 1 cup of white vinegar; let foam for 5 minutes.
- Rinse with hot water, then grind a handful of ice cubes and a few citrus peels to scour and freshen.
Pro tip: Avoid harsh drain cleaners—they can damage seals. A dedicated disposal brush makes this a 2-minute job.
5. Ceiling Fan Blades

Image Credit: Shutterstock.
Why clean it monthly: Fan blades collect dust, pollen, and pet dander that recirculate into the room and can trigger allergies. Heavy buildup can also unbalance the fan and strain the motor.
How to clean it:
- Slip an old pillowcase over each blade, then pull back to trap dust.
- Wipe with a damp microfiber cloth and a drop of mild dish soap; dry thoroughly.
- Tighten loose screws and check wobble.
Pro tip: Set fan direction to counterclockwise in summer (cooling breeze) and clockwise in winter (gentle updraft).
6. Toilet Tank Interior
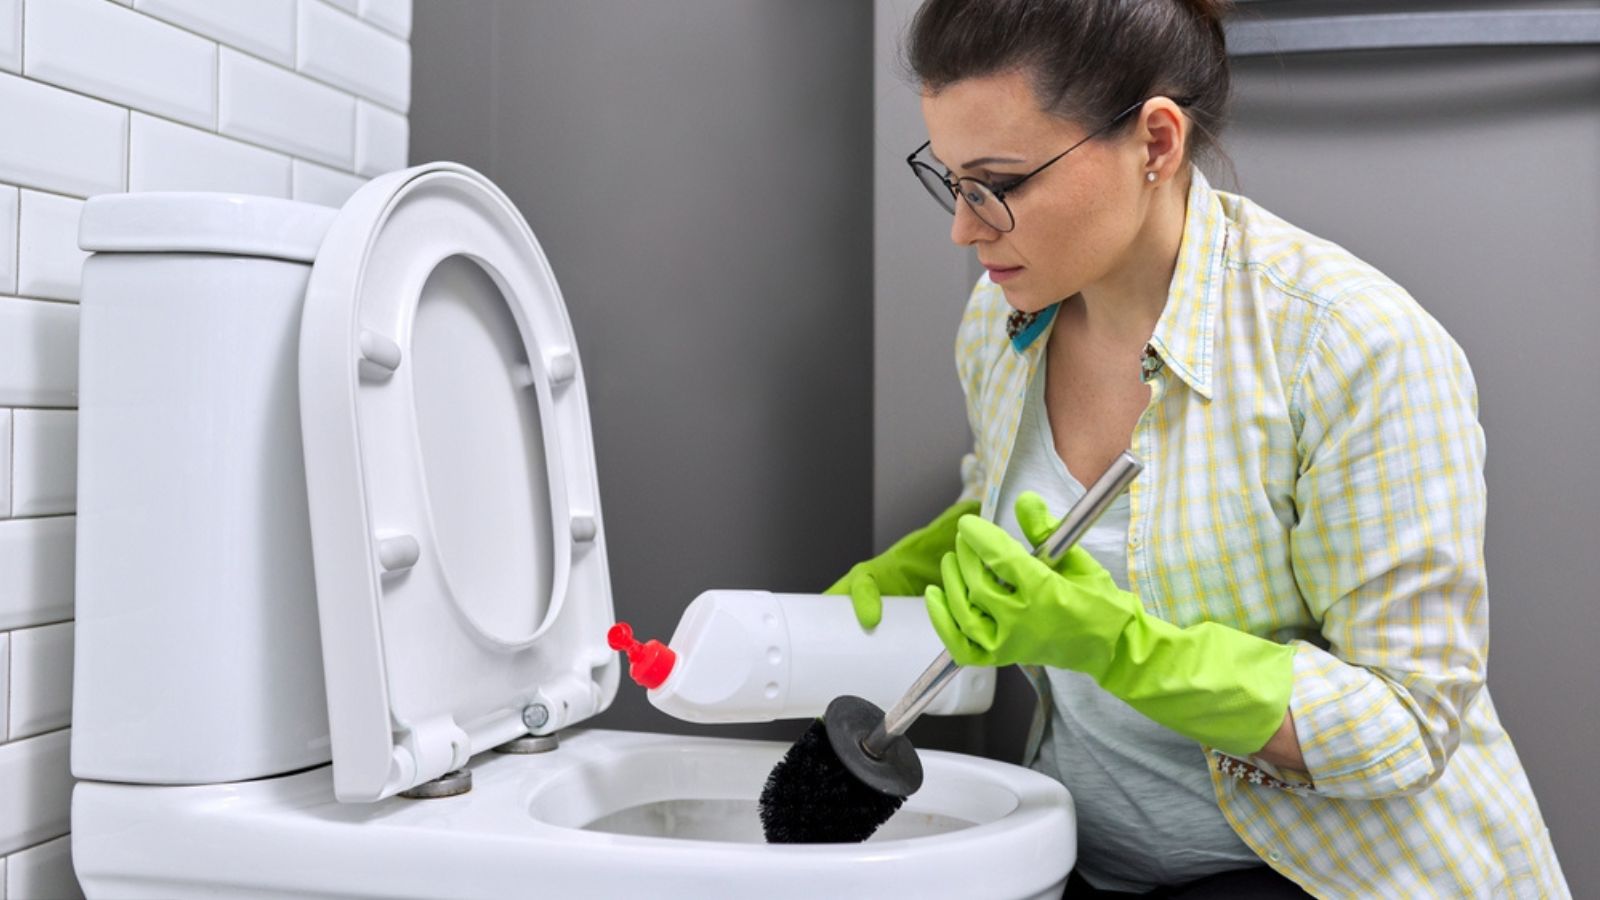
Image Credit: Depositphotos.com.
Why clean it monthly: Mineral deposits and slime coat the tank components, reducing flush efficiency and seeding bacteria into the bowl water. This will also depend on the quality of water. Hard water will likely need a monthly clean, while softer water can stretch to every few months when you deep clean.
How to clean it:
- Turn off the water supply, flush to empty the tank.
- Spray tank walls and components with a 1:1 vinegar–water mix. Let it sit 10–15 minutes.
- Gently scrub with a non-scratch brush or sponge; turn the water back on and flush twice.
Pro tip: Avoid in-tank chlorine tablets—long-term chlorine exposure degrades rubber flappers and seals. Use in-bowl cleaners instead.
7. Pet Bowls

Image Credit: Shutterstock.
Why clean it monthly (and more often): Pet bowls develop biofilm that resists rinsing and can harbor Salmonella and E. coli. Vets recommend daily washing for food bowls and every 1–2 days for water bowls, with a monthly disinfecting step.
How to clean it:
- Daily: Hot, soapy water; rinse well. Stainless steel is best for resisting scratches and germs.
- Monthly disinfect: Soak 10 minutes in 1 tablespoon unscented bleach per gallon of water, rinse thoroughly, air-dry.
Pro tip: Run bowls through the dishwasher (sanitize cycle) if they’re dishwasher-safe. Replace plastic bowls that are scratched.
8. Remote Controls & Game Controllers

Image Credit: Shutterstock.
Why clean it monthly: Remotes are high-touch items that collect skin oils, food residue, and microbes—often more than bathroom fixtures.
How to clean it:
- Remove batteries/unplug. Tap gently to dislodge crumbs.
- Wipe with 70% isopropyl alcohol on a microfiber cloth. Use a cotton swab for button gaps.
- Dry fully before reinstalling batteries.
Pro tip: Avoid soaking or spraying directly—liquid can seep under buttons. Silicone remote covers are machine-washable and make cleaning easier.
9. Shower Curtain Liner
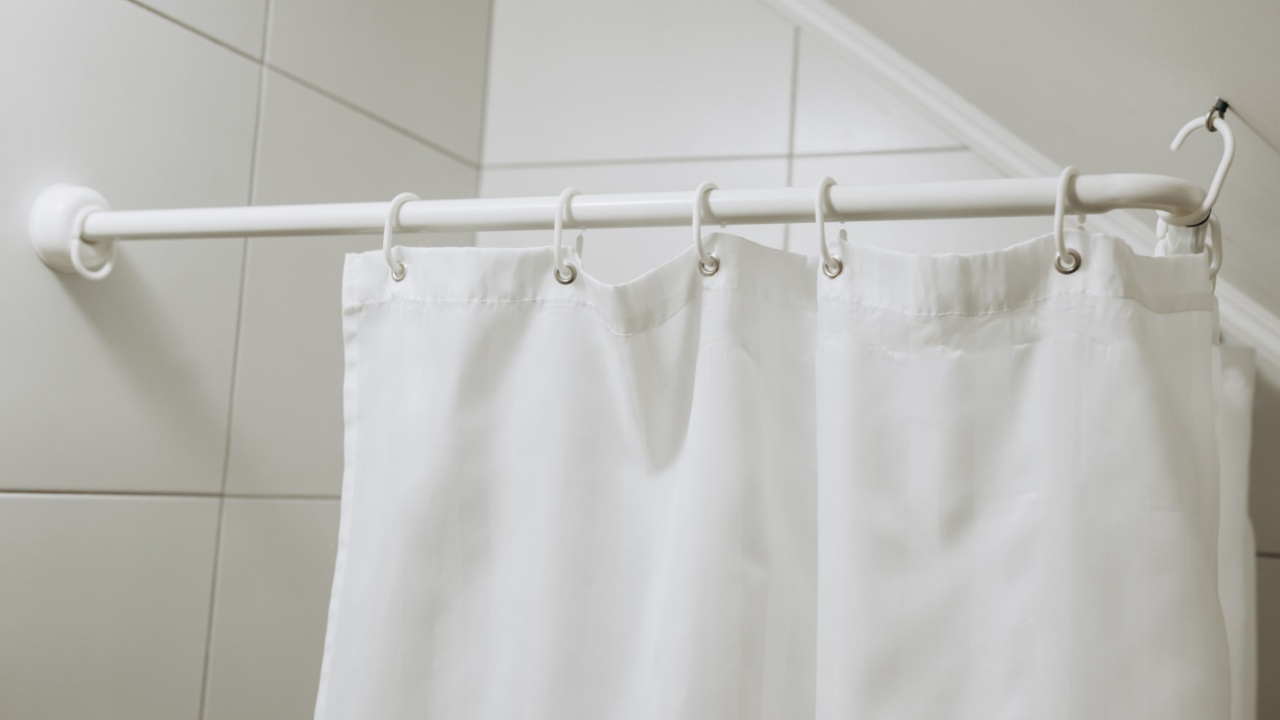
Image Credit: Shutterstock.
Why clean it monthly: Warm, damp bathrooms encourage mold and mildew on vinyl and fabric liners within weeks. That growth spreads spores and causes odors.
How to clean it:
- Machine wash on warm with towels (for scrubbing action), plus regular detergent and 1/2 cup baking soda. Add 1 cup white vinegar to the rinse.
- Hang to dry—don’t use a hot dryer on vinyl.
Pro tip: Wipe the bottom edge weekly with a squeegee and keep the curtain closed after showers so it dries flat.
10. Light Switch Plates & Door Knobs
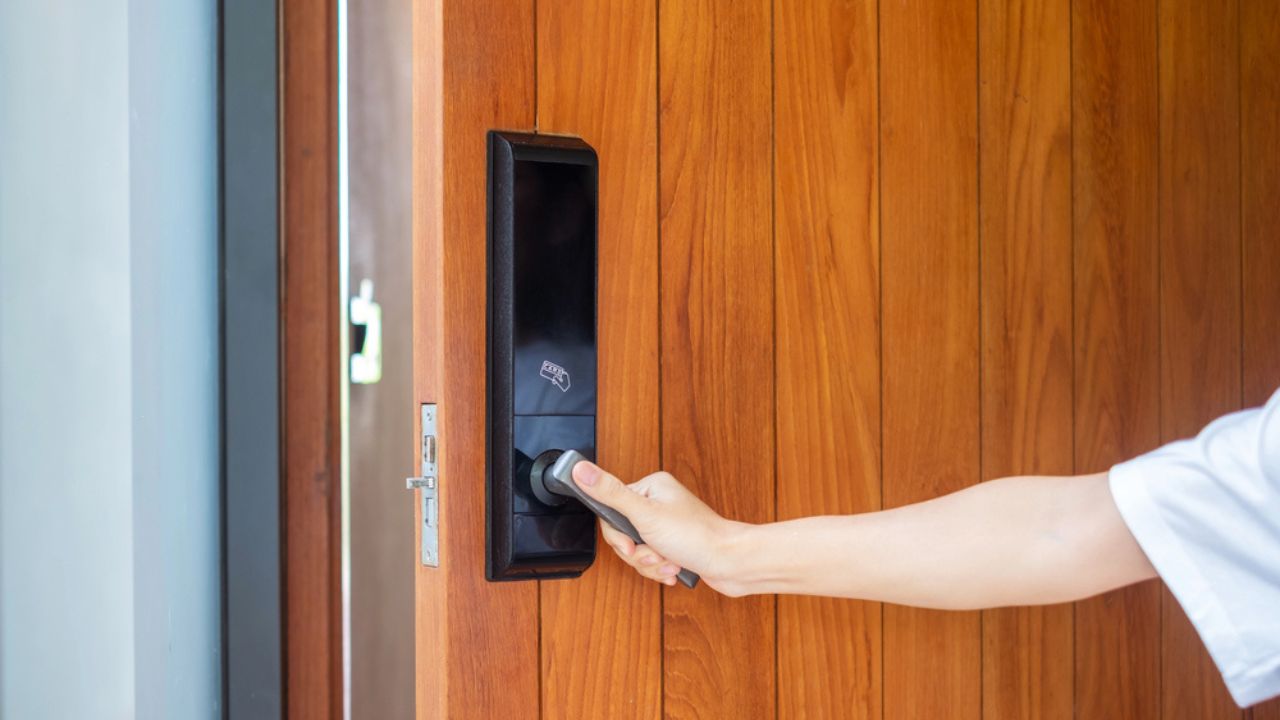
Image Credit: Depositphotos.com.
Why clean it monthly: These high-touch hotspots collect germs, especially in kitchens and bathrooms, even when they look “clean.”
How to clean it:
- Light switches: Spray disinfectant on a cloth (not directly on the switch) and wipe the plate and toggle. Dry to prevent moisture intrusion.
- Door knobs/handles: Wipe with a disinfecting wipe or alcohol-based cleaner; polish if metal.
Pro tip: In homes with kids or during cold/flu season, upgrade frequency to weekly.
11. HVAC Return Air Grilles & Vents
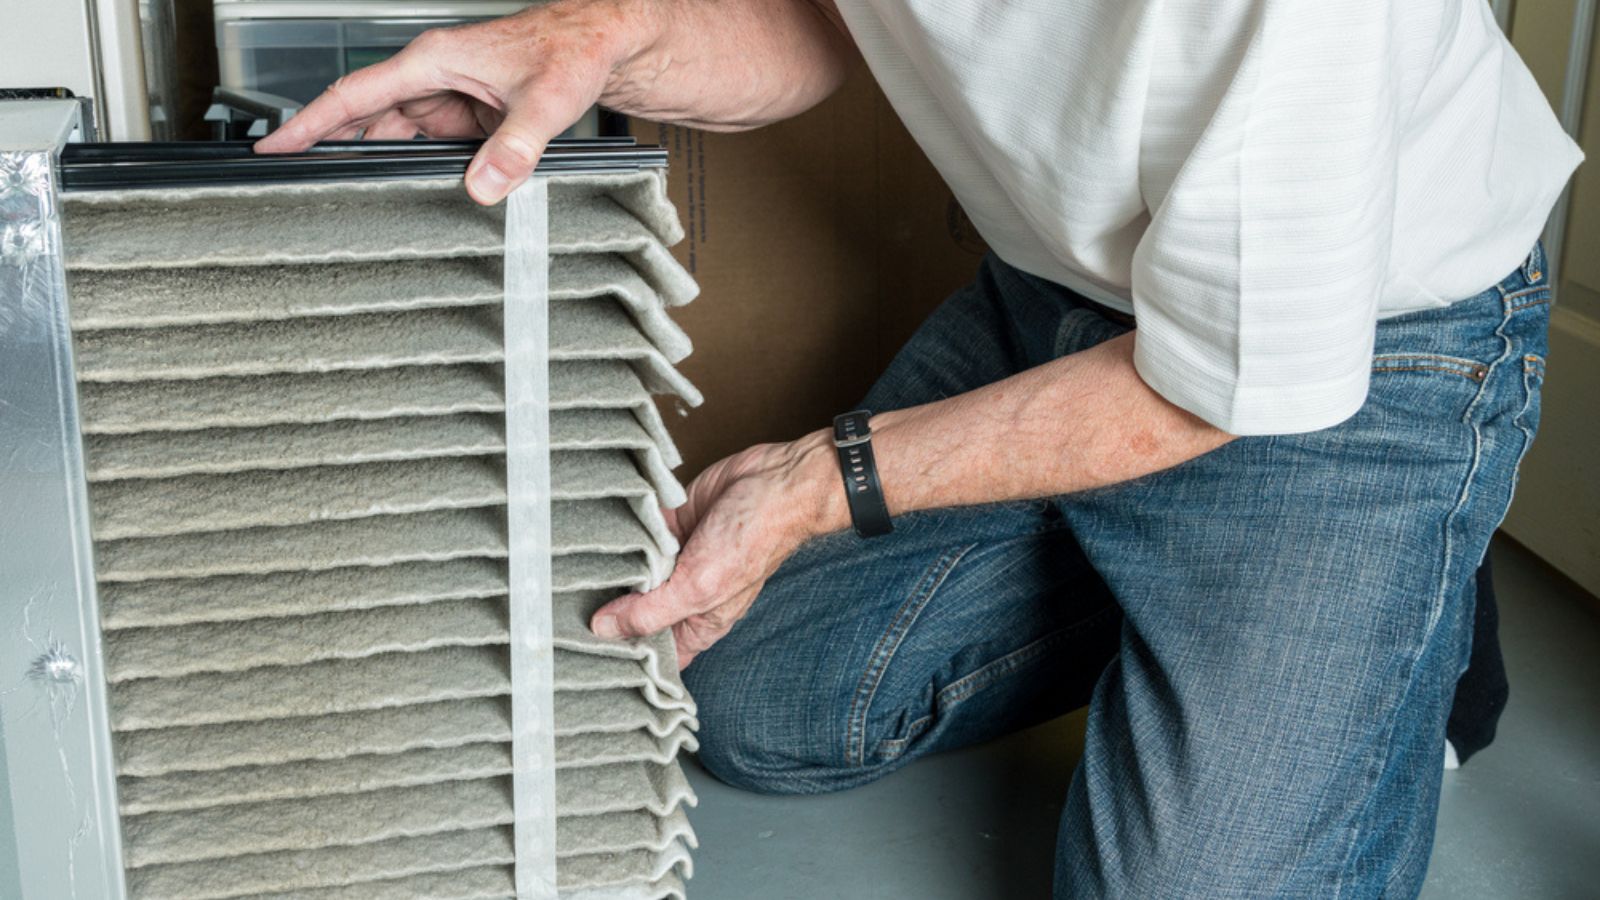
Image Credit: Depositphotos.com.
Why clean it monthly: Return grilles trap dust, hair, and dander. Clogged grilles restrict airflow, which makes your system run longer and can raise energy use. Keeping them clean also reduces the dust circulating at home.
How to clean it:
- Turn off the system. Vacuum grilles with a brush attachment; wipe with a damp microfiber cloth.
- If removable, soak in warm, soapy water, rinse, and dry completely before reinstalling.;
- Replace or clean HVAC filters on schedule (often monthly for 1″ filters, per manufacturer).
Pro tip: If you notice heavy dust soon after cleaning, schedule a system check to rule out duct leaks or overdue filter changes.
12. Kitchen Sponges & Dish Brushes
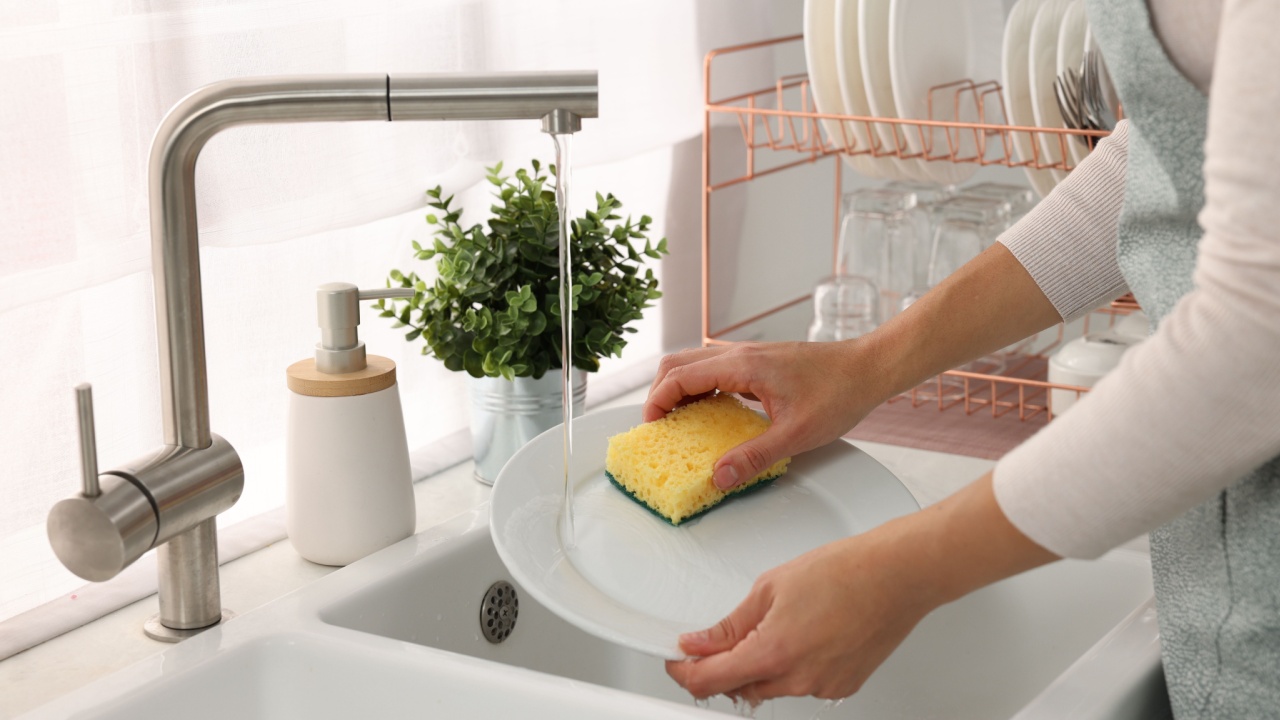
Image Credit: Shutterstock.
Why clean it monthly (and more often): Studies show kitchen sponges can harbor high bacterial loads due to constant moisture and food residue. Even if you replace sponges weekly, sanitize your dish brushes and sponge caddies monthly.
How to clean it:
- Sponges: Replace weekly; between replacements, microwave a damp sponge for 1 minute (watch carefully) or run through a dishwasher sanitize cycle.
- Dish brushes: Soak heads 10 minutes in 1 tablespoon bleach per gallon of water or run through the dishwasher.
- Caddies: Wash with hot, soapy water and dry thoroughly to prevent standing water.
Pro tip: Switch to quick-drying silicone or bamboo brushes and hang to dry. Keep multiple sponges/cloths and rotate daily to reduce bacterial growth.
Make It Easy: A 15-Minute Monthly Checklist

Image Credit: Depositphotos.com.
Does this list make you overwhelmed? No problem, break it up! Try this schedule each month to keep up. That way you don’t feel like you have to do it all at once.
- Week 1: Washing machine, dishwasher filter
- Week 2: Bathroom fan, shower liner
- Week 3: Garbage disposal, ceiling fans
- Week 4: Light switches/knobs, remotes, pet bowls (disinfect), HVAC grilles, sponge/brush sanitizing, toilet tank
Batch jobs by room and keep a caddy with microfiber cloths, a long-handled scrub brush, white vinegar, baking soda, dish soap, and 70% isopropyl alcohol.
One Step at a Time

Image Credit: Shutterstock.
Taking a few minutes each week to tackle different areas of your home can make a big difference in keeping it clean and healthy. By breaking it down into manageable tasks, you can easily maintain a clean and organized living space without feeling overwhelmed.
Remember to also incorporate daily cleaning habits, such as wiping down surfaces and doing dishes, to prevent build-up and make the monthly checklist even easier to complete. With this 15-minute monthly checklist, you can enjoy a clean and stress-free home all year round! So take that first step today and start incorporating these simple tasks into your routine. Your future self will thank you!
