6 Beekeeping Essentials for the Beginner Beekeeper
Nearly four out of every ten honey bee colonies kept in America died last year, and the little backyard hives fared worse than the giant commercial ones. The U.S. Beekeeping Survey, led by Auburn University, put annual losses at 39.9 percent from April 2025 to April 2026, and found that beekeepers with fewer than 50 colonies lost a bigger share than operations running more than 500.
That should stop every would-be beekeeper in their tracks, because most of those dead hives were not missing a smoker or a veil. The standard list of beginner beekeeping essentials, the one every supply catalog hands you, is built to keep the beekeeper from getting stung and does surprisingly little to keep the bees alive.
The stakes are real money. Oklahoma State University extension specialist Courtney Bir told the Oklahoma Farm Report that the basic starter beekeeping list runs $400 to $500, and that fully equipping one hive costs around $1,000. This fall is the smartest time to plan, because the decisions you make this winter decide whether a spring colony survives its first year.
Below are the five essentials every beginner truly needs to protect themselves and keep their hive alive.
1. A Veil and Gloves, Before Anything Else
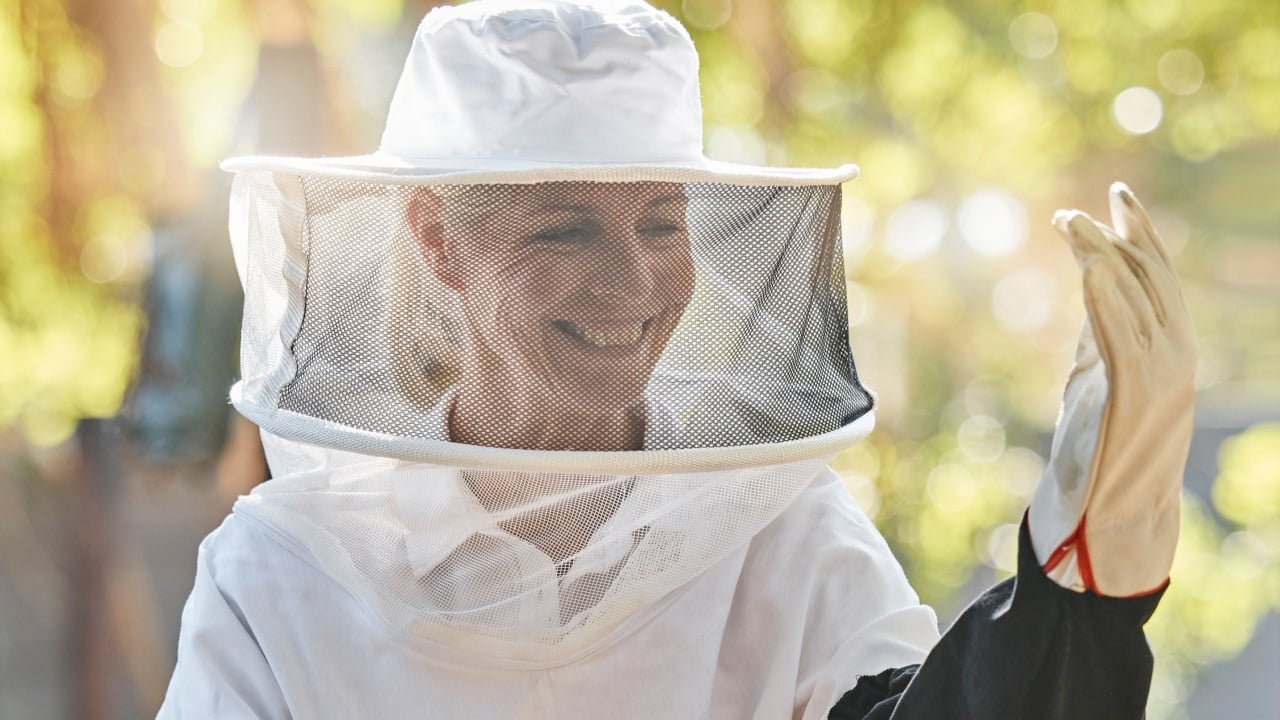
A veil is the bare minimum, because the face and neck are where defensive bees aim, according to Apiary Genius. Beginners should add gloves and a jacket or full suit until their hands are steady. Just don’t treat that suit as armor; the same guide cautions that protective clothing lowers your exposure to stings without making you sting-proof.
Before you buy anything, find out how your body handles a sting. A review in Immunology and Allergy Clinics of North America reports that sting anaphylaxis has occurred in 3 percent of adults and warns it “can be fatal even on the first reaction.” If you have any history of a strong reaction, see an allergist before you order bees.
2. A Smoker, and Never Leave It Behind
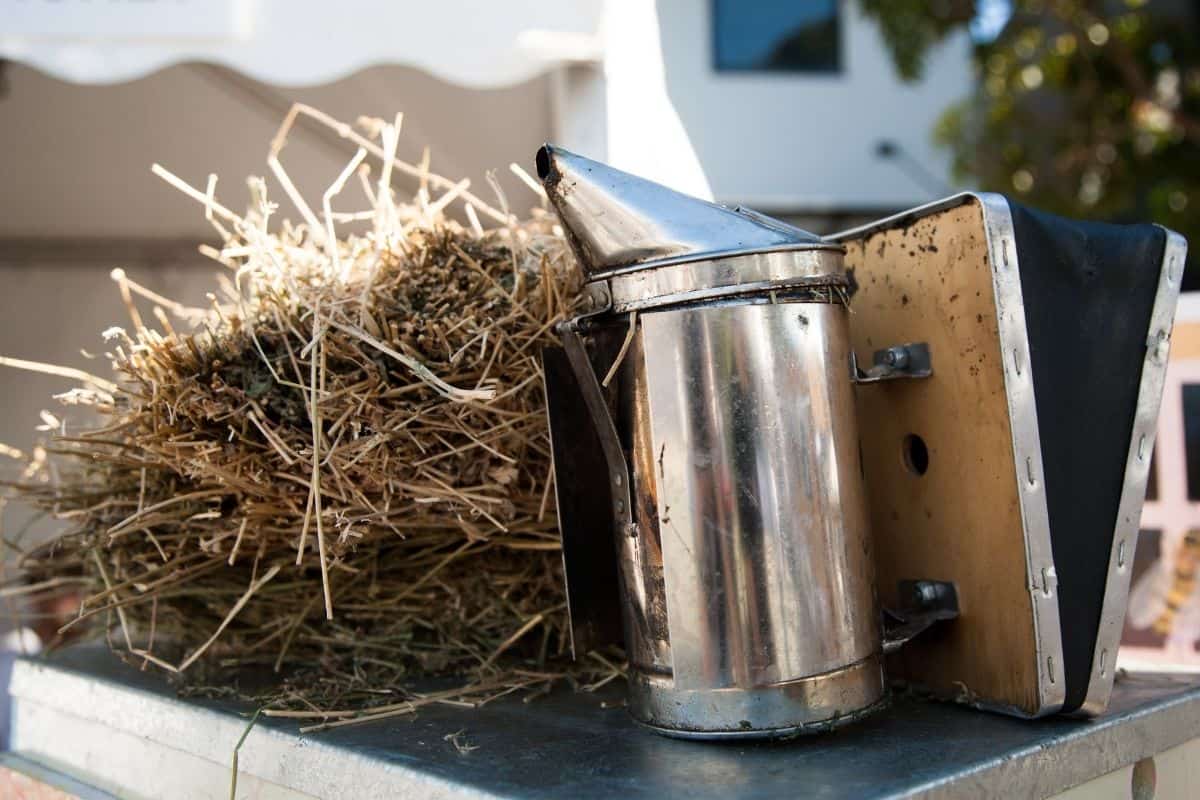
Your great-grandparents would recognize this one. Ancient Egyptians calmed hives with pots of smoldering cow dung, and the bellows smoker most of us use traces back to New York beekeeper Moses Quinby in the 1870s, according to UC Agriculture and Natural Resources. The principle hasn’t changed: “Smoke calms the bees” by masking the alarm scent that guard bees release.
Tennessee beekeeper Adam Martin of Bee Kept, interviewed by Homesteading Family, says to carry your smoker even when you’re sure you won’t need it, because the moment you do, it will be the hardest thing to light. He also points out that used smokers often turn up on eBay, which is an easy way to trim your startup bill. Burn only natural fuel; Apiary Genius warns against treated wood, painted materials, and inked cardboard, and calls overusing smoke a common beginner mistake.
3. A Hive Tool, and a Spare
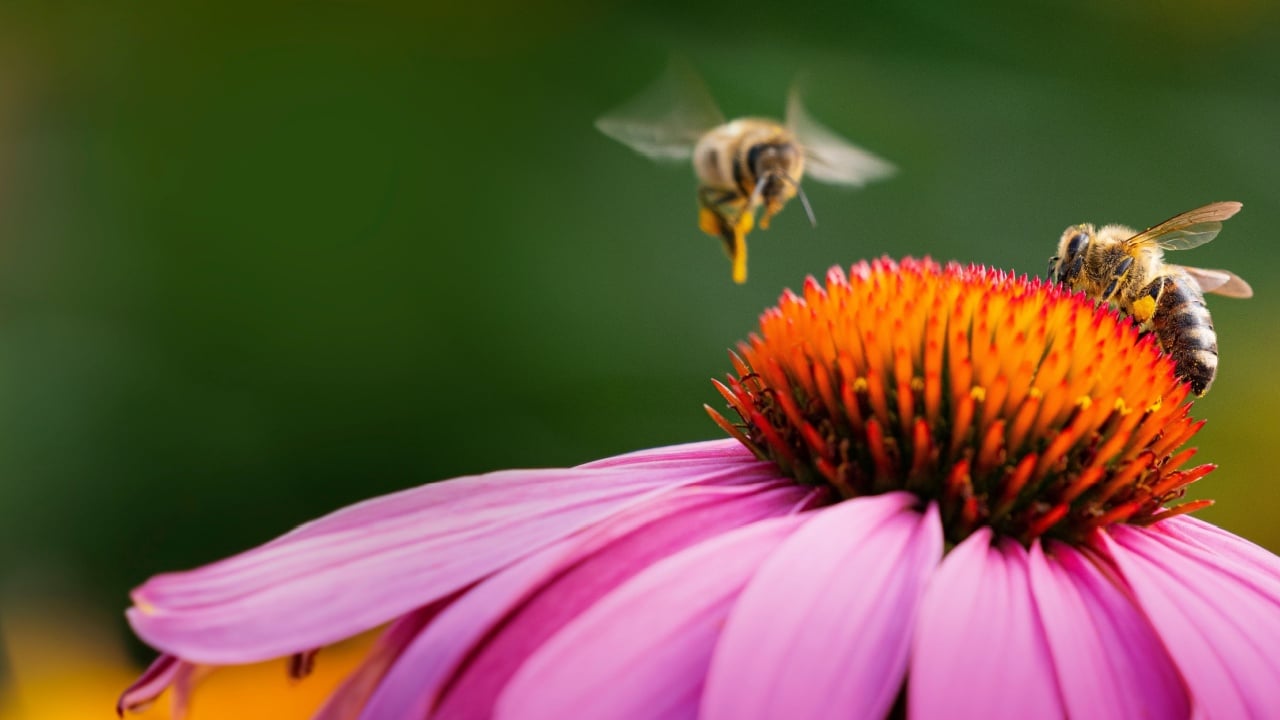
Bees glue every part of the hive together with a sticky resin called propolis, so you need a small pry bar built for the job. Alabama Master Beekeeper Amy Seiber, writing for Foxhound Bee Company, notes that you’ll use and lose several over the years, and that a screwdriver or pocketknife is a poor substitute: “none of these will truly replace a hive tool.” Buy two, and keep the spare in your pocket.
4. A Feeder (and the Debate Nobody Warns You About)
Here is where the experts split. Rocky Mountain Bee Supply tells new beekeepers to install bees with a full syrup feeder and keep it topped off, adding in capital letters: “DO NOT LET THEM RUN OUT!” In contrast, Adam Martin of Bee Kept refuses to feed sugar water at all, arguing that a colony propped up with sugar is a weaker colony. Apiary Genius lands in the middle: feed new colonies when nectar is scarce, base the decision on their stores, and avoid entrance feeders, which can invite robbing.
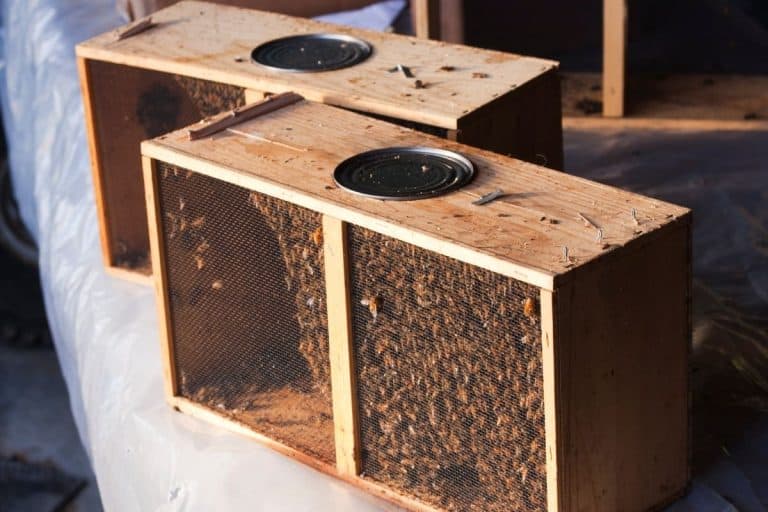
The best approach here is to compromise: buy an internal feeder, use it while a new colony builds comb, and then let the flowers take over. And don’t wait. Rocky Mountain Bee Supply opens spring bee pre-orders at the beginning of December, so finalize your setup design before October ends.
5. A Hive You Can Actually Lift

Most beginners start with a Langstroth hive, and a starter budget from Mississippi State University Extension prices hive supplies at about $246 and the bees themselves at about $181. Before you buy, think about your back. Adam Martin notes that a full vertical box can weigh up to 80 pounds and that tall stacks mean climbing a ladder to inspect them: “This can essentially be a recipe for disaster.”
For gardeners in their 50s and 60s, Foxhound’s advice matters: eight-frame boxes hold less than ten-frame boxes, but they are noticeably lighter to lift. Want to save on bees too? Martin traps wild swarms for free, reporting a 50 to 60 percent success rate with bees already adapted to local winters.
6. The Essential That No Starter Kit Includes: A Mite Test
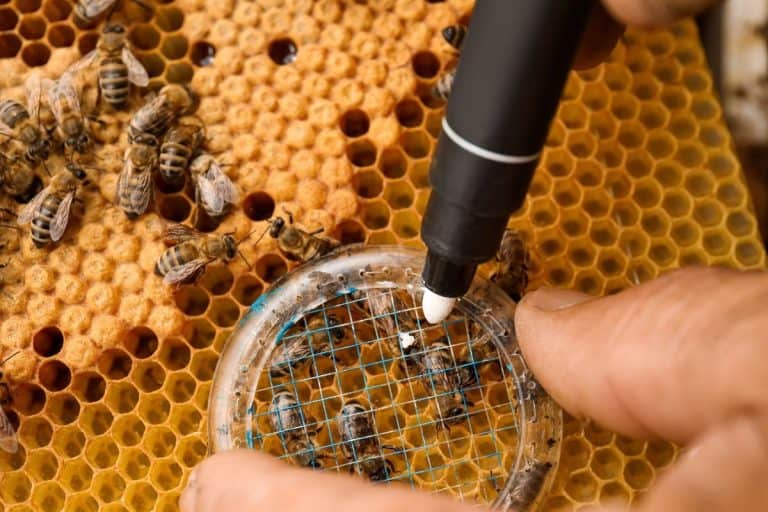
Most new beekeepers never hear this until their first hive dies: the tool that matters most for survival is missing from most of the top beginner checklists. “Varroa mites remain the major killer of honey bees worldwide,” says Mississippi State University Extension, which recommends an alcohol wash and suggests acting at about 1 mite per 100 bees early in the year.
Penn State Extension recommends checking mite levels monthly, and the kit is a couple of pint jars, a coffee filter, and rubbing alcohol, which costs almost nothing. A bee suit protects you from your bees; a mite test is the only essential that protects your bees from everything else.
What to Do Instead of Buying Everything at Once
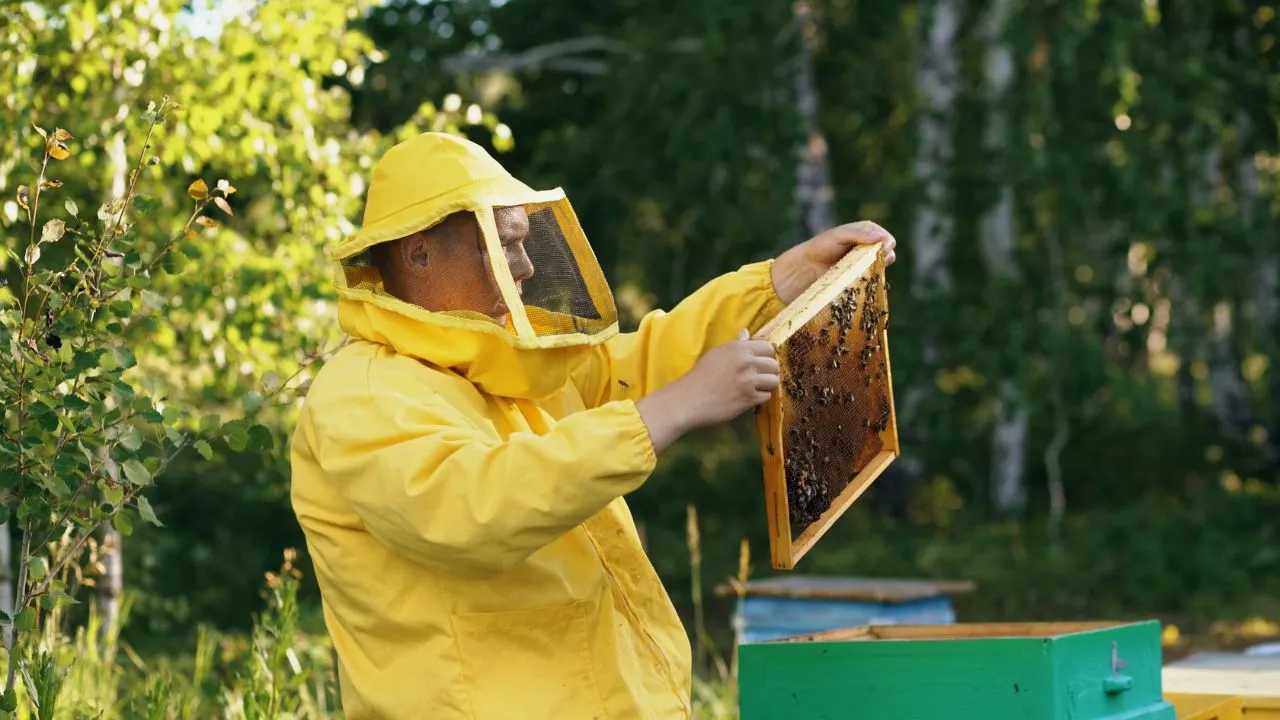
Skip the gadgets; Martin considers a bee brush unnecessary, and most extras can wait for year two. Budget your time instead. Michigan State University Extension notes that beekeeping references often cite 40 to 50 hours per colony each year, unevenly spread, and urges beginners to prepare financially and emotionally for losses and to work alongside experienced beekeepers before their own bees arrive.
Then relax. Rusty Burlew of Honey Bee Suite argues you can overprepare, because “it is the bees themselves that do the actual teaching.”
The Sweetest Payoff Takes Patience

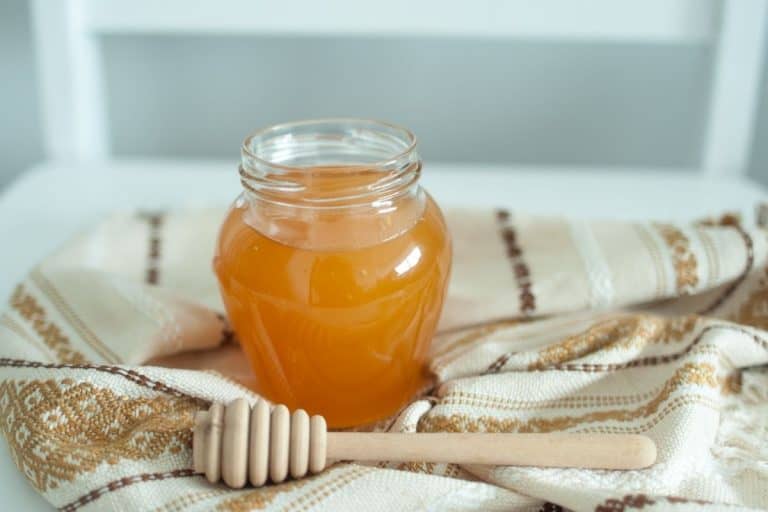
Don’t plan on a honey harvest in year one; GloryBee notes experts recommend “not taking any honey from the colony in the first year.” But a strong, established colony can be generous; Martin has seen upwards of 100 pounds, about 10 gallons, from a large hive.
The catalog list keeps you from getting stung. The complete list – a suit, smoker, hive tool, feeder, and hive, plus a mite test – keeps your colony alive long enough to pay you back. Plan it this fall, and spring will feel a lot less like a gamble.
Read More
The 7 Best Garden Items to Thrift This Fall
9 Smart Ways to Save Money in the Garden Before Fall Ends