
Do you desire to create that beautiful, just-kissed-by-winter look on your decor, but feel you have to wait for a cold snap? Well, you don’t. With a few everyday household items, anyone can whip up a batch of faux frost that crystallizes just like the real thing (and stays as long as you want indoors!).
It’s a simple science experiment that doubles as a decorating project, perfect for adding a bit of sparkle to natural elements for holiday displays or year-round wonder. Get ready to transform everyday items into frosty treasures without ever checking the weather forecast. Here is what to do:
1. Create the Crystal Solution
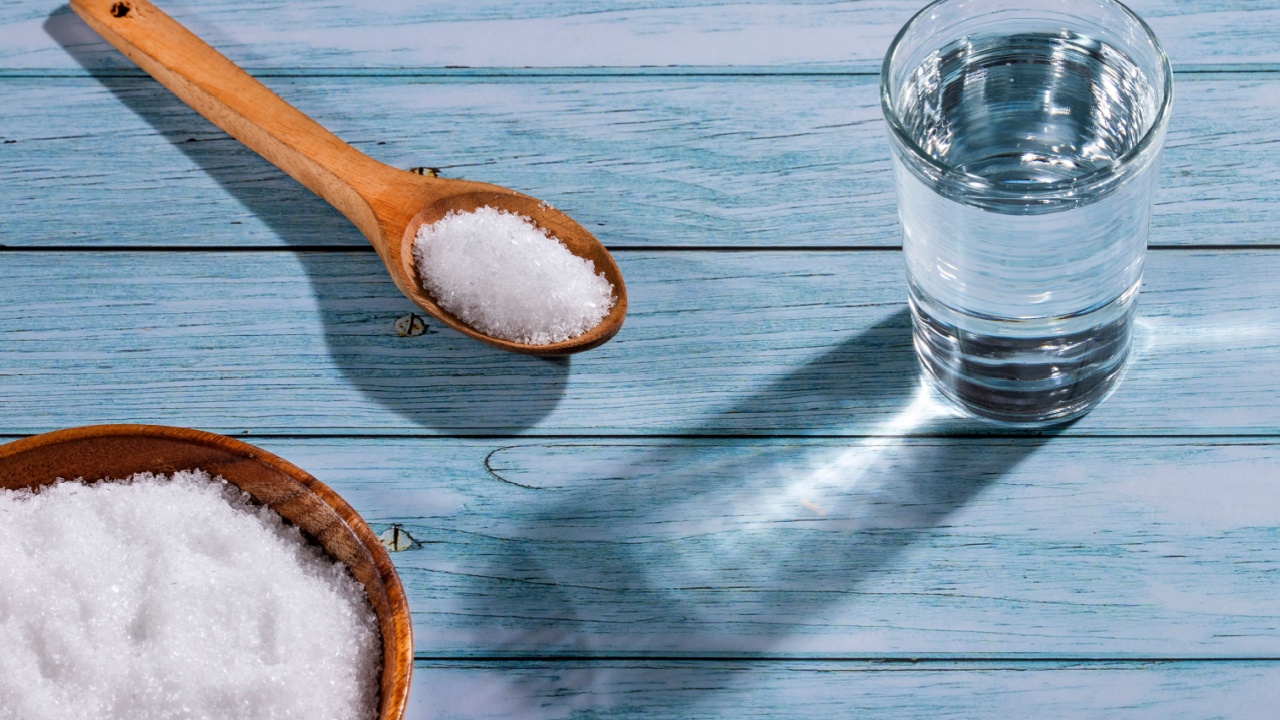
Image Credit: Shutterstock.
First things first, you need to mix up the magical two-ingredient solution that’ll form crystals. You can use either borax or Epsom salt. When you dissolve either of these substances in hot water, the water can absorb more than it normally would at room temperature. Then, as the water cools down, the particles have to go somewhere, so they drop out of the solution and form sparkly, solid crystals on whatever you’ve decided to frost.
Quick Guide:
- Borax Solution for Chunky Crystals: Mix 6 tablespoons of borax with 1 cup of very hot water. Stir until completely dissolved for glassy, intricate, and delicate crystals. Ensure the water is hot enough to prevent granules from settling.
- Epsom Salt Solution for Frosty Crystals: Dissolve 1 cup of Epsom salt into 1 cup of hot water. Stir until clear for fine, spiky crystals that resemble frost.
2. Prepare and Submerge Your Items

Image Credit: Shutterstock.
Choose what you want to frost. This technique works best on textured items with plenty of surface area for crystals to cling to. Greenery like pine branches, cedar, holly, and eucalyptus are great for adding winter’s sparkle, as crystals form along needles and leaf edges. Pinecones, with their nooks and crannies, are ideal for crystal growth. Even twigs and branches from your yard can become beautiful, icy decorations.
Quick Guide:
- Submerge your items: Gently place your chosen items into the hot solution. If they float, use a small, heavy object (like a glass dish or stone) to weigh them down. The weight should not sit where you want your beautiful crystals to grow.
- Let them soak: As the solution cools over the next hour or so, crystals will begin to form. If you’re hoping for big, chunky crystals, let them soak for several hours or even overnight.
3. Dry and Display
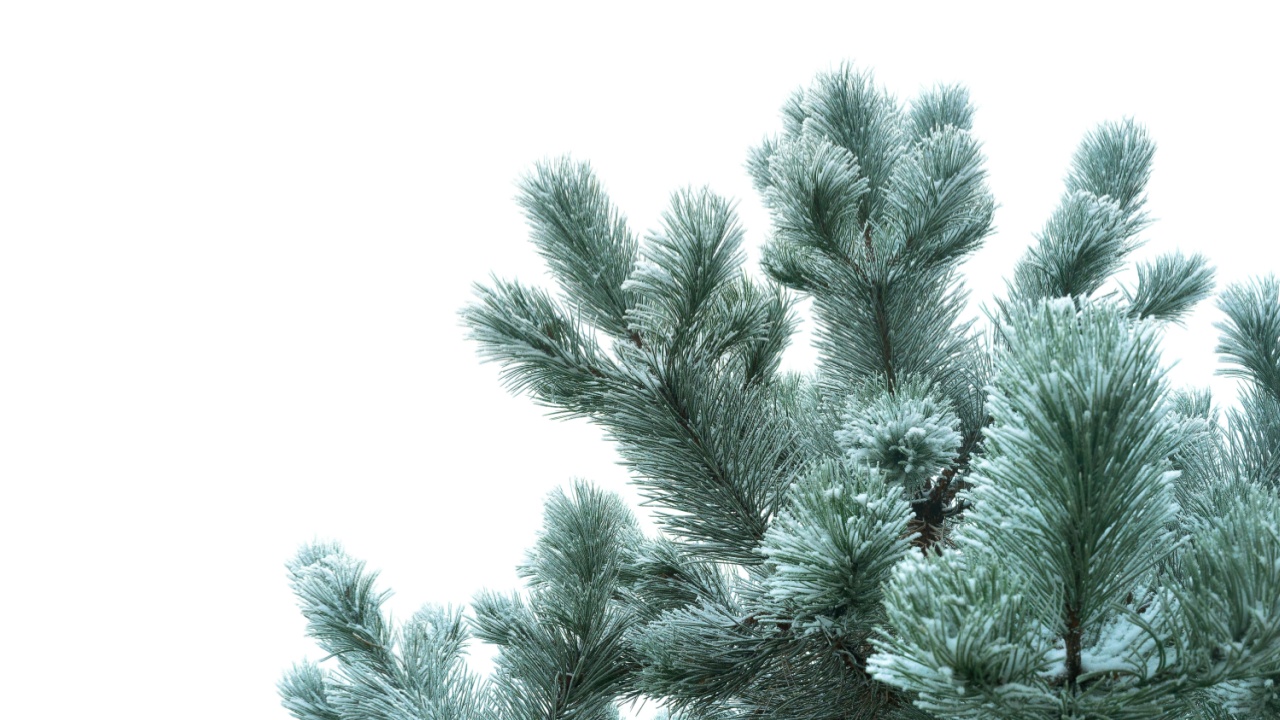
Image Credit: Shutterstock.
Carefully remove the frosted items once the crystals have formed, as they’re fragile. Use tongs or your hands and place them on a wire rack or towel to air-dry. Let them dry for several hours so the crystals harden, then display on branches, pinecones, wreaths, or garlands. You just made yourself a Christmas decoration that you don’t need to unplug when you leave.
Quick Guide:
- Fragility: The finished items are decorative and should be handled gently. The crystals can be knocked off if bumped or handled roughly.
- Storage: To enjoy your frosted creations next year, wrap them carefully in tissue paper and store them in a rigid box in a dry location. Avoid damp basements or attics, as moisture can dissolve the crystals over time.
Get Creative
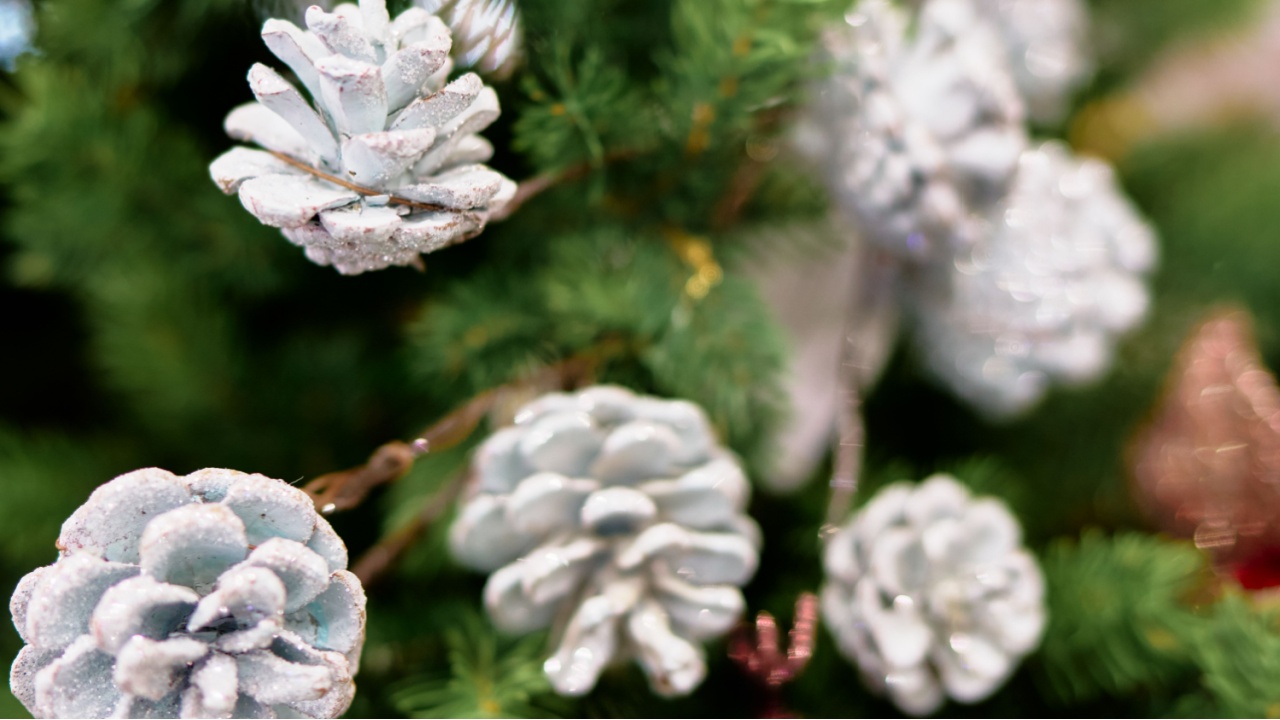
Image Credit: Shutterstock.
Now that you have mastered the basic technique, feel free to experiment. Try this method on different materials like fabric leaves, faux flowers, or even glass ornaments to see how the crystals form.
Adding a drop of food coloring to the solution can create colored crystals for a unique decorative twist. This simple project opens up a world of creative possibilities, allowing you to bring a custom touch of winter’s beauty into your home, no matter the season.