Getting the keys to your new home is a thrilling moment. It’s the start of a new chapter filled with possibilities for creating your personal sanctuary, from cozy indoor nooks to a flourishing backyard garden. But between the stacks of boxes and the excitement, it’s easy to feel overwhelmed.
This checklist is your guide to navigating the essential tasks, ensuring a smooth transition so you can start enjoying your new space sooner. We’ll walk through everything from crucial pre-move preparations to the first steps in making your house and garden truly feel like home, brought to you from home experts online (some are more obvious than others).
1. Give Notice If You’re Renting

Image Credit: Depositphotos.com.
If you’re moving from a rental property, one of the first things you need to do is formally notify your landlord. Most lease agreements require a 30- to 60-day written notice. Failing to provide proper notice can result in financial penalties or even the loss of your security deposit. Review your lease agreement to understand the specific requirements. Send your notice in writing (email is usually acceptable, but a certified letter provides proof of delivery) and keep a copy for your records. This simple step ensures you end your tenancy on good terms and avoid any last-minute complications.
- Why it’s important: Prevents financial penalties and ensures a smooth exit from your rental.
- Next Steps: Check your lease for the required notice period. Draft and send a formal written notice to your landlord. Confirm they have received it.
2. Update Your Monthly Budget

Image Credit: Shutterstock.
Homeownership brings new expenses beyond the monthly mortgage payment. You’ll need to account for property taxes, homeowners’ insurance, and potentially HOA fees. Utilities like water, gas, and electricity might also be higher than what you paid in a smaller rental space. Take time to create a detailed new budget. List your mortgage payment and then estimate your new recurring costs. It’s also wise to start setting aside money for home maintenance and unexpected repairs. Having a clear financial picture from the start will help you manage your money without stress.
- Why it’s important: Avoids financial surprises and helps you plan for the true cost of homeownership.
- Next Steps: List all new and recurring home-related expenses. Use a budgeting app or spreadsheet to track your spending. Start building a home maintenance fund.
3. Set Up Your Utilities

Image Credit: Shutterstock.
Imagine arriving at your new home after a long day of moving, only to find the lights don’t turn on and there’s no running water. You can avoid this by scheduling utility services to be activated on or before your move-in day. Contact providers for electricity, gas, water, sewer, and trash collection. Don’t forget the internet and cable, which are essential for staying connected. Call the utility companies a few weeks in advance, as some may need time to schedule a technician. This ensures your home is comfortable and functional from the moment you walk in.
- Why it’s important: Guarantees your home is livable and comfortable from day one.
- Next Steps: Compile a list of local utility providers. Call each one to schedule service activation for your move-in date.
4. Forward Mail and Update Your Address

Image Credit: Shutterstock.
Ensuring your mail gets to your new home is a crucial step. The easiest way to handle this is by filling out a change of address form with the U.S. Postal Service (USPS) online or at your local post office. This will forward your mail for a set period. Beyond the USPS, you need to personally update your address with important organizations. This includes your bank, credit card companies, insurance providers, your employer’s HR department, and any subscription services you use.
- Why it’s important: Prevents missed bills, lost packages, and potential identity theft issues.
- Next Steps: Complete the official change of address form with the USPS. Make a list of all accounts and services that need your new address and update them individually.
5. Review and Activate Homeowners Insurance

Image Credit: Shutterstock.
Your mortgage lender will require you to have homeowners’ insurance in place before you can close on the house. Don’t just pick the cheapest option. Carefully review your policy to ensure it provides adequate coverage for your needs. Your policy should cover the full replacement cost of your home, not just its market value. It should also include liability protection in case someone is injured on your property. Depending on your location, you may need additional coverage for events like floods or earthquakes.
- Why it’s important: Protects your largest financial asset from damage and protects you from liability.
- Next Steps: Shop around for quotes from different insurance providers. Read the policy details carefully before purchasing. Confirm your coverage is active before your closing date.
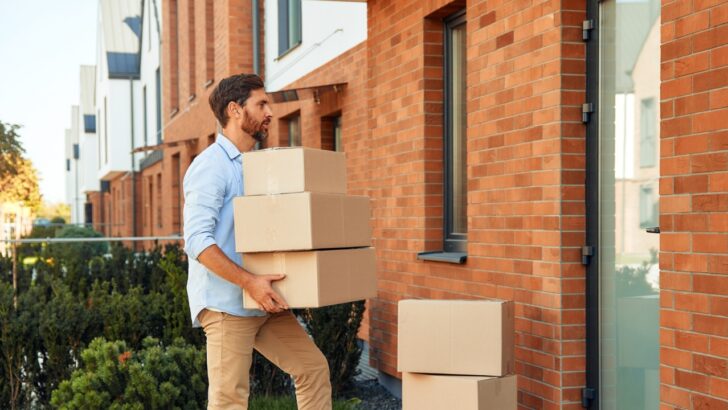
6. Create a Detailed Moving Plan

Image Credit: Shutterstock.
Decide how you’re going to get your belongings from point A to point B. Will you hire a professional moving company, rent a truck and do it yourself, or rely on the help of friends and family? Each option has its own costs and benefits. Professional movers save time and physical labor but are more expensive. A DIY move gives you more control but requires significant effort. Regardless of your choice, create a budget for moving expenses. This includes the cost of boxes, packing tape, bubble wrap, the moving service or truck rental, and even snacks and drinks for your helpers.
- Why it’s important: A clear plan reduces moving day stress and helps you stay within budget.
- Next Steps: Get quotes from several moving companies if you’re hiring pros. If going the DIY route, reserve a rental truck well in advance. Start gathering packing supplies.
7. Clean and Make Minor Repairs
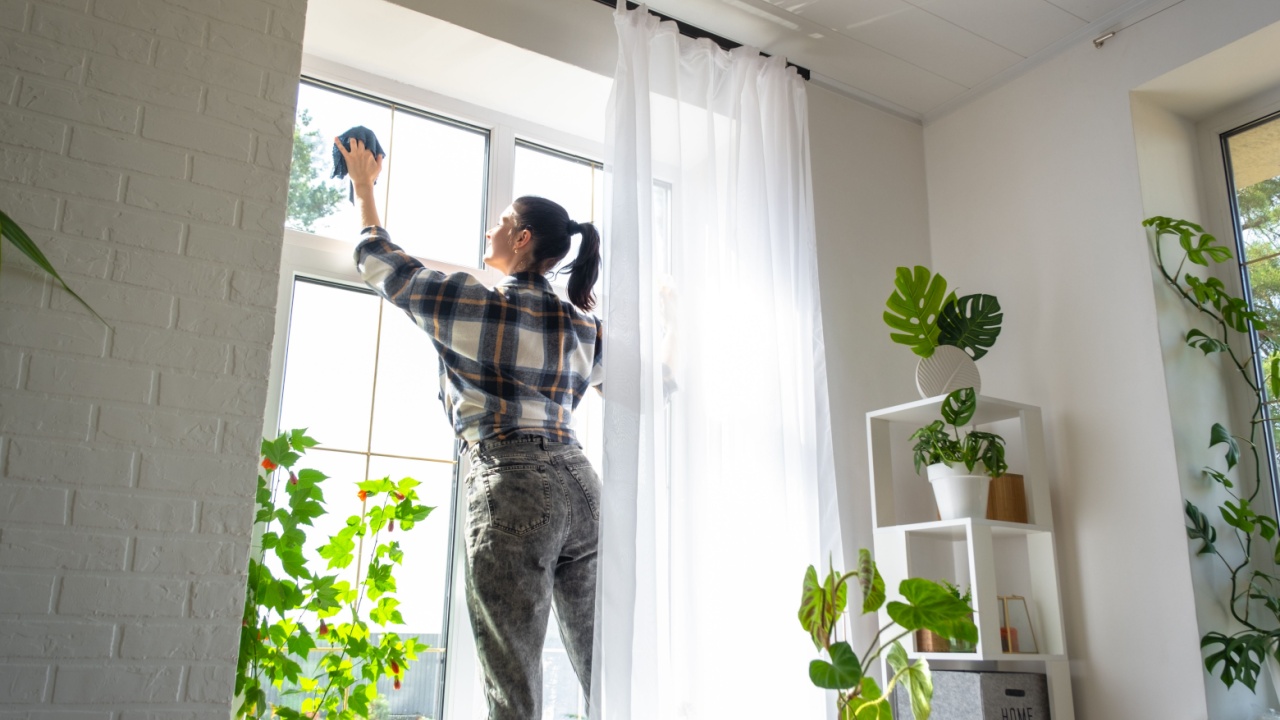
Image Credit: Shutterstock.
Whether you’re selling your old home or leaving a rental, it’s courteous and often required to leave it in good condition. Deep clean the entire space, including floors, bathrooms, and kitchen appliances. Patch any nail holes in the walls and touch up scuffed paint. This is also a great time to assemble a basic toolkit that will be invaluable in your new home. Include a hammer, a set of screwdrivers, a tape measure, pliers, a utility knife, and a flashlight. You’ll be glad you have it for small tasks and repairs.
- Why it’s important: Helps you get your security deposit back and fulfills your sales agreement obligations.
- Next Steps: Schedule a day for deep cleaning before you hand over the keys. Patch and paint any wall damage. Pack a toolkit for easy access at the new house.
8. Pack a “First-Day” Essentials Box

Image Credit: Depositphotos.com.
Your first 24 hours in the new house will be a whirlwind. Make it easier on yourself by packing a clearly labeled box or suitcase with everything you’ll need right away. This prevents you from having to frantically search through dozens of boxes when you’re tired. Include toiletries, a change of clothes, medications, phone chargers, toilet paper, paper towels, and some basic cleaning supplies. If you have pets, pack their food, bowls, and a favorite toy. A few snacks and bottled water are also a great idea. Keep this box with you in your car so you know exactly where it is.
- “Why it’s important:” Reduces stress and ensures you have immediate access to necessities on your first night.
- “Next Steps:” Choose a specific, easy-to-identify bag or box. As you pack, set aside essential items for it. Load it into your personal vehicle on moving day.
9. Inspect Your New Home Upon Arrival

Image Credit: Shutterstock.
Before you start unloading the moving truck, do a thorough walk-through of your new home. Check that the property is in the condition you expected and that all items included in the sale (like appliances) are present. Look for any new damage that may have occurred since your final walk-through, such as broken windows or signs of leaks. If you find any issues, contact your real estate agent immediately. It’s much easier to resolve these problems before you’ve fully moved in.
- Why it’s important: Catches any last-minute problems and allows you to address them with the seller through your agent.
- Next Steps: Walk through every room, check appliances, and test faucets and light switches. Take photos of any problems you find.
10. Meet the Movers and Direct Traffic

Image Credit: Shutterstock.
If you’ve hired movers, greet them when they arrive and give them a quick tour of the house. To make the unloading process efficient, place signs on the door of each room (e.g., “Main Bedroom,” “Kitchen,” “Office”). This helps the movers know exactly where to put labeled boxes, saving you the effort of moving them again later. Stay available to answer any questions they might have. Offer them water and let them know which bathroom they can use. A little hospitality goes a long way.
- Why it’s important: Ensures boxes and furniture end up in the correct rooms, saving you time and effort.
- Next Steps: Print simple room signs and tape them to the doors. Be present and available to guide the movers.
11. Take Inventory of Your Belongings
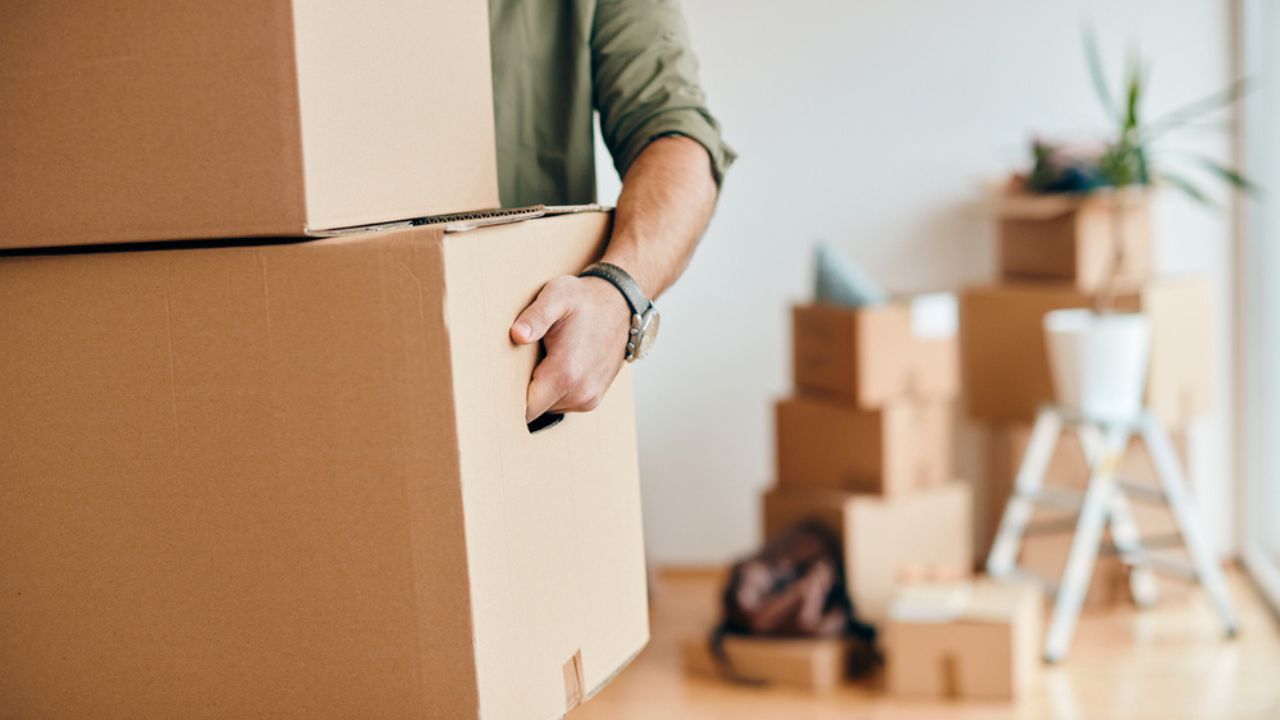
Image Credit: Shutterstock.
As items come off the truck, check them against your inventory list. If you hire a moving company, they will have a bill of lading that lists all your items. Make sure everything has arrived and check for any damage that may have happened during transit. If you discover broken or missing items, document the issue with photos and make a note on the mover’s paperwork before signing it. You will need this documentation to file an insurance claim.
- Why it’s important: Confirms all your possessions have arrived safely and provides documentation for any necessary insurance claims.
- Next Steps: Keep your inventory list handy during unloading. Inspect furniture and boxes for damage. Take photos and make notes of any issues.
12. Set Up One Room First

Image Credit: Shutterstock.
Unpacking an entire house is a marathon, not a sprint. To avoid feeling overwhelmed, focus on setting up one essential room first. The bedroom is a great choice, as having a comfortable place to sleep will make a huge difference. Assemble your bed and put fresh linens on it. Unpack your toiletries in the bathroom. Alternatively, you could start with the kitchen so you can make coffee and simple meals. Accomplishing this one room will give you a sense of order and a peaceful retreat from the surrounding chaos.
- Why it’s important: Creates a functional, calm space amidst the unpacking chaos and provides a morale boost.
- Next Steps: Prioritize boxes for your chosen room (bedroom or kitchen). Assemble furniture and unpack the absolute essentials for that space.
13. Secure the Property
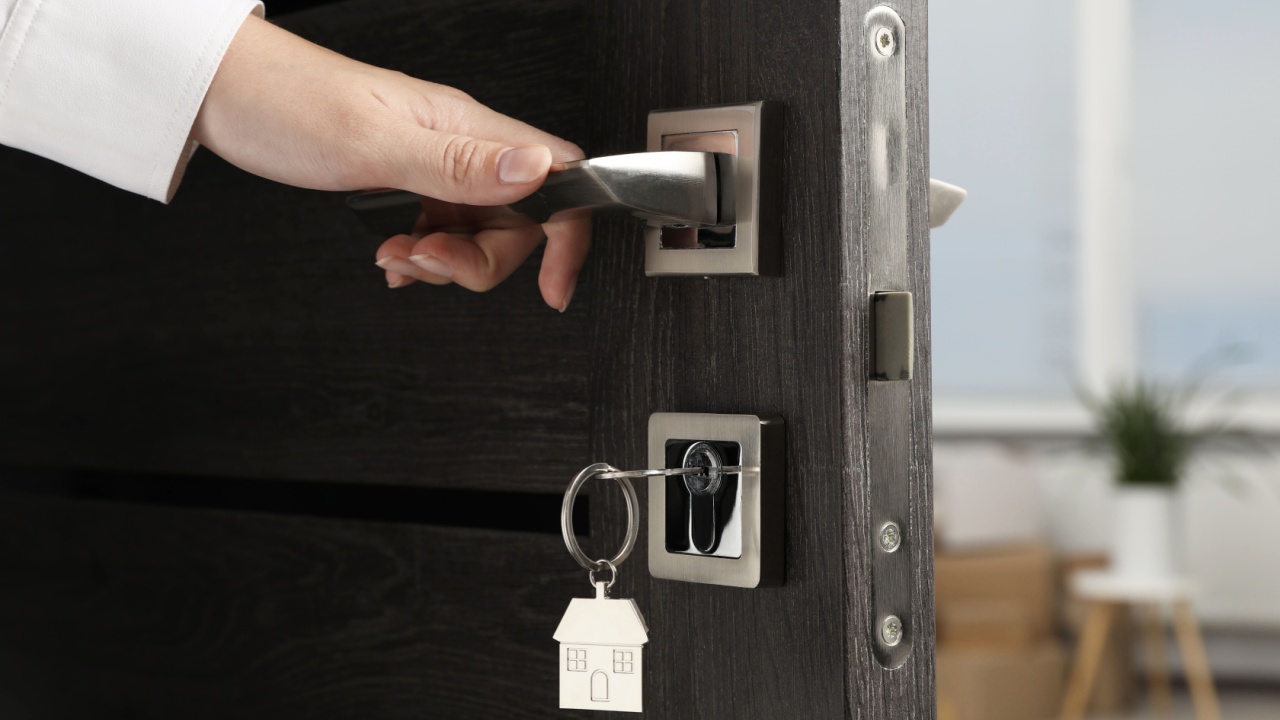
Image Credit: Shutterstock.
Your safety and peace of mind are paramount. One of the first things you should do is change or rekey all the locks on the exterior doors. You have no way of knowing who the previous owners may have given a key to. You can hire a locksmith to rekey the existing locks, which is often cheaper than replacing them entirely. Also, walk around the property and check that all windows and sliding doors lock securely. This is also the time to install any new security systems, cameras, or smart doorbells you’ve planned for.
- Why it’s important: Ensures only you and your family have access to your home.
- Next Steps: Schedule a locksmith for your move-in day or the day after. Buy new locks if needed. Test all window and door locks.
14. Learn Your Home’s Basic Systems

Image Credit: Shutterstock.
Every home has its own quirks and critical systems. Before you get too deep into unpacking, take some time to locate the essential shut-offs and controls. Find the main water shut-off valve in case you ever have a plumbing emergency. You should also locate your electrical panel (breaker box) and learn which breakers control which parts of the house. It’s helpful to label them if they aren’t already. Finally, gather any manuals and warranty information for the HVAC system, water heater, and other major appliances.
- Why it’s important: Knowing where these are is crucial for handling emergencies and performing basic maintenance.
- Next Steps: Find and tag your main water shut-off. Open your breaker box and label the circuits. Create a folder for all appliance manuals.
15. Unpack Gradually and Systematically

Image Credit: Depositphotos.com.
Resist the urge to tear open every box at once. This approach leads to clutter and exhaustion. Instead, unpack in a logical, room-by-room order. Start with the most-used areas like the kitchen and bedrooms, then move on to living areas, and finally, storage spaces. As you unpack, break down the empty boxes and stack them out of the way. This keeps your space tidy and makes it easier to move around. Set realistic goals, like unpacking one room per day or a few boxes each evening.
- Why it’s important: A methodical approach prevents overwhelm and makes the unpacking process more manageable.
- Next Steps: Create an unpacking plan, starting with essential rooms. Break down boxes as you go. Celebrate small victories.
16. Decorate with Intention

Image Credit: Depositphotos.com.
It’s tempting to want to furnish and decorate your entire house immediately, but it’s wise to wait. Live in the space for a little while first. Pay attention to how natural light moves through the rooms at different times of the day. Notice the traffic flow and how you actually use each space. This observation period will help you make more thoughtful and personal decisions about paint colors, furniture placement, and decor. You’ll save money by avoiding impulsive purchases that you might regret later, and your home will better reflect your true style and needs.
- Why it’s important: Prevents rash decisions and buyer’s remorse, allowing you to create a space that is truly tailored to your lifestyle.
- Next Steps: Live in your home for a few weeks or months before making major design choices. Create inspiration boards for each room.
17. Meet Your Neighbors and Explore the Area

Image Credit: Shutterstock.
A friendly hello can go a long way in making you feel part of a community. When you see your new neighbors, introduce yourself. They can be a great resource for local recommendations, from the best pizza place to a reliable plumber. Take time to explore your new neighborhood. Go for a walk, drive around, and locate the nearest grocery stores, parks, pharmacies, and coffee shops. Getting familiar with your surroundings will help you feel settled and connected to your new community more quickly.
- Why it’s important: Builds community connections and helps you feel at home in your new surroundings.
- Next Steps: Smile and say hello to neighbors. Take a walk or drive to discover local amenities. Try a local cafe or restaurant.
18. Assess Your Garden and Soil

Image Credit: Shutterstock.
For the garden lover, a new yard is a blank canvas. Before you start planting, take time to understand your new outdoor space. Observe how much sun different parts of the yard get throughout the day. This will determine where you can plant sun-loving vegetables versus shade-tolerant ferns. It’s also a great idea to get a simple soil test kit from a local garden center. This will tell you about your soil’s pH and nutrient levels, guiding you on what amendments, like compost or lime, you might need to add. Understanding your sunlight and soil is the foundation of a successful garden.
- Why it’s important: Provides the essential information needed to create a thriving, healthy garden tailored to your specific environment.
- Next Steps: Sketch a map of your yard and note the hours of sunlight in different areas. Perform a soil test. Begin researching plants that are well-suited to your conditions.
19. Create a Home Maintenance Schedule
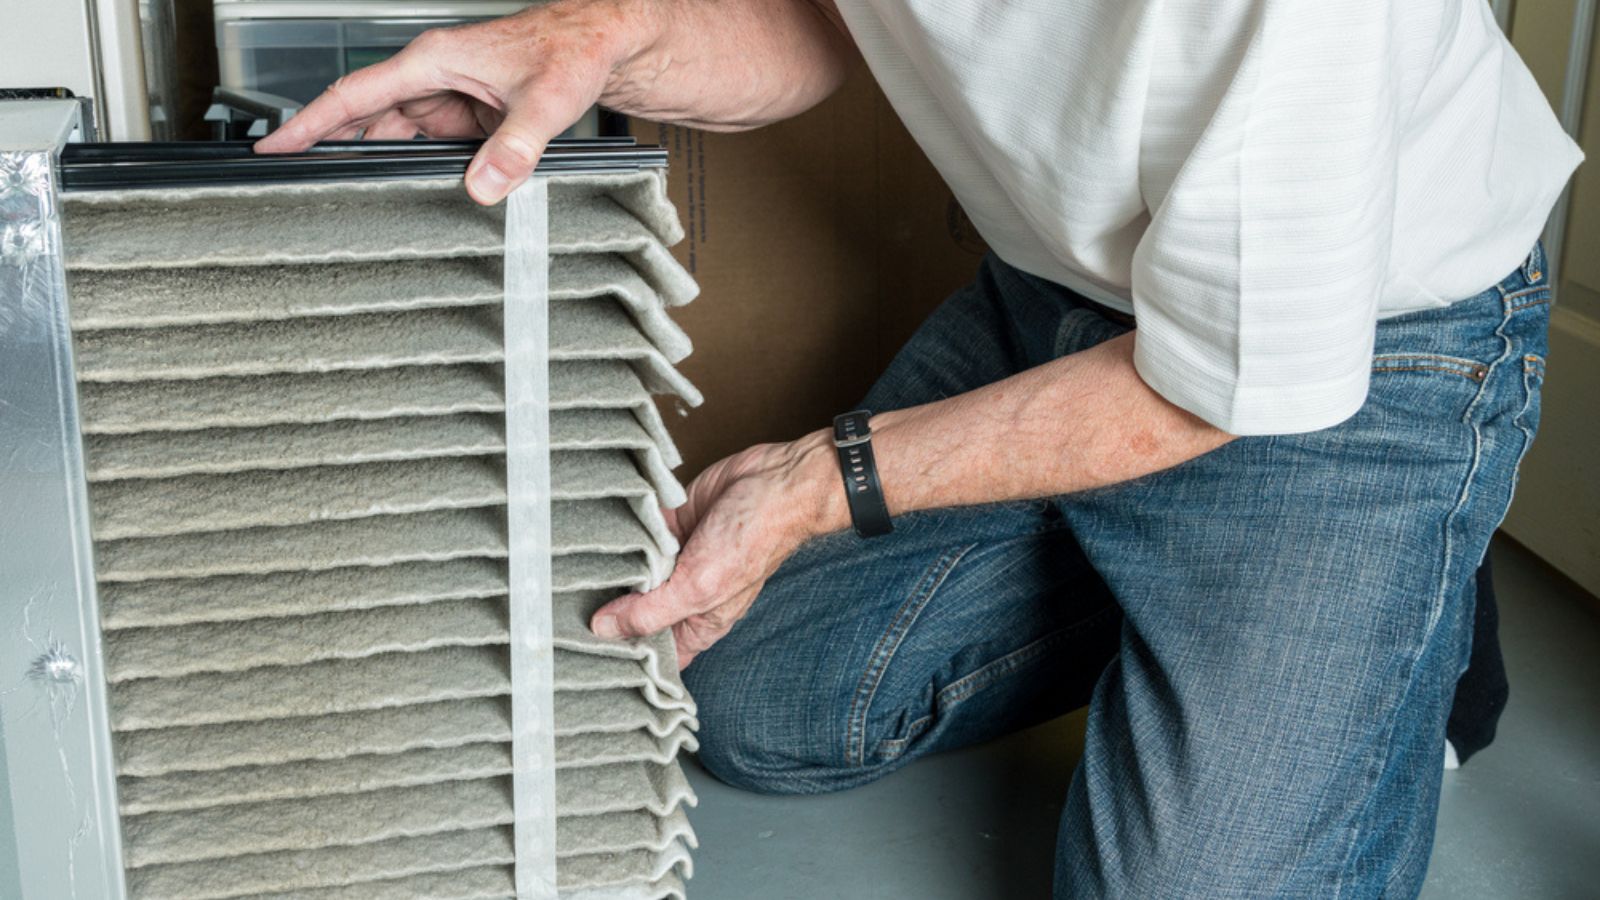
Image Credit: Depositphotos.com.
Proactive maintenance is the key to protecting your investment and avoiding expensive, unexpected repairs. Create a recurring schedule for routine home upkeep tasks. This should be a mix of monthly, seasonal, and annual jobs. Add reminders to your calendar for tasks like changing HVAC filters every 1-3 months, testing smoke and carbon monoxide detectors monthly, cleaning out gutters in the fall and spring, and scheduling an annual service for your heating and cooling systems.
- Why it’s important: Regular upkeep extends the life of your home’s systems and prevents small issues from turning into costly disasters.
- Next Steps: Create a digital or physical calendar with recurring reminders for key maintenance tasks. Keep a log of completed repairs and services.
20. Tidy the Yard and Boost Curb Appeal
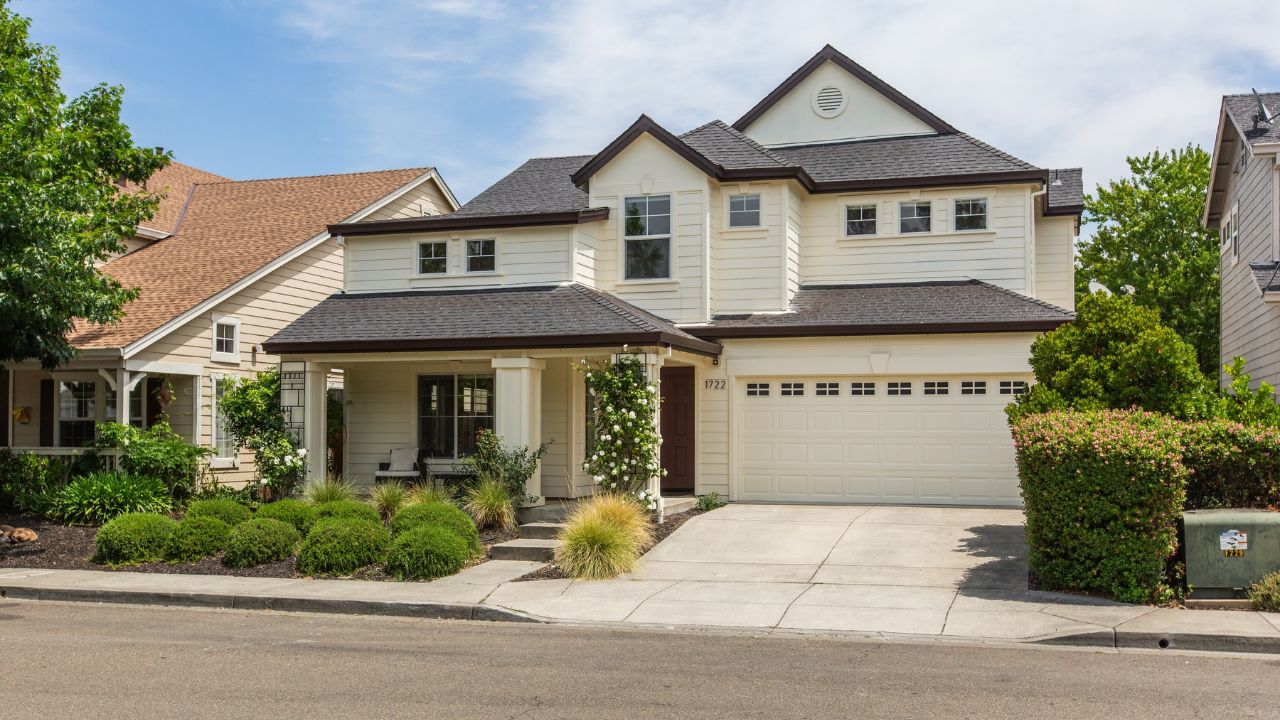
Image Credit: Shutterstock.
Your yard is the first impression your home makes. Even if you’re not ready for a full garden makeover, some basic tidying can make a huge difference. Mow the lawn, pull obvious weeds from flower beds, and prune any overgrown shrubs or trees that are blocking windows or walkways. A clean-up can reveal the “bones” of your landscape and give you a better idea of what you’re working with. Adding a new welcome mat and a few pots of seasonal flowers by the front door is a simple, inexpensive way to instantly boost curb appeal and make your new house feel more welcoming.
- Why it’s important: Improves the look of your home and creates a more pleasant and inviting outdoor space.
- Next Steps: Mow, weed, and prune. Clean up any yard debris. Add a few simple decorative touches like potted plants.
21. Start an Emergency Fund
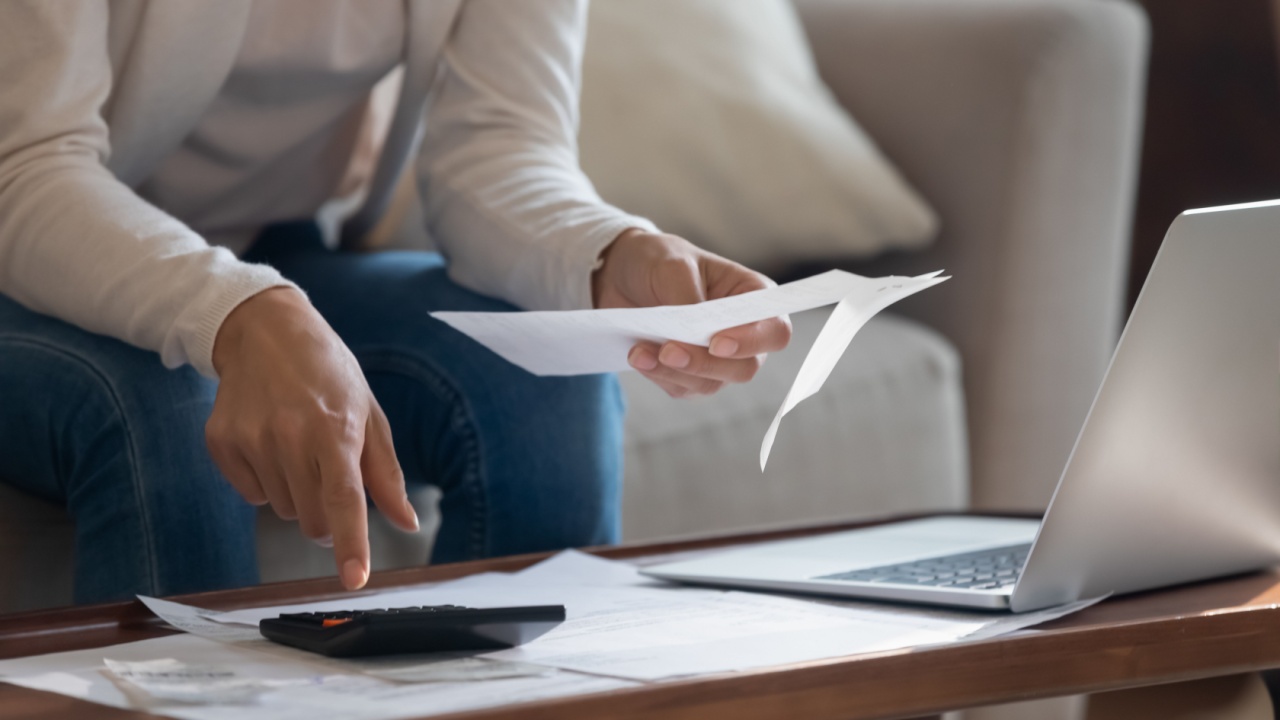
Image Credit: Shutterstock.
Every homeowner will eventually face an unexpected repair, whether it’s a leaky roof or a broken water heater. An emergency fund is your financial safety net for these situations, preventing you from having to dip into savings or go into debt. Financial experts often recommend setting aside 1-3% of your home’s value each year specifically for maintenance and repairs. Start building this fund as soon as you can, even if it’s just a small amount each month. Having this buffer will provide peace of mind for whatever homeownership throws your way.
- Why it’s important: Provides a financial cushion for unexpected repairs, preventing them from becoming a crisis.
- Next Steps: Open a separate high-yield savings account for your home emergency fund. Set up automatic monthly transfers to it.
Your New Chapter Awaits

Image Credit: Shutterstock.
Moving into a new home is the start of an exciting journey. By following this checklist, you can tackle the essential tasks methodically, reducing stress and setting yourself up for success.
Now that the practicalities are handled, you can focus on the fun part: making the space your own. Your next steps are to start dreaming. Plan that vegetable garden you’ve always wanted, pick out paint colors that make you happy, and begin creating a home that is a true reflection of you.
