
The DIY gods whispered in your ear, and now you’re ready to refresh your laundry room’s paintwork. You may be tempted to just grab a brush and that can of paint from last year’s garage renovation, but don’t. Painting is easy in theory, but it can quickly become a mistake if you’re not careful.
Using a paintbrush can be both an art and a science. With a little forethought, you can bypass some of the most common mistakes. Painting is as much about preparation as it is about getting color on the walls.
Here are some common pitfalls to avoid to prevent unnecessary frustration and the need to fix your paintwork in the long run. We sourced our answers straight from the experts in the paint shops, contractors, and designers to give you the best insight on this topic.
1. Using Low-Quality Equipment

Image Credit: Depositphotos.com.
Just like trying to cook a gourmet meal with a rusty spatula, using low-quality brushes or rollers can foil even the best-laid painting plans. Cheap tools often shed bristles or have uneven surfaces, which can lead to streaks and unsightly lines.
Investing in high-quality brushes and rollers makes all the difference in achieving a smooth, professional finish. Quality tools may cost a bit more, but they’ll save you the headache (and potential do-over) in the long run.
2. Applying Too Much Pressure

Image Credit: Depositphotos.com.
Putting a little elbow grease into a task might work for scrubbing floors, but when it comes to painting, less is definitely more. Applying too much pressure with a brush or roller can lead to uneven coats and an unpleasant texture.
Instead, aim for moderate, even strokes to ensure a uniform, smooth application. It’s a bit like spreading butter on toast—you want full coverage, but you don’t want to tear the bread.
3. Using the Wrong Tools
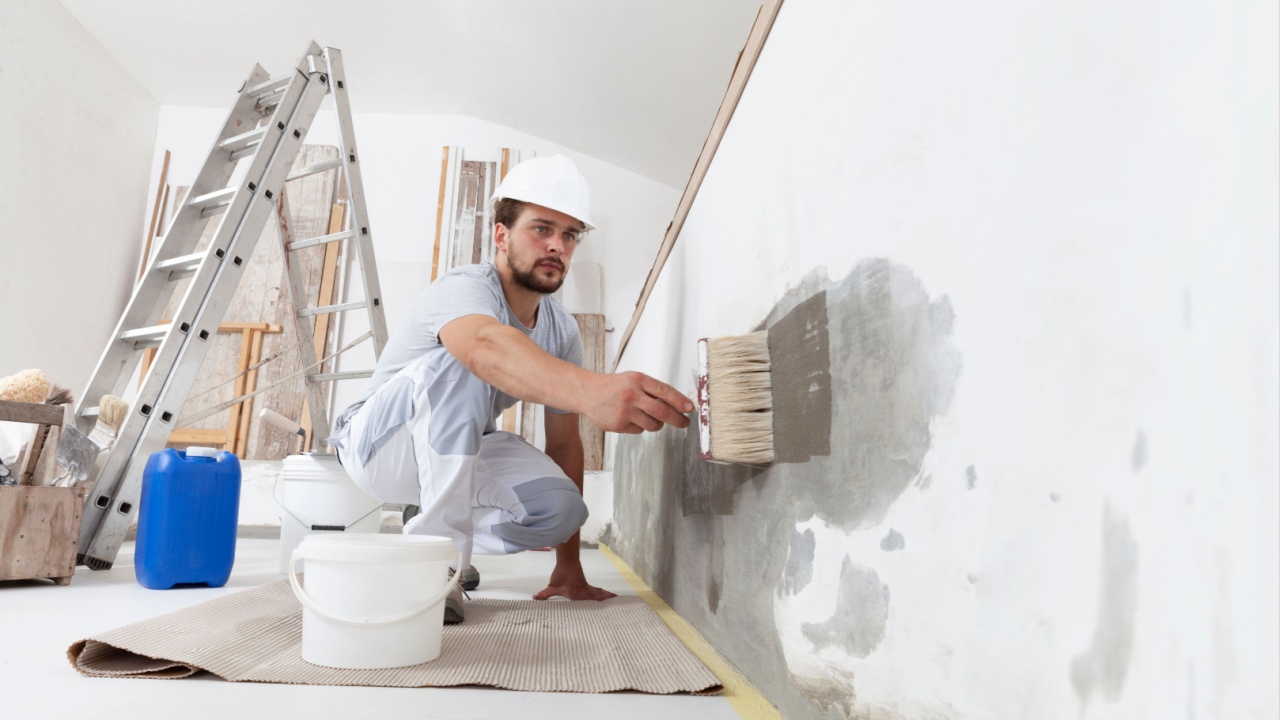
Image Credit: Shutterstock.
Using the wrong painting tools for a specific job can spell disaster. For example, brushes are great for detail work, while rollers excel at covering large areas. Knowing which tool to use (and when) can make all the difference in the finished product.
Not sure where to start? For edges and trim, reach for an angled brush. For ceilings and walls, a roller provides the speed and smoothness you need.
4. Painting in Low Light

Image Credit: Depositphotos.com.
Would you apply make-up or shave in the dark? Painting in low light is much the same because you might miss spots or not notice uneven coverage until it’s too late.
Proper lighting is crucial to seeing the true color and get full coverage. If natural light isn’t an option, invest in some good work lights.
5. Storing Paint Wrong

Image Credit: Depositphotos.com.
Imagine opening your paint can only to discover it’s turned into a gloopy mess. Proper storage is key to keeping your paint fresh and usable for future touch-ups. Lids should be sealed tightly, and cans stored in a cool, dry place away from extreme temperatures.
And here’s a quick tip—store the can upside down to create a seal that prevents air from getting in. It’s a small step that can save you time and money down the line.
6. Not Prepping Properly
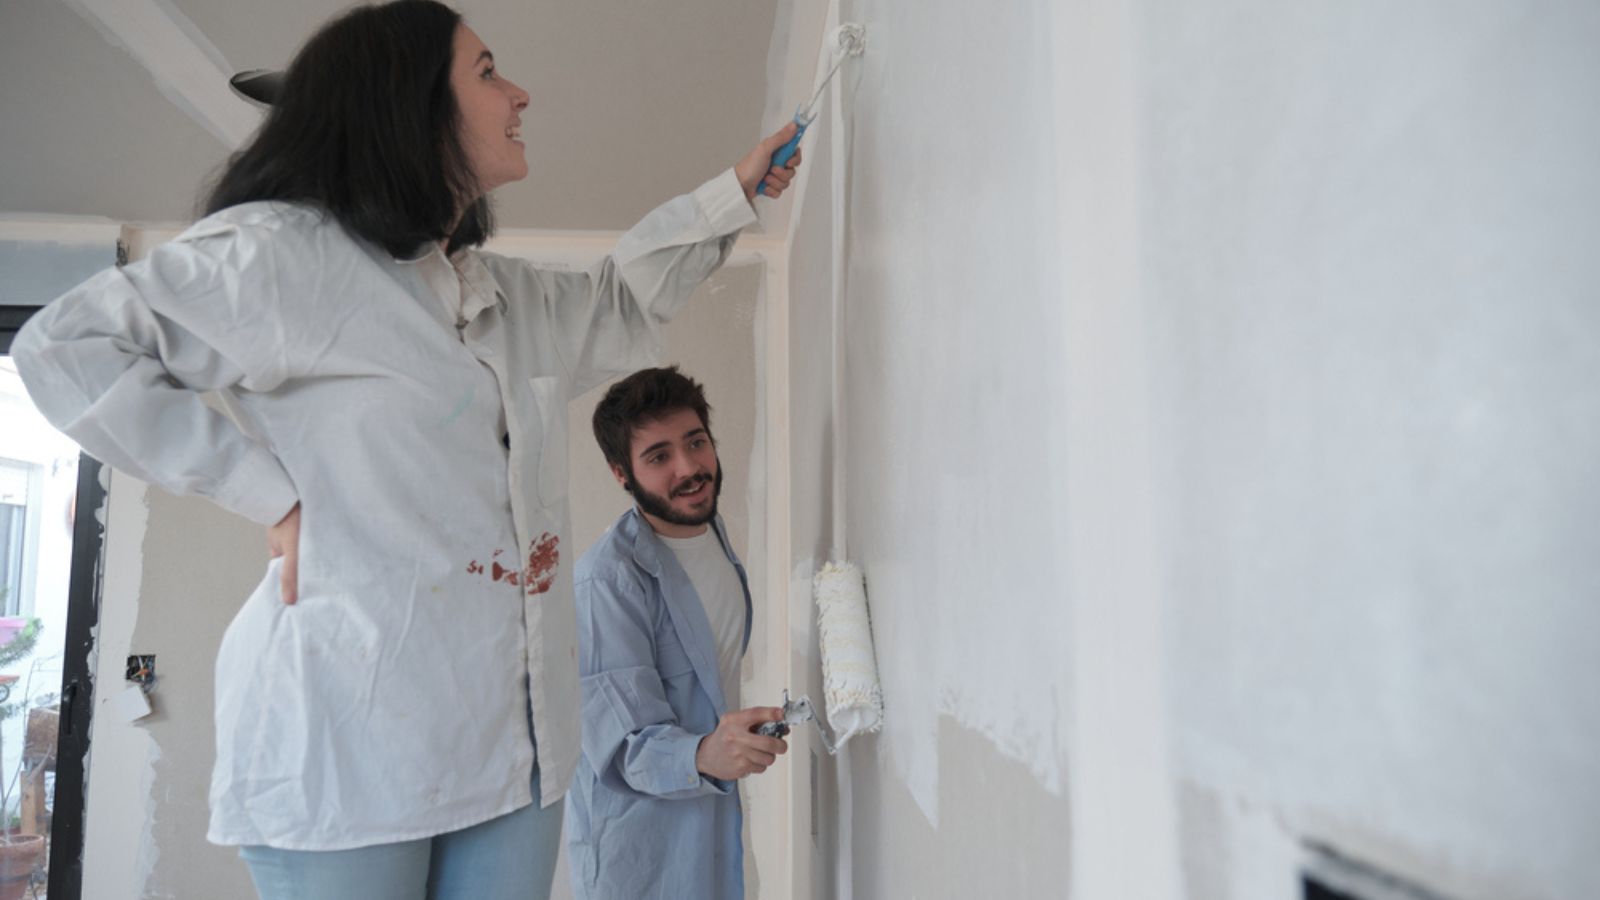
Image Credit: Depositphotos.com.
Rushing into painting without prepping your space is a big no-no. Proper preparation is essential for a smooth, professional finish.
Take the time to clean walls, patch up imperfections, and lay down protective coverings. A little extra effort upfront will save you a world of pain, and unsightly splotches, later on.
7. Buying Less Paint

Image Credit: Depositphotos.com.
If you’re on a budget, you might really want that one can of paint to go around your four walls, but will it? Running out of paint halfway through a wall can lead to mismatched colors and patchy textures. Always purchase a bit more paint than you think you’ll need.
Calculate the square footage of your space and consult with paint professionals to determine the right amount. It’s better to have extra for touch-ups than to scramble for a color match later (which isn’t always a perfect match).
8. Not Applying Primer

Image Credit: Depositphotos.com.
Skipping primer might seem like a time-saver, but it often results in a less vibrant finish and uneven textures. A good primer creates a smooth base for your paint, allowing for even color distribution and better adhesion.
Primer works well with your paint to create a wall finish that’s vibrant, smooth, and durable.
9. Improper Painting Techniques

Image Credit: Depositphotos.com.
Using the wrong techniques can turn a straightforward painting job into a frustrating experience. Use a technique known as “W” or “M” strokes, where you form a letter shape while painting. This helps in distributing the paint evenly, creating a smoother finish on your walls.
It’s also essential to keep a wet edge by working in sections. If you allow one area to dry before moving to the next, you’ll likely end up with noticeable lines where the two meet.
10. Ignoring the Weather

Image Credit: Depositphotos.com.
Temperature and humidity play crucial roles in how paint dries and adheres, even if you’re painting indoors.
Ideally, you want to paint when it’s between 50°F and 85°F (10°C to 29°C) with low humidity. Too much moisture in the air can prolong drying times and affect the finish, leading to potential drips or peeling later on.
11. Choosing the Wrong Paint Color

Image Credit: Depositphotos.com.
This should be among the first things to do when you plan to paint. After all, the color you choose sets the tone for your entire space. It’s tempting to go for that trendy shade that caught your eye. Before diving in, test samples on your wall.
Colors can look drastically different on a paint chip than they do on your walls. Factors like lighting, room size, and existing furnishings can all influence how a color appears.
12. Not Using Stain Blocker When Painting Wood
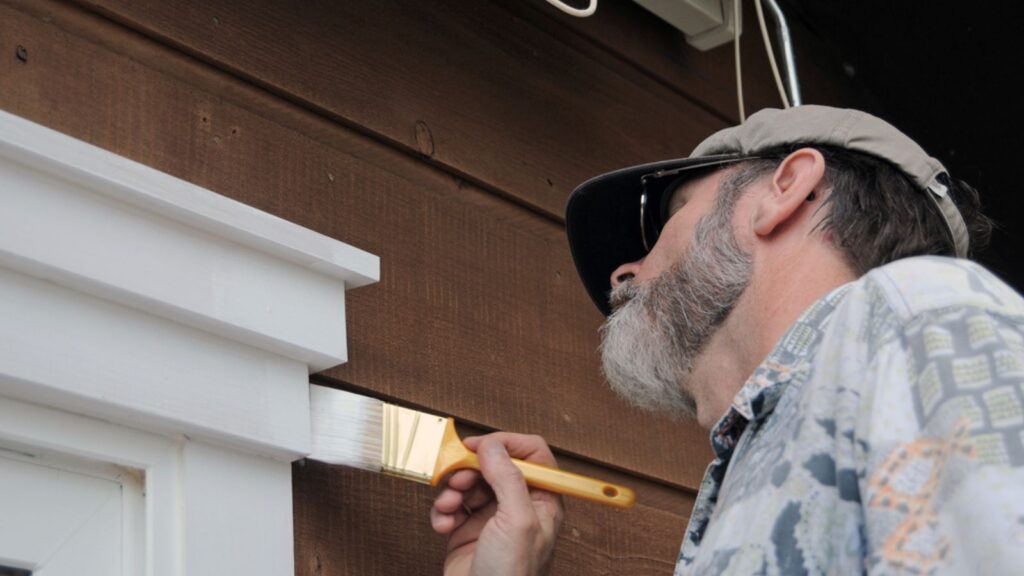
Image Credit: Depositphotos.com.
If you’ve ever tried to paint over wood, you might have noticed some unsightly discoloration peeking through your finished work. This is why using a stain blocker is so important.
Wood, especially if it’s old or has knots, can bleed through paint, leading to unsightly marks and ruining the overall aesthetic. A good stain-blocking primer acts like a shield, preventing any stains or tannins from ruining your fresh coat of paint.